Page 147 from Mary Karlin’s Artisan Cheese Making at Home
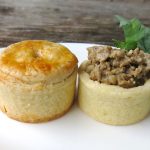
My first Italian love affair was with the Porcini mushroom. I had tasted the flavour before, but didn’t know what it was. Dining at the Butchart Gardens about 15 years ago on the side porch of the lovely formal dining room, our table for two was the perfect quiet evening spot set in this idyllic Garden of Eden wonderland. A shallow wide lipped gold rimmed translucent porcelain bowl was set before each of us, steaming an earthy perfume that was intoxicating and unforgettable. Each bite was a luxury that lives vividly in my mind’s eye.
It was in a small narrow cobblestone side street in Firenza, traveling with my students, when we were served a zuppa di funghi. The aroma hypnotized me as I lowered my head to cool the soup. A shiver of anticipation. One taste found me on the side porch of the lovely dining room at the Butchart Gardens. “What kind of mushrooms are in the soup?” “Funghi fungo!” was the first answer our waiter offered, throwing his arms in the air, exasperated at such a question.
One of my colleagues, clearly more experienced than I, asked, “Do they have a name?” Ah! His eyes brightened: the Porcini mushroom. “Is there any other?” he shrugged.
I had experienced the unique appeal of the Shitake mushroom. Yet, I had no frame of reference for the Porchini mushroom, except that unforgettable bowl of flavour so long ago, and now, in Italy. I knew, at that moment, that I would be bringing these home with me, and every trip after that, I have done the same. Therefore, when I spied Mary’s recipe for Shitake infused Camembert, I knew instantly that mine would be Porciini infused.
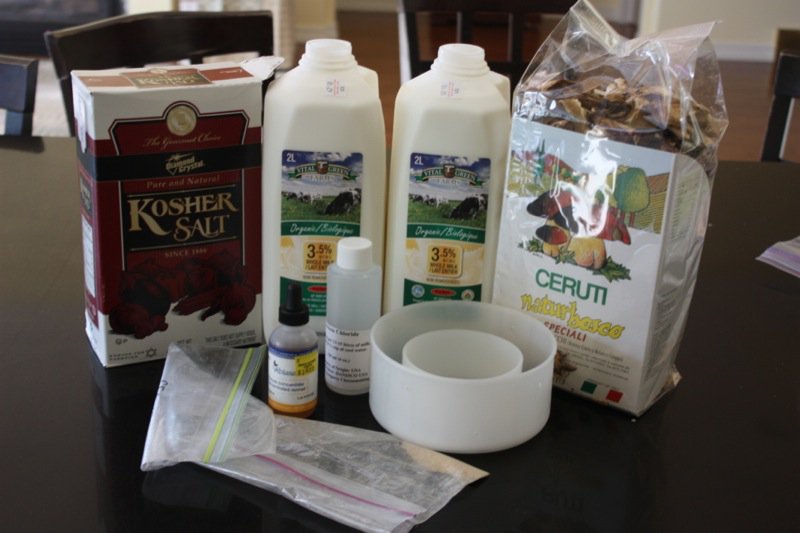
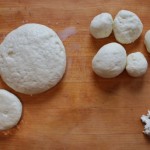
Ingredients gathered. If you do not have dried Porcini in your pantry on a regular basis, I suggest you change that.
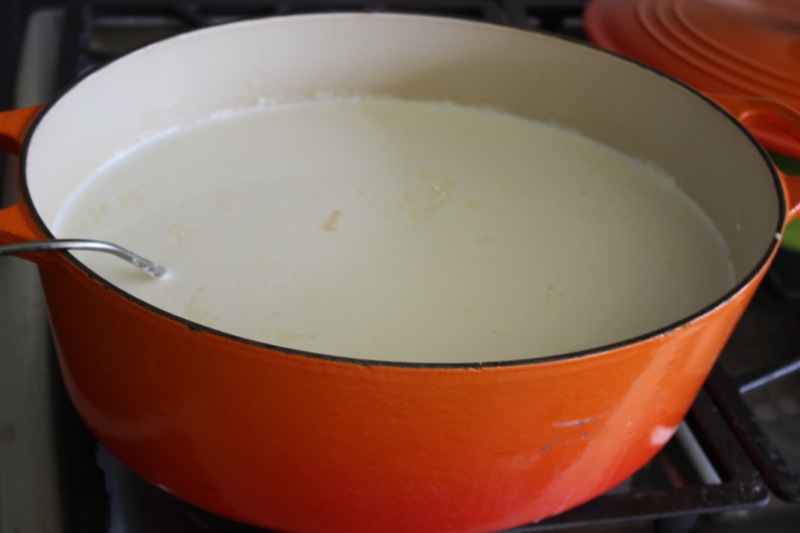
The flavour of the infused milk was as I imagined it would be.

Culture ripening, then stirred in and ripened more. Calcium chloride added, followed by the rennet. The rhythm of making cheese is always the same. It is the 2 degrees of temperature or the extra minutes here or there that can created a completely different product.
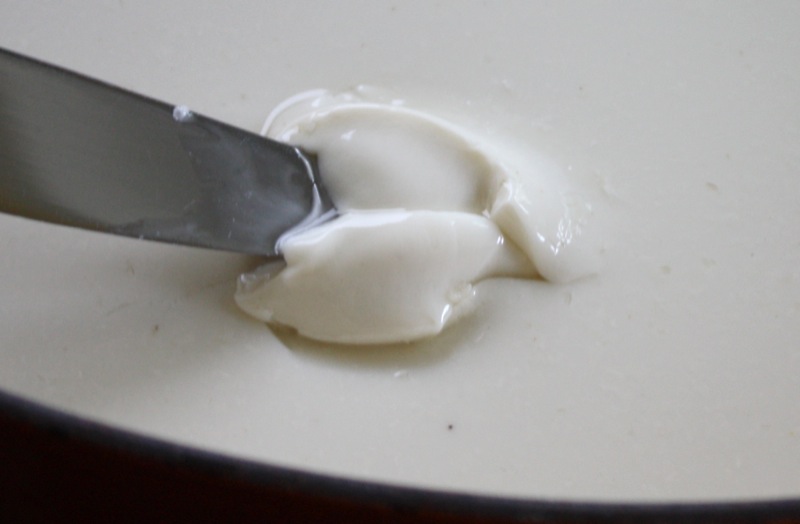
Beautiful clean break after the rennet worked its magic. Curds are cut, rested and stirred.
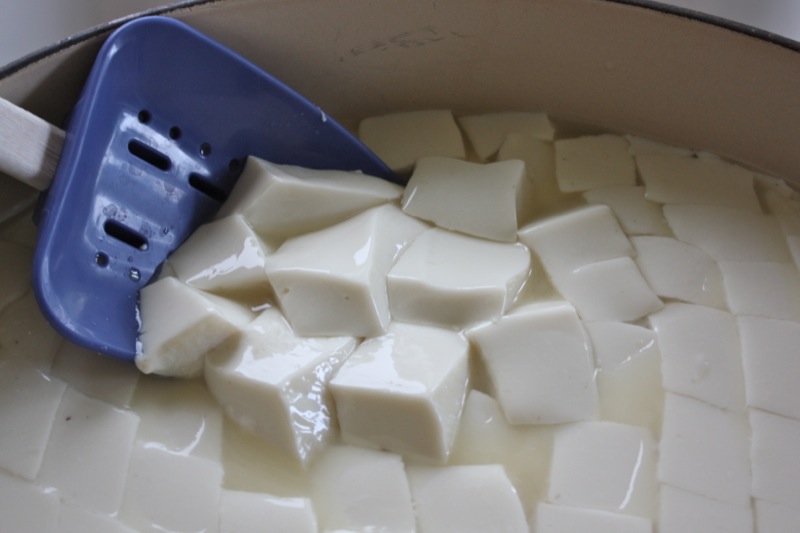


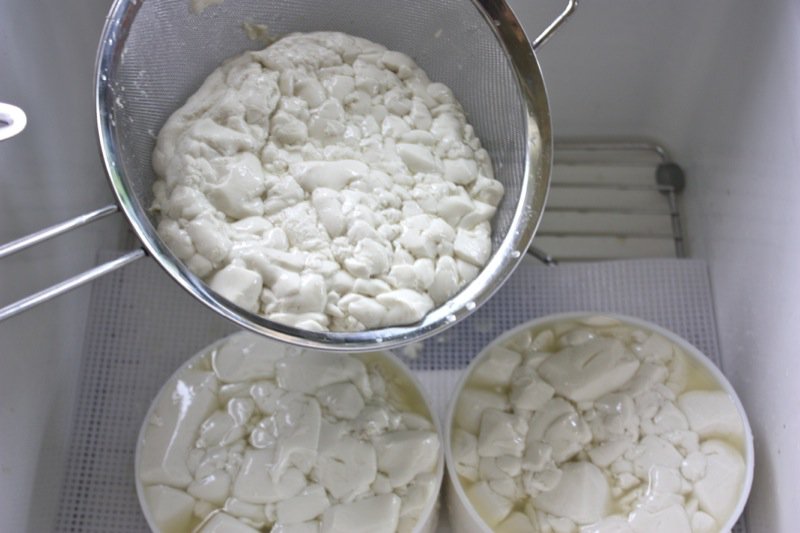
Slowly, slowly… nice plump curds… no cheese cloth.
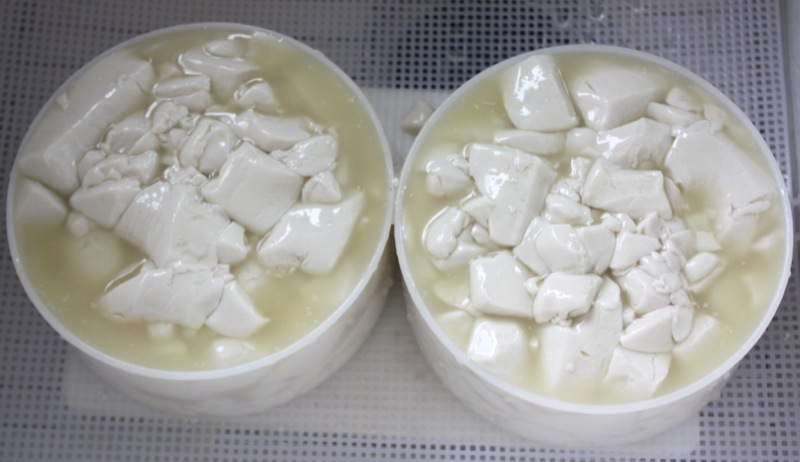
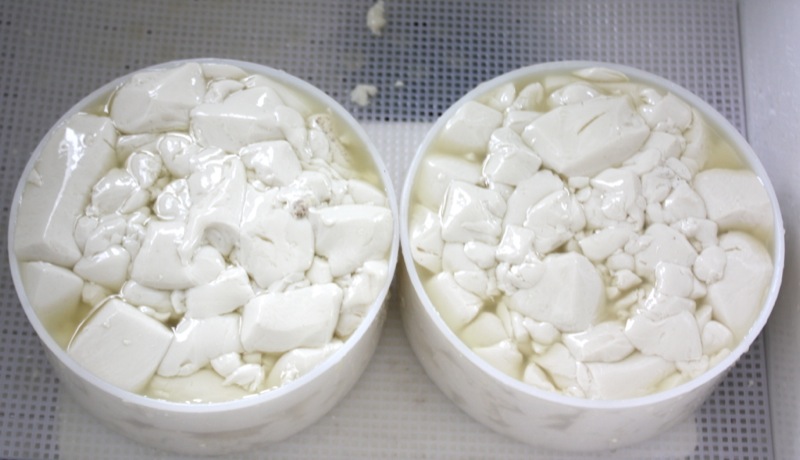
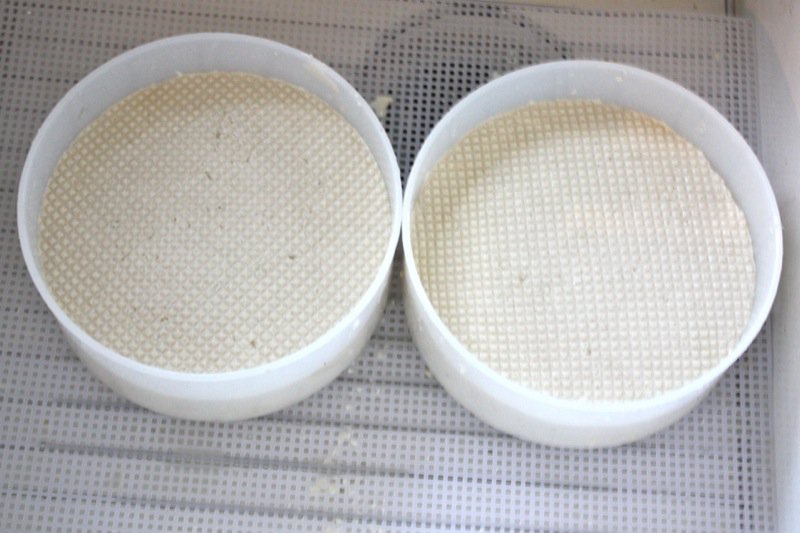
Oh, my, and there are still so many more curds to fit into the mould, but slowly and really only within about 10 minutes, they all fit.

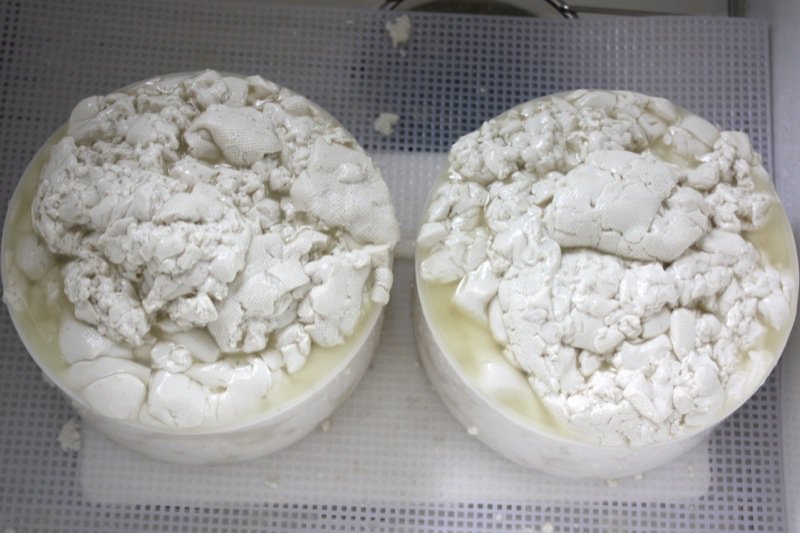
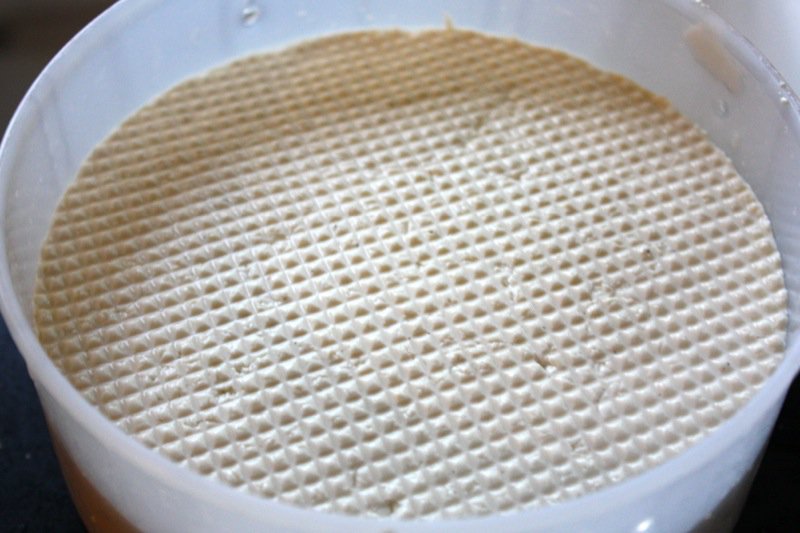
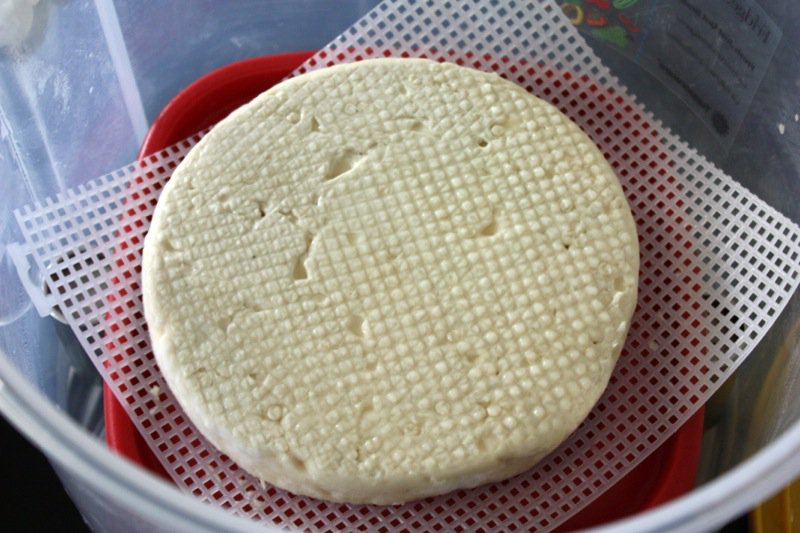
Drain for 2 hours: the curds should reduce to half the height of the mould and you will see, below, that as I flip after 2 hours, they have reduced considerably.
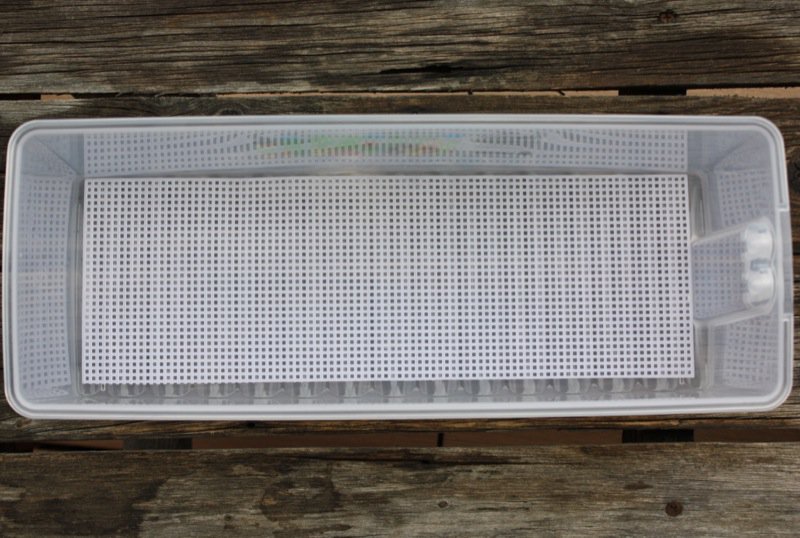
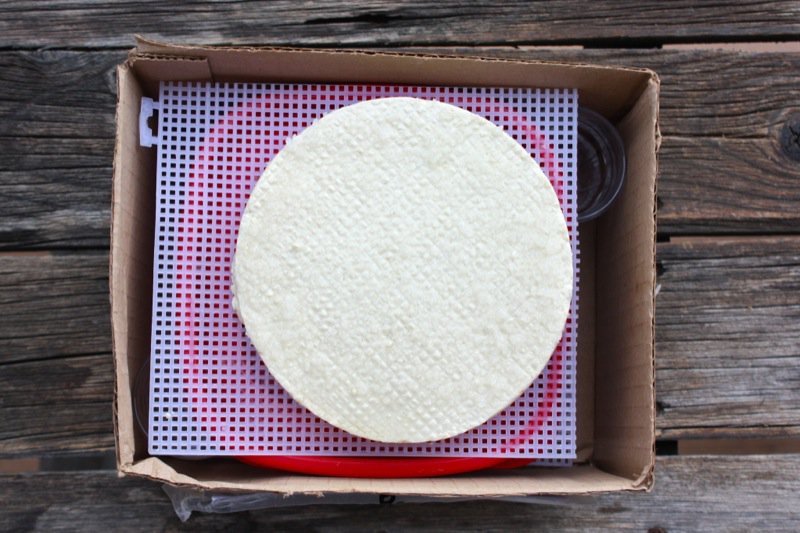
I prepared the ripening box to put inside of the cave, but the rounds were just too big; so Plan B: a real box. But, lots to do before that….
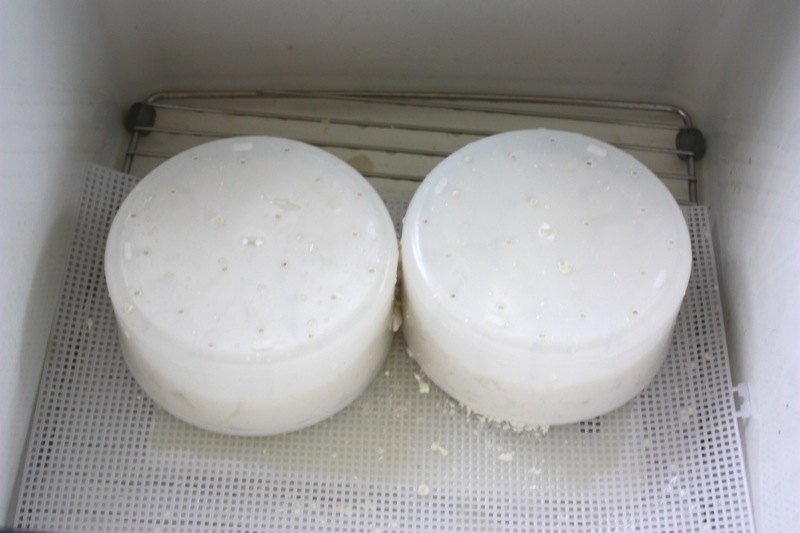
The flipping begins… and then overnight on the counter.
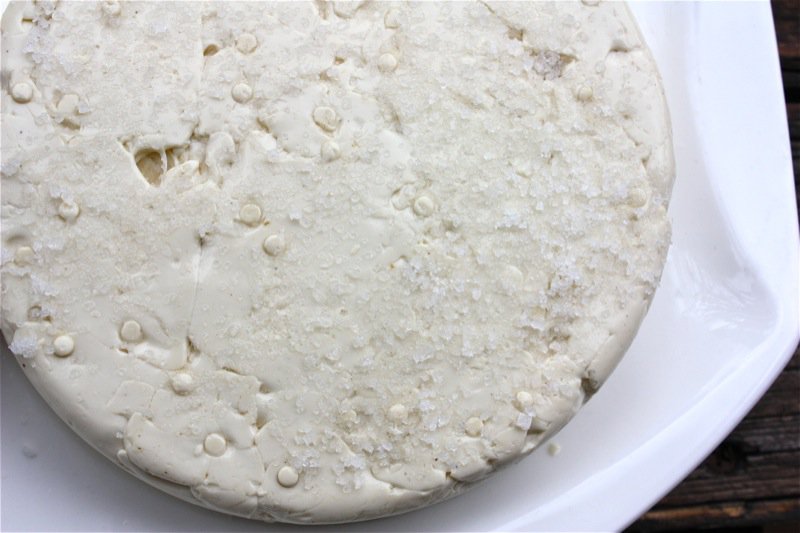
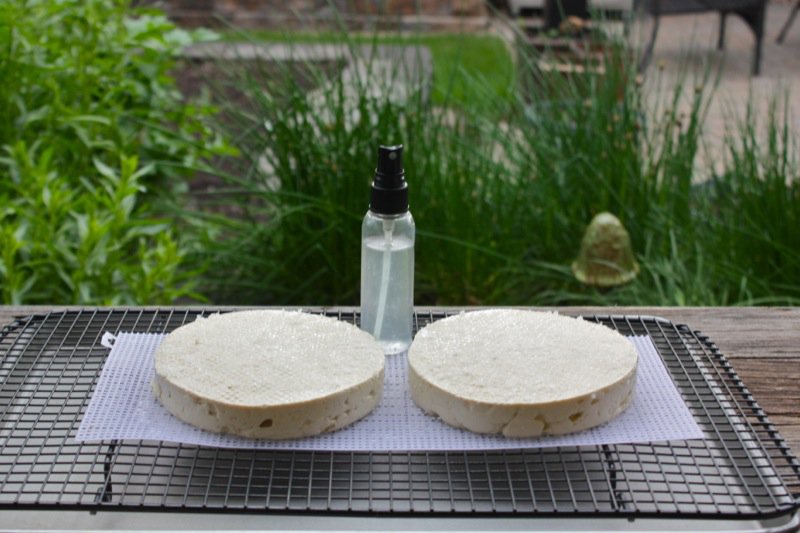
And cheese must be salted and sprayed with a mould solution. I will add, that mixing the mould solution the night before and using so little of it seems a waste of great product to me. How long will it keep now that it is mixed? Do I only spray the cheese surface once? No answers could I find… so I just followed the instructions. Well, I did spray the surface a couple of more times… but the instructions call for the entire pitcher to be filled when I didn’t even use 1/5th of what is in the tiny spray bottle.

One has to do what one has to do when the original ripening box was too narrow and my round one is full of Valencay. I created a 2 story container with lots of breathing room; covered it in plastic and stored it in my cave. It seemed to work well.
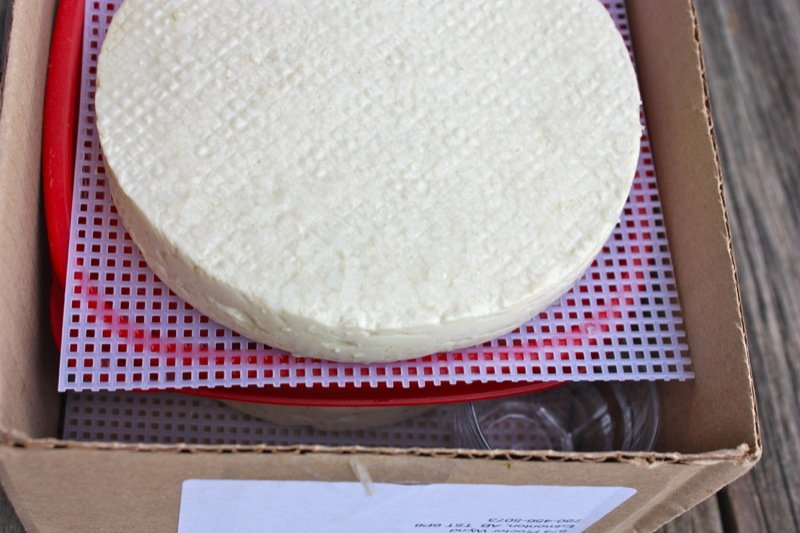
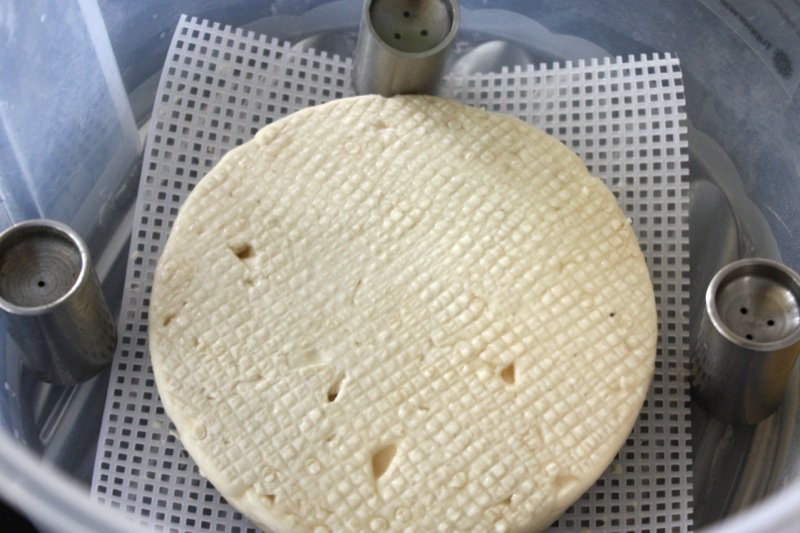
When the Valencay were ready for a move, the Camembert moved into the round ripening box. The miniature Salt and Pepper shakers served well as pillars to hold the second floor for the second disc of cheese.
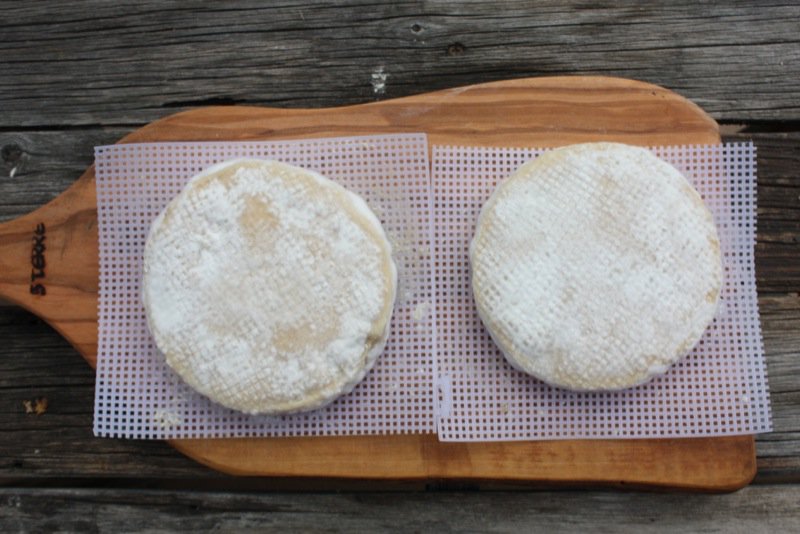
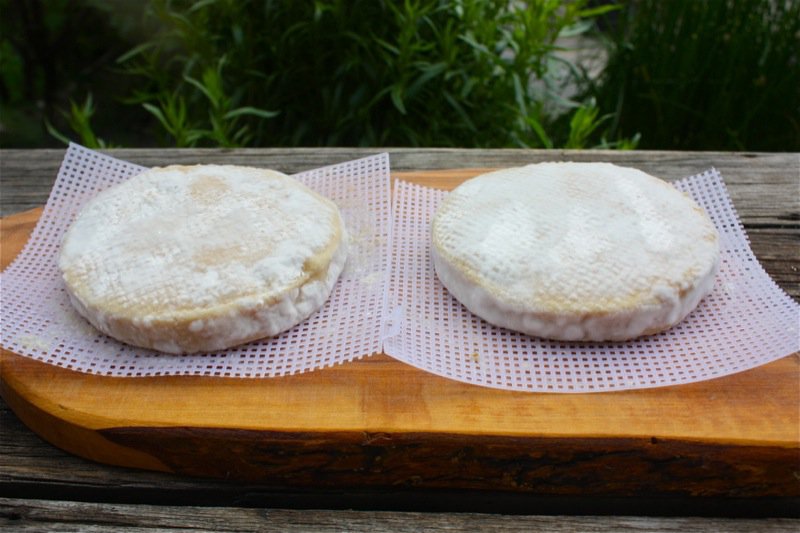
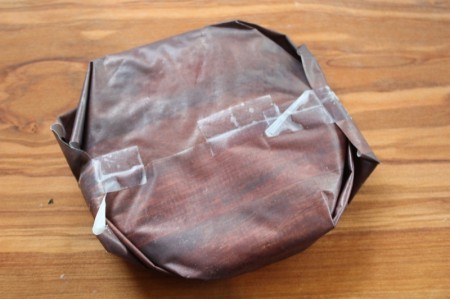
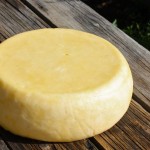
The white mould definitely did not appear with the blanket of fuzz I expected, but I had waited a little over the window of time for it to do so, therefore wrapped it up to finish the final aging process.
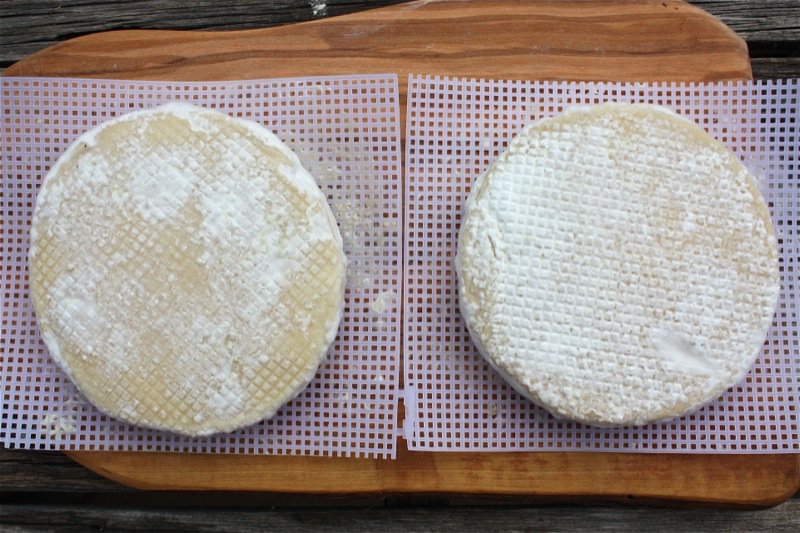
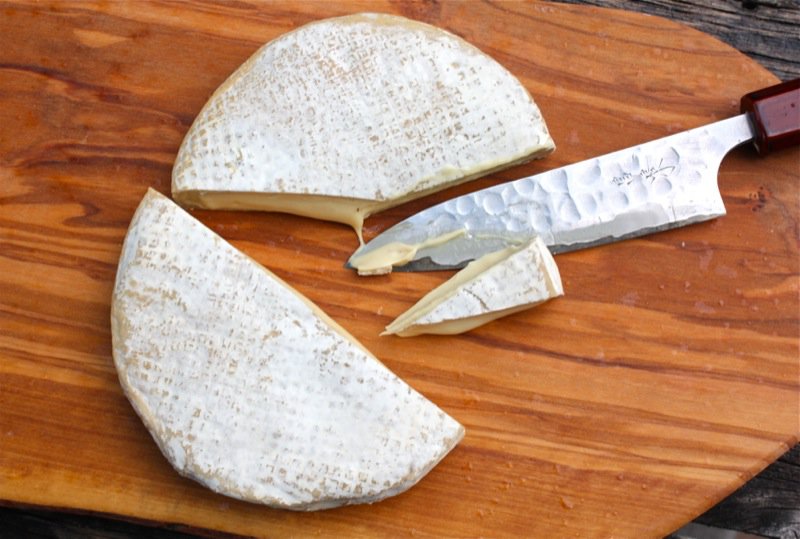
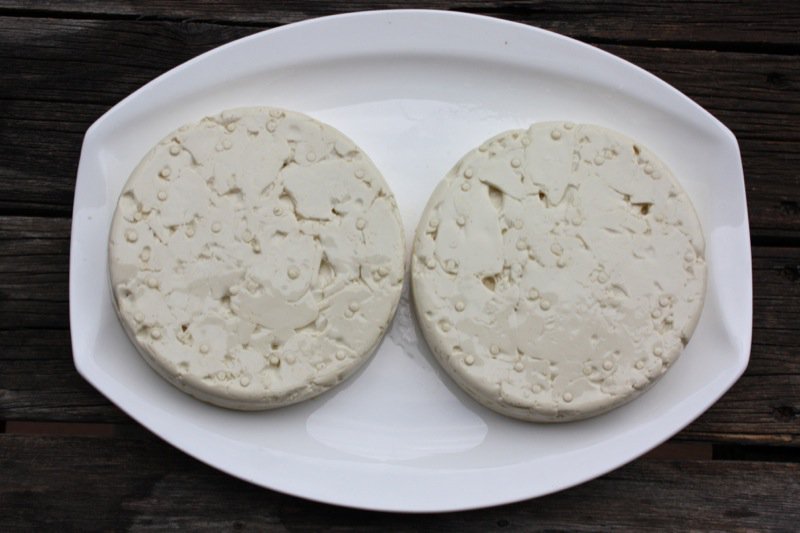
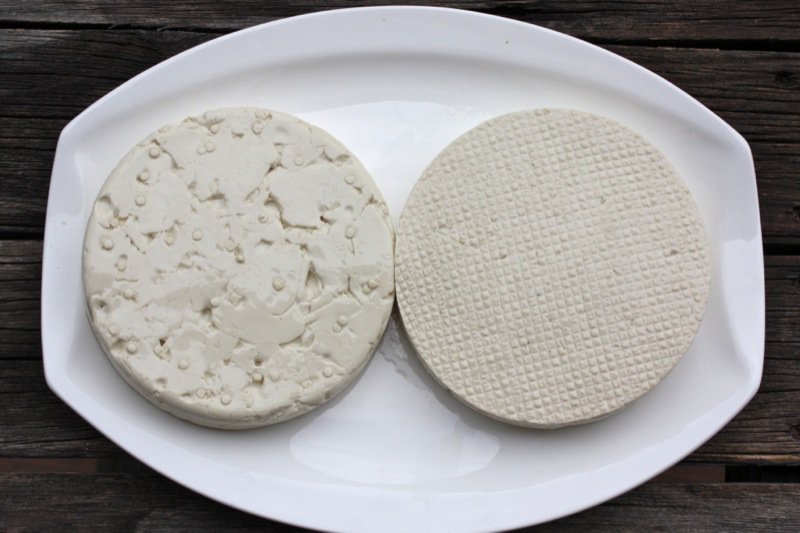
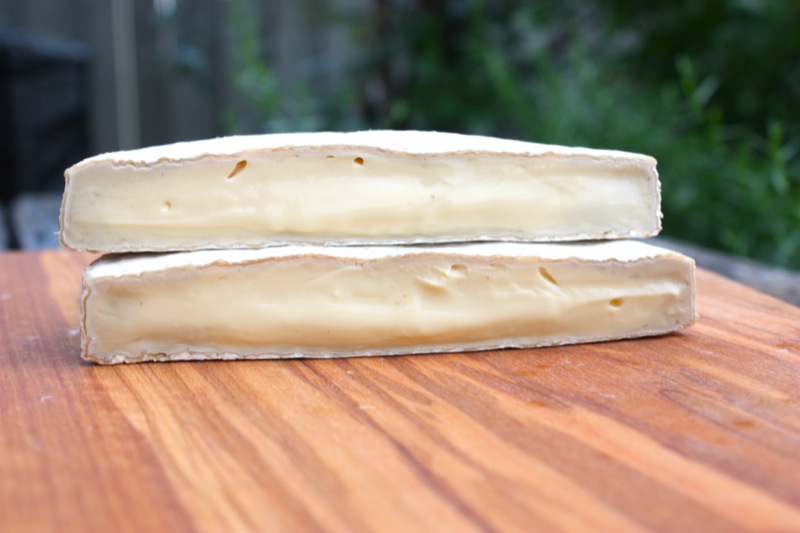
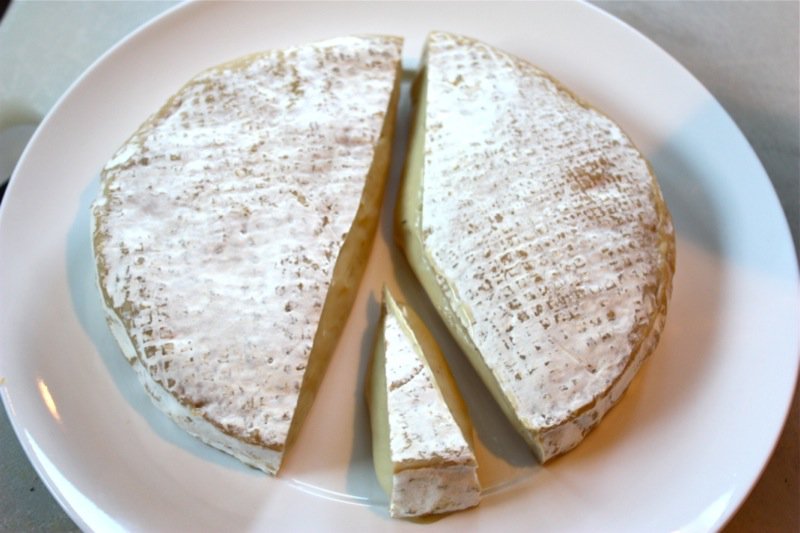
I opened this cheese 2 weeks late, though instructions are clear: do not age longer than 6 weeks. Mine was aged 8. One is clearly past due, and the other was perfect. I have no clue why: like two children from the same mother, fed the same, raised the same and loved equally, each turned out completely different.
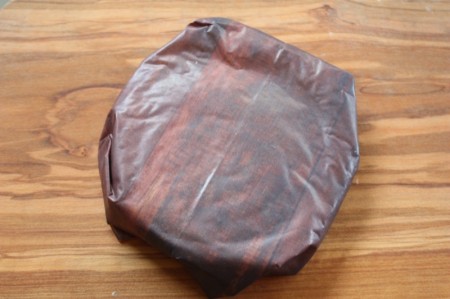
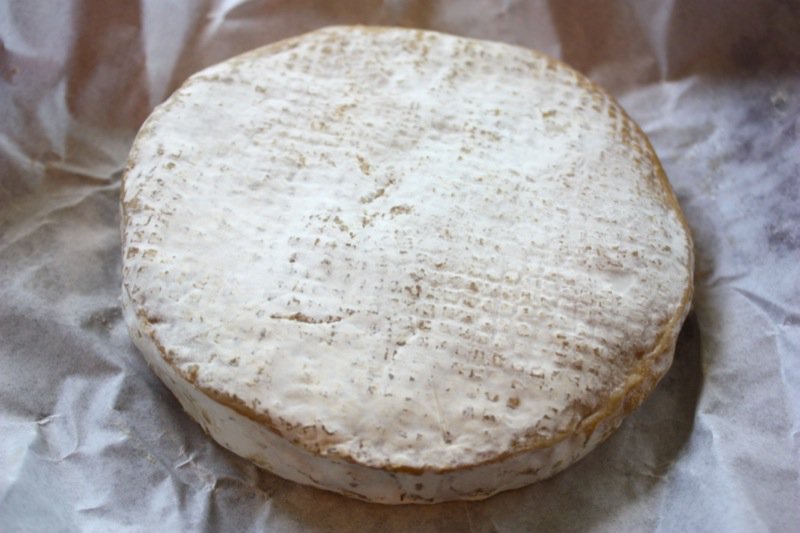
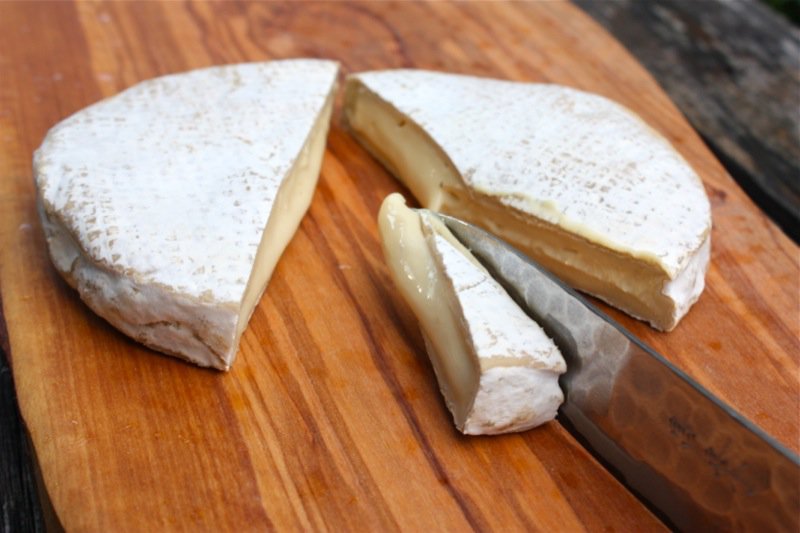
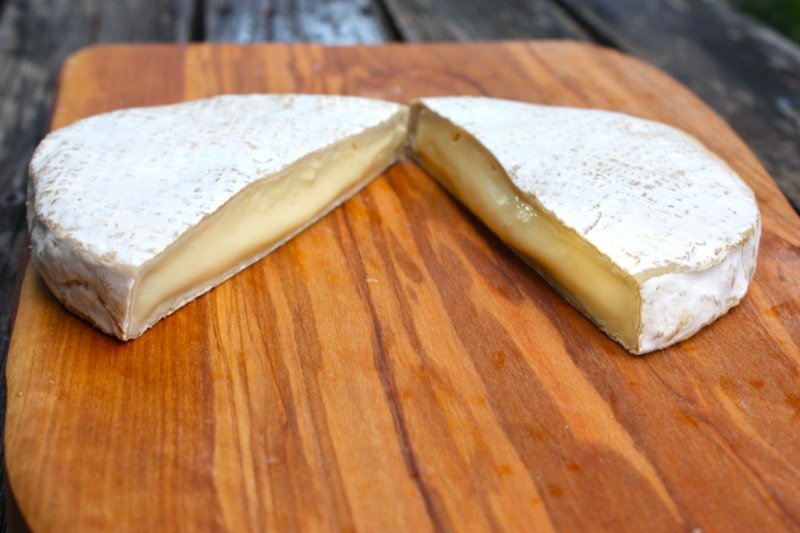
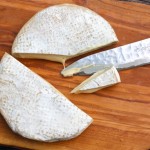
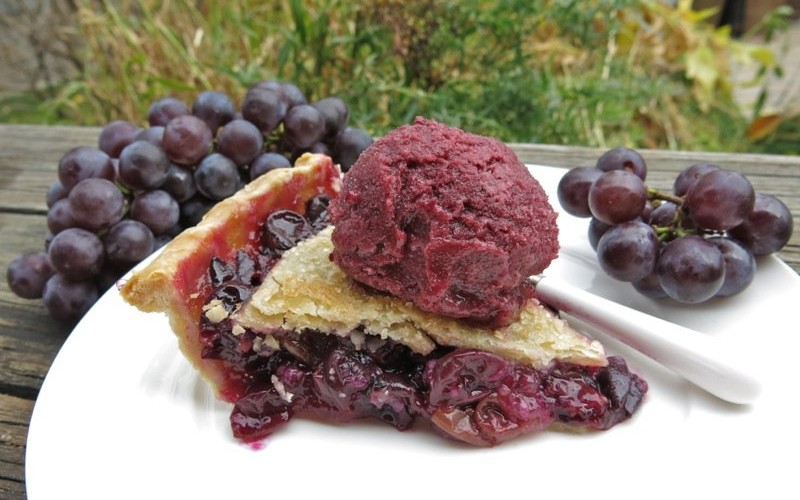
The earthy Porcini orchestra started to play as I unwrapped the paper… intoxicating. Though the photo below reveals a whitish center, the remaining photos are more accurate. This cheese presented a light golden mushroom interior. Absolutely gorgeous. And scrumptious. I will add that the interior darkened and the photos after the recipe at the end of the post show a considerable difference in the colour of the interior. Very appealing to the palate, but a bit unexpected to see the colour change as significantly.
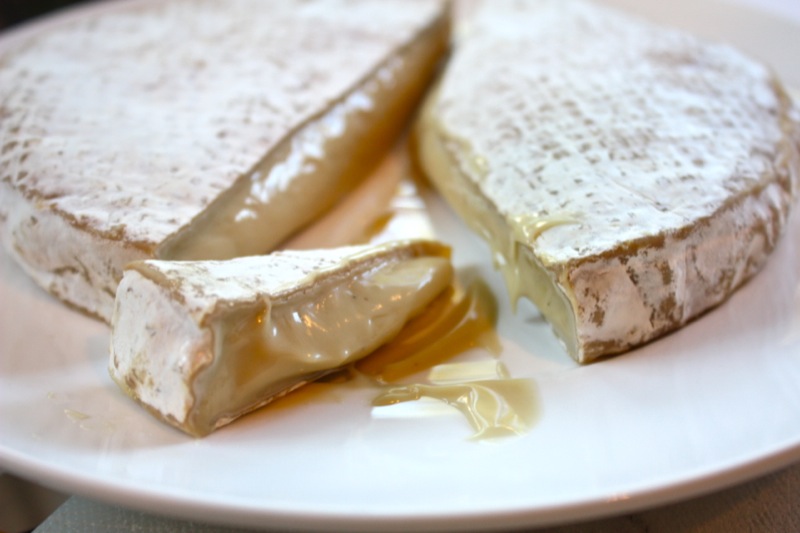
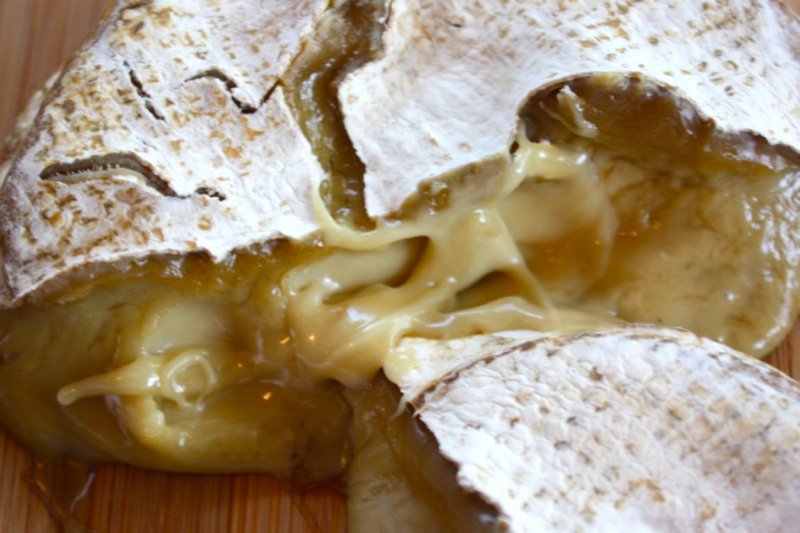
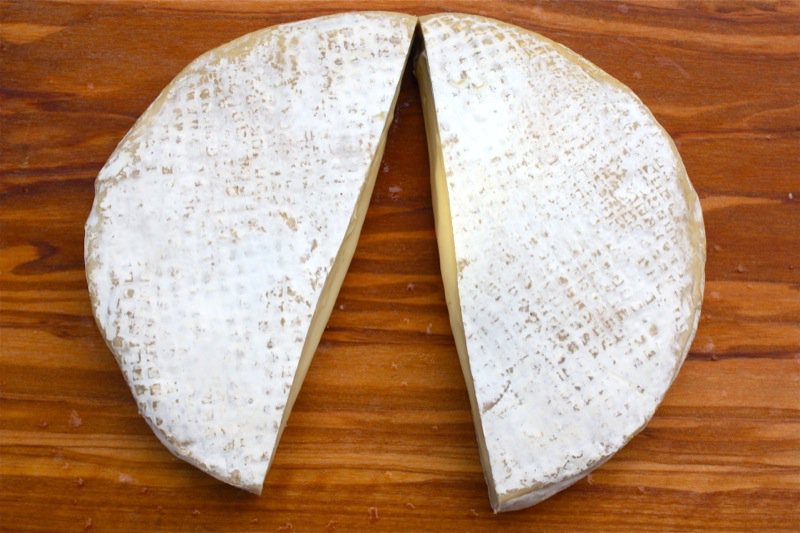
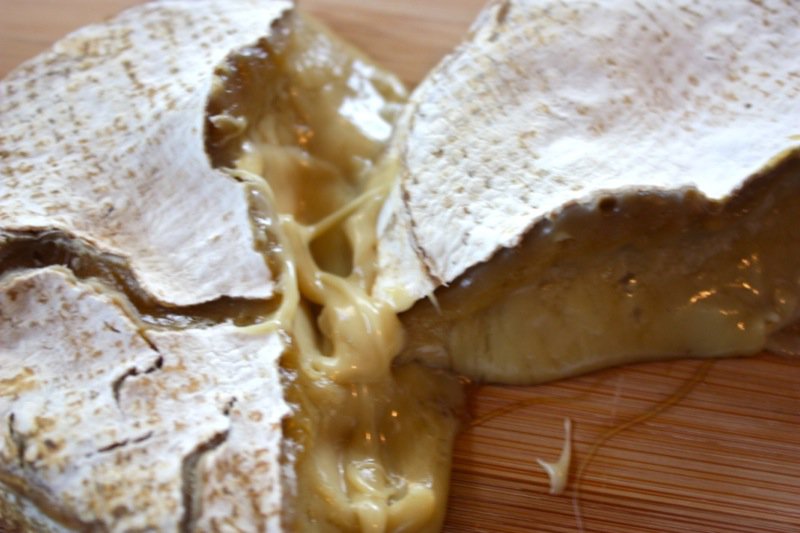
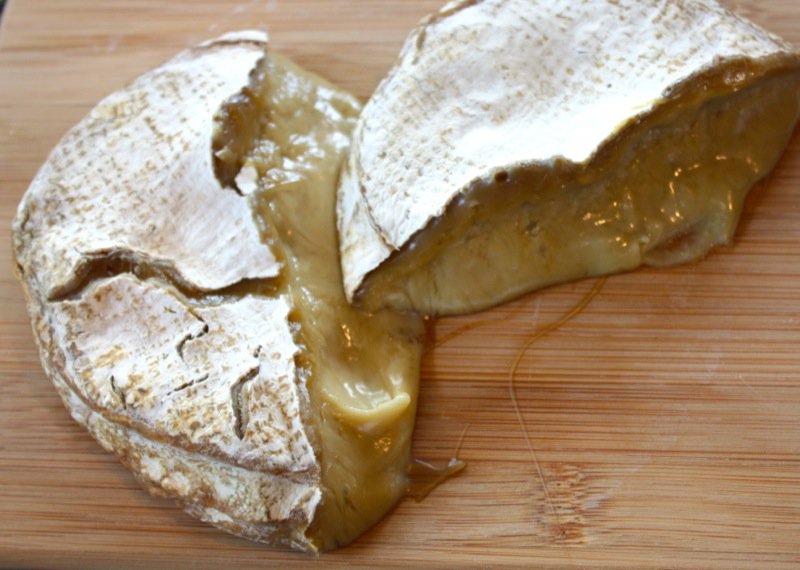
The surprise? The second cheese looked exactly the same on the outside, but felt a bit softer. Instead of cutting it, I broke it open for a photo. It oozed with the dark mushroom caramel you see below. While the above cheese tasted like a Camembert cheese infused with Porcini, the cheese below was not like a Camembert. It held a much more pronounced Porcini flavour and was like a rich, absolutely delectable, mushroom brie sauce. Neither had the aroma bouquet that I was expecting as they had been aged a little too long.
Was it worth the work? Absolutely not. For one time: yes. I learned a great deal. The ripening care this cheese required was intense. Yes, the cheese is spectacular. However, the reason that cheeses like this are made by artisan cheese makers is that they do a lot at once and the time invested is worth it. I am very thankful that I am writing of a success, yet confess that when the rind didn’t bloom, I did lose hope and hadn’t peeked in either package for a couple of weeks.
Tasting Notes for Homemade Camembert: Porcini Infused :
- Appearance: fuzzy whitish rind that is thin, and edible; interior is an unexpected warm golden tan colour with a soft butter cream looking texture
- Nose (aroma): gentle musky earthy umami inducing creamy mushroom scent
- Overall Taste: a luxurious and luscious, unctuous pleasure with a defined porcini je ne sais quoi coupled with an ever so slight tang
- Sweet to Salty: salty
- Mild (mellow) to Robust to Pungent (stinky): mild, unless aged too long
- Mouth Feel: (gritty, sandy, chewy, greasy, gummy, etc.): thick ooey-gooey and smooth
Homemade Camembert: Porcini Infused
Ingredients
- 1 litre of distilled water
- 1/2 teaspoons cheese salt (Diamond Crystal)
- 1 pinch of Penicillium Candidum (Pen C)
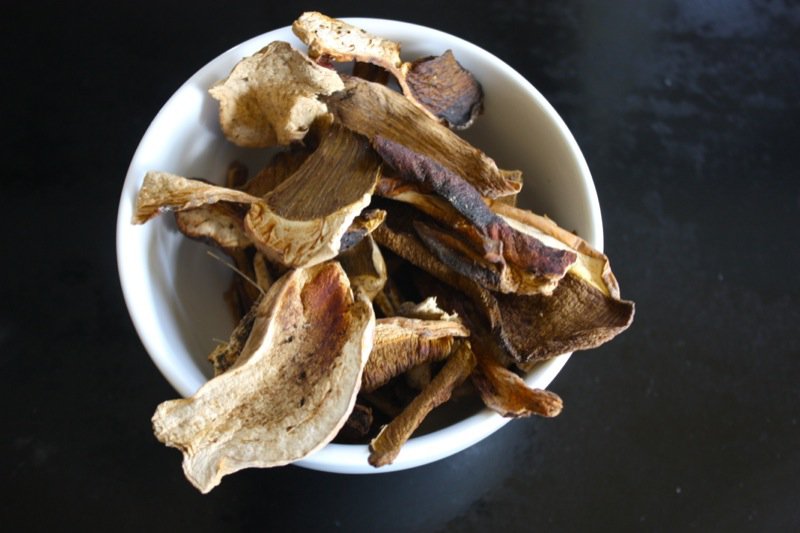
- 1/2 ounce dried Porcini mushrooms
- 4 litres whole milk
- 1/4 teaspoon MM100 mesophilic starter
- 1/8 teaspoon Penicillium Candidum (Pen C)
- 1 pinch of Geotrichum Candidum (Geo) 15 mold powder
- 1/4 teaspoon Calcium Chloride diluted in 1/4 cup distilled water
- 1/4 teaspoon calf rennet diluted in 1/4 cup distilled water
- 4 teaspoons cheese salt (Diamond Crystal)
Materials Needed:
- thermometer
- 2 four inch Camembert moulds
- large non-reactive double boiler
- draining mats
- 1 litre spray bottle
- ripening box etc.
- slotted spoon
- long offset spatula for cutting the curd
Instructions
- The night before, or 12 hours before, combine a pinch of Penicillium Candidum (Pen C) and 1/2 teaspoons cheese salt (Diamond Crystal) with 1 litre of distilled water into an atomizer, or spray bottle and store in a cool place (50-55°F)
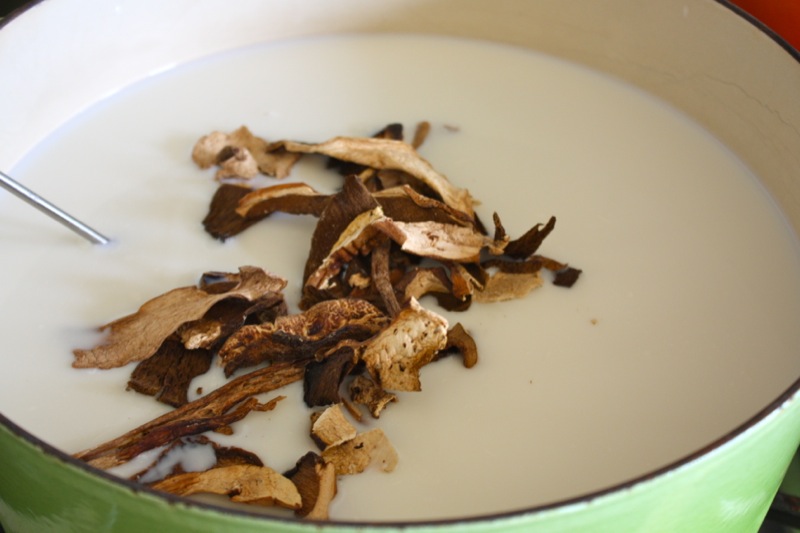
- Stir the dry mushrooms into the milk (in a non-reactive 6 litre stock pan); heat over low to 110-112°F)
- Turn off the heat and maintain the temperature for 55 minutes: Le Creuset pots are perfect as they retain the heat
- Stain the milk into a clean bowl through a very fine mesh strainer; press on the mushrooms to squeeze out the last bit of liquid and discard (I added mine to the evening gravy)
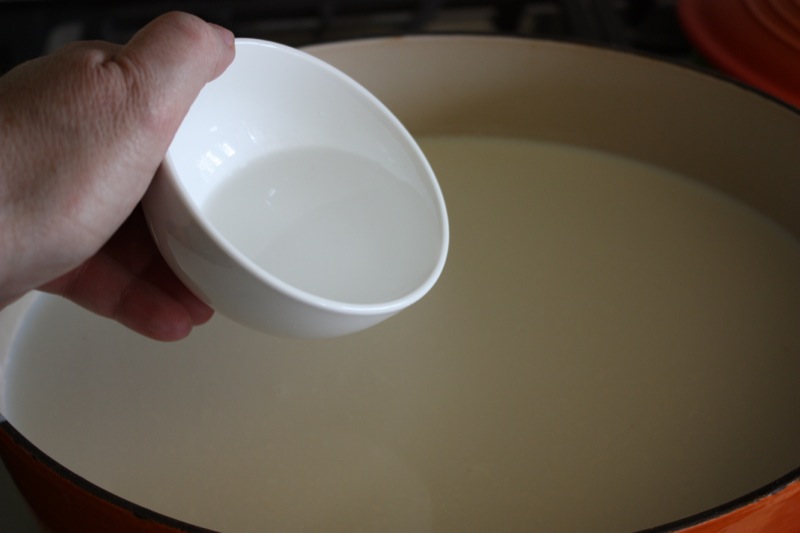
- Cool the milk to 90°F (this took a good 45 minutes for me); sprinkle the mesophilic starter, 1/8 teaspoon Pen C and a pinch of the Geo over the milk surface
- Let rehydrate for 5 minutes; mix well using an up and down motion to fully incorporate
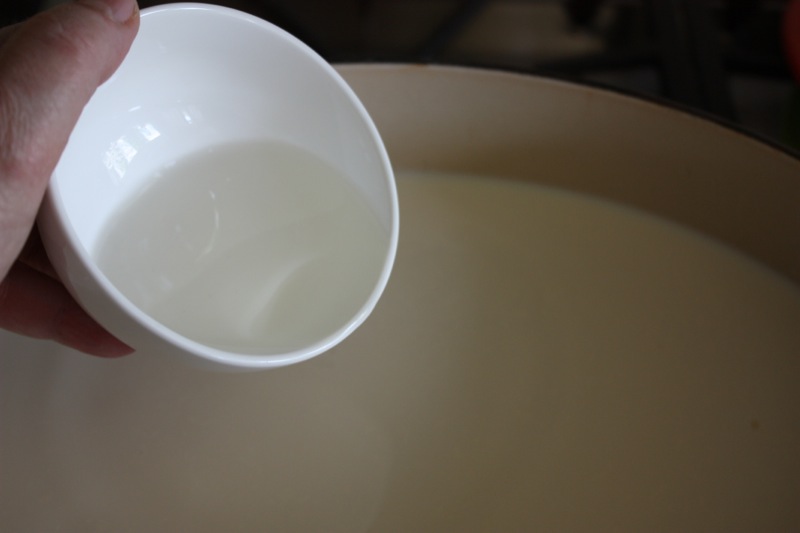
- Add the calcium chloride; gently whisk to incorporate and do the same with the rennet (calcium chloride must go first)
- Cover and sit, maintaining a temperature of 85°F for 90 minutes, or until the curd gives a clean break
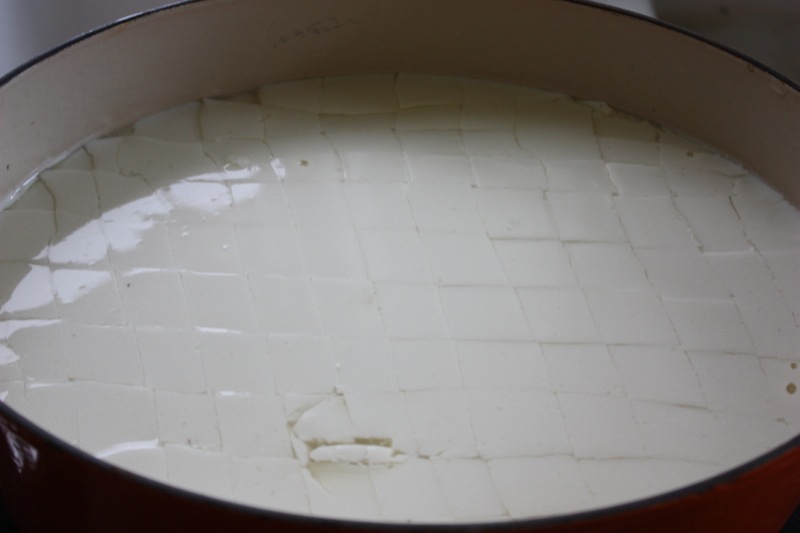
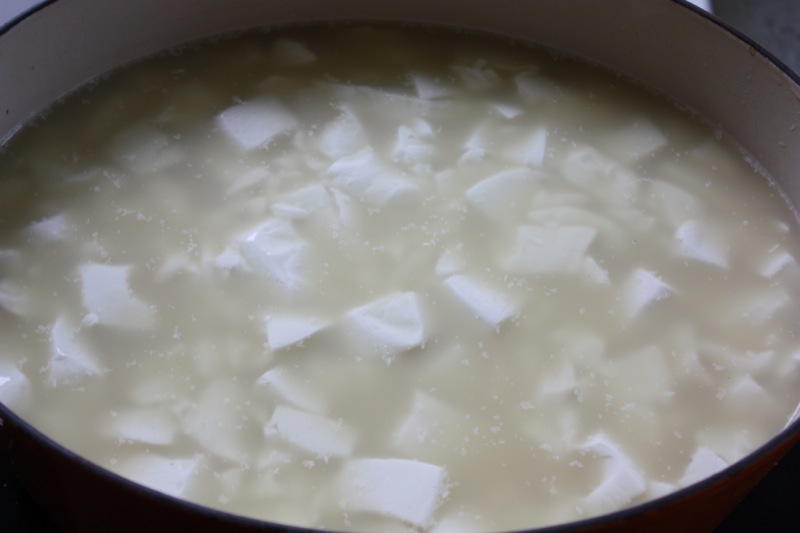
- Cut the curd into 1/2 inch squares; let sit for 5 minutes to firm up
- Gently stir around the edges of the pot, using a rubber spatula, for 5 minutes to shrink the curds and keep them from matting
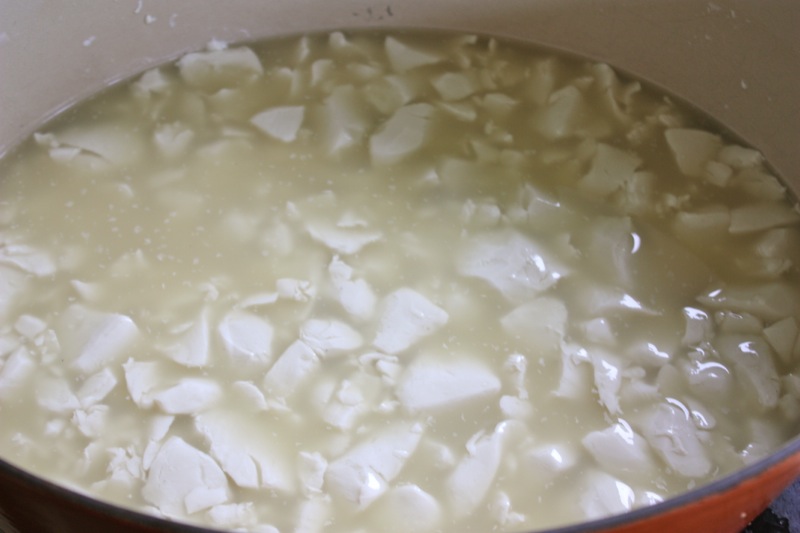
- Rest the curds for 5 minutes; then will sink to the bottom
- Set out the two 4 inch Camembert molds over a mat on top of a cutting board in the sink
- Ladle off some of the whey, then gently ladle the curds into the moulds
- Drain for 2 hours: the curds should reduce to half the height of the mould
- Place a second mat covered by a cutting board over the moulds; flip the two moulds holding the cutting boards firmly in place to support both moulds
- Let drain for 2 more hours; flip back into their moulds: curds should be 1 1/2 to 2 inches high
- Cover with a tea towel; drain at room temperature for 8 hours, or overnight
- Flip again: drain for 2 more hours
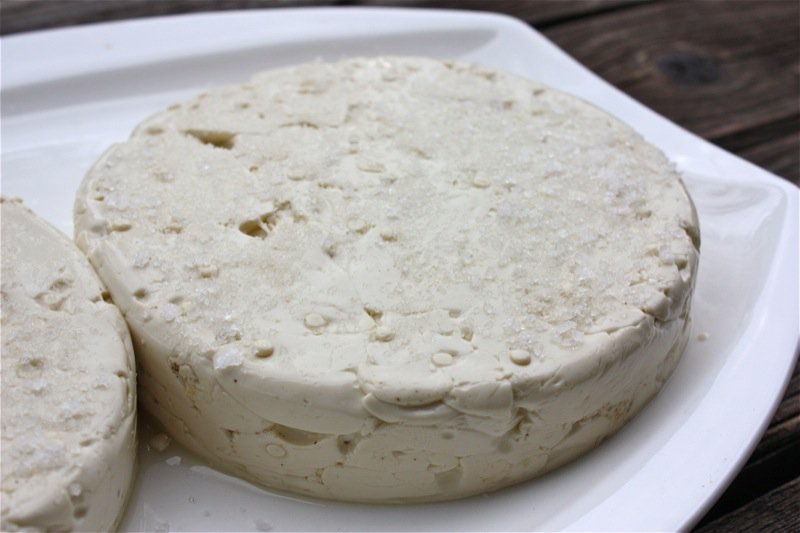
- Remove the moulds; sprinkle 2 teaspoons of salt over the top and sides of both cheeses; rest for 10 minutes for salt to dissolve
- Spray lightly with the mold solution
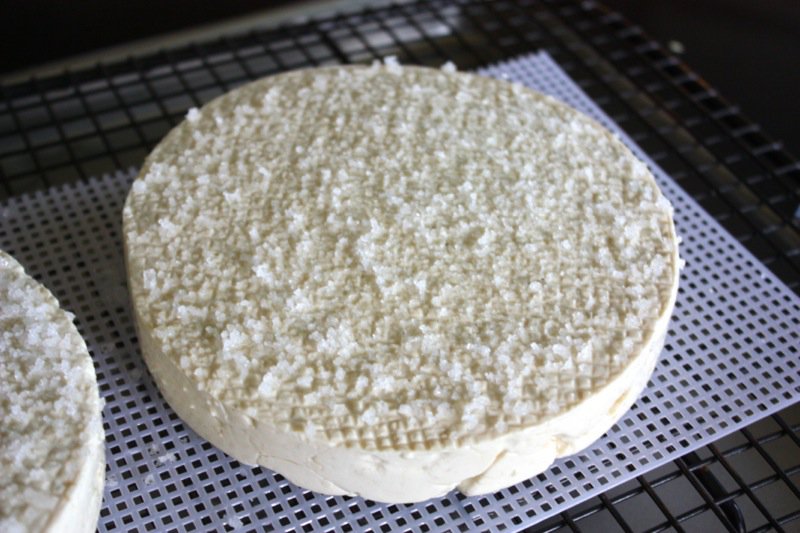
- Place cheeses salt side down on a clean mat in a ripening box; salt the other side, using the remaining two teaspoons of salt
- Cover the box, with the lid ajar for air circulation; ripen at 50-55°F at 90% humidity (water in the bottom of the ripening box works well, as long as not touching the cheese)
- Flip cheeses daily, removing whey and accumulated moisture; keep covered to maintain high humidity
- After 5 days, the first signs of white fuzzy mold will appear; continue to flip daily
- After 10 to 14 days, the cheeses will be fully coated in white mold; wrap loosely in cheese paper and return to the ripening box 50-55°F at 85% humidity
- Within 1 week, the cheeses will begin to soften; after a total of 4 weeks from start of ripening, move the cheeses to the refrigerator, until they reach the desired ripeness
- Do not age longer than 6 weeks.


Wow,wow, wow! Valerie, I am really impressed with your cheese making skills! I feel like grabbing a hunk of bread and dipping right into those gorgeous photos!
Well….wish you could, as it is absolutely addictive, and I won’t be making it again. But YUMMMMM! I love to share!
🙂
V
This looks so creamy and good!!! I think I’m going to ahve to run to the market and buy some gourmet cheese today…
~Andrés
Andrés!
So true! I will always be seeking a mushroom infused cheese after making this one.
🙂
V
I certainly am impressed with all of the cheese-making going on there! I love soft cheese and the sound of the porcini in this one sounds wonderful!
Susan,
It was scrumptions. I assume you saw the Cheese Tasting post with the two boys? That was SO much fun, too!
🙂
V
I’ve made 5-6 one-gal batches of plain camemberts since December, and have discovered I prefer using four smaller molds called St. Marcellins rather than the much wider half-brie (pictured above) or the traditional cam molds. This smaller size drains better, takes less room in an aging box, ages more evenly, and at 6-8 oz is easier to consume within a shorter period of time while the others keep fairly well in their wrapping. Also, they make wonderful gifts… AND being self-contained, are easier to part with than larger ones. 😀
I believe I use the smaller moulds, too, Jenny. It may appear larger, but my brie moulds are small. I completely agree with your reasoning and that is why I use them, too.
🙂
V