Classic Concord Grape Jam made in the Thermomix (and without!)
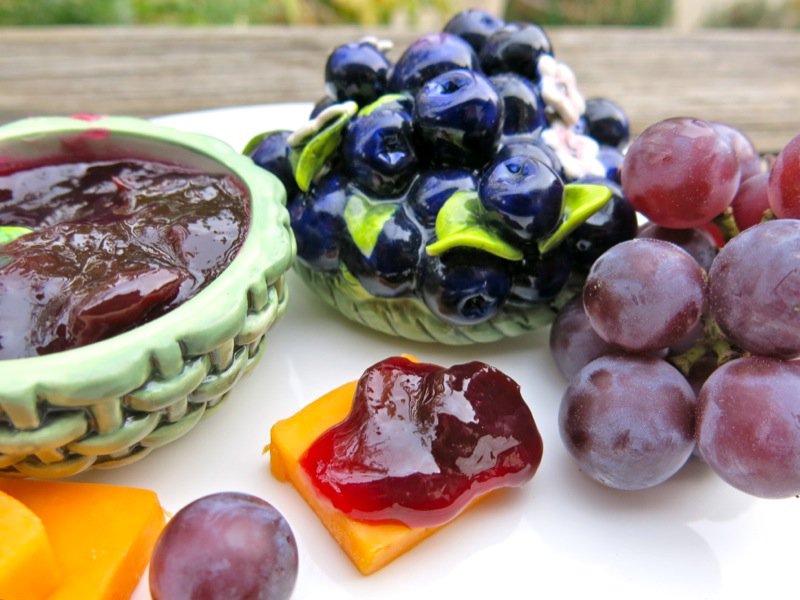
 It won’t be a sophisticated pairing like a Piave Vecchio with a bold red or a bubbly bright white, yet it is as satisfying a pair as peanut butter and banana or a hot dog with mustard. Cheddar and grape jam lighten and brighten one another and make me smile. When I taste the sweet zing of the grape coupled with that little tenor tang of the cheddar, I remember when. The texture of the thick jelly-like grape jam wraps around the unctuous velvety-sharp milky curd and spells c-h-i-l-d-h-o-o-d pleasure. Yabba-dabba-doozie!
 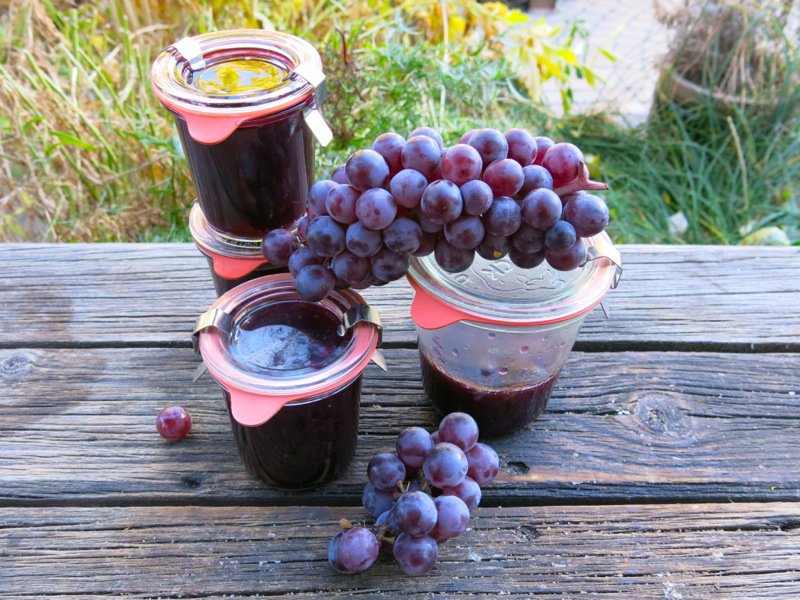 Otherwise, I really don’t eat jam. Really. I do enjoy the flavours and tastes and textures of preserves, but day in and day out, though my fridge is packed to the bring with all sorts of concoctions, I just don’t eat them. However, I had to make Classic Concord Grape Jam. Just once. Maybe more. But, at the very least, once. And play with dolloping generous spoonfuls of it on top of slices of cheddar…. and eating each one, after the other…mmm….
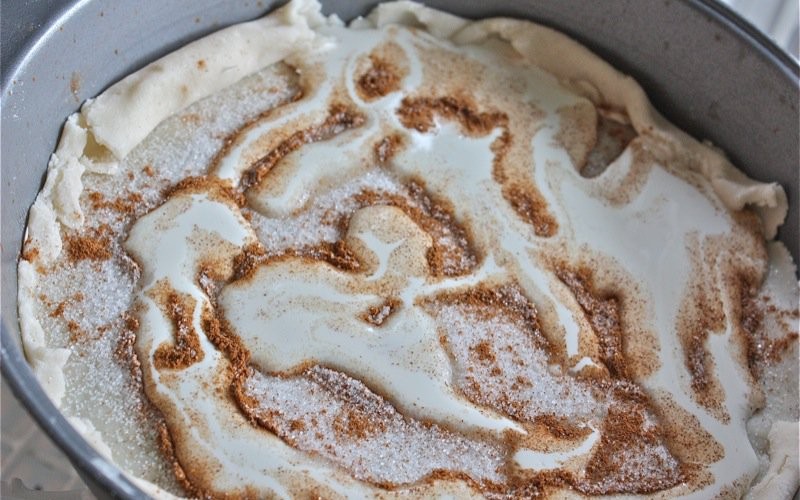
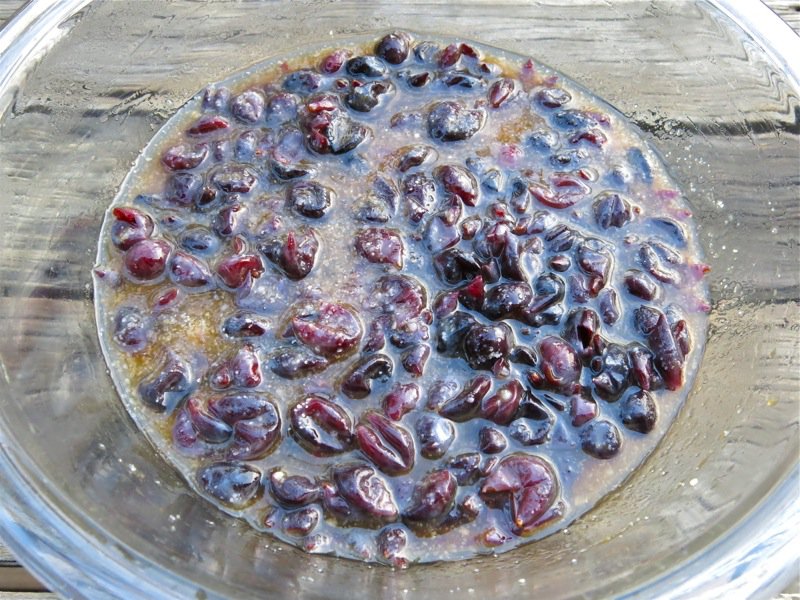 Above, the Concord grapes are prepared for the recipe as explained in depth previously, and below, 500g of the preparation is placed in the Thermomix bowl.
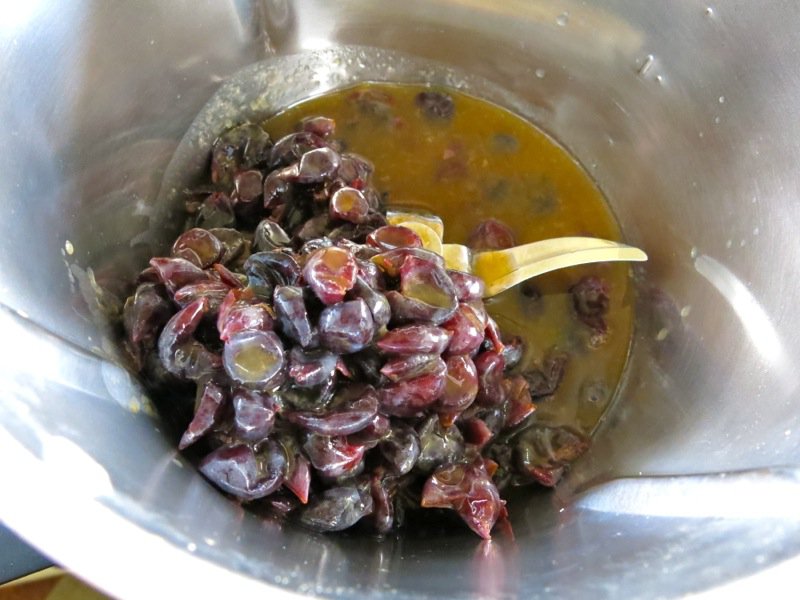
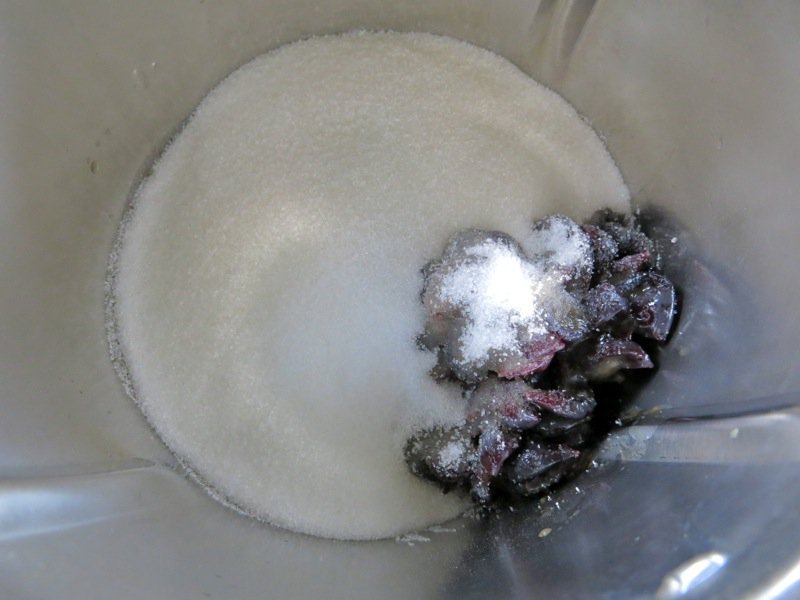 Sugar and lemon juice are added and then cook at a low boil for 20-25 minutes until jam is set. Yes, it is that easy. The Thermomix machine makes up to 2 litres of jam at a time, almost effortlessly. I used to make bigger batches, so didn’t use the machine, but that was silly. Even making bigger batches, using the machine twice makes a lot more sense than standing by the stove stirring constantly for almost 30 minutes. However, I have enjoyed doing that for many years. I am just happy I can walk away, now.
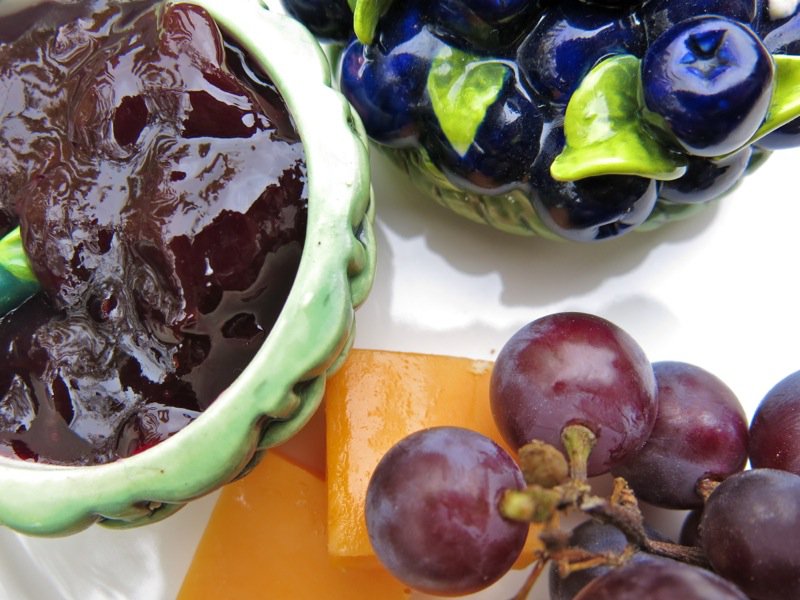
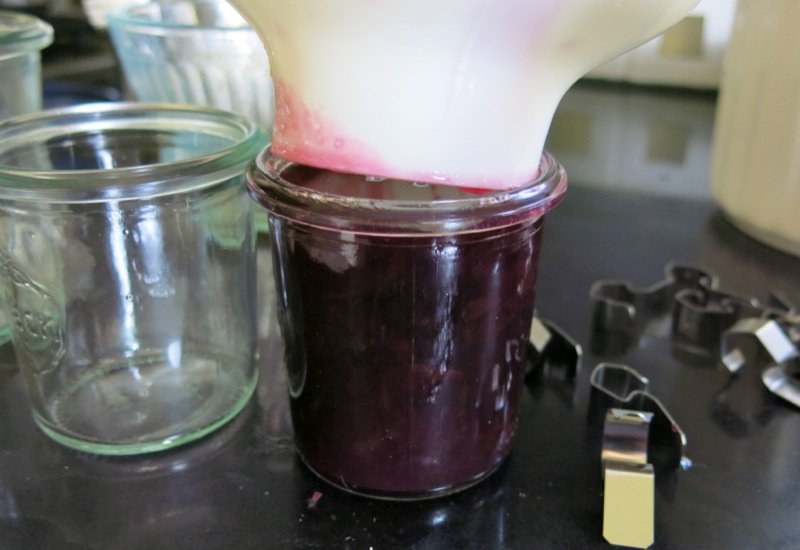 I wanted the Classic Concord Grape Jam chunky. I love to chew the skins in the jam. Jelly is to be clear and free of texture. Jam is all about texture. Especially Classic Concord Grape Jam.
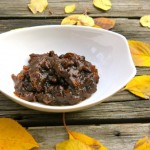
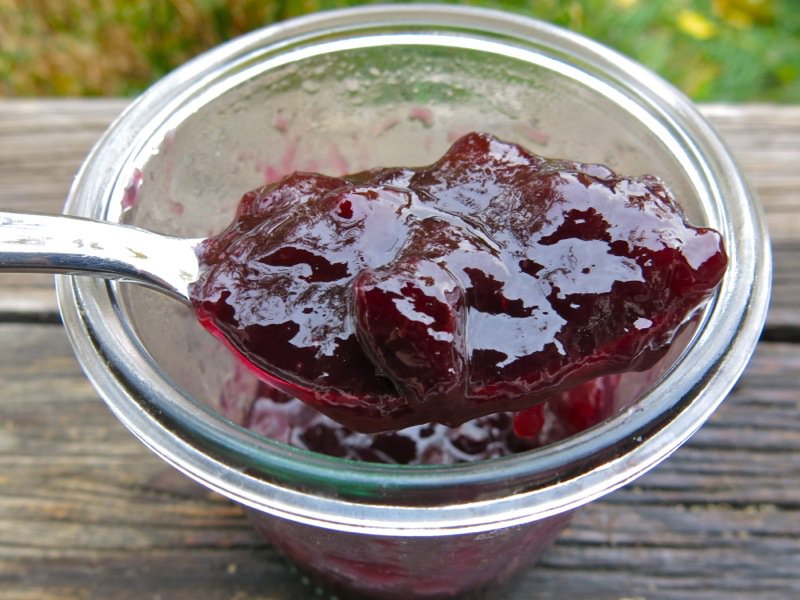 Home alone, I have so much fun playing with my food. I imagine finger painting with grape jam on my newly painted yellow walls. Instead, I plop little mounds on little squares of cheddar. Plop! Plunk! I pick out a grape skin and smack it between my lips, then chew to savour the grapey goodness. Is that not a gorgeous looking Classic Concord Grape Jam, above?
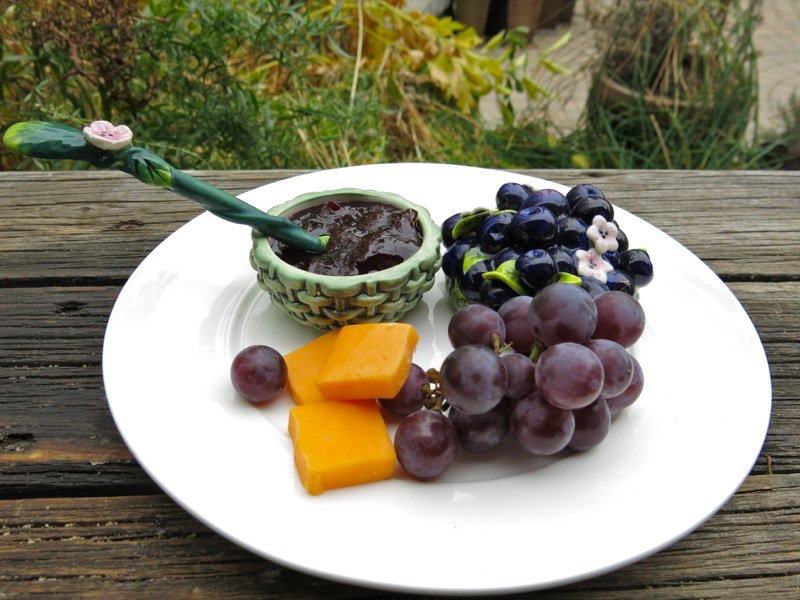
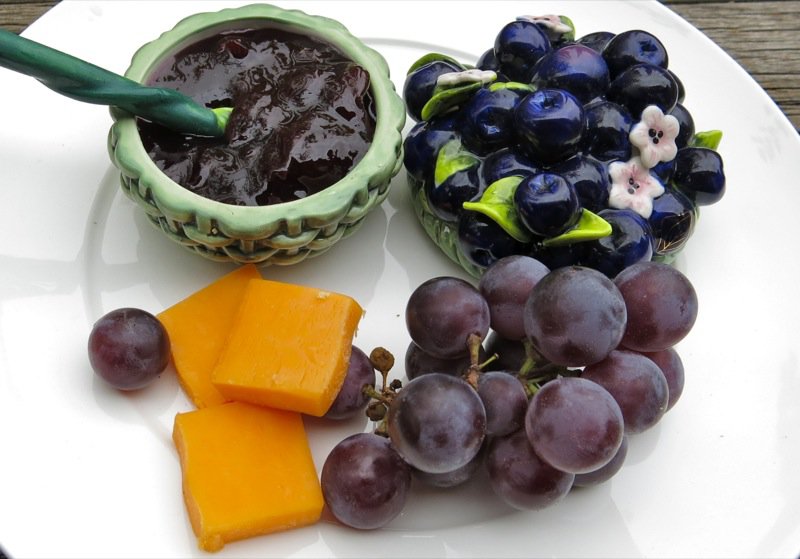 I examine the plate like I did as a child. From near, and far. Above and below. Over and under. In and out. Pushing and pulling and rearranging. I want to paint this plate. The colours are vivid and vibrant and full of humor and the harvest and wonder. Haven’t you ever wondered how it is that grapes grow in such perfect clusters? They are marvels of nature.
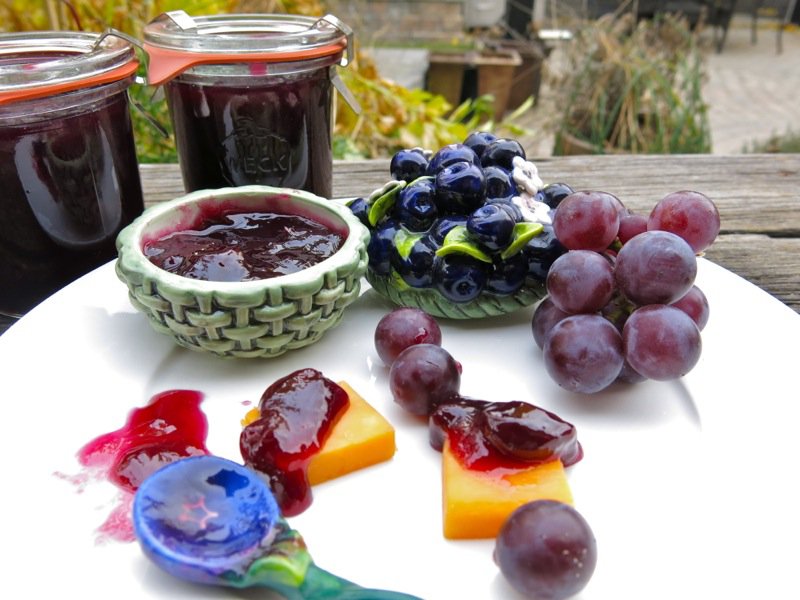
Grape Jam just makes me happy. Especially Classic Concord Grape Jam that I make myself.
Classic Concord Grape Jam
Yield: 2 cups This is effortless in the Thermomix - after preparing the grapes! Instructions without are also included, and it is a straightforward jam
Ingredients
- 500 g prepared Concord grapes
- 1 1/2 cups sugar
- 2 tablespoons lemon juice
Instructions
Prepare the Grapes:
Instructions for the Jam without the Thermomix:
- Add the sugar to the grape mixture and stir until dissolved; add lemon juice
- Bring to a boil, reduce to simmer; stir constantly (skim foam, if necessary)
- Jam should be set in about 15 minutes
- Fill jars with hot mixture, leaving ¼ inch heasdpace
- Wipe the rim clean, centre lid on jar and screw to fingertips tight; do not over tighten
- Store in fridge for up to three months, or process
Instructions for the Jam with the Thermomix:
- Scale all ingredients into TM bowl on R(reverse); set time for 25 minutes, temperature to 100F and speed to 2
- Place teatowel over machine to avoid any splatter; check for set after 20 minutes (cook 5 minutes longer, if needed)
- When set, fill jars with hot mixture, leaving ¼ inch heasdpace
- Wipe the rim clean, centre lid on jar and screw to fingertips tight; do not over tighten
- Store in fridge for up to three months, or process
Processing jam
- Fill canner 2/3 full; bring water to a boil
- Use canning tongs to place jars into hot water; cover canner and bring to a boil for 10 minutes (start counting the 10 minutes when the water starts to boil)
- Turn off heat, remove lid, let the jars sit in water for 5 minutes before removing
- Place jars on a heat-proof surface with canning tongs undisturbed for 24 hours
- Check seals to ensure jars have sealed properly; store in a cool, dark place
How do you know that the jam is set?
- Temperature: apply enough heat to the fruit and sugar to raise the temperature over the boiling point of 212 degrees and alter the structure of the sugar; jam reaches its ideal set point at 220 degrees (a beeping thermometer is great!)
- Sugar: if you reduce the amount of sugar in your recipe too drastically, you may not be able to get your jam to the set point
- Plate Test: take an ice-cube tray (or a frozen plate ready for this test) from the freezer); place a small dollop of jam on it
- After a minute, gently prod the puddle of jam with your finger; if a surface skin seems to be developing a certain solidity, it is done (If it is runny, keep cooking a bit longer)
- Sheet Test: (This is the one Grandma Maude taught me.) Using a wooden spoon, stir the jam and lift it up side ways, or horizontally over the jam and watch the jam drip off of the spoon
- If the drips come together in a fall of the spoon separately, the jam needs to be cooked longer; if the drips join together in a "sheet" or a thick wide drop, the jam is finished
And how about you? Any odd concoctions like cheddar cheese and grape jam that you would like to share? I am all ears!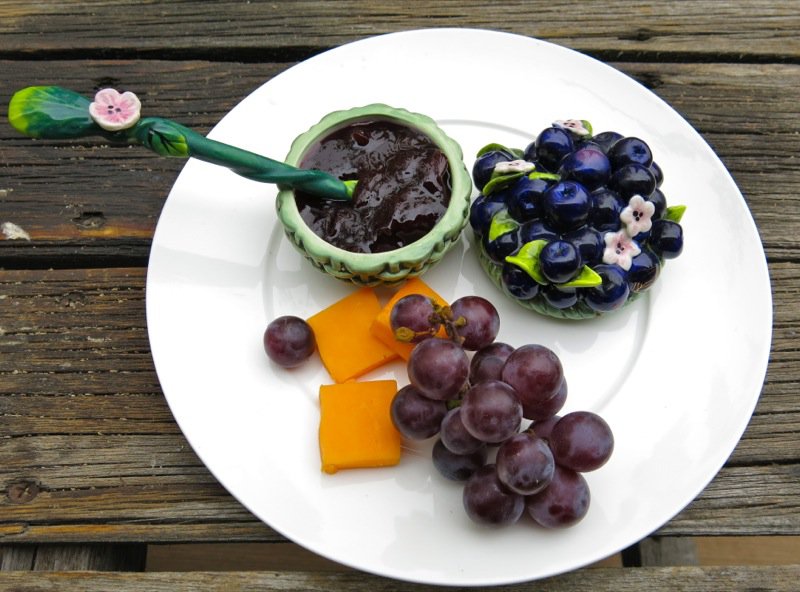


Someone just told me of your blog and also “Cooking With Mr. C.” on Facebook. (also a blog) I just “Liked” his Facebook page and came to your blog. It’s wonderful. I love when people share blogs with each other. Denise
Thank you, Denise! I feel the same way! Hope you like me on facebook, too! Glad you enjoyed – did you sign up?
🙂
V
I agree. Jam is all about the texture and I like my jam with chunky skins. A friend of mine likes hers more puréed. Love that you can control that in homemade jam. I’m now craving scones!
Charmian,
And I am now craving a bit of cheddar with grape jelly.
;0
V
Excellent!
Thanks, Akram!
Valerie