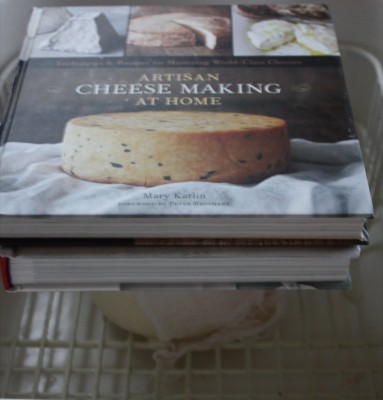
From Page 112 Chapter 3 of Artisan Cheese Making at Home by Mary Karlin

Six months into Cheesepalooza, and LOOK at this, mom! I am SO proud of myself! Who would have imagined that I would be able to make such amazing cheeses within six months! Did I say I was proud of myself? The thrill of this process has not lost its power over my yet. I am so “in”! I made a double batch of Asiago cheese, and peppered by 8 inch tomme mould after filling my smaller Roublichon mould. I plan to age the large one for a year, and you can see the plan for the small one! YUM!.
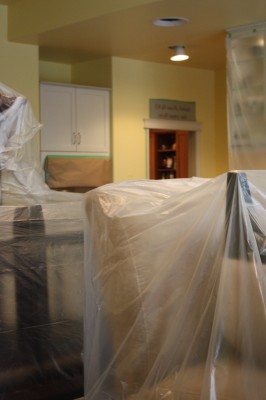
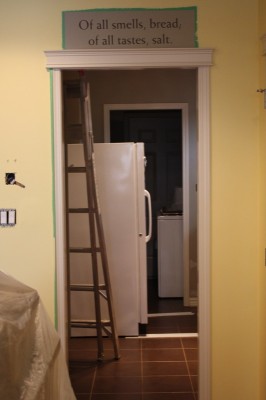
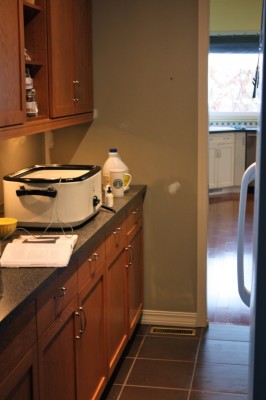
I haven’t eaten a young Asiago anywhere. Asiago Pressato is aged only three weeks and is a lovely smooth, creamy, buttery pleasure. This was my first time making the Cheesepalooza Challenge Cheese alone. The house was getting painted, so I started in what I call my “Butler’s Panty” (no typo), then moved into the kitchen area beside the sink through the morning as the painters finished that area. A dramatic change in colour, which you can see in the third photo, below, as I left a bit of the neutral brown above the door. As I am now home during the day, the colour I had loved for ten years, became oppressive. Yellow! Oh, my! I knew that colour changes in every light and around every corner. What I did not know was that yellow is one of the most difficult colours to choose for that very reason. Suffice it to say, we are repainting. Yup! Gotta sell more Thermomixes to pay for that big error!
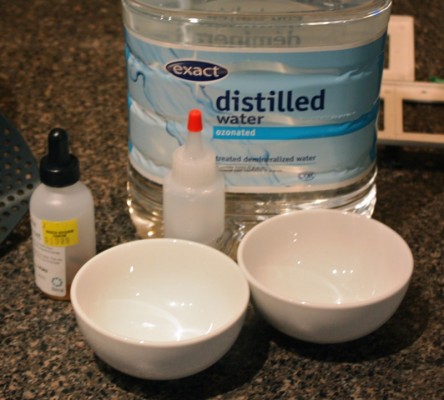
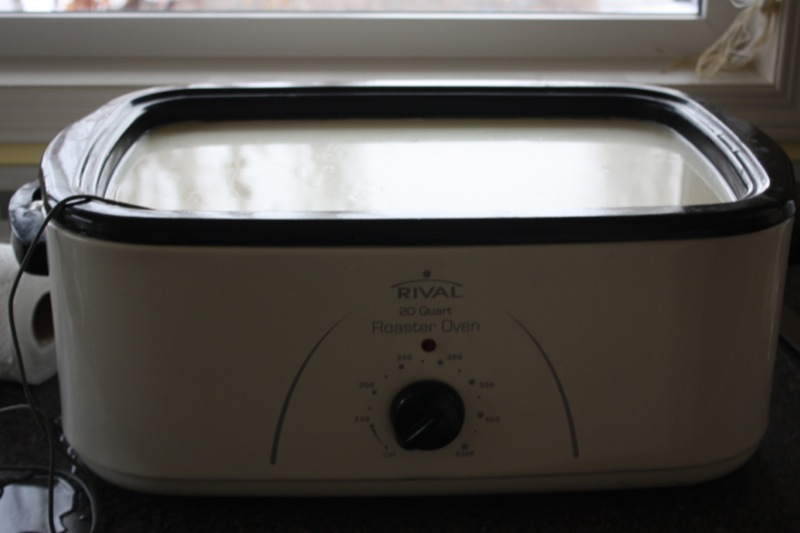
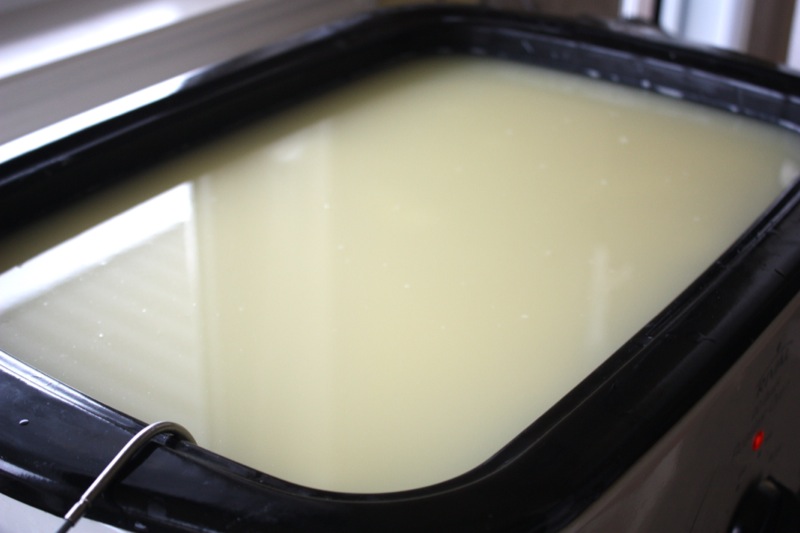
Mis en place, puffy fluffy white snow floating from the grey morning clouds, the house so quiet, with the occasional whir of a roller on the wall: I began. What gorgeous milk today.
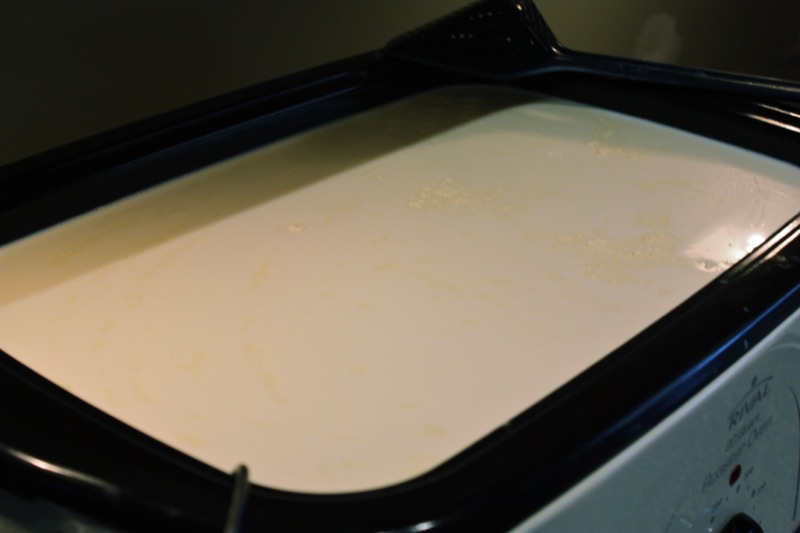
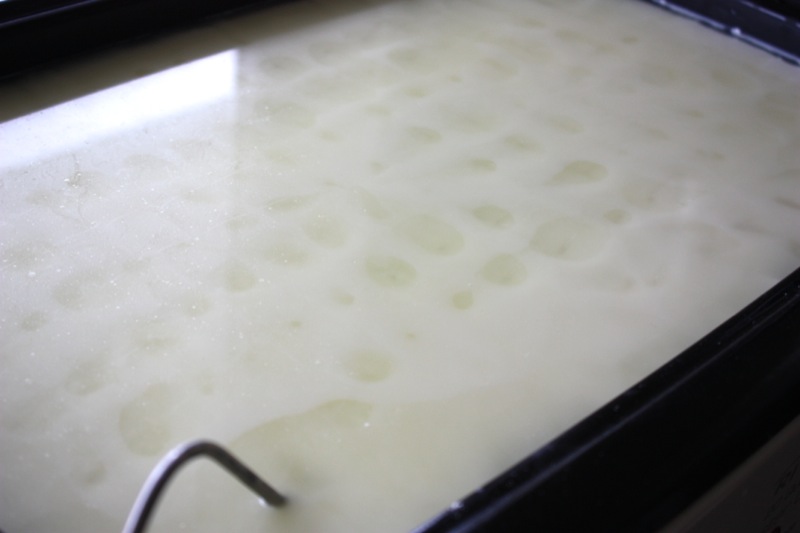
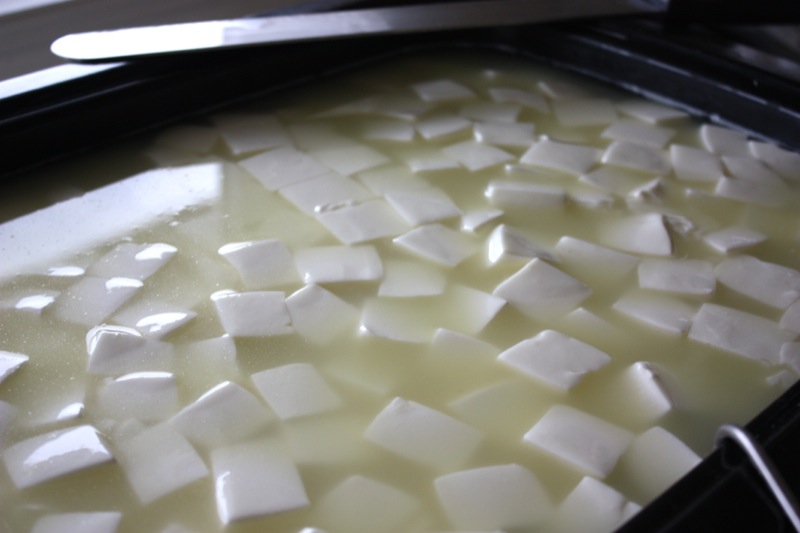
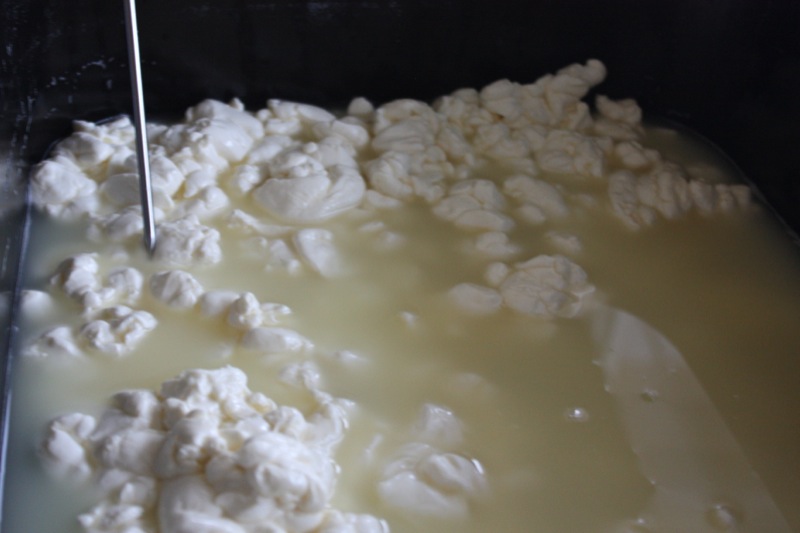
You can see by the light on the vat that I have moved my position and I believe the curd is ready to be cut. I could see the clean break around the thermometer!
Curds settled to the bottom beautifully as they rested.
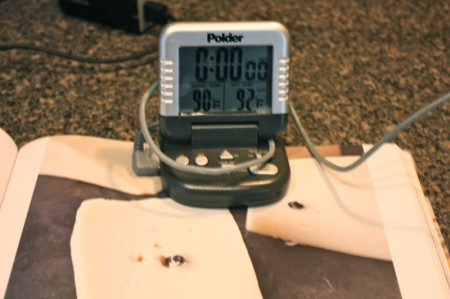
Raising the temperature from 92°F to 104°F over 40 minutes worried me as it is such a low and slow process and this was new to me, but I was in no hurry. I did release the curd from the side of the pan, gave it a very slow stir, then drank my morning coffee and read the paper beside my vat, working on the Suduko and the daily crossword. Every now and then through the 40 minutes of not stirring while raising the temperature, I would work to ensure the heat was evenly distributed by slowly shifting the curd in the vat.
Slowly, slowly. I was in no rush and this is a part of the process I enjoy.
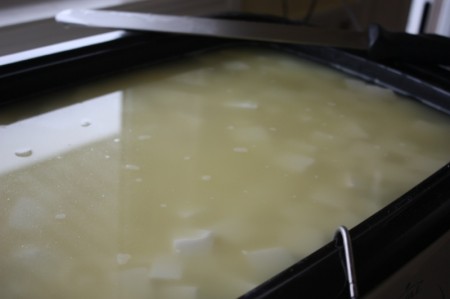
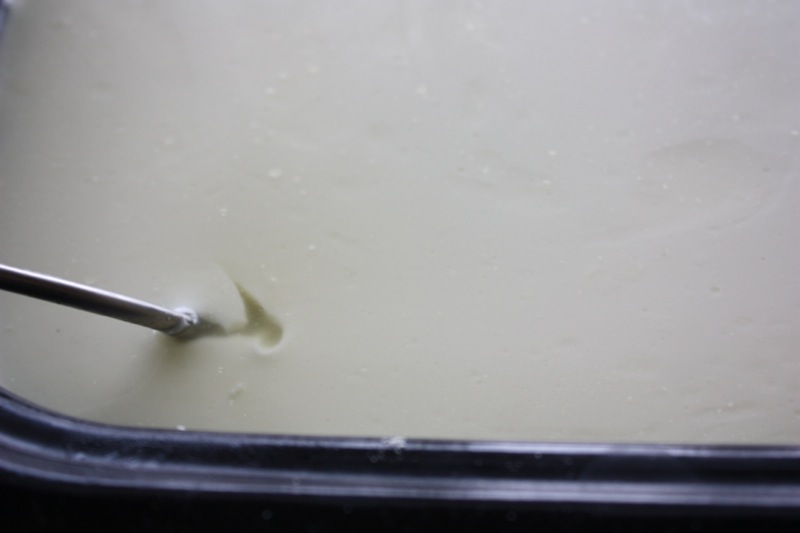
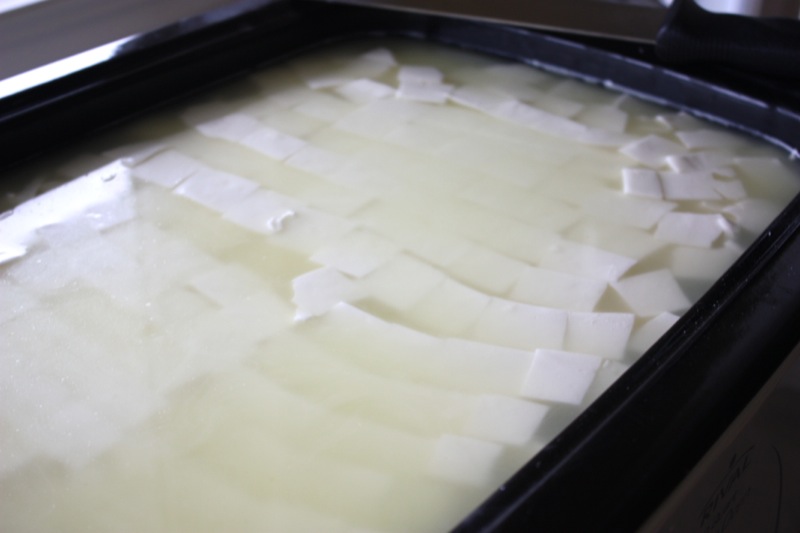
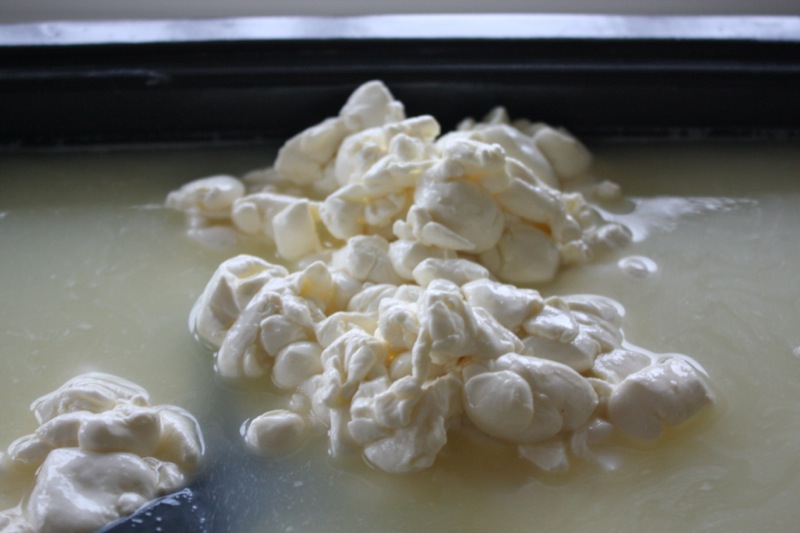
Once the temperature had reached 104°F it was time to stir the curd to release the whey. Fifteen minutes is actually quite a long time to stir. I always set the timer and just work toward the end goal of peanut sized pieces. Stirring and stirring… slowly… slowly. I could see that the heating process had definitely firmed up the curd as the imprint from the back of my stirring spoon was visible, and curds had also begun to mat together, evident in the third photo, below.
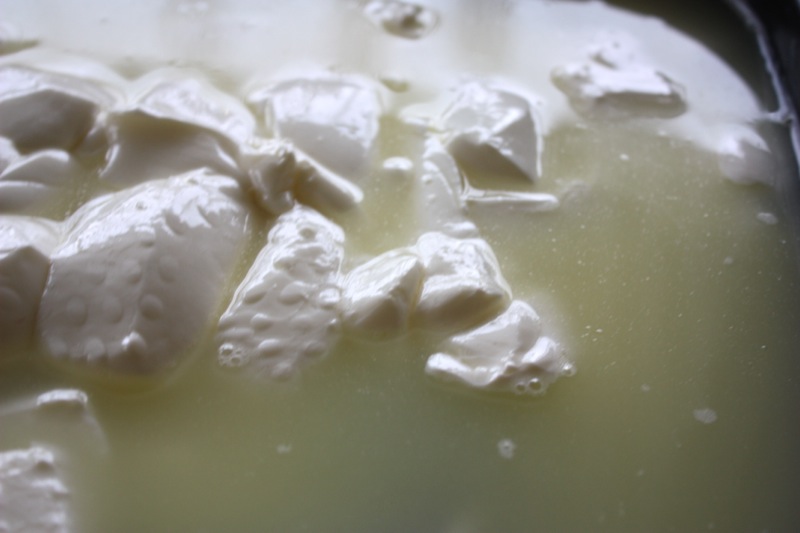
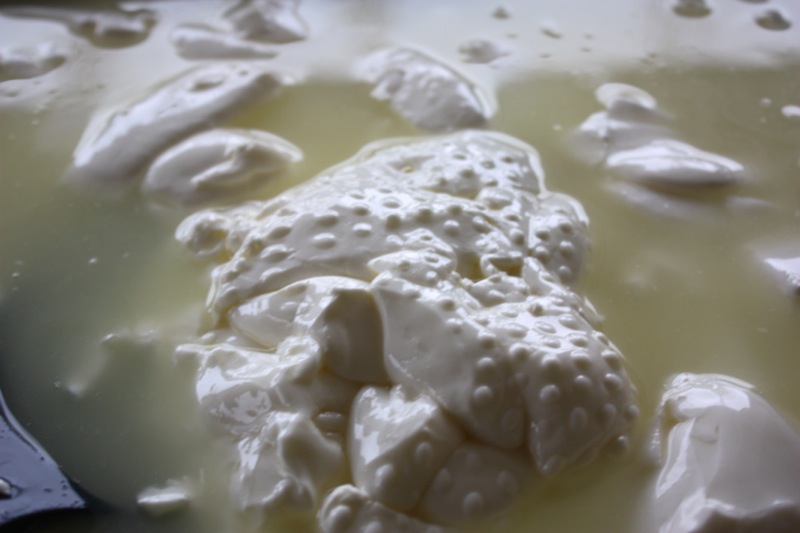
Over the time, and primarily because I do use my hands inside of the vat to stir for part of this process, I was happy with the somewhat “peanut” size or shape of my curd.

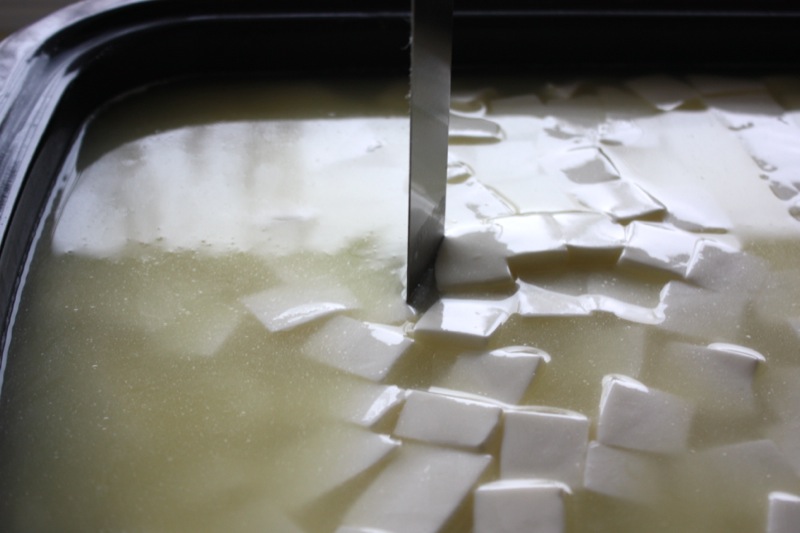
At this point, instead of resting the curd, I continued to stir, slowly raising the temperature to 118°F. There is not instruction on time for this stir. I know slow is important, and if I use the 40 minutes reference for the time allotted to move the curd 12 degrees from 92°F to 104°F, earlier, then 40 minutes seemed like a good guess. However, it took only 20 minutes for me. Why? I am not sure. I continued to stir just with the spoon at this point, as the objective was to “firm up the curds” not to release more whey. I manged the heat control in a similar fashion as I did during the earlier 40 minute interval, but believe that the stirring motion, though steady and slow affected the time, and I just let that happen.
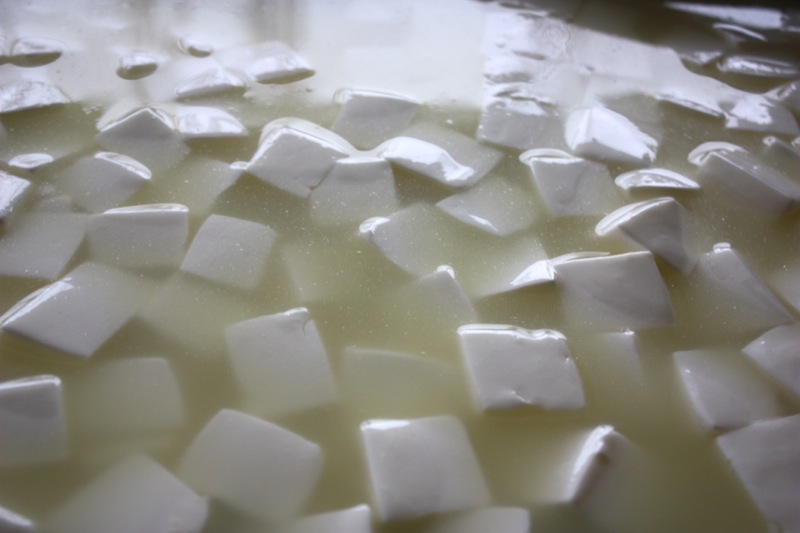
I allowed the curds to settle, covered for 20 minutes.
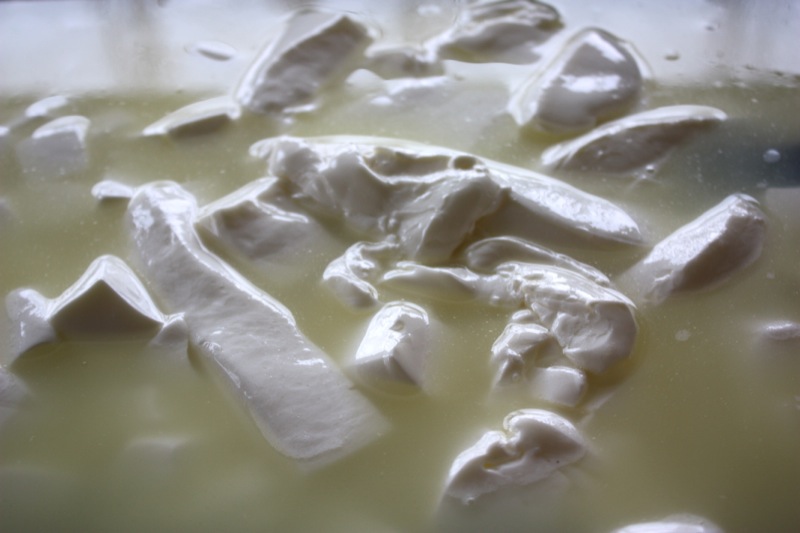
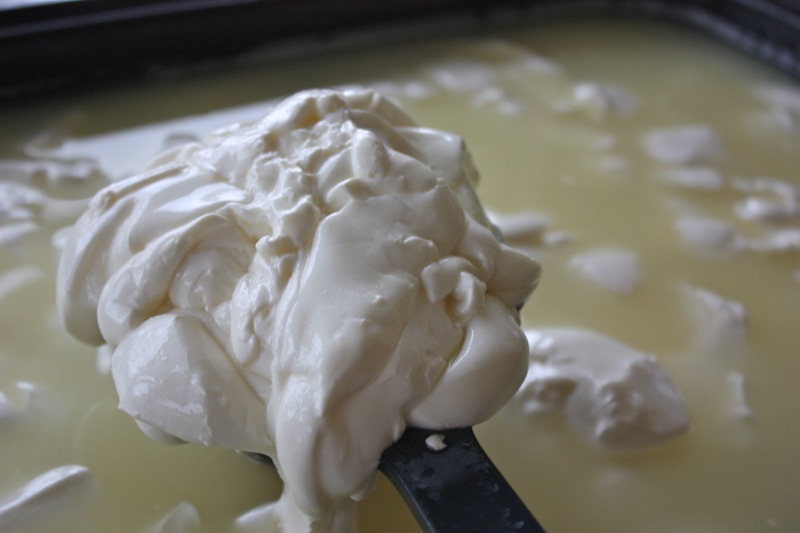
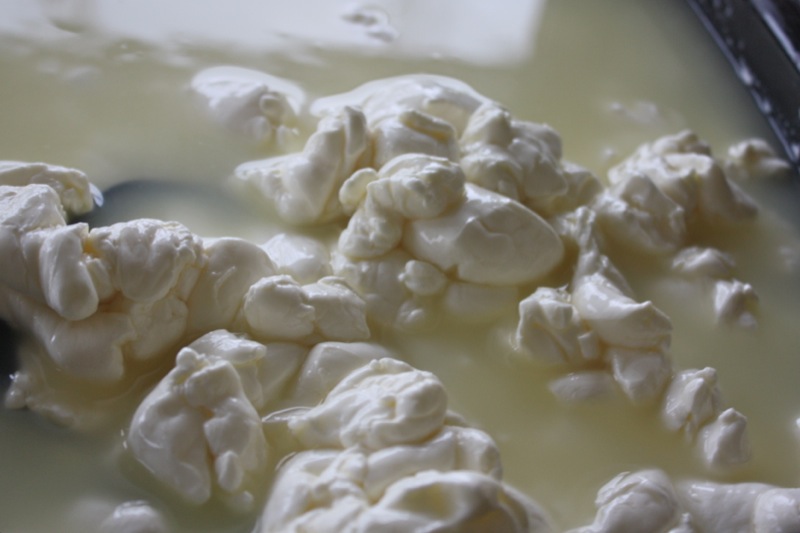
Time to ladle off the whey to expose the curd.
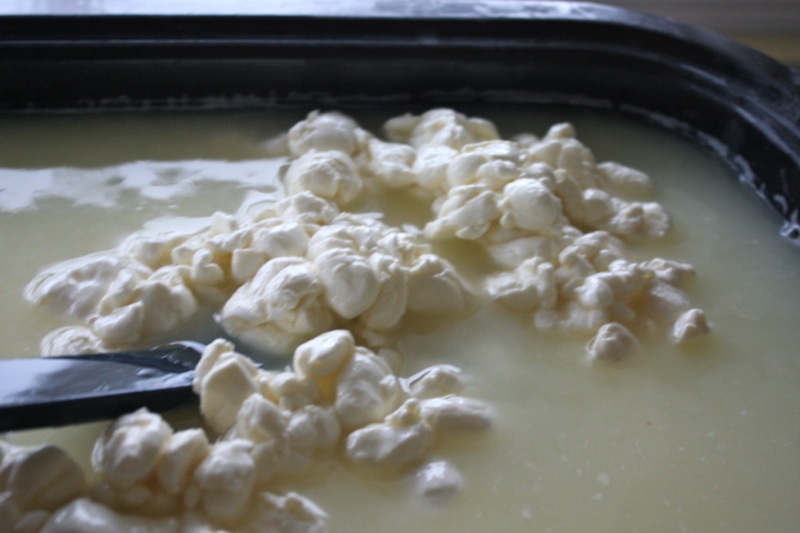

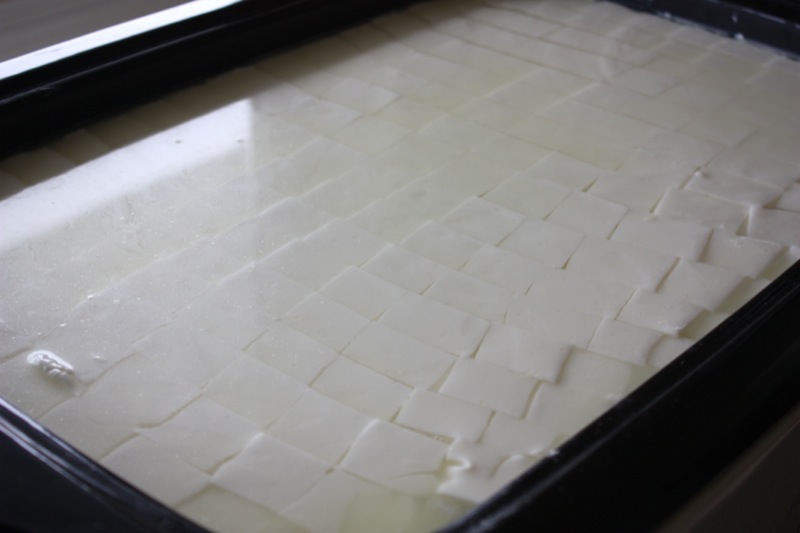
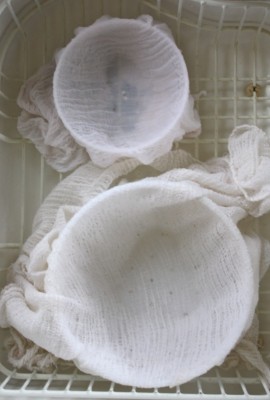
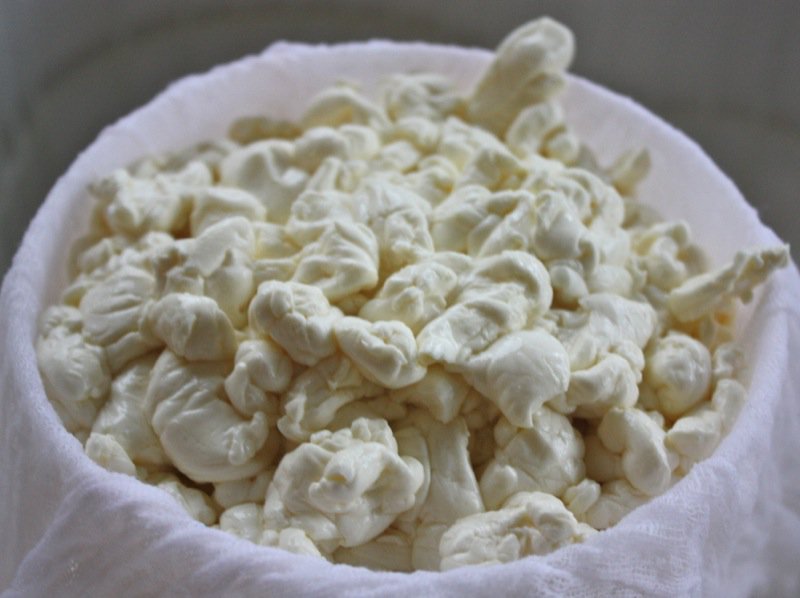
It is evident that the curd is matting together well as it is scooped from the vat and into the lined mould.
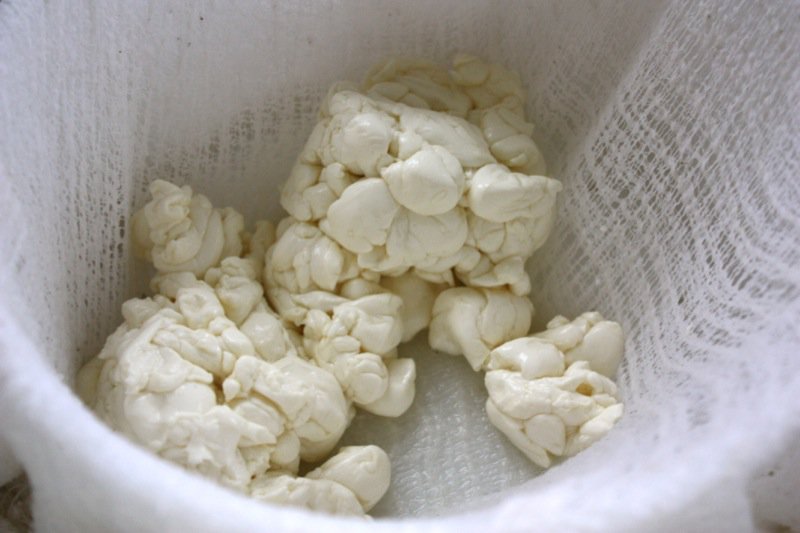
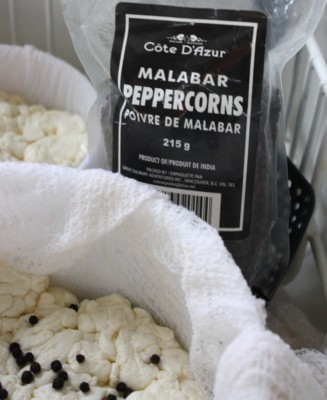
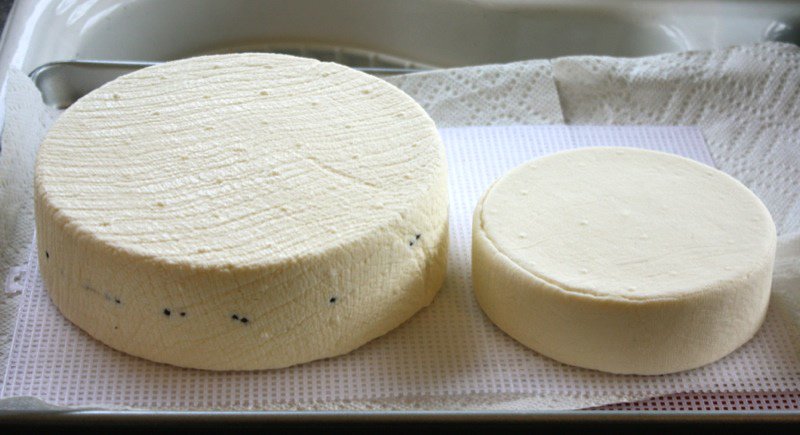
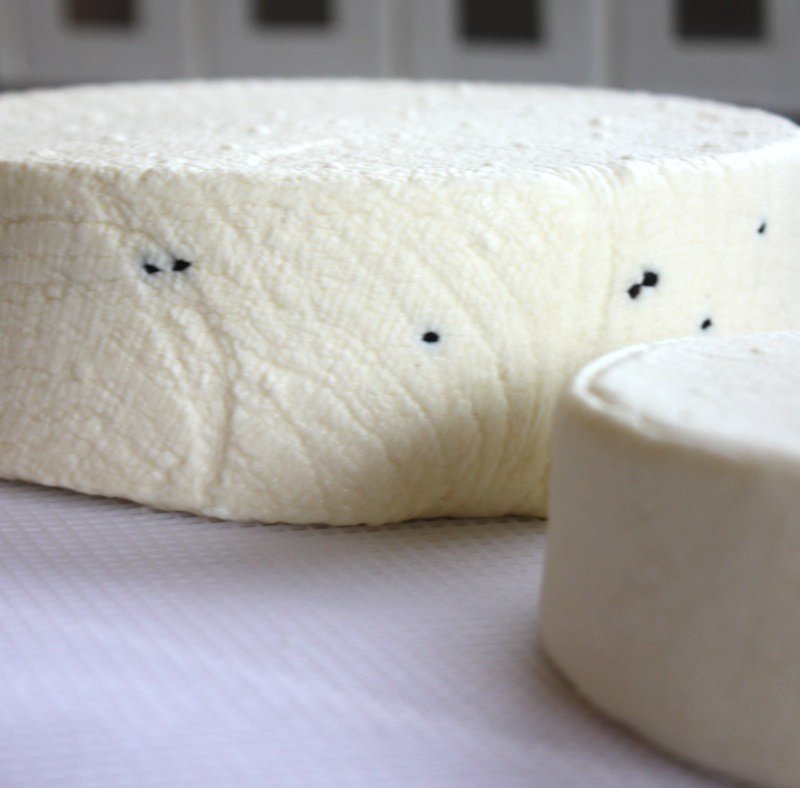
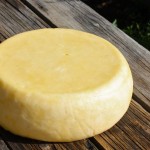
I knew from making my Caerphilly and Farmhouse Cheddar that a yield from 16 litres of milk is usually an 8 inch tomme mould full. As I also wanted a smaller round as well, I filled the tomme a little less than half, rested it to drain the whey for five minuted and then gave it a good press to prepare for the layer of peppercorns. I had a special peppercorn from a trip to France: now was the time! Sprinke, sprinkle…. and warm anticipation!

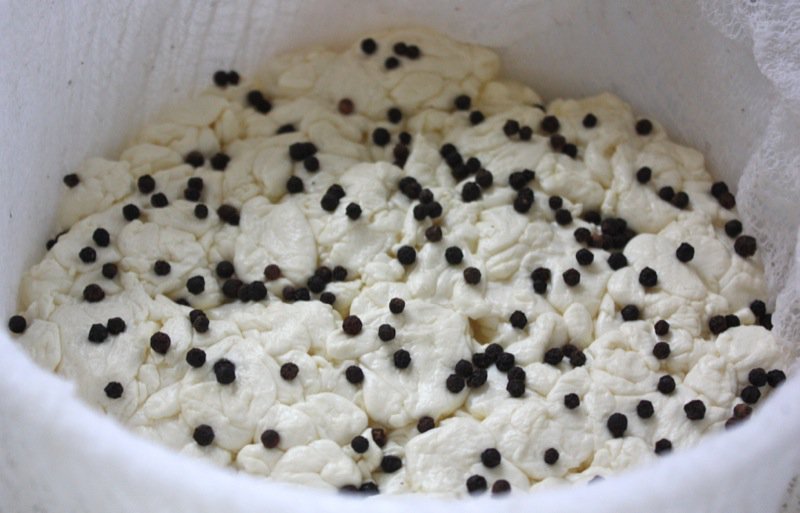
I then filled my small mould almost full and prepared it for the first 30 minute press, covering the peppercorns with the remaining curd: the perfect amount! You can see that the mould is not full during the first 60 minute pressing, but it did yield two gorgeous discs of cheese.

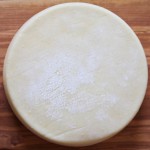
After the 60 minute press, the cheese was turned over inside of the mould and pressed for 8 more hours, then brined for 12 hours, flipping once. Below is the cheese just out of the brine.
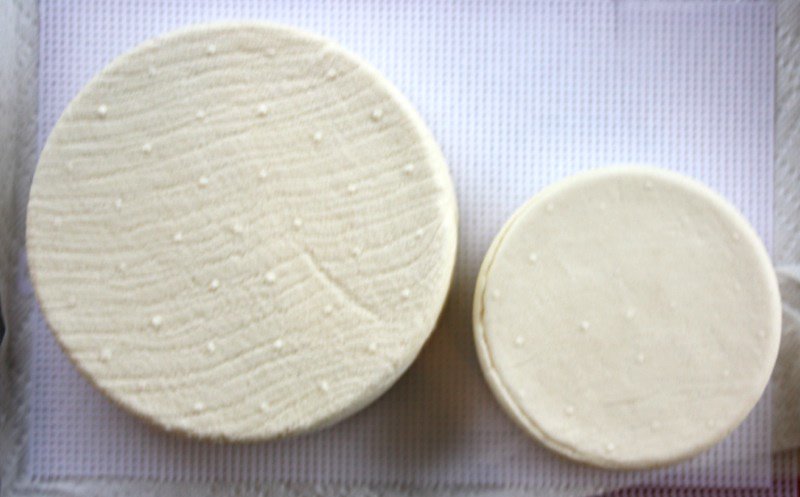
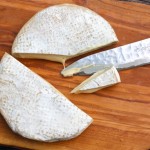
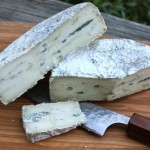
The cheese air dried and then was placed in the cave and brushed with a simple brine. I was devastated over the holidays to find that the big round had blue mould. I check my cheese daily, sometimes twice a day, but had so many guest, I didn’t get to it for about 36 hours, and there it was. A blue hairy beast! I was too sick to even take a photo. How did this happen? I had difficulty getting the humidity high enough in the vat, so used a ripening box inside of my vat for the extra humidity. The daily checks were keeping the humidity and temperature on track, but this simple day and a half oversite let the humidity climb, the temperature rise, and created a feasty little festival for the not so tasty blue mould. This cheese had a significant rind, and that mould had a significant hold on that rind. First, I let it sit to air dry, after the initial rub made it evident that this was a big problem. Then I started brushing the rind and wiping the surface to remove the mould. Bushing, and wiping, brushing and wiping. And crying. Then I let it sit to air dry. Brushed and wiped. Brushed and wiped. Vanja took a couple of turns. We were leaving for Hawaii. There was still a trace of the mould to my eye. Vanja said that was my imagination. We vacuum packed it and left. This cheese was made the 3rd of December and it is now February 8th (because I introduced the challenge, but didn’t write up my post until now.) I have not yet taken it out of the plastic to brush it with brine, but I will do so after the end of this month and the cheese I am making on the 18th has finished the high humidity phase in the cave.
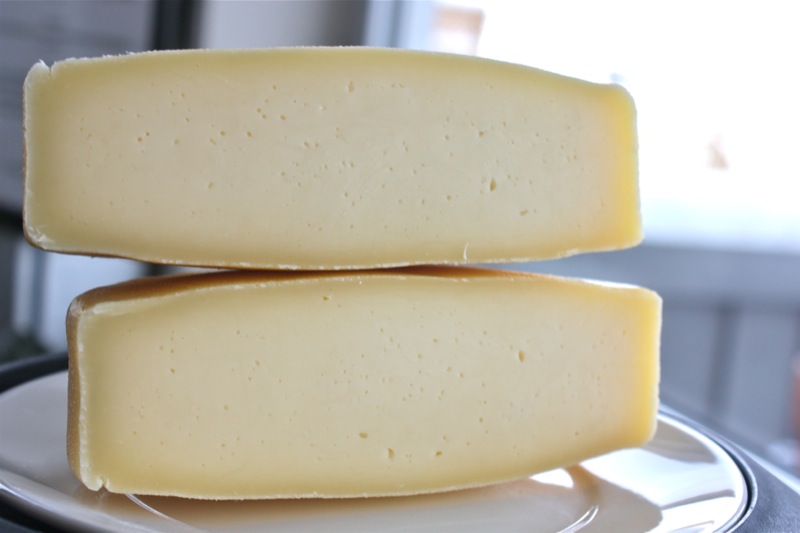
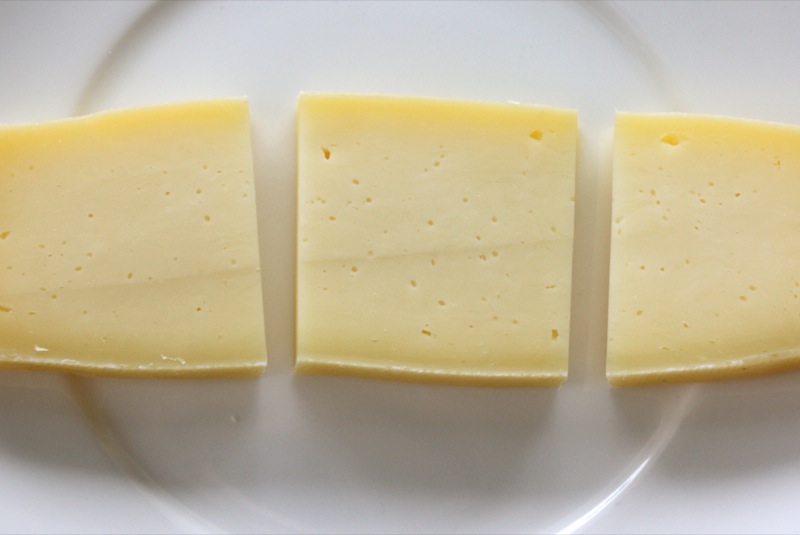
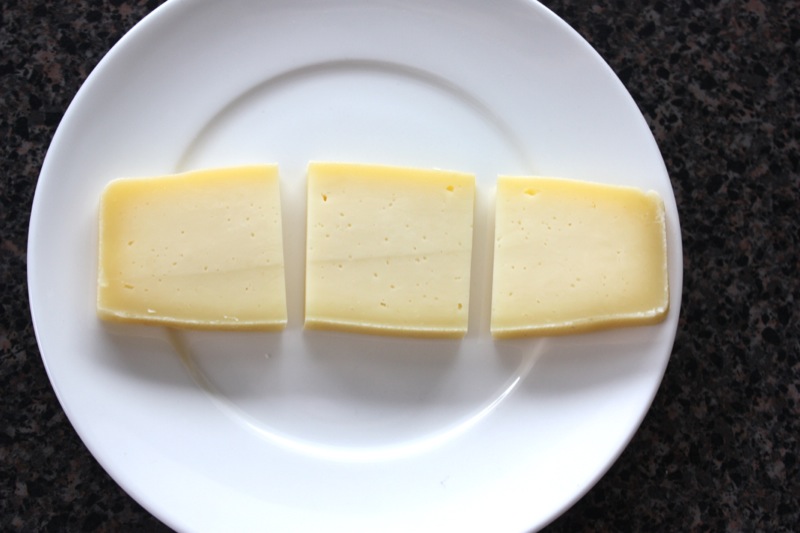
Thin shards of the Asiago Pressato melt on the tongue. Nothing like an aged Asiago, but a lovely addition to my ever growing cheese making repertoire! I am sad to find I only have a wee bit of it left for our February tasting.
Tasting Notes for Asiago Pressato:
- Appearance: creamy colour, tiny holes in the texture, with a darker edge near the rind, and a give when pressed from the top to the bottom of the rind; clearly a firm and not hard cheese
- Nose (aroma):
- Overall Taste: buttery
- Sweet to Salty: sweet
- Mild (mellow) to Robust to Pungent (stinky): mild
- Mouth Feel: a chewy cheese with a creamy finish


Hiya my friend and happy new year to you! xox
WIsh you had read the cookie post – this one isn’t finished yet.
🙂
V
My Romano is about 1 month now and aging nicely. Can’t wait to see your Asiago. Trying to get my cheddar post up…holiday time is crazy. Happy New Year