Thank you Bakerella for your Basic Cake Pop Recipe
The first time I made cake pops was for William’s first Birthday. We made Winnie the Pooh Pops two days before the big event. It was a little stressful, but we made it fun and ended up with a batch of adorably clumsy and awkward Pooh Pops (and some Hunny Pops, too!) I was set on making Baby Girl Babyface cake pops for Amy’s Baby Shower celebrating the birth of Heidi Marie. The theme was non-descript, really. Pink. Babyfaces. Onsies and Clothes on a Line. This is my second time making cake pops, and I definitely decided to go a much simpler route. No extrusions. Just a simple ball to stick things on.
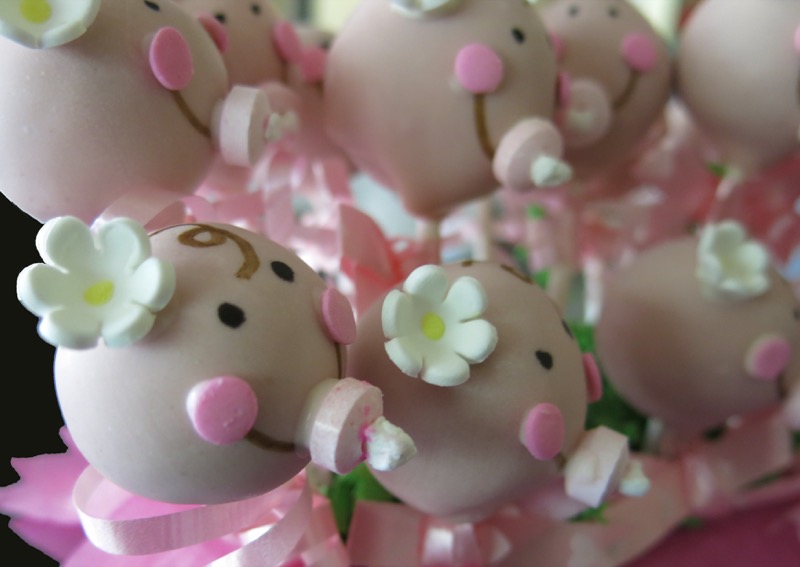
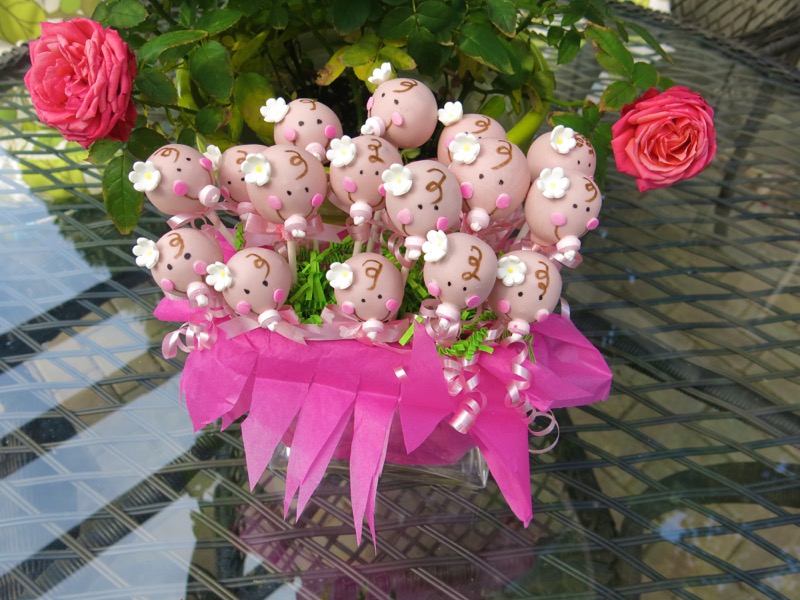
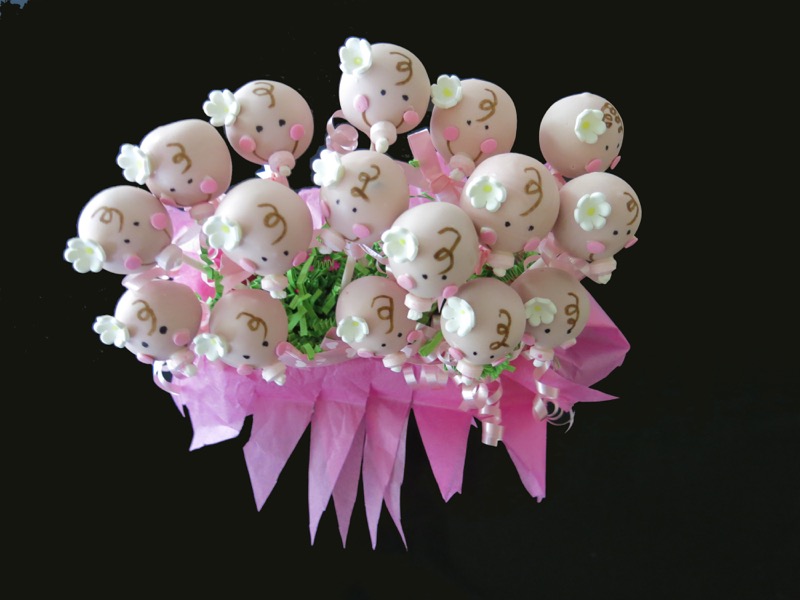
Honestly, not hard, but time consuming, and definitely requires an amount of experience and technique which I don’t have, nor do I possess the desire to acquire. Yet, are these not just the cutest little Babyface Cake Pops you ever did see?

I was pleased as punch with my valiant effort, enjoyed the process, was tickled with the result and could already imagine them on the dessert buffet at Amy’s Shower for Heidi Marie. (Don’t look too close, though. The close ups don’t hide a thing!.)
Baby Girl Babyface Cake Pops: Making the Cake Balls
If you are really going to make cake balls, go directly to Bakarella’s site. Do not pass Go. Do not stop elsewhere. She is the all time expert and inventor of Cake Pops.
Once you are all set to make the basic cake pop (her basic cake pop recipe is here), come back and read my post again for “extra” tips from a beginner.
One thing that you should do for sure, that she doesn’t, is bake your own cake, and make your own frosting. She uses a cake mix and frosting from a can to make the cake balls. Now, a cake mix might work in this situation, and only in this situation, but frosting from a can is out of the question. It tastes terrible. My icing recipe is included below.
I make the cake a day ahead. The following day, I make the icing and the cake balls. Then I freeze them individually overnight on parchment covered sheets, and package them in labelled ziplock bags until I am ready to dip and decorate. It is really important that the cake balls are “more cakey” than “fudgy”. And the butter from the homemade icing cinches the deal. Trust me. Everyone loves these. Everyone. It is odd, to me: a ball of cake and icing dipped in chocolate (candy melt, actually), and the crowd goes wild. Seriously.
Baby Girl Babyface Cake Pops: Dipping the Cake Balls
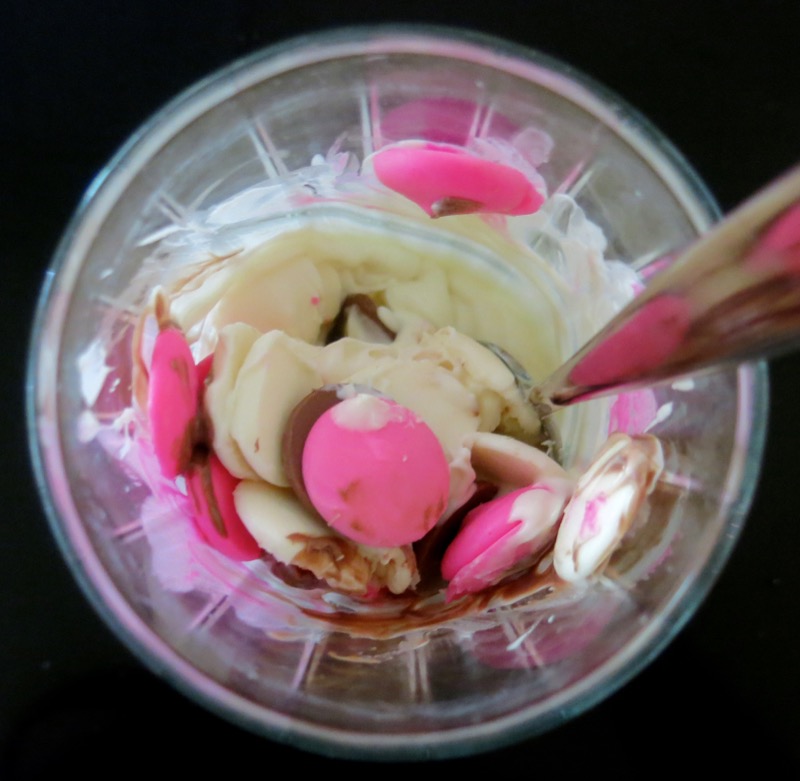
Take the cake balls out of the freezer and put them into the fridge the night before. They must be firm and cold when dipped. Acquiring a nice skin tone wasn’t easy. Yes, I “googled it”. No where could I find a definitive recipe for making skin tone out of candy melts. I knew it would take a little colour and a lot of whites. I had no idea how little colour and how many whites. And the brown just muddied the water. Don’t use it. Learn from my mistakes.
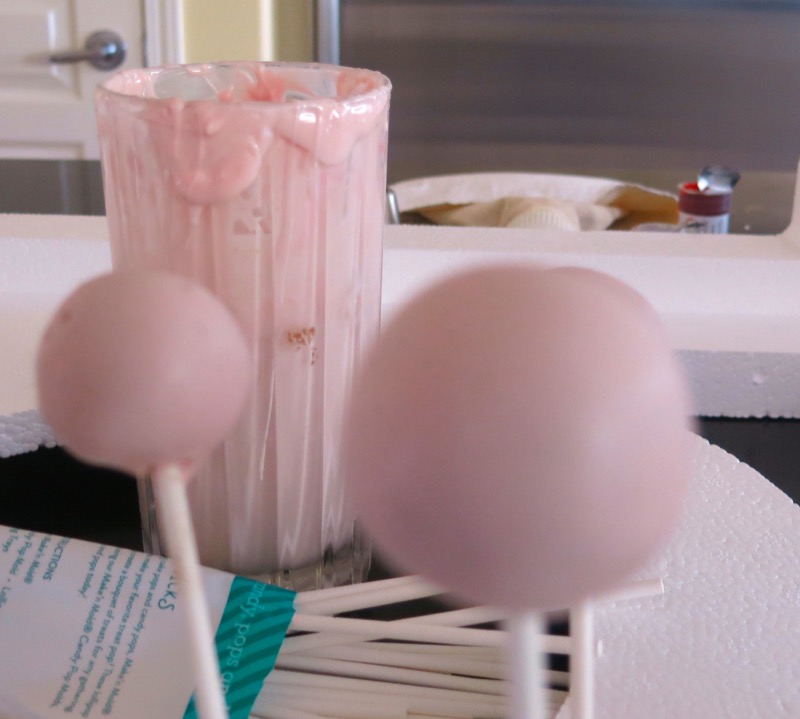
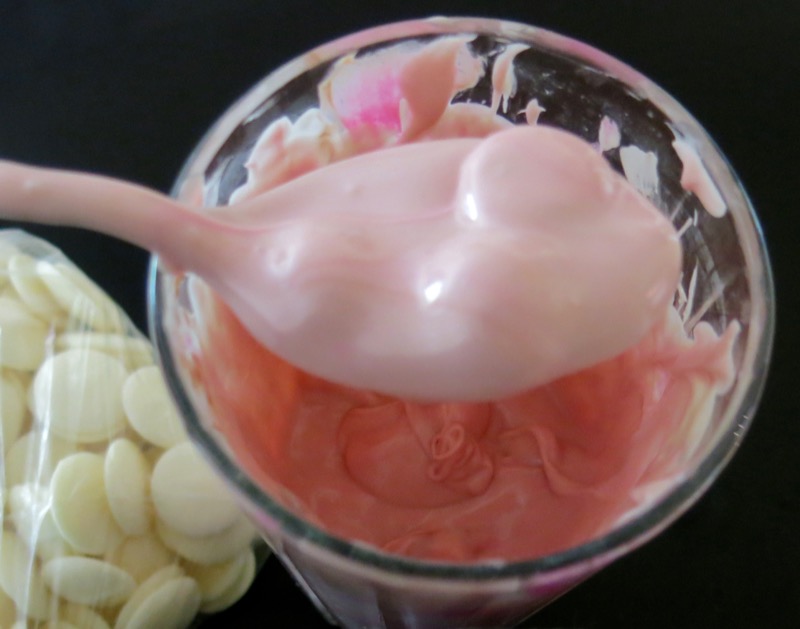
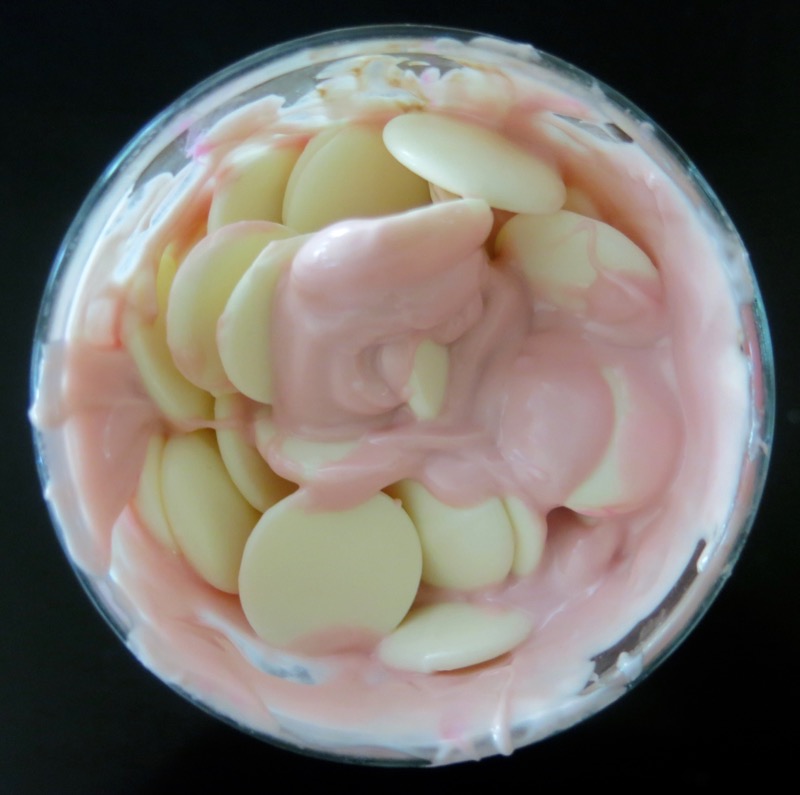
Figure out how your microwave melts, and slowly melt the candy melts together, stirring to combine, until just the right dipping consistency. A tall narrow glass or vase is the way to go, otherwise, too many melts are wasted.
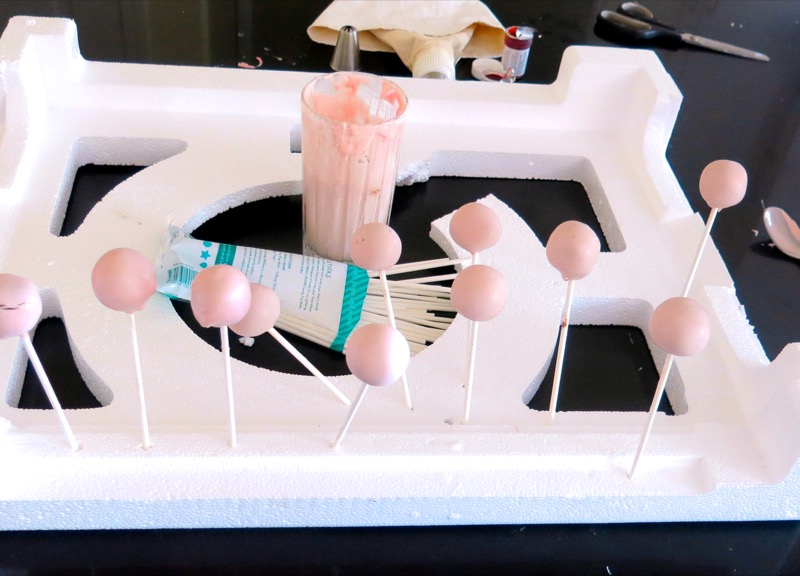
Before you even start, you will need a good styrofoam base from somewhere. Read the instructions for dipping the cake balls. Read them again. Read the tips. Put on some lovely relaxing music, and dip away. Some will likely still crack. Don’t double dip them. Just put them in the family pile for immediate eating pleasure.
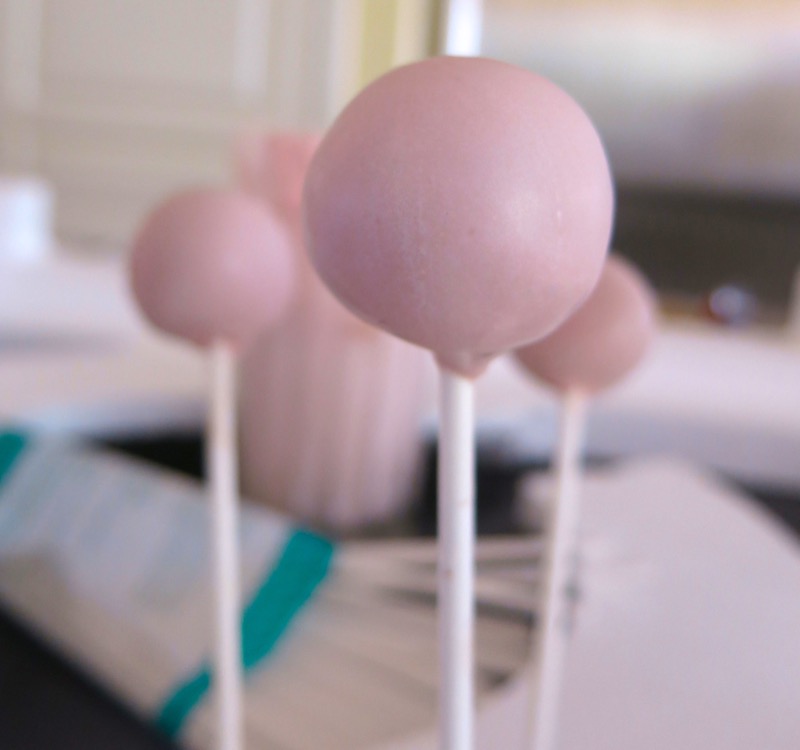
You want a smooth, evenly covered cake pop without any dripping down the stick.
Baby Girl Babyface Cake Pops: Decorating the Cake Pops
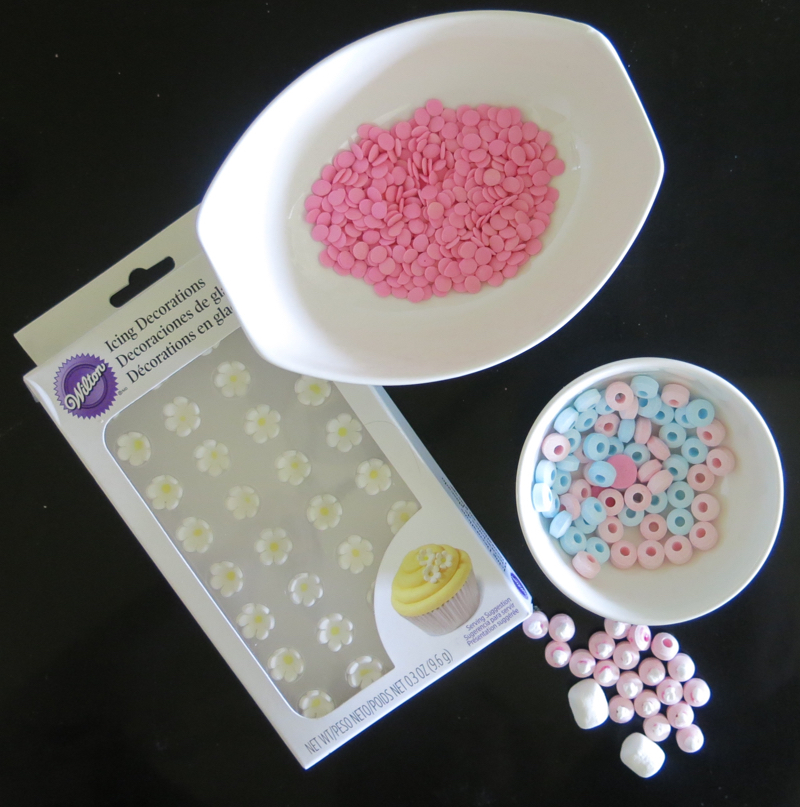
Prepare your decorating materials. It is important to have everything you need before starting at all. The pink confetti sprinkles are separated from the coloured mix, above, for the cheeks. White can be used for animal eyes another time. Blue for buttons on a cookie, etc. Today, we needed the pink. Thank you for helping with that task, Ragan. When preparing a baby shower, even in advance, help with the little annoying tasks makes such a huge difference.
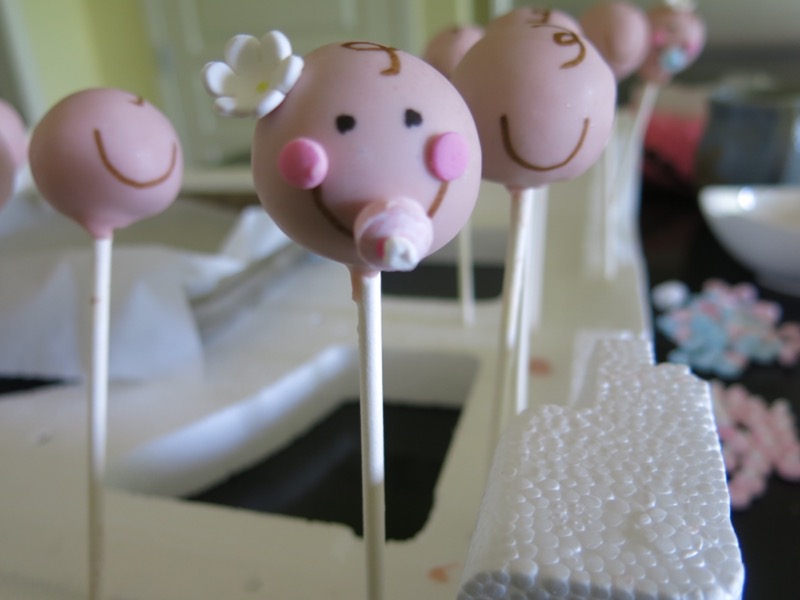
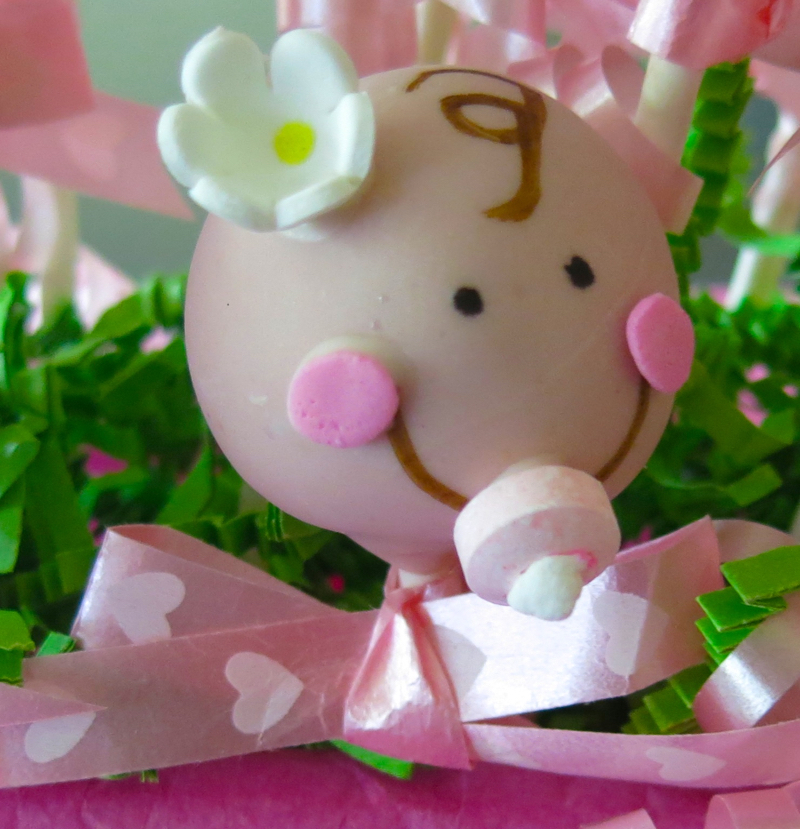
Start with the smile and the hair. Plot them on each ball to define the space.

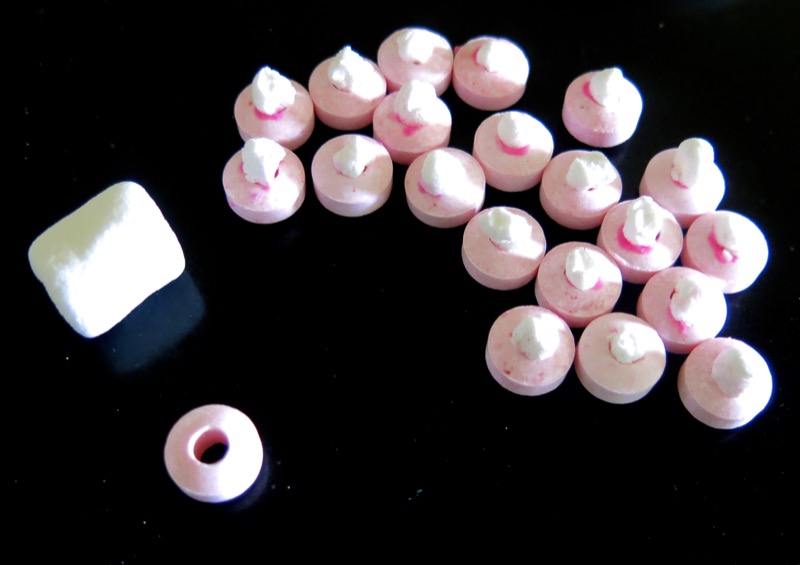
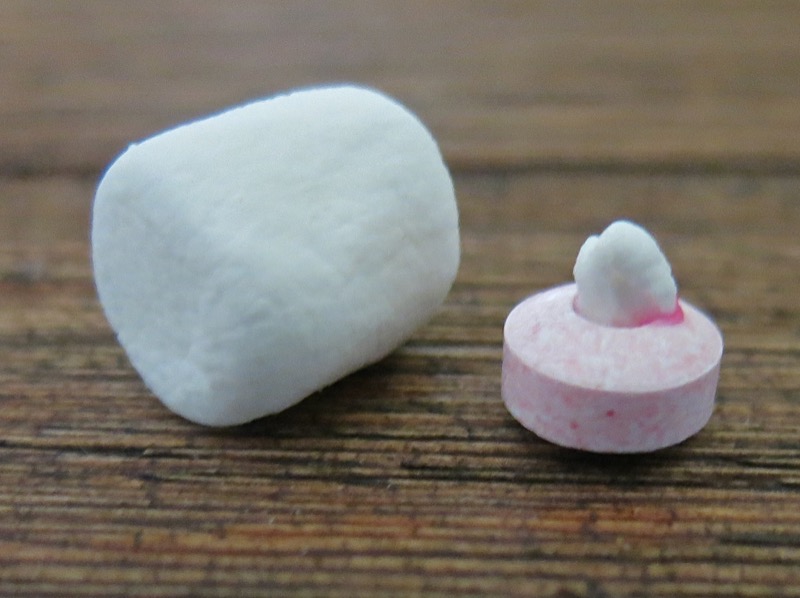
Make your soothers in advance: a bead from a candy necklace with a little piece of marchmallow tucked into it. Adorable.
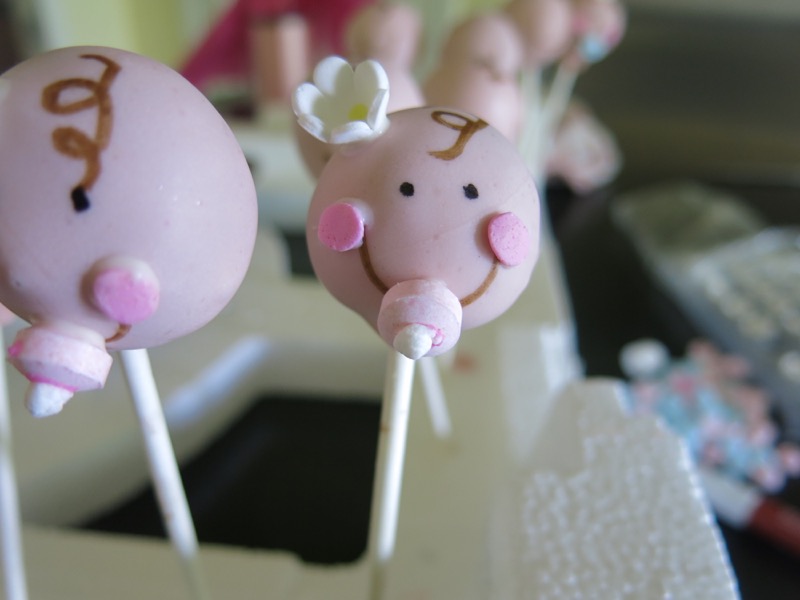
After the mouth and hair are drawn on and the soothers made; add the cheeks, soother and flower. Place the eye dots on last with a steady hand and one tiny little dot per eye. You will be charmed when you look down to find the most adorable little sweet cheeks grinning back up at you. Final touch? Don’t forget to tie on a bow!
Baby Girl Babyface Cake Pops: Storing until the Event and Enjoy!
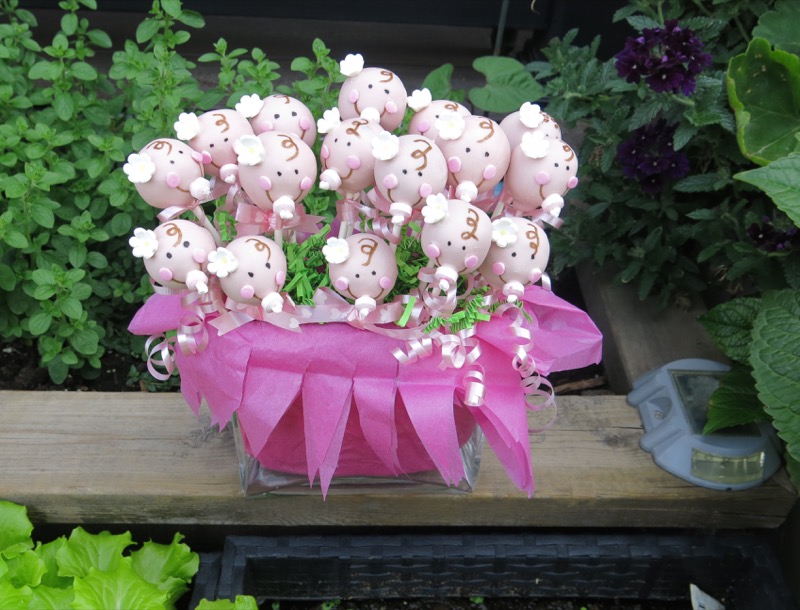
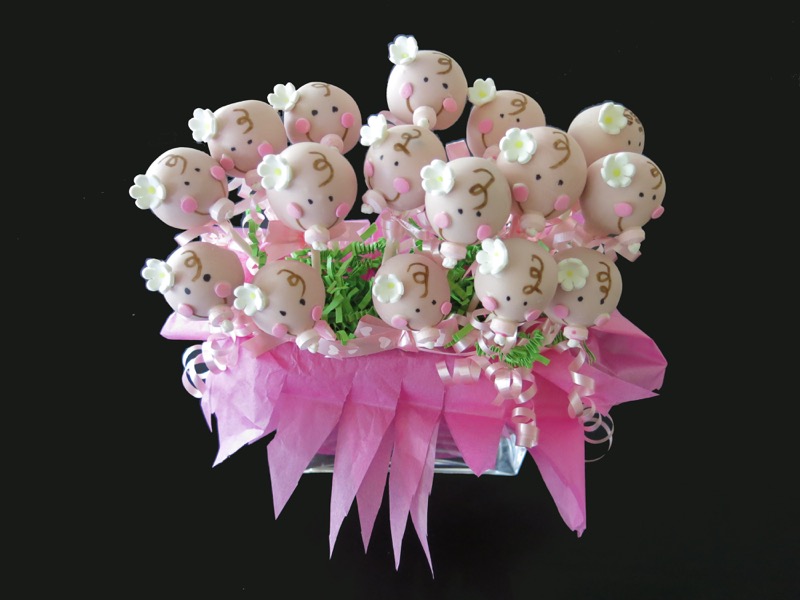
Mary, Mary, quite contrary, how does your garden grow? With silver bells, and cockle shells and little babies all in a row!
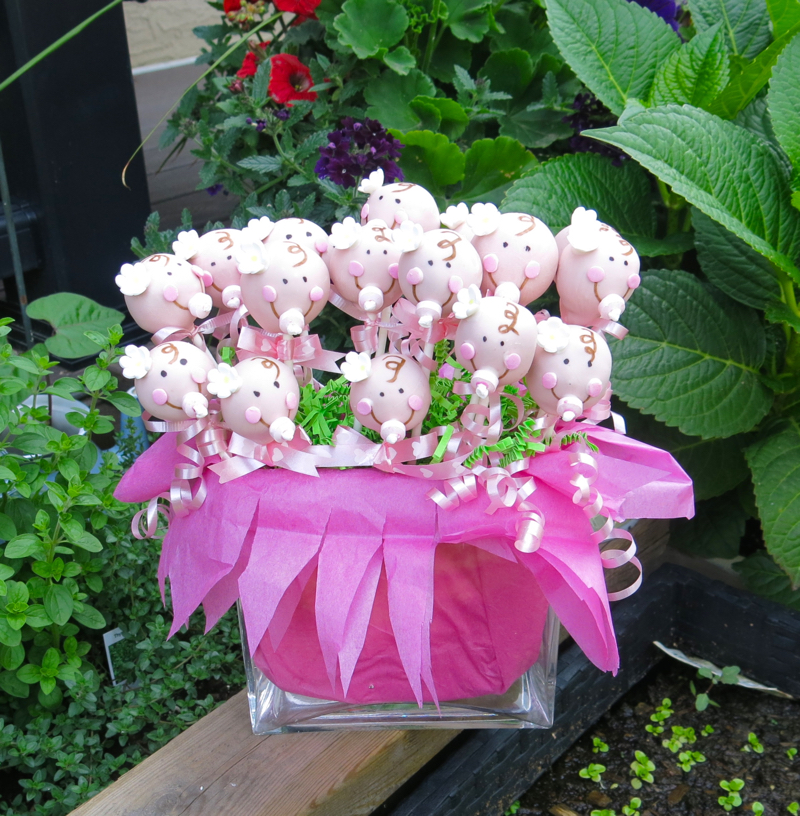
These little gals are all dressed for the party, but with nowhere to go! It isn’t happening for a couple of days! What to do?
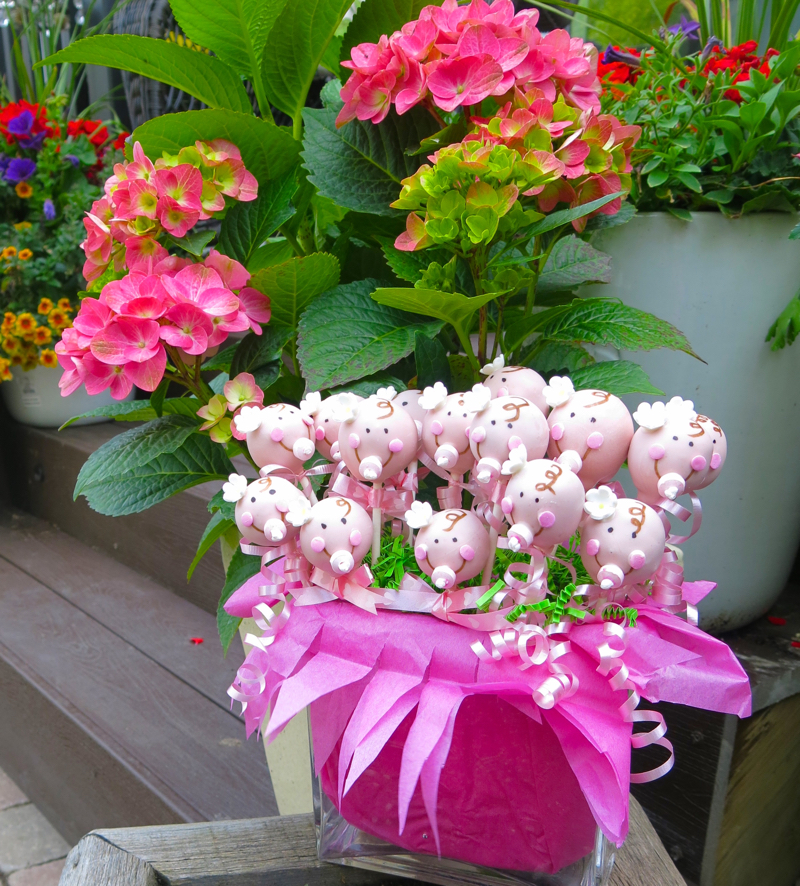
Can you hear them cooing? When I placed them here, I could almost hear the fairies singing.
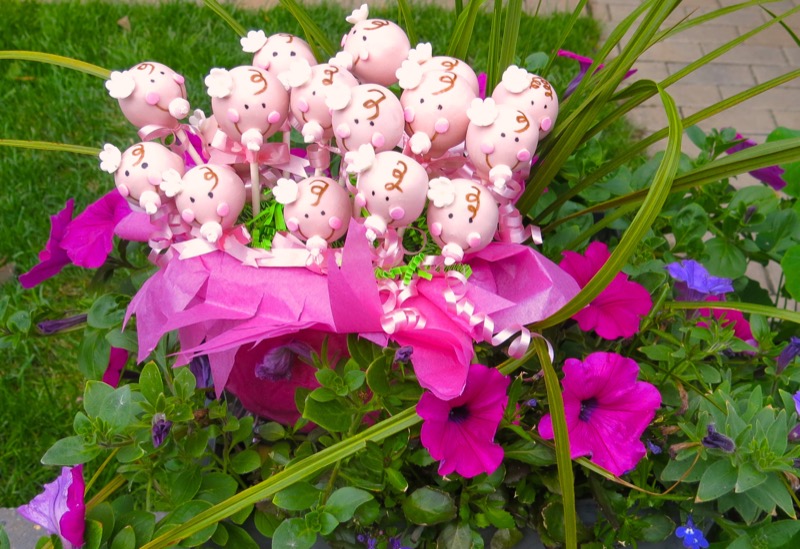
William! Gramsy has cake pops growing in her garden, too (nooooo, they are definitely not good for you!).
You cannot freeze these once they have been dipped. Make sure you have saved enough time shortly before your event to dip and decorate your cake pops. I dipped one day, and decorated the next. That isn’t required, but it does ease the stress, and when decorating these, you must be relaxed. They will keep a week, layered on a parchment lined cookie sheet (layer parchment over the first layer of pops and set the second layer between the first), covered tightly with plastic wrap, in the refrigerator. If you make some, please chime in! You know I want to see them!

Baby Girl Cake Pops for Amy and Heidi
Really, go to the Bakerella site as she is definitely the master. For making a cake pop the first time, this is about as easy as it gets.... but it is not easy. Even as easy as it gets. So, I did include my learning in this post and here.
Ingredients
Supplies Needed:
- 520 g box cake mix
- 9 x13 cake pan
- Two baking sheets
- Parchment paper
- Large mixing bowl
- 455 g homemade icing
- 1.365 K or 48 oz candy coating (colour of cake pop ball
- Wide tall glass or cylindrical Wreck canning jar (microwave proof)
- 48 lollipop sticks
- Styrofoam block
Ingredients for Homemade Icing:
- 1/3 cup butter
- 1 cup icing sugar
Ingredients for Decorating Baby Faces
- 48 round pink flat cake sprinkle discs for cheeks
- brown and black edible pen
- 24 Wilton mini daisies for hair
- 24 pink beads from candy necklaces as part of soother
- 24 teeny tiny miniature marshmallows as part of soother
- pink ribbon
Instructions
Timeline:
- Day One: bake the cake
- Day Two: make the icing and the cake balls and freeze them
- Day Three: dip the cake balls
- Day Four: decorate the cake pops
- Day Five: play with them a little before storing them for the big event
Preparation for making the Cake Balls:
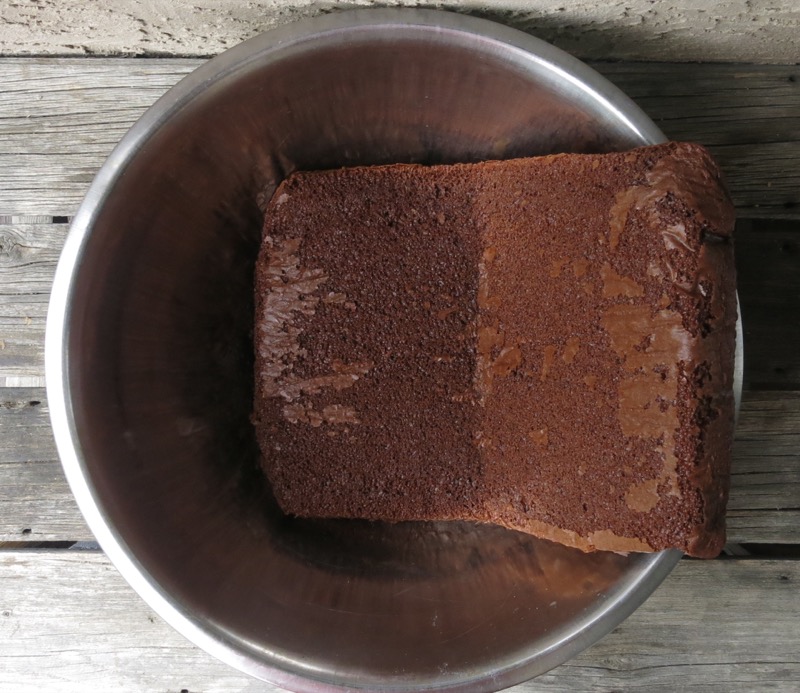
- Bake cake as directed on box using rectangular cake pan; cool completely
- Line baking sheets with parchment
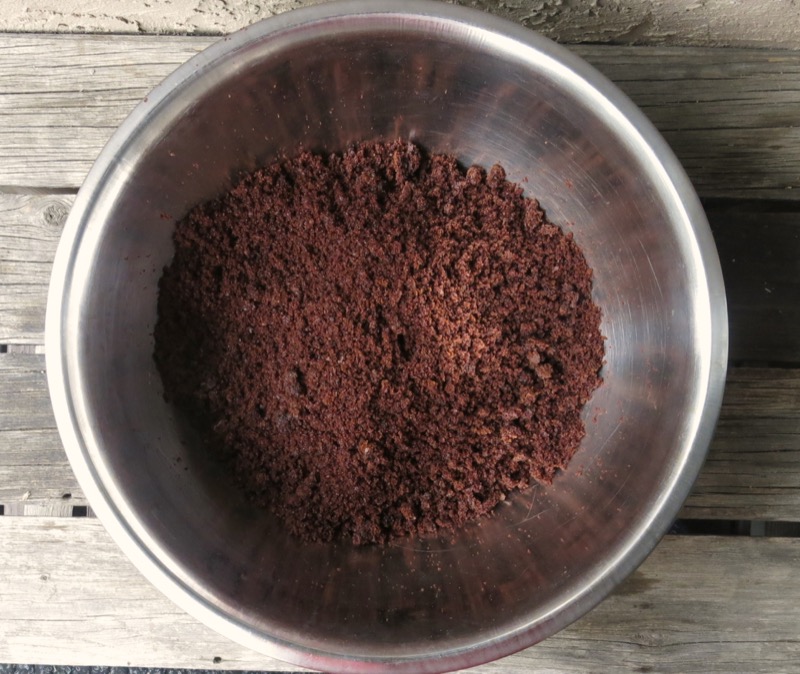
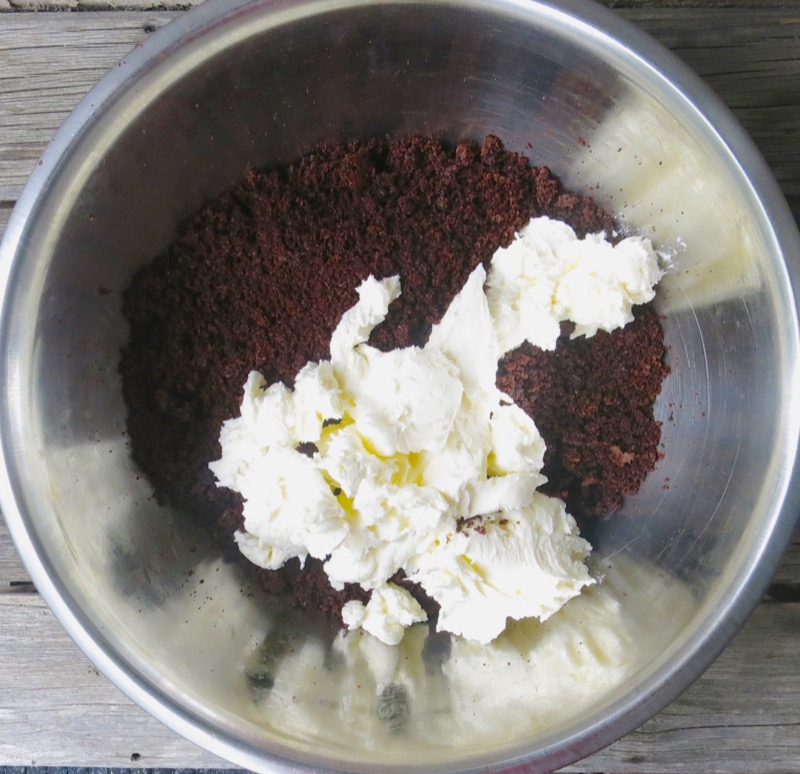
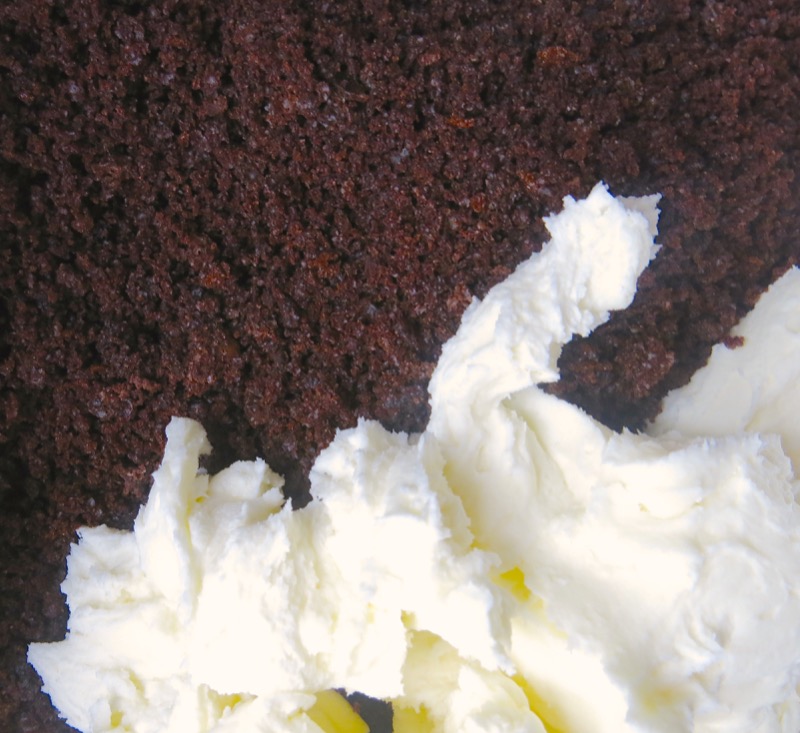
- Gently crumble cooled cake into large bowl until completely "crummy"!
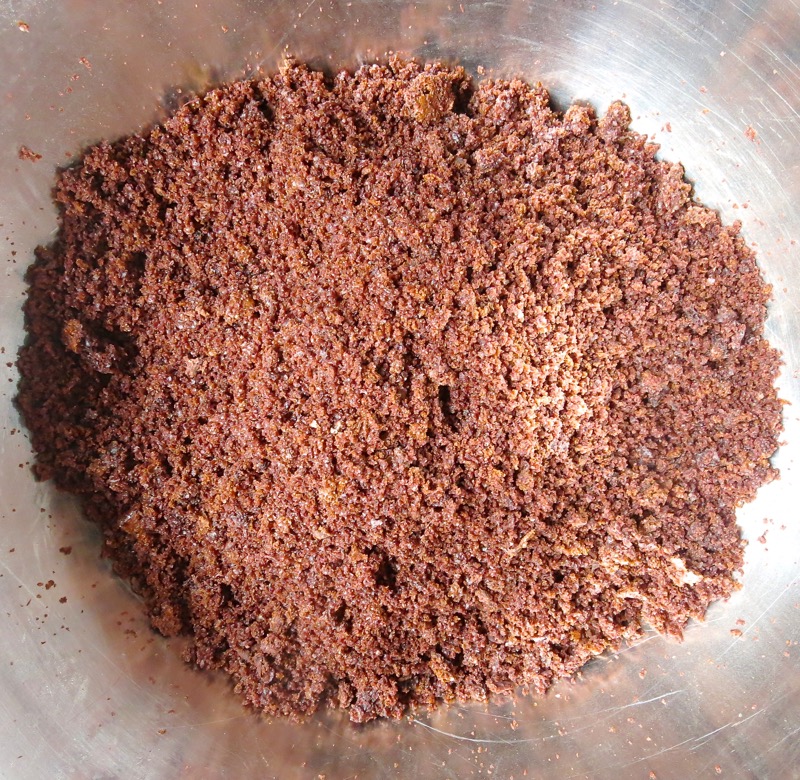
- Add 3/4 homemade icing to crumbled cake; set aside remainder for another use
- Combine thoroughly into crumbled cake with hands; cake balls must remain "cakey" not wet or doughy in texture, so avoid the urge to use the remaining icing
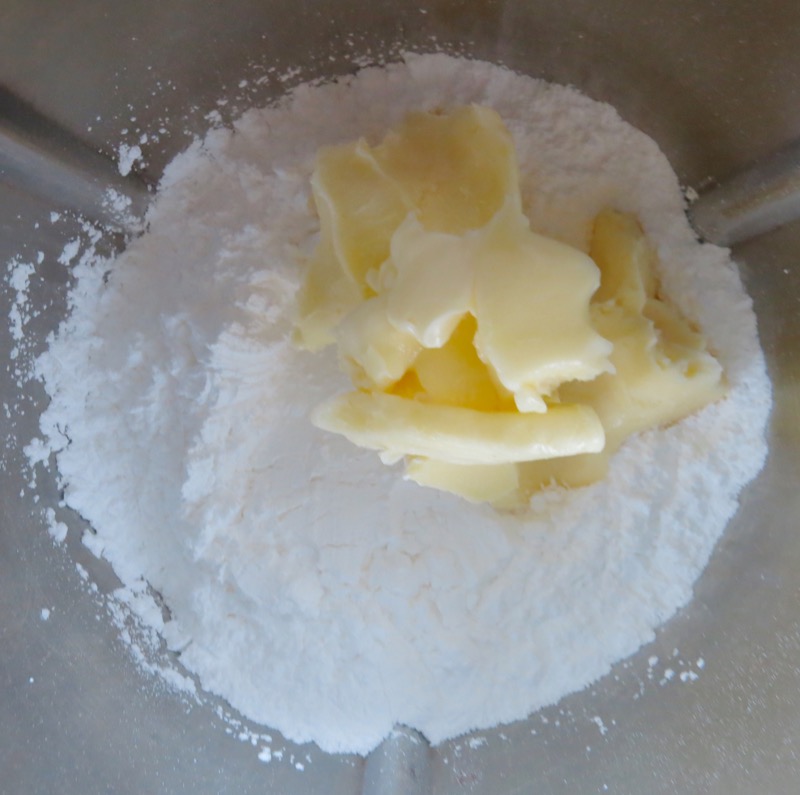
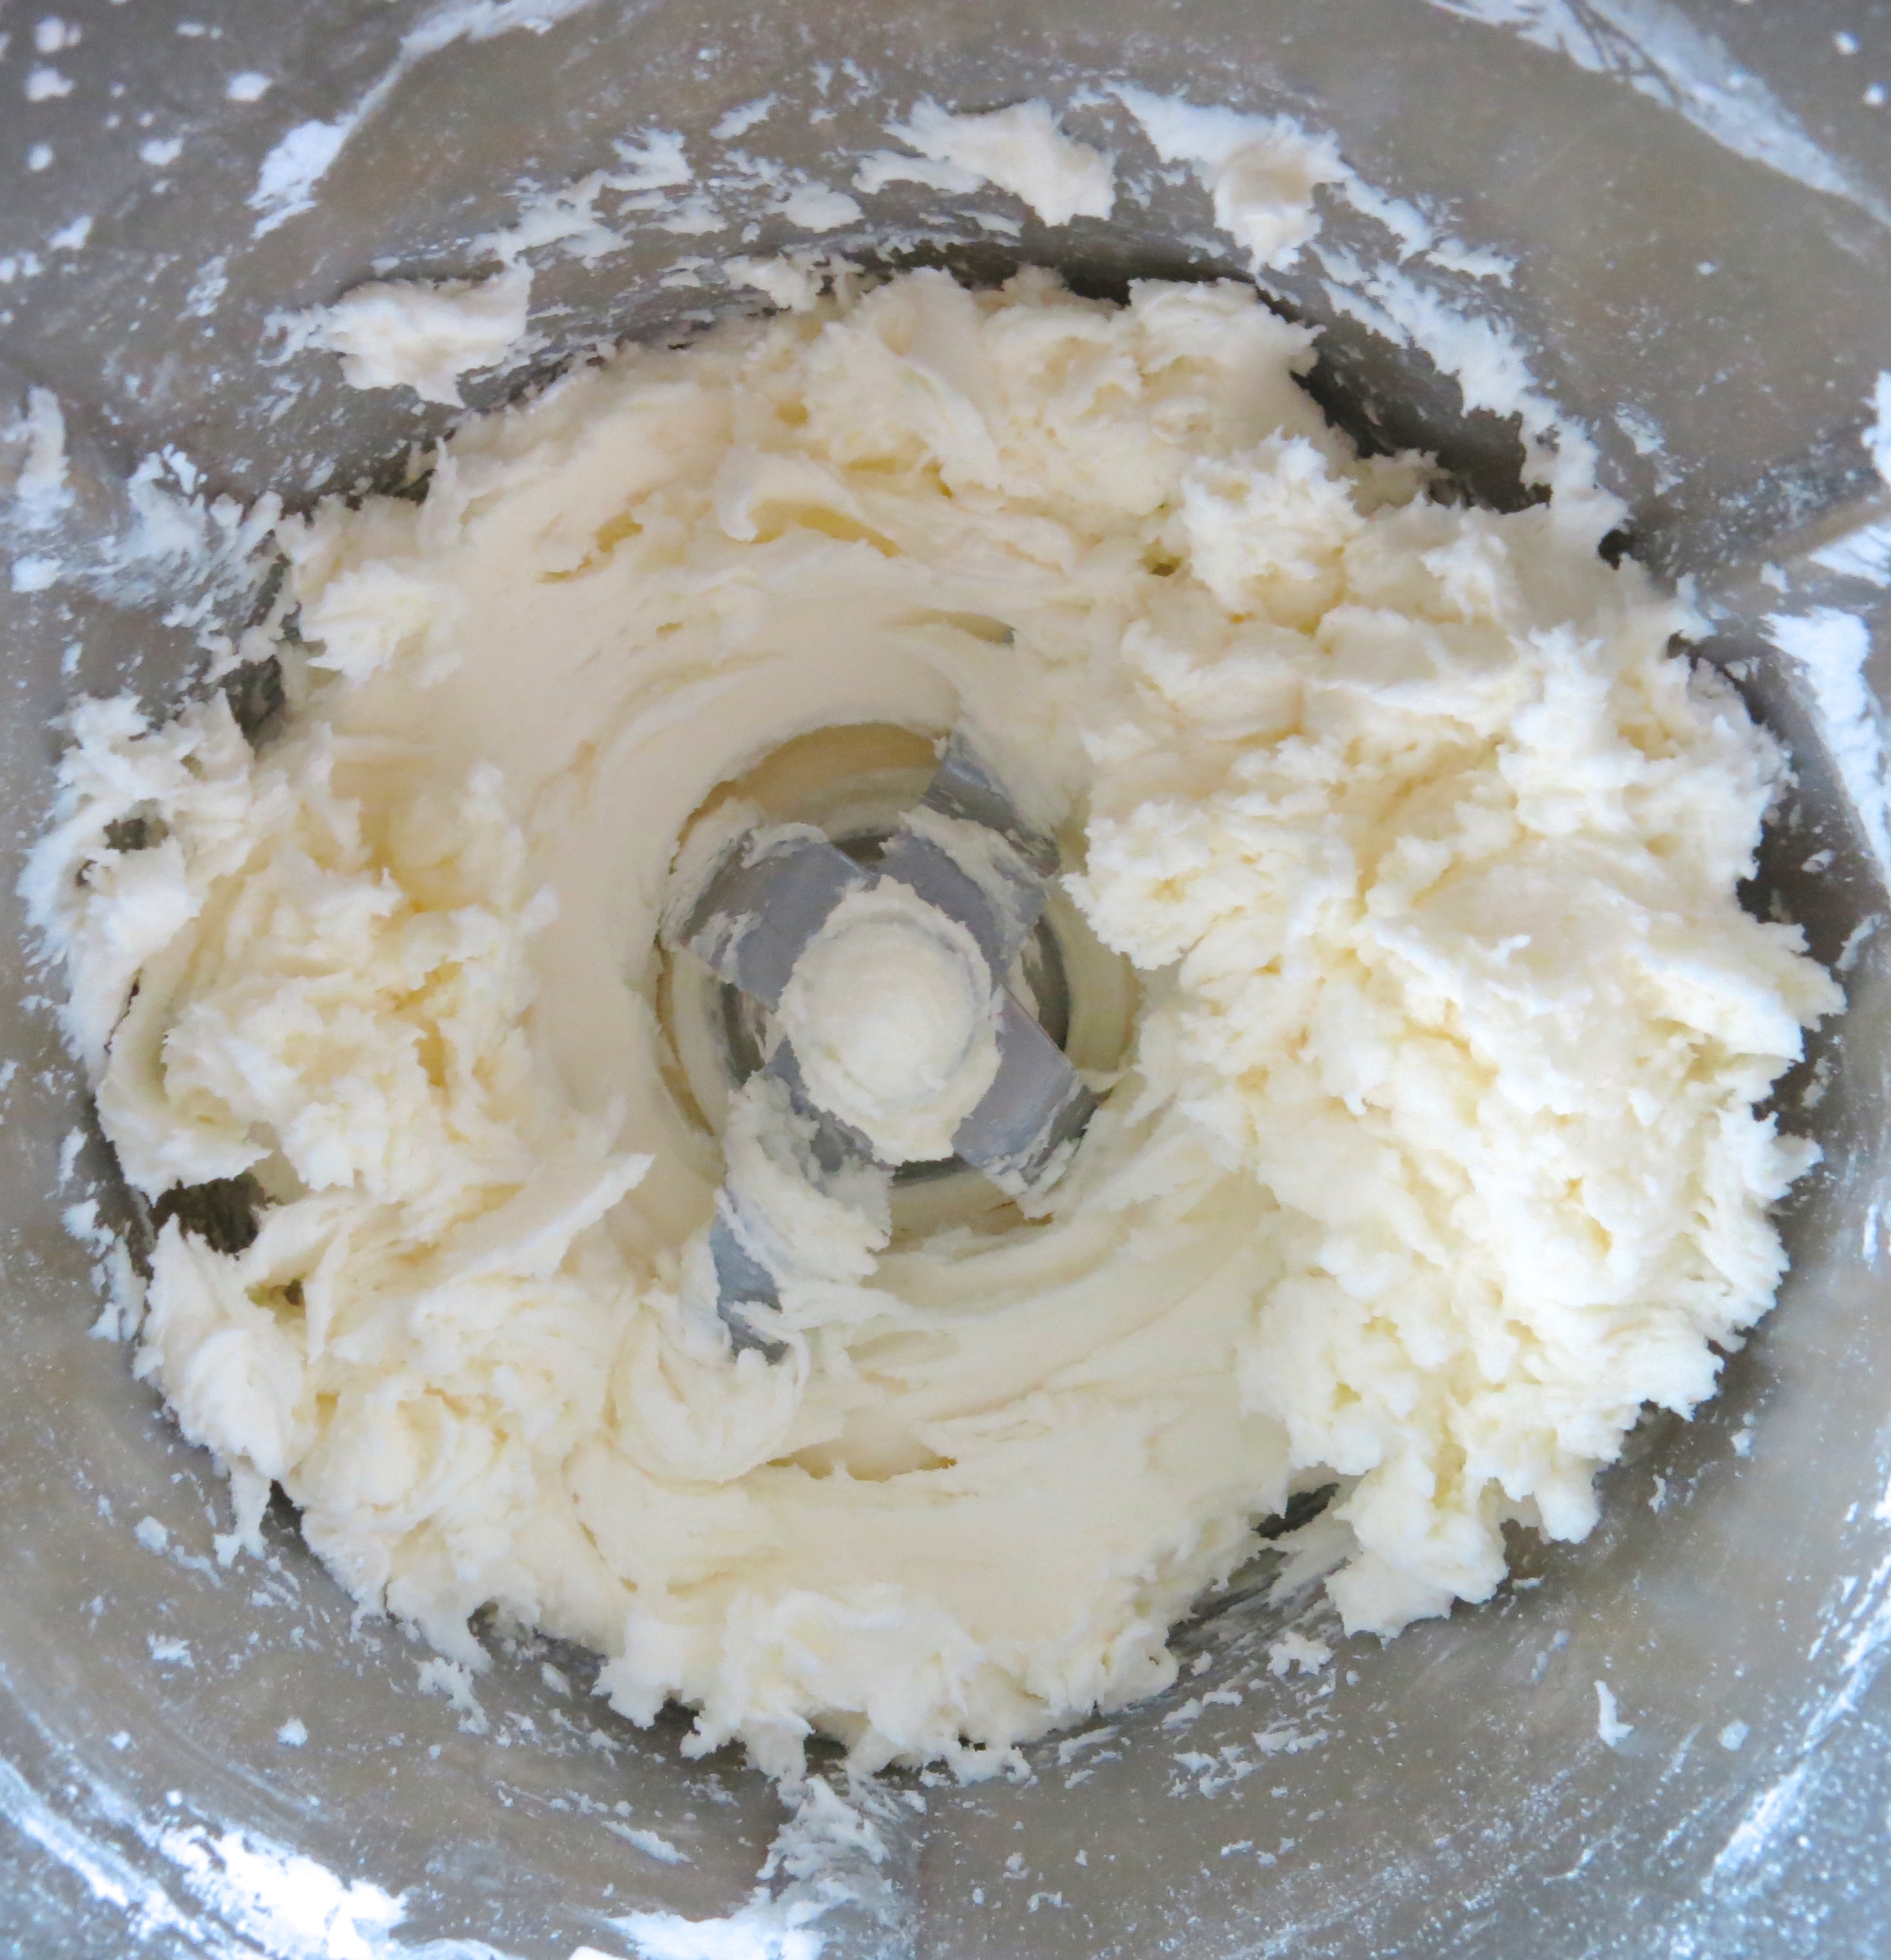
Making the Icing:
- Cream the butter and sugar together until thick and voluminous
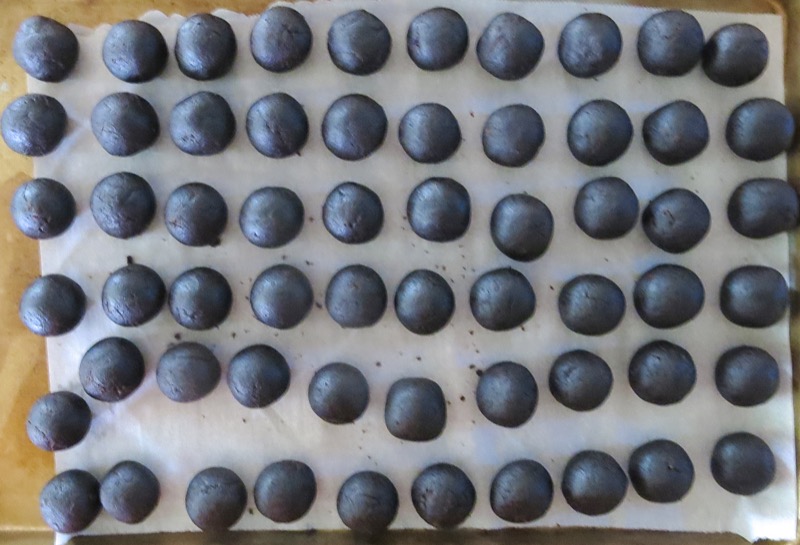
Rolling the Balls:
- Roll into 48 balls 1 1/2-in in diameter; place each on parchment covered baking sheets
- Cover baking sheets with plastic wrap; chill for several hours in the refrigerator: balls must be firm, but not frozen
Preparing for Dipping:
- Place 455g or 1/3 of candy coating in the tall deep microwave-safe glass or jar (for dipping the cake pops); tall narrow containers enable complete immersion of the cake balls into candy coating without burning fingers (coating should be at least 3 inches deep)
- Melt candy coating, following instructions on package (microwave on medium power for 30 seconds at a time, stirring between each interval) Make sure you do not overheat
Dipping the Cake Balls:
- Take a few cake balls out of fridge at a time; keeping rest chilled
- One at a time, dip about 1/2 inch tip of lollipop stick into melted coating; insert straight into cake ball, pushing it no more than halfway through
- Hold lollipop stick with ball attached; dip entire cake ball into melted candy coating until completely covered
- Remove it in one motion
- Make sure coating meets at the base of the lollipop stick (this helps secure cake to stick when the coating sets); completely cover cake ball and remove it without submerging it in coating more than once. (If you resubmerge cake pop, it will be top heavy enough to drop into coating and need to be fished out): see Notes Section for thinner coating
Tips to Avoid Drips and coax the coating to the Lollipop Stick:
- When removing cake pop from candy coating, excess coating may drip: hold pop in one hand, using the other to gently tap the first wrist. Rotate lollipop stick if necessary to allow excess to fall off evenly, so one side doesn’t get heavier than the other. If you didn’t completely dunk the cake pop, this method of tapping and rotating generally takes care of that. The coating will slowly slide down the surface of the cake ball until it reaches the lollipop stick.
Too much Coating on the Base:
- Wipe excess off by placing finger on stick right under cake ball, rotating the pop, allowing any excess coating to fall off and back into the bowl. When most of the excess coating has fallen off and no longer dripping, stick the cake pop into the Styrofoam block to dry
- Repeat with the remaining cake balls and let the pops dry completely in the Styrofoam block.
Decorating the Cake Pops:
- Ah!!! I am tired of writing instructions and I am certain you are tired of reading them! I will add a link for the hair flower in the notes section. Biggest advice: Start with the smile. Keep in mind you will glue one pink rosy cheek on the end of each side of the smile.
- While using the brown pen, continue with a curl in the middle of the forehead coming from the top centre of the ball down to above where a nose might be
- Prepare the soothers before placing them on each ball: glue tiny piece of marshmallow into centre of each bead; set aside
- Glue the cheeks onto each face while the soothers set
- Once all soothers are done, glue one in the middle of each mouth; at the same time, glue the flower on each head, a little to the side
- Leave the eyes for last; breath, and place one tiny little dot per eye (don't go back to do anything with that dot!)
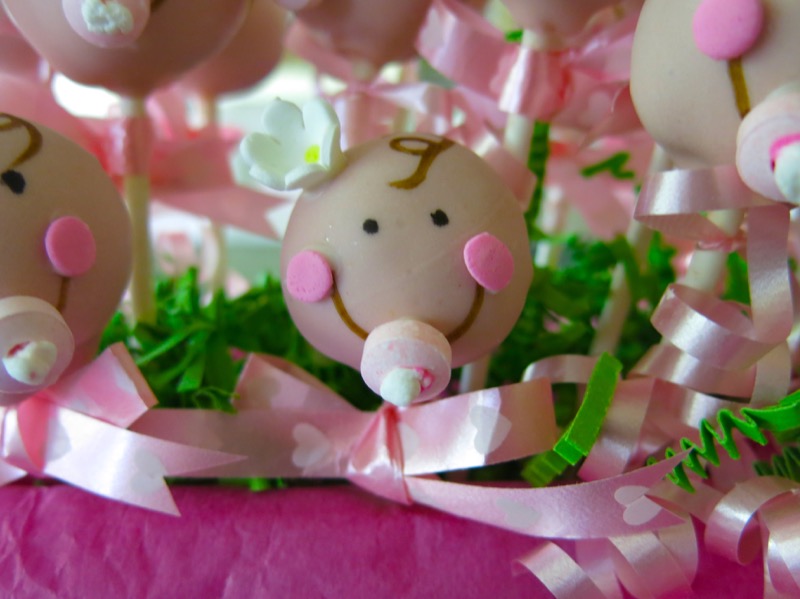
- Tie little pink bows around the top of the stick just under each little chin to finish each pop
- Enjoy the individual little personalities that emerge from homely to adorable: such fun!
- Arrange them in a vase filled with styrofoam and garnished with green paper Easter grass; use tissue paper to hide the styrofoam.
Notes
Bake the cake the day before, and let it cool overnight. Then form balls the following day; refrigerating them over night
Make pops following day
Other Tips
Use toothpick to encourage coating to cover exposed areas
Make sure cake balls are chilled and firm when dipping; if at room temperature, they will fall off sticks into candy coating
The thinner the consistency of your coating, the easier it will be to coat cake pops; add some vegetable oil or paramount crystals to thin it
Poke holes in Styrofoam block 2 inches apart before dipping
Skin Colour
For 24 pops, 200 white melts, 3-5 pink melts and 2-3 orange melts will be perfect and do them all; I added brown which was definitely a mistake
Wilton Hair Flowers
These can be found in all colours here and in white, as used in these cake pops, here.
I will likely never make these again. Anticipating Amy’s baby, meeting the little angel, and preparing the shower was such a pleasurable labour of love. I enjoyed every minute of it, but have zero desire to repeat this process. Wish I got to taste one, though. Glad the reviews were so positive.Even the “old gals” enjoyed them. (I cannot believe I just said that!)


Leave a Reply