Pate Brisee: The Perfect Pastry Recipe for that Special Savory French Tart
Presenting a Savory French Tart made with Pate Brisee is a triumph for me as I have made Canadian prairie pies all of my life. Using a ring mold and any pastry recipe other than my go-to Tenderflake Pastry recipe was simply unheard of, until I was over 40, to be honest. Preparing this more refined and formal presentation of a tart using a ring mold warms me with a great sense of personal accomplishment. However, it is not that difficult. If I can do it, you can do it!
Pâte Brisée: Making the Dough

Mis en place: Flour, butter, egg yolk water salt and yes, a bit of sugar. I always use my Thermomix when making anything in my kitchen that can be done in it. This is a very traditional recipe and there will be Pate Brisee purists who argue making this pastry in a machine is blasphemy. I ask them to try mine. However, I understand the fervent protest, as well. I am a believer in doing everything by hand, first. Use a machine once acquiring the inherent skill necessary to know the correct consistency of ingredients within each step of a recipe.
Pate Brisee: Making Dough in Thermomix Machine
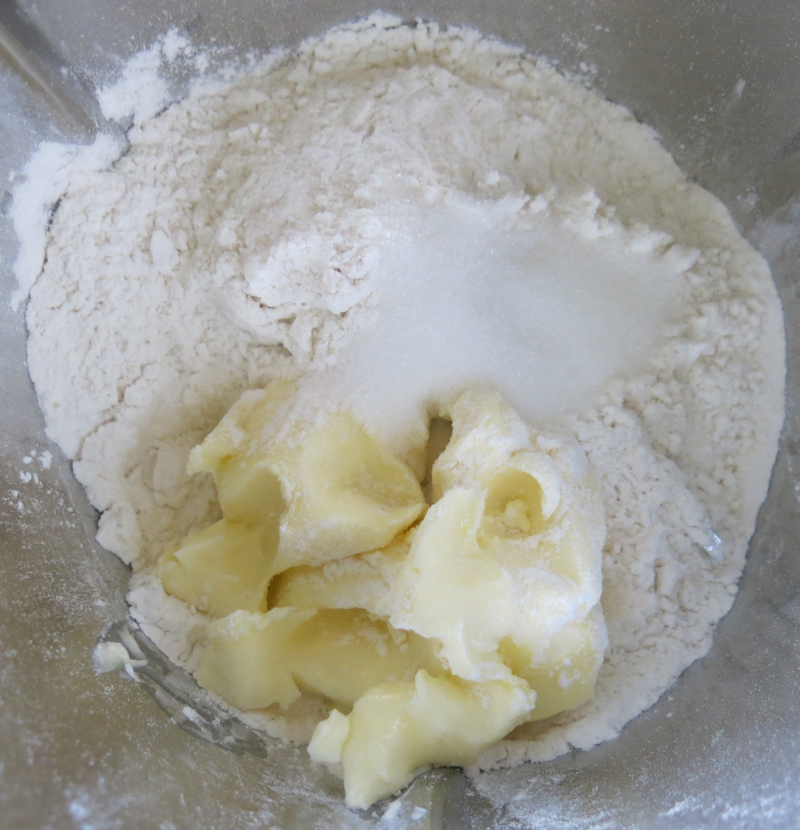

Flour, salt and butter are weighed into the bowl, mixed to combine and then egg yolk is added and mixed to combine.
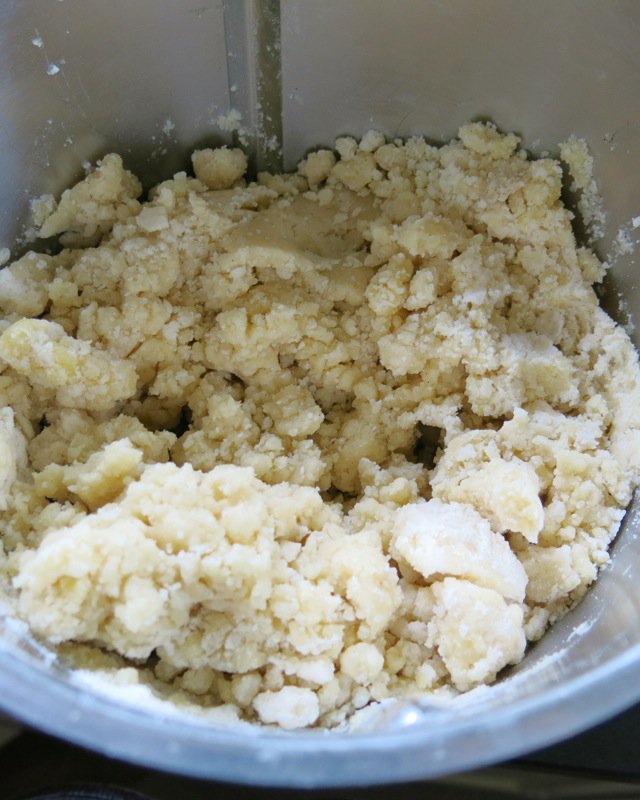
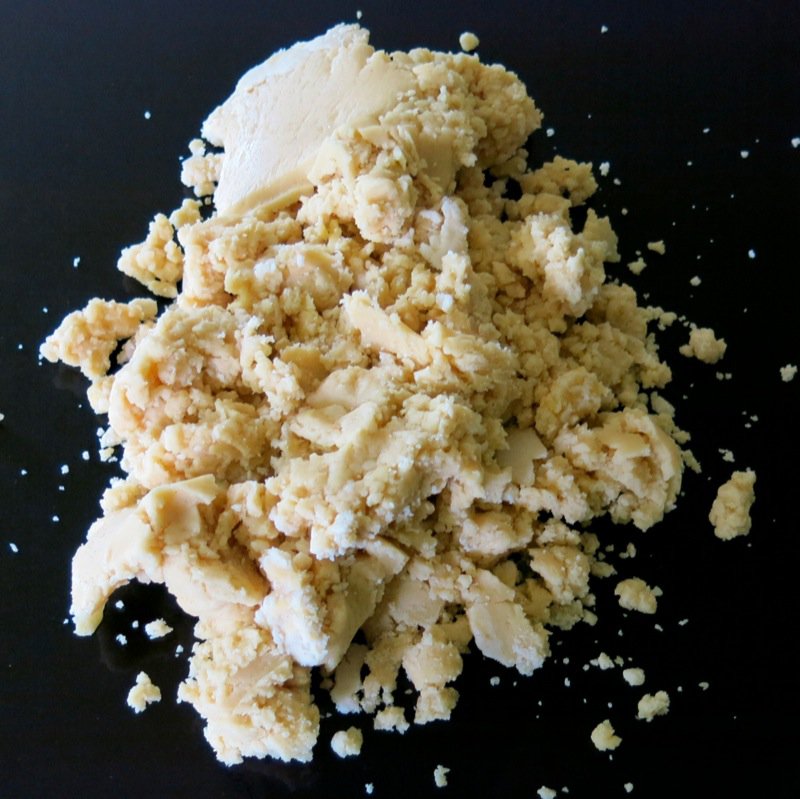
Above, left, I opened the bowl early to take a peak and found the liquid from the yolk and the fat from the butter had not yet incorporated with the flour.
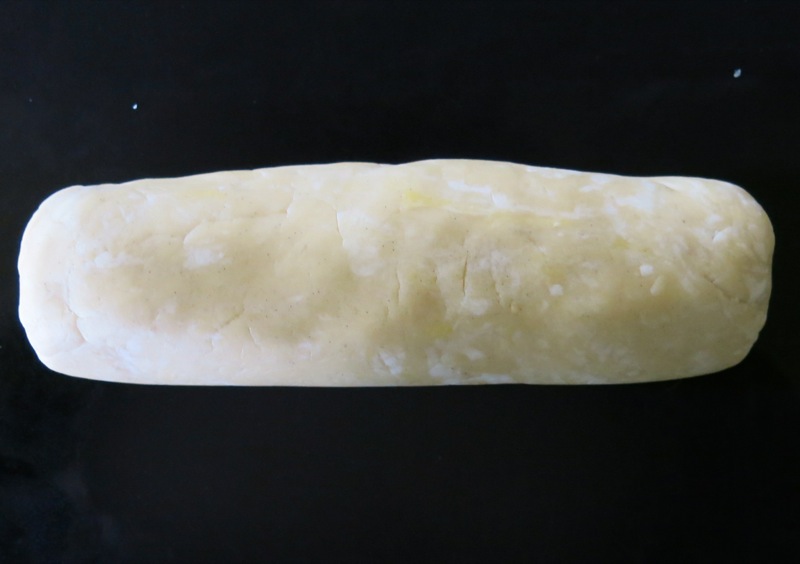
It is also evident in the above pastry log. Thus, even though making pate brisee dough in the Thermomix machine, once out onto the counter, it still needs to be smeared by hand onto the work surface to ensure the fat is fully incorporated and the dough is homogeneous. This process is called “Fraiser” and should be done no more than 3-4 times, as overworking it will make it tough. Thus, best done by hand and not mixing to combine further in the Thermomix machine. (Although I do admit, I have found the sweet spot for this, and if you are able to do this, it can be completely made in the machine.) The Fraiser method is demonstrated in the video at the end of this post, after the recipe. Béné taught me about it and first demonstrated it to me at the cooking class she did here for French Tarts a few years ago.
Pate Brisee: Mixing Dough by Hand
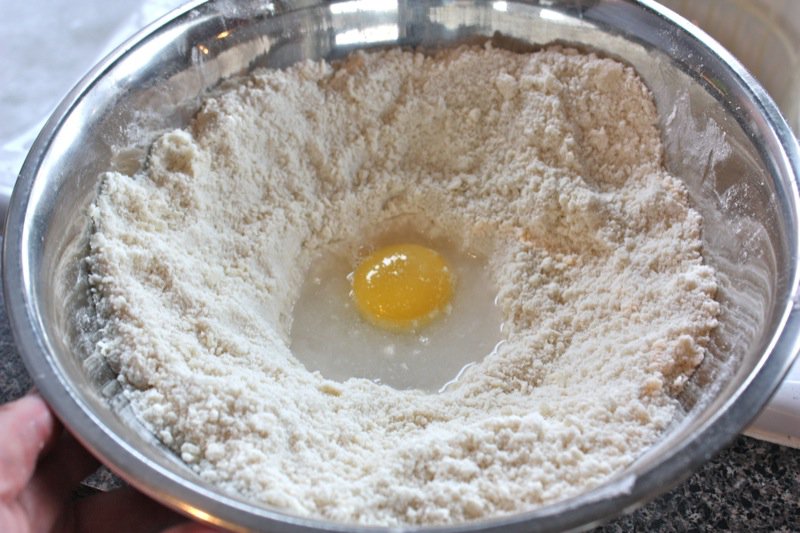
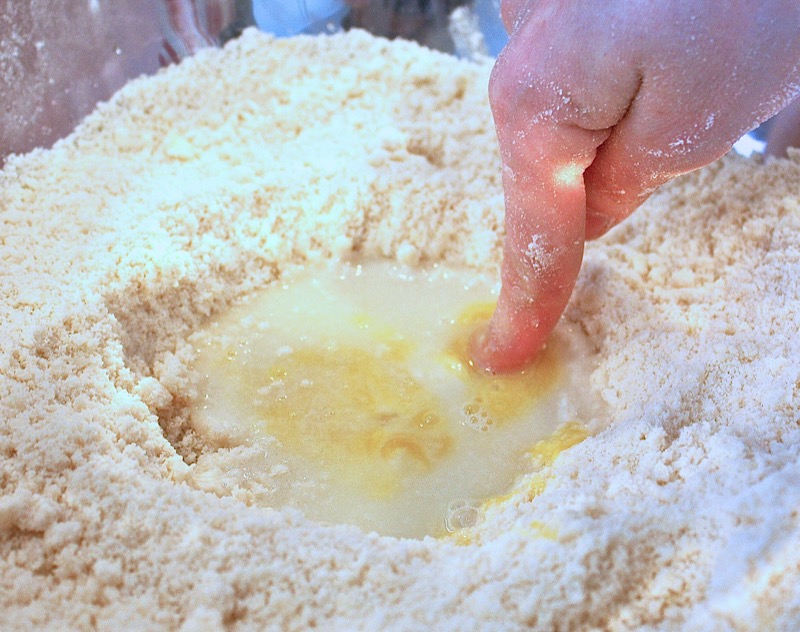
After working the butter into the flour and salt with one’s fingers until oatmeal-like, the egg yolk and water are added to a well made in the middle. The traditional hand method is then to use one finger to work the dry ingredients slowly and purposefully into the wet until full incorporated.
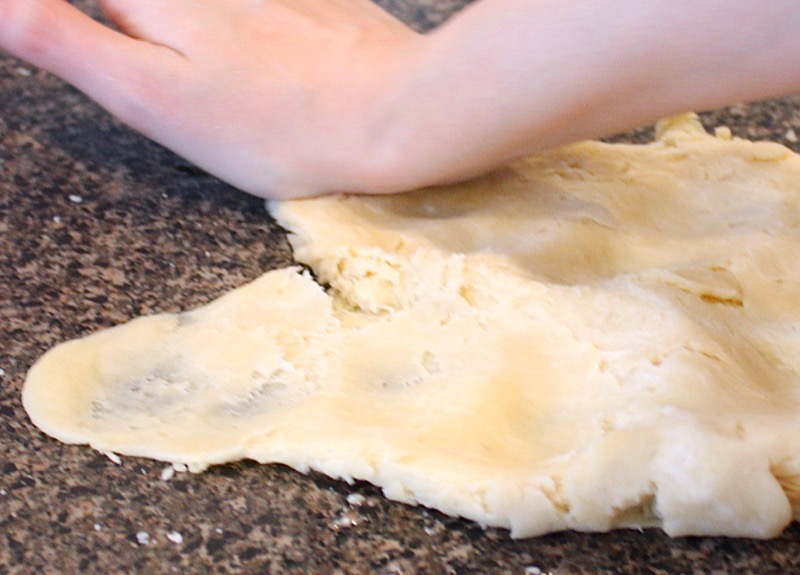
Once that is done, the Fraiser method is applied, and the dough is smeared onto the work surface, using the heel of the hand to incorporate the fat into the pastry until it is homogeneous.
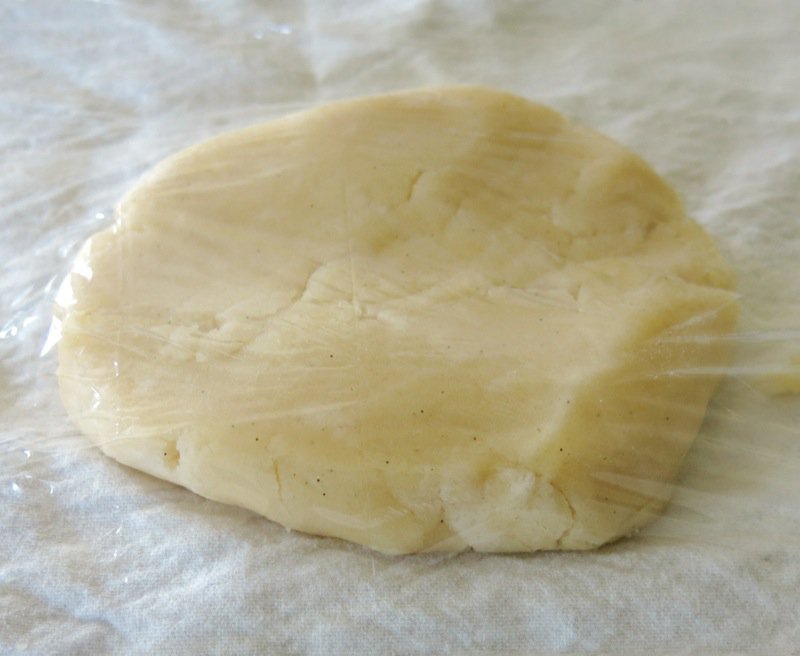
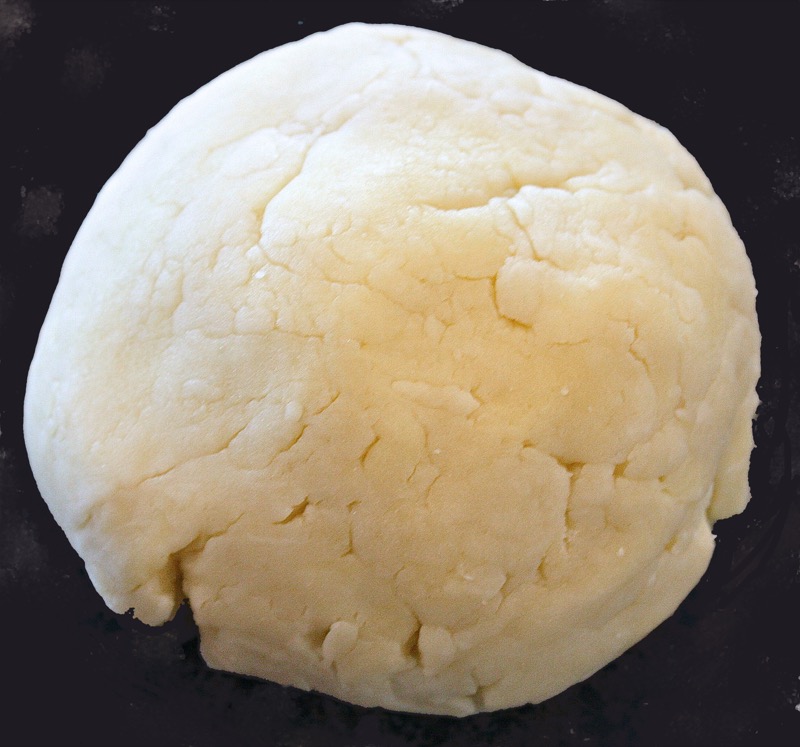
At this point, the dough is wrapped to rest and is ready to use for any recipe you have in mind.
Pate Brisee: Rolling the Dough and Using the Ring Mold

Roll dough on lightly floured parchment paper or mat covered work surface with pastry sleeve on rolling pin. Above, plastic was used to roll over the dough as the pastry sleeves were in the wash.
Place ring mold on parchment covered baking pan. Gently roll dough around pin, and unroll over top of pastry ring. With pin in pastry sleeve (or use plastic wrap over dough) roll over pastry to cut off extra pastry from rim. Remove excess pastry, as in image below. Not sure why, but when the unbaked tart is revealed by pulling away excess dough, I get a little tingly thrill every single time.
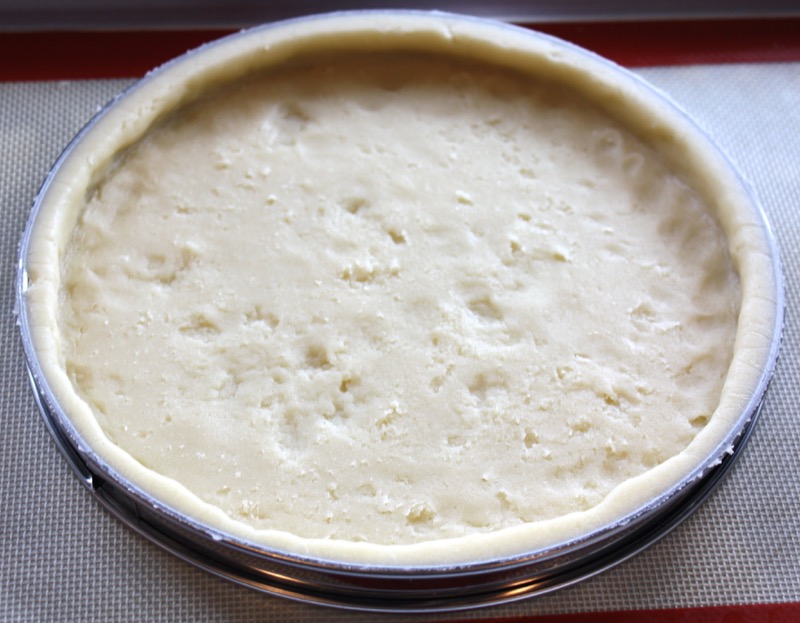
The pastry requires par-baking first to ensure the crust is not soggy on the bottom.
Pate Brisee: Par-baking the Pastry
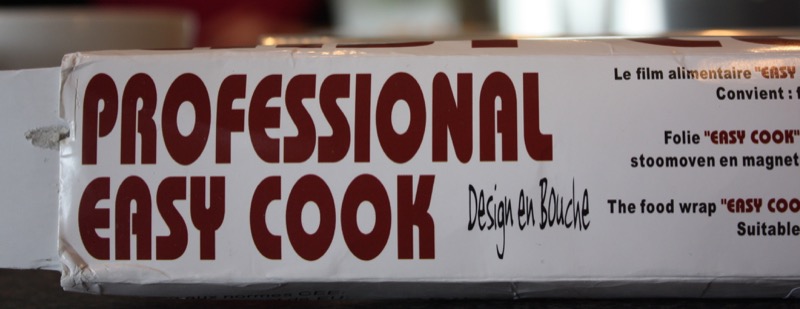
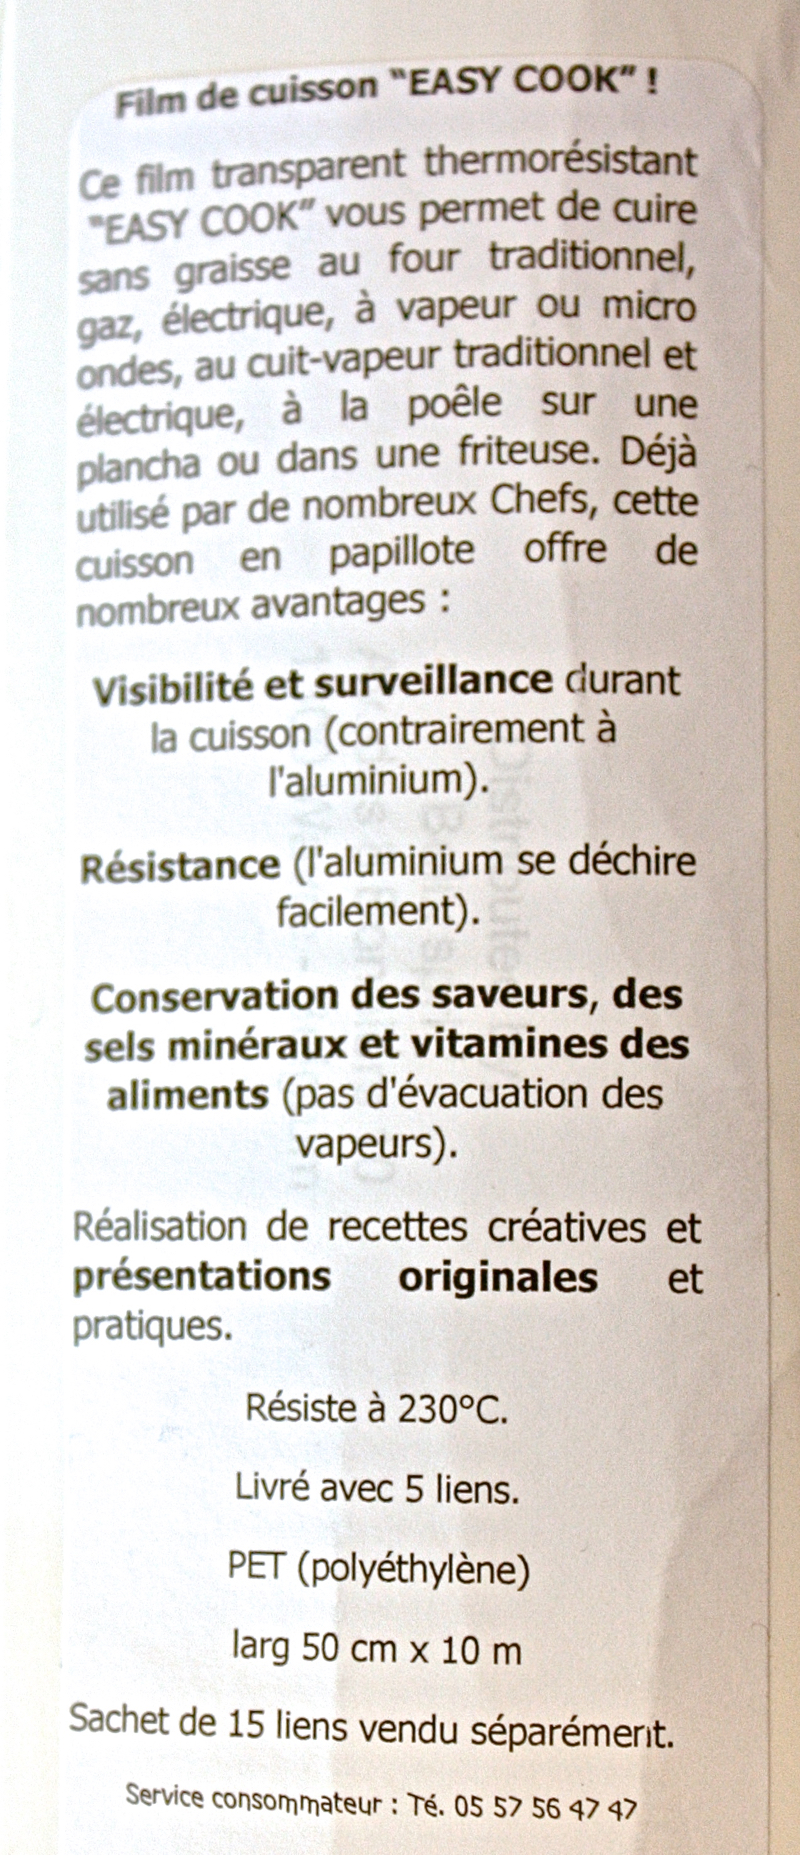
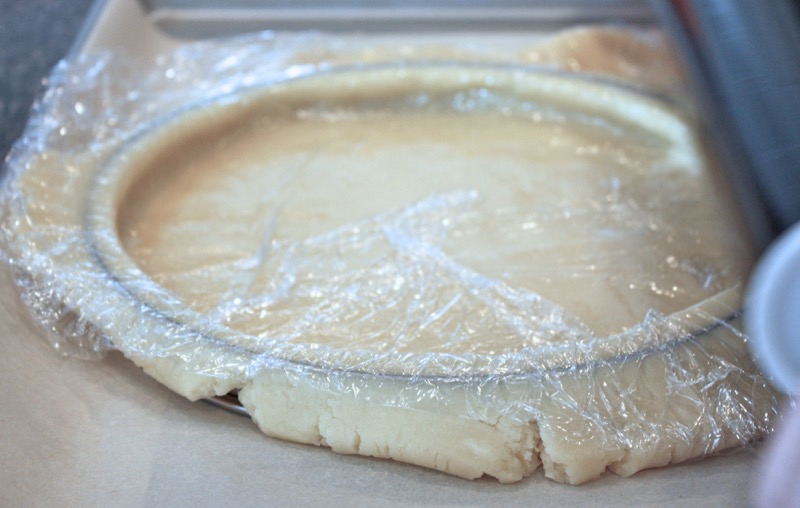
Regular plastic wrap can actually be used at the temperature used to par-bake these tart shells, but it isn’t food safe. Of course, this is a go-to recipe for home bakers in France, so one can find a food safe wrap there for this purpose. I have not found one here, yet, so please do let me know if you find one, as I can stop bringing them home in my suitcase or bribing friends to bring them for me! **PLEASE READ MY AFTERWORD on this topic, below, as I have changed my position on this. **
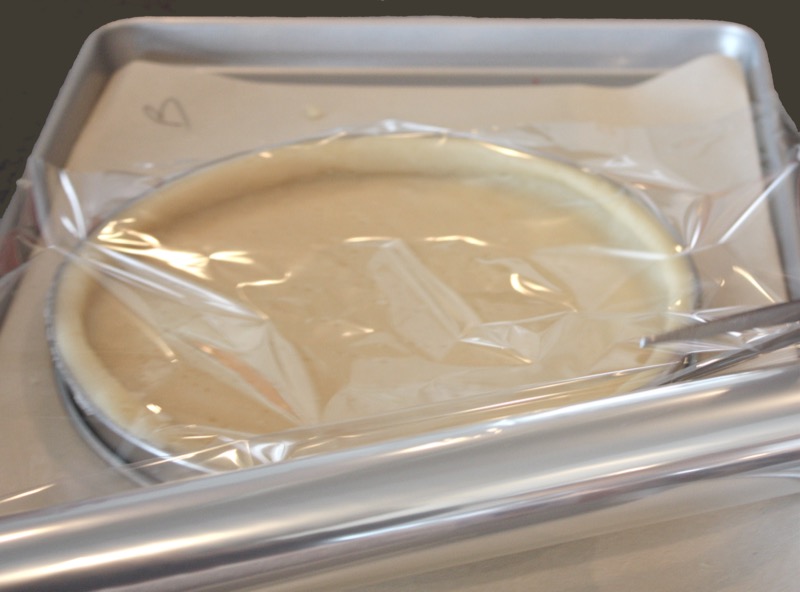
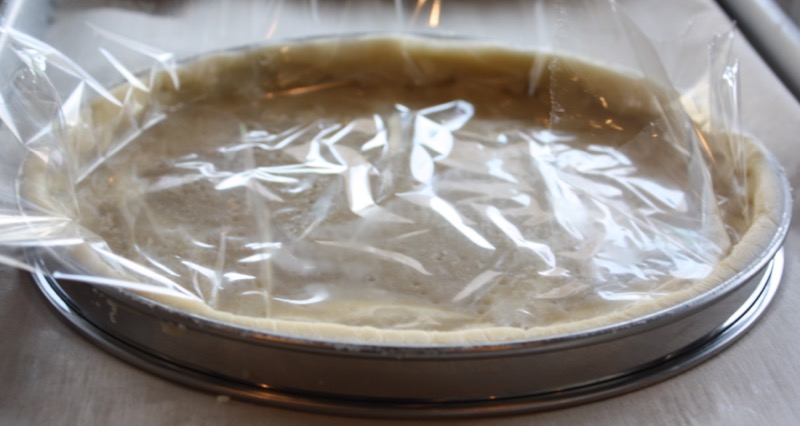
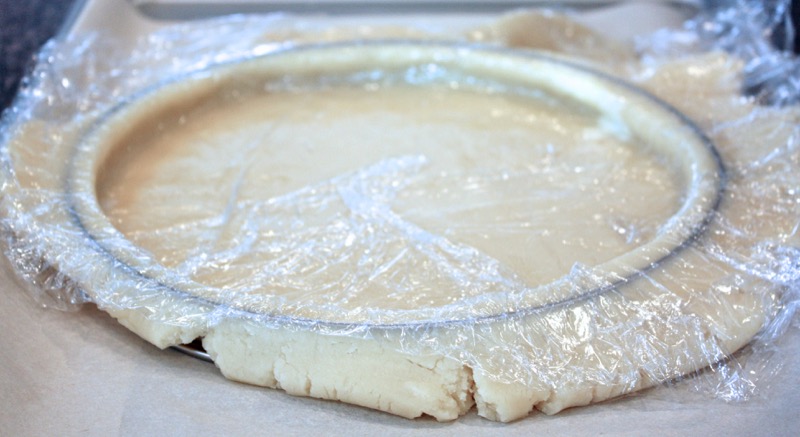
The wrap is rolled over the tart to prepare it for a filling of the necessary rice or beans required to ensure that the sides of the tart don’t shrink and that the bottom doesn’t puff up during the par-baking process.
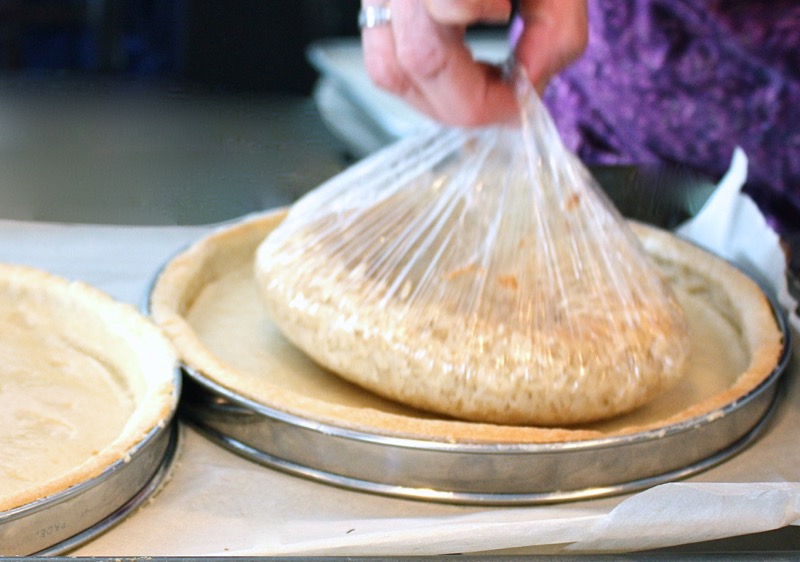
Rice or beans are placed into the cavity, covered with the wrap, and into the oven it goes for the par-bake. When time is up and crust is checked for stability, the plastic and beans or rice is removed and the crust is ready to fill.
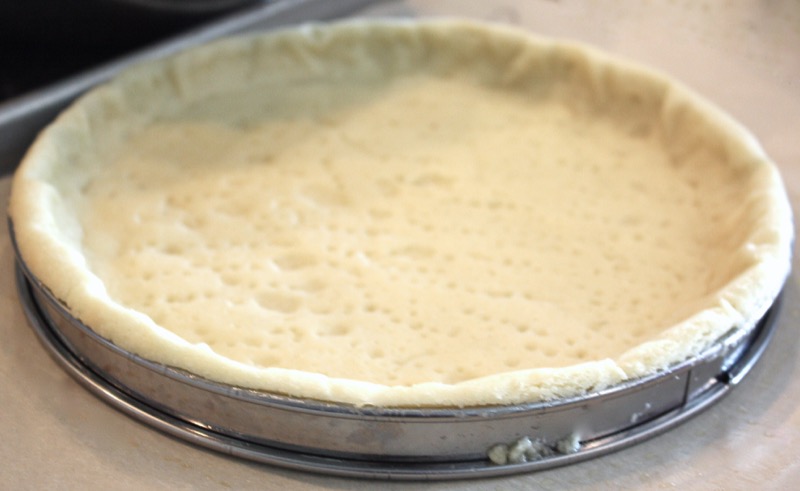
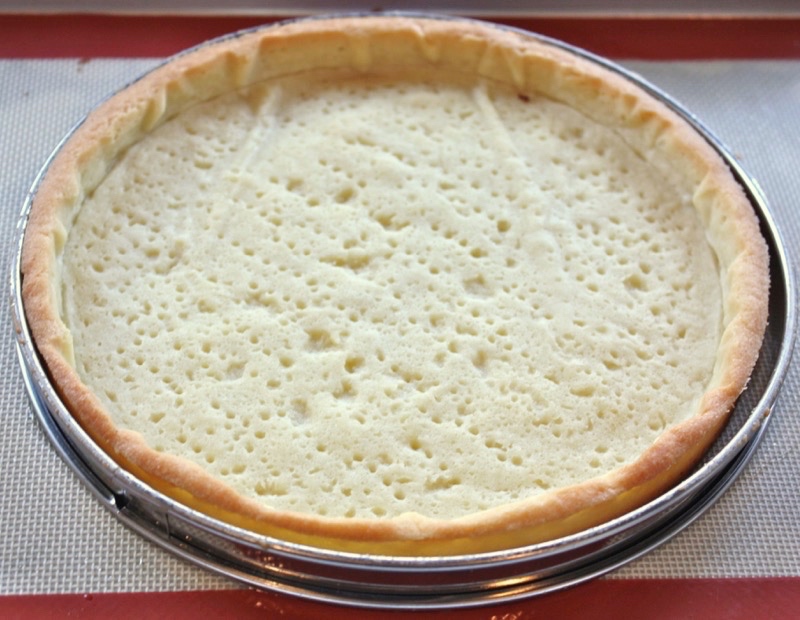
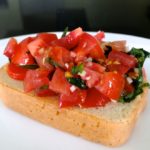
Most savory tarts are not baked until done, as the one below, as usually the filling requires cooking in which case the filling is added and the tart is baked according to the recipe instructions. However, if the filling needs refrigeration instead of baking, the crust is baked until golden, as below.
Important: Afterword about using any kind of plastic when baking
While I have only used food safe plastic when blind baking, I believe it is best practice to avoid any plastic in this day and age, when baking. Fortunately, my friends and readers have chimed in with comments below and provoked a pointed conversation which not only encouraged but convinced me that I have been misguided and in turn am misguiding my readers. Upon further thought, I wholeheartedly agree that using food safe plastic or any kind of plastic when cooking is not a best practice. Do not do it: use parchment, foil, baking cloth. I am looking forward to investigating the options and updating this post about my favourite. Thank you, sincerely, for chiming in and making a difference. 🙂
Pâté Brisée is actually written with these “accents”; however, with search engine SEO (system engine optimization) I cannot use them as then the word cannot be “read” in searches in English.
Pâte Brisée or Traditional Savory French Tart Pastry
Pâte Brisée or Savory French Tart Pastry is easy to make; a welcome change from our traditional lovely flakey North American counterpart. Watch the video within this post to learn the fraiser technique if making by hand.
Ingredients
- Ingredients for the Pâte Brisée:
- 250 g flour (2 cups)
- 125 g butter at room temperature (0.55 cup)
- 1/8 teaspoon salt
- 1 tablespoon sugar
- 1 egg yolk , whisked
- 3 tablespoons water
- (more or less water may be necessary depending on consistency of dough when making by hand)
Instructions
Instructions for Making the Dough:
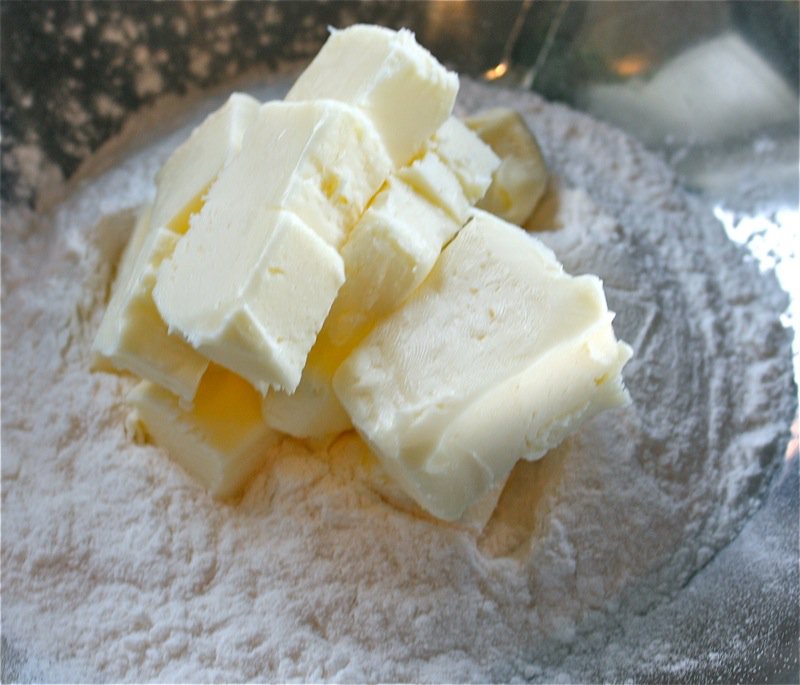
- In large bowl, mix flour with salt; cut the soft butter into small pieces and add to flour/salt mixture: dough should resemble coarse crumbs
- Create a well and pour the egg yolk and the water and combine all ingredients using your finger
- Once it forms a soft ball, engage in the fraiser method* 3 or 4 times, until the dough is homogenous (with attention not to overwork it)
- Dough is ready when it holds together and is soft to the touch
- Gather dough into a ball, cover with a plastic wrap and place in the refrigerator for approximately 30 minutes
- Roll out the dough between two sheets of cling wrap and place into mold/ring
- Preheat oven to 360 degrees F
- Poke holes in the dough, line the crust with plastic wrap and fill it with beans or rice to keep the bottom from puffing and the sides from falling
- Prebake shell for 15-18 minutes
- Fill with whatever you are making
- Bake for 30 – 40 minutes (until cooked)
Instructions for Thermomix:
- Weigh flour and salt into TM bowl; mix to combine for 5 seconds, speed 4
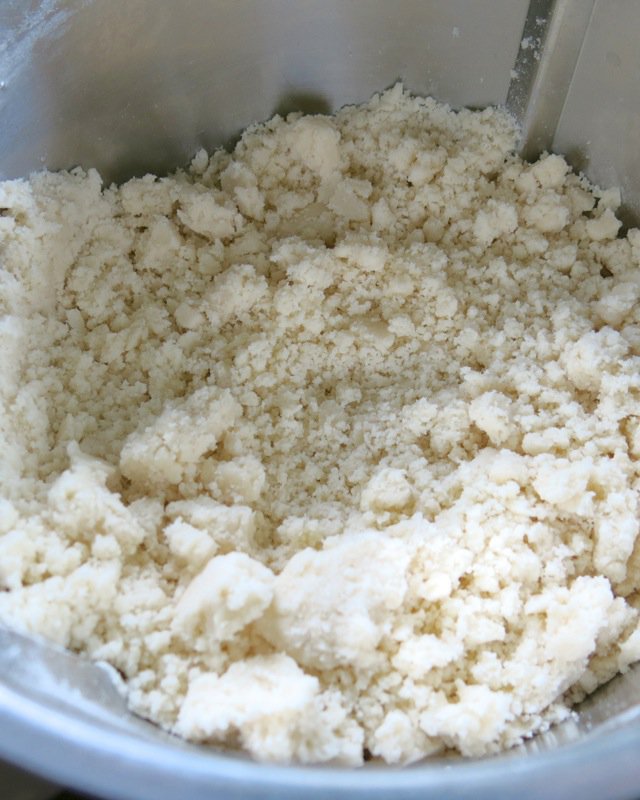
- Weigh butter into TM bowl by pinching small pieces into it; combine until resembling course meal for 2 seconds on Turbo one or two times
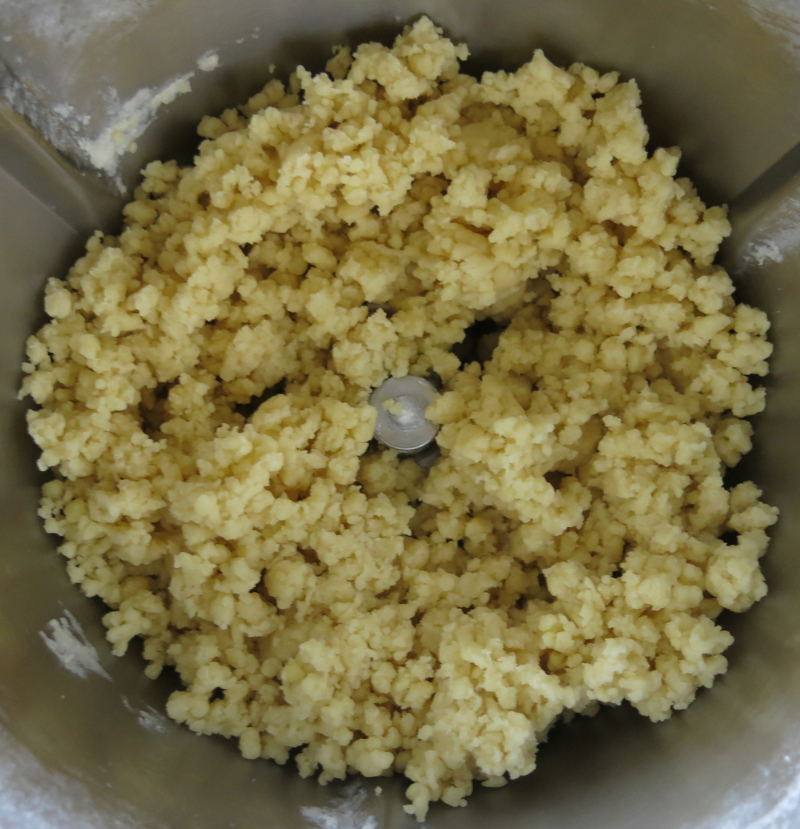
- Whisk egg yolk together with water; pour into TM bowl and combine for 2 seconds on Turbo one time (ingredients should be completely incorporated into small balls of pastry)
- Combine for 2 seconds on Turbo one more time to bring ingredients together into one homogeneous ball if you have experience with what that should look like OR to avoid overworking the dough...
- Remove dough from TM bowl and engage in the fraiser method* 3 or 4 times, until the dough is homogenous (with attention not to overwork it)
- Dough is ready when it holds together and is soft to the touch
- Gather dough into a ball, cover with a plastic wrap and place in the refrigerator for approximately 30 minutes
- Roll out the dough between two sheets of cling wrap and place into mold/ring
- Preheat oven to 360 degrees F
- Poke holes in the dough, line the crust with plastic wrap and fill it with beans or rice to keep the bottom from puffing and the sides from falling
- Prebake shell for 15-18 minutes
- Fill with whatever you are making
- Bake for 30 – 40 minutes (until cooked)
Notes


Valerie: This looks like another one of your really amazing recipes that I want to try. I had a thought about the food safe plastic you use: would those “bake in the bag” bags work for this purpose? I always use cheesecloth as this is how I was taught while still young and learning to bake, thus have never tried plastic. Brendi
“Regular plastic wrap can actually be used at the temperature used to par-bake these tart shells, but it isn’t so food safe. ”
Recommending something that “isn’t so food safe” in this day & age is a definite no no .. i do understand the principle but …
parchment paper is available everywhere & works just fine
Thanks Karina! 🙂
I didn’t recommend it. I stated a fact. I truly don’t know how food safe it is or it isn’t. Do you? Tried to find out but my searching wasn’t conclusive at all. Sincerely,
Valerie
Karina sent me this email with permission to post it in comments:
Why take a chance Valerie when there are better/healthier alternatives. I realize that u didn’t recommend plastic wrap but stating that u use it would still be an endorsement for many …
I am quoting a couple of sites where discussions occurred. Most are merely statements from people but …
“My box of Saran Cling Plus says on the box “Not for use in browning units, conventional ovens, stovetops or toaster ovens.”
Look on your Saran Wrap box – there should be something similar – ”
“FOR THE RECORD – Back to Basics
Los Angeles Times Thursday March 30, 1989 Home Edition Food Part 8 Page 32 Column 4 Food Desk 1 inches; 28 words Type of Material: Correction; Column
A reader questioned our use of plastic wrap to line the pie shell for blind baking in the March 23 Back to Basics column. A check with manufacturers of the product revealed that foil might be a better choice.”
My philosophy has always been to use the healthiest products available especially when it may be a potential toxin ..
I am just wanting to be clear here & u asked for my comments back ????.. Karina
Hey Val,
There are baking bags available, with small vent-holes.
However, I wouldn’t do it. Check out the research done 5-10 years ago, following the bPA thang. Bottom line is that plastics soften and go through chemical changes, including degradtion and release of additives, many of which are toxic, are endocrine disruptors other than bPA, etc.
FWIW, cotton withstands well over 300 deg F. And linen does much better. Linen used to be used for ironing-board covers, remember, because it didn’t scorch.
http://www.babygreenthumb.com/p-122-safe-plastic-numbers-guide.aspx
But more impartantly:
https://www.ncbi.nlm.nih.gov/pmc/articles/PMC3222987/
— frances
Thanks, Frances,
I know that, too. I totally agree that using plastic wrap isn’t a good idea and I am going to edit my post to be strong about my view as it is clearly easily misinterpretted. I would just like to delete it, now – but have to honor the conversation. In any case, I think that Karina is also referring to the oven safe plastic I do use – and maybe you are, too. So, both of you are absolutely right. To avoid any misunderstanding, misguidance and to honor best practice and best healthy choices – which is clearly what I am fervent about – I will definitely revise my comment above to make my position completely clear and recommend using cloth or parchment. I don’t use parchment as it is not pliable enough for the often too delicate pastries and pushes marks into them. However, Brendi suggested cheesecloth in another post. I have to try that.
Hugs to you all for chiming in and joining the conversation, for the information, for the passion and the sticking with the process. That’s why I do what I do and am so grateful to my community of like-minded friends.
Hugs,
Valerie
I always use baking paper between baking weights and the pastry shell. Occasionally you may end up with a very small amount (like a few spots) of the pasty sticking to the paper but this is rare. 100% recommend just using baking paper, it’s not toxic and easy to find everywhere.
Good call, Isabella
THANK YOU!
Hugs
Valerie