Mary Karlin’s Artisan Cheese Making at Home, Chapter 4, page 180
This recipe is inspired by the Award Wining Buttermilk Blue from Roth Käse in Wisconson and is still aging in my cave… I will definitely be completing this post when the cheese has properly aged and been tasted.
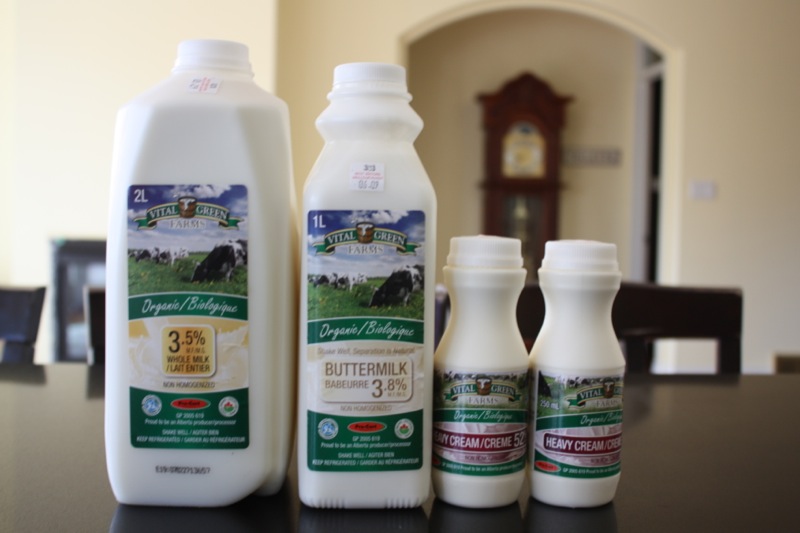
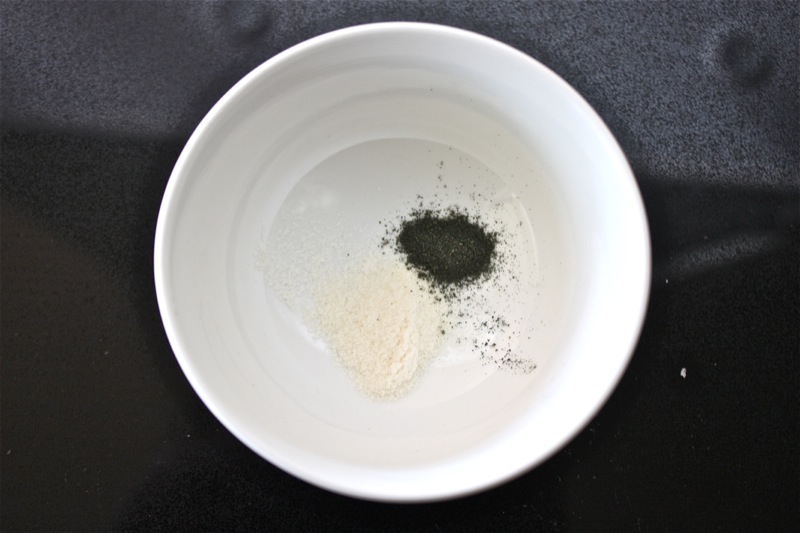
The ingredients have become very familiar: milk, culture, calcium chloride, rennet and salt. In this case, a little bit of luxury: 500mL of 52% cream. Deadly!
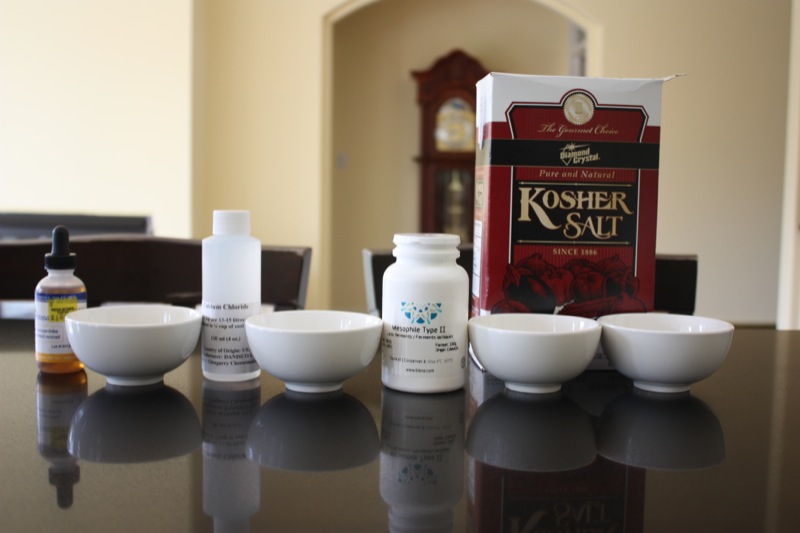
When lining up the ingredients, put them in order. Can you see my error, below?
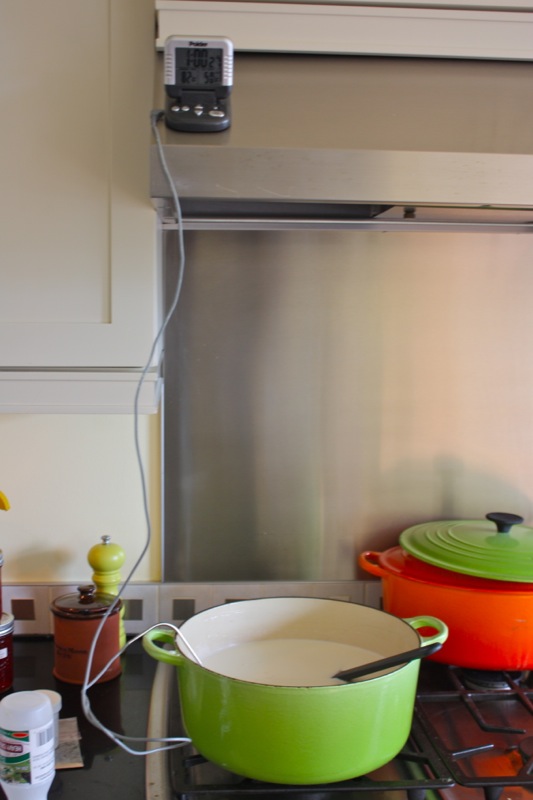
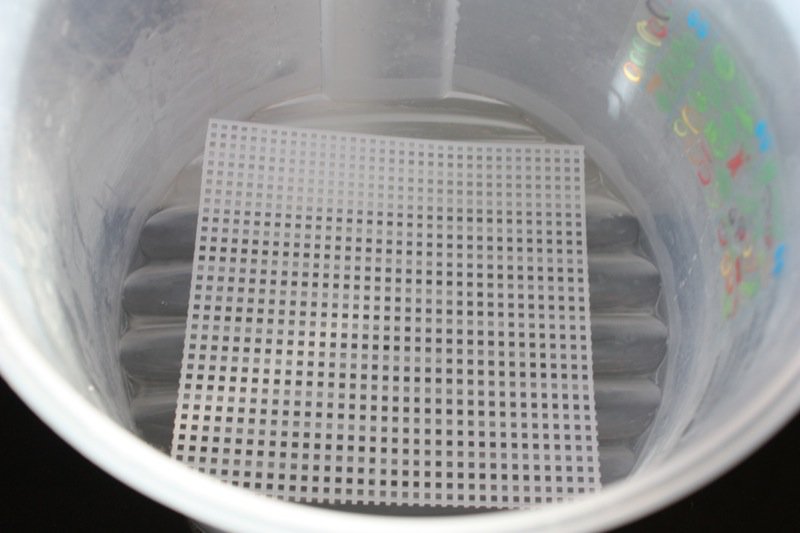
My first time doing a blue or a bleu, so I am excited to try this mould. My set up, as always, below.
Somehow, I didn’t think about the fact that the mould would be black, or blue. I thought what grew from it would be that colour.
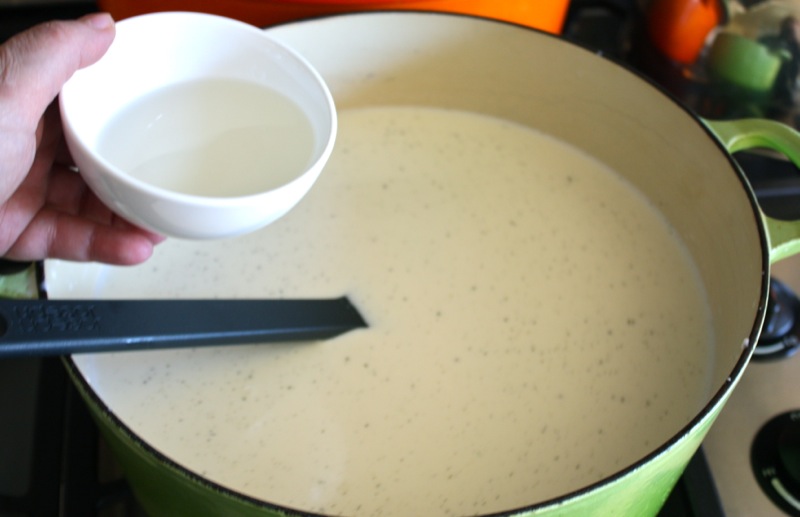
What goes in first, calcium chloride, or rennet? Does it matter? Yes! Calcium chloride is added back into the pasteurized milk. Raw milk doesn’t need this added as it contains an abundant amount of it, but the pasteurization process destroys a lot of the calcium in the milk, and it needs to be added back to enable the rennet to get a firm set. What does that mean? If the rennet is added first, you will not have a strong set.
I learned this the hard way. Thankfully, my curds set, but they were very soft, and certainly not gelatinous, as described in the recipe. I was lucky as my milk underwent a very low pasteurization process. The curds did not shatter; they were “cottage cheesy”, not stringy like a shattered curd.
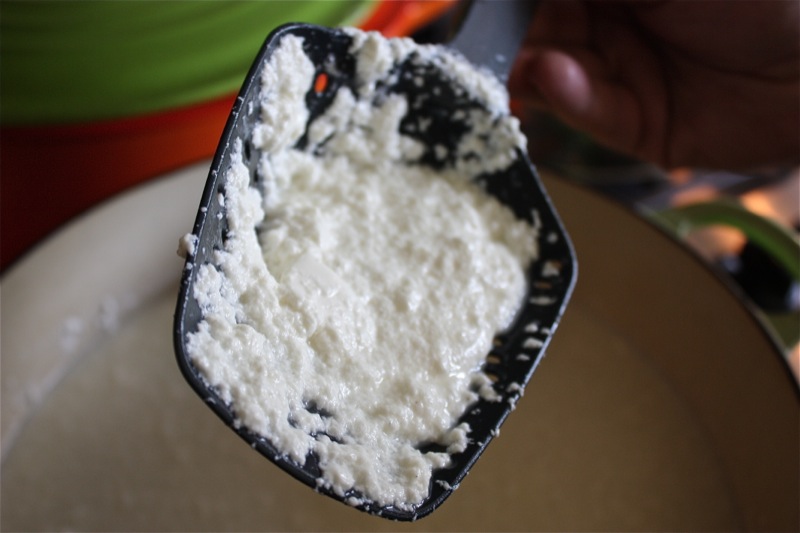
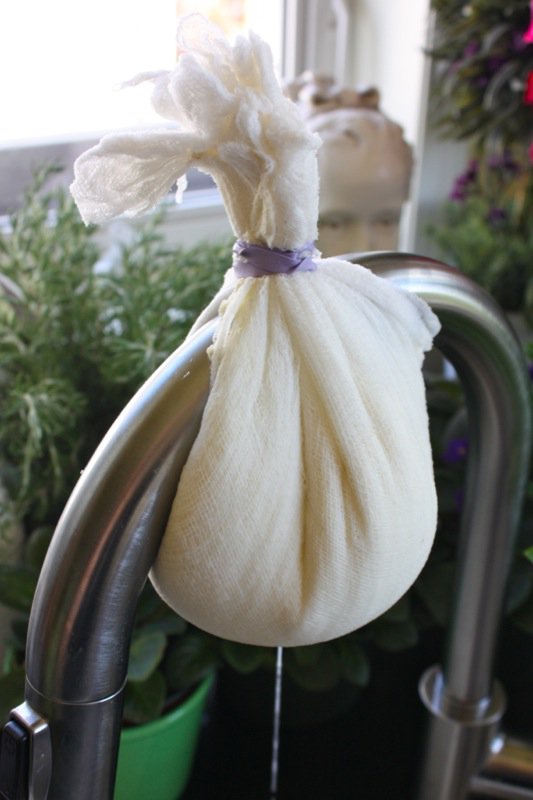
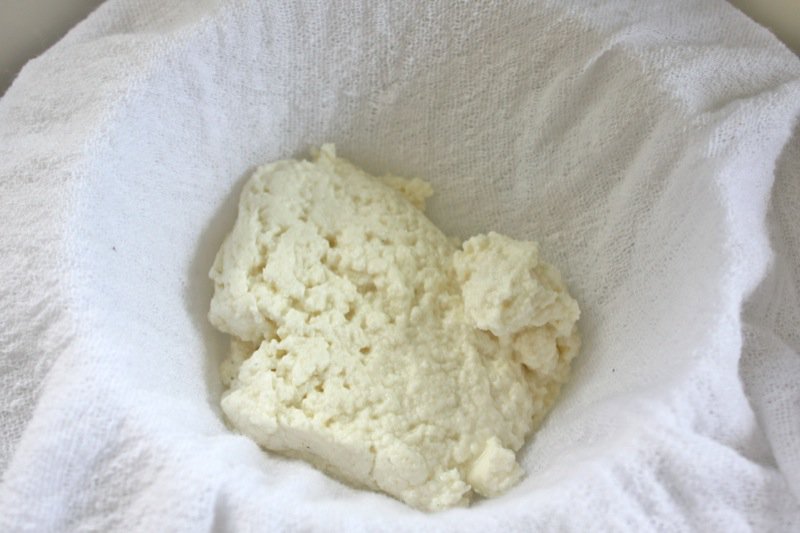
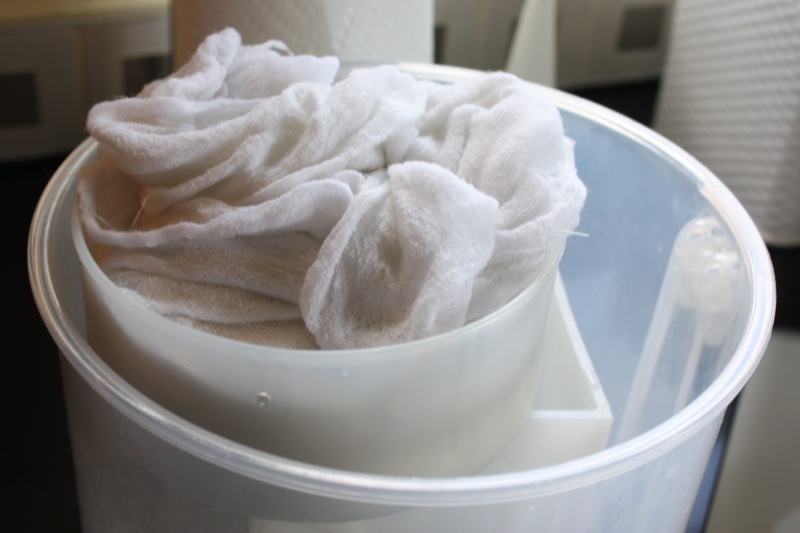
After capturing the curd in a fine cheese cloth or butter muslin, they were hung until the whey stopped dripping from the bag. This is a process I haven’t used since making fresh cheeses like chèvre or ricotta last fall.
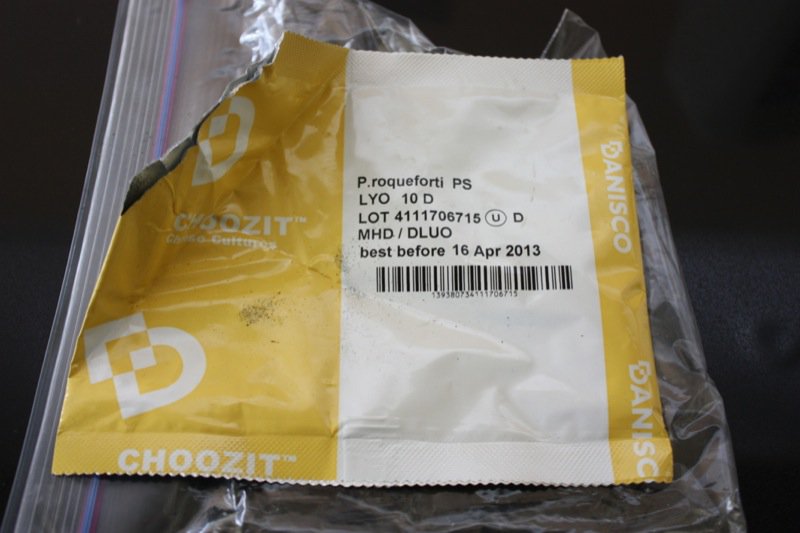
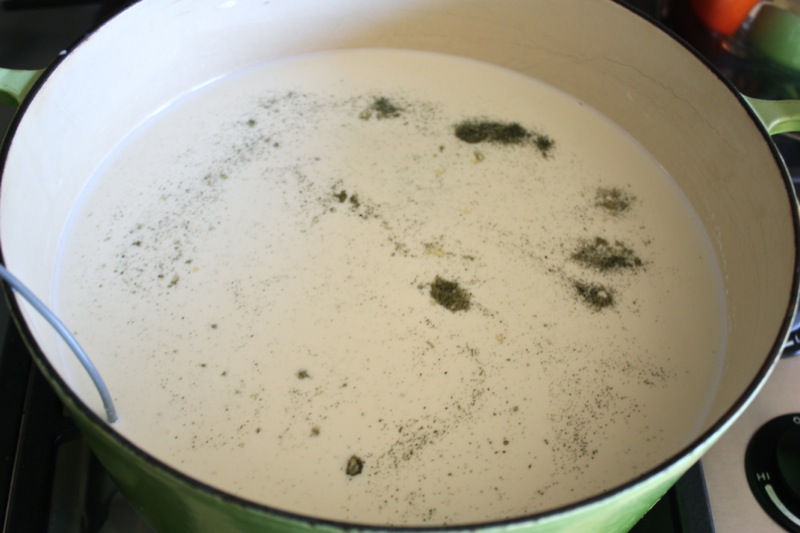
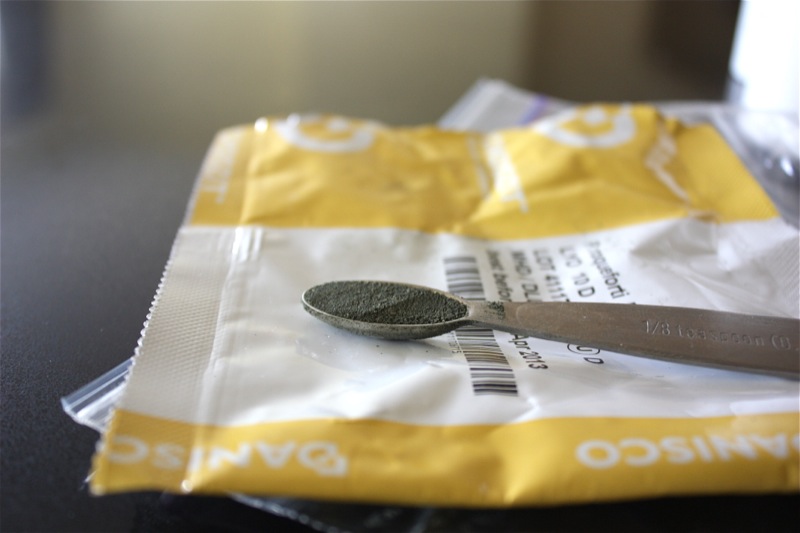
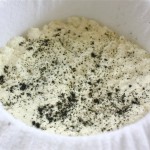
I had added a pinch of the mould to the culture and the milk, earlier, but now 1/8th of a teaspoon will be divided three ways. I was surprised it actually went that far. It is light and powdery; using a deft hand, it can be easily sprinkled on each layer of the cheese. I also learned this my usual way: making a mistake, first!
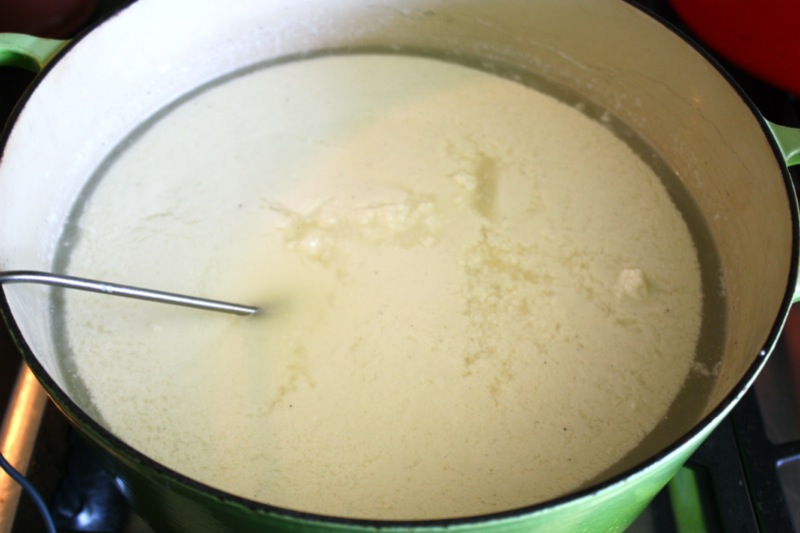
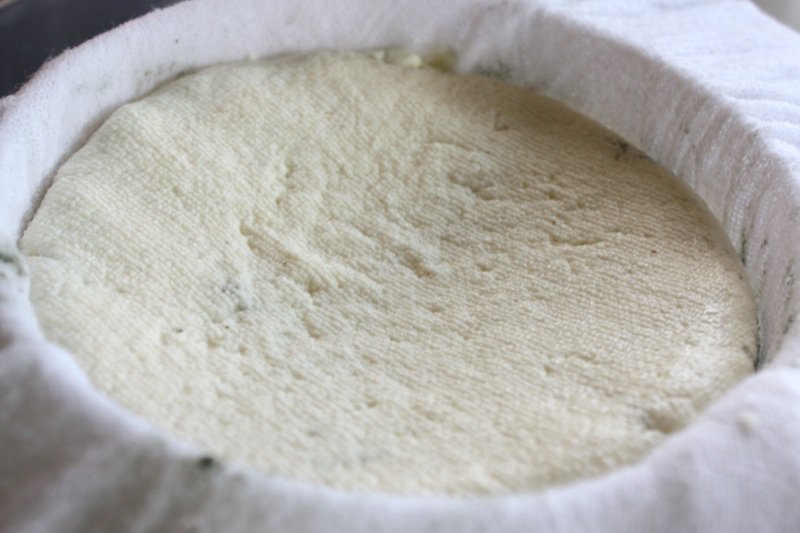
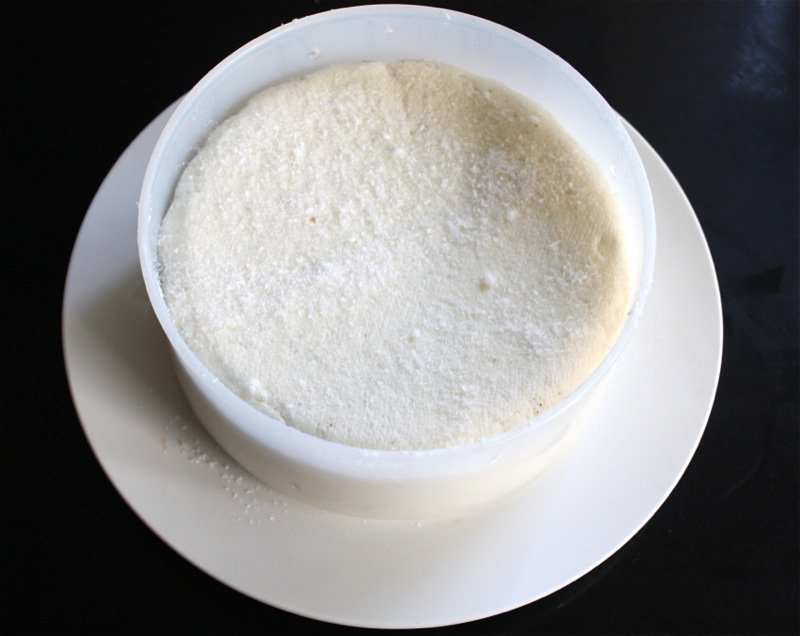
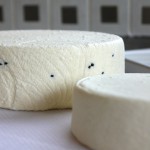
I was tickled to see the lovely curd. Knowing it was to be hung, I understood it would be a fine, creamy texture. I was thrilled to see the consistency and that it aligned to the times given in the recipe.
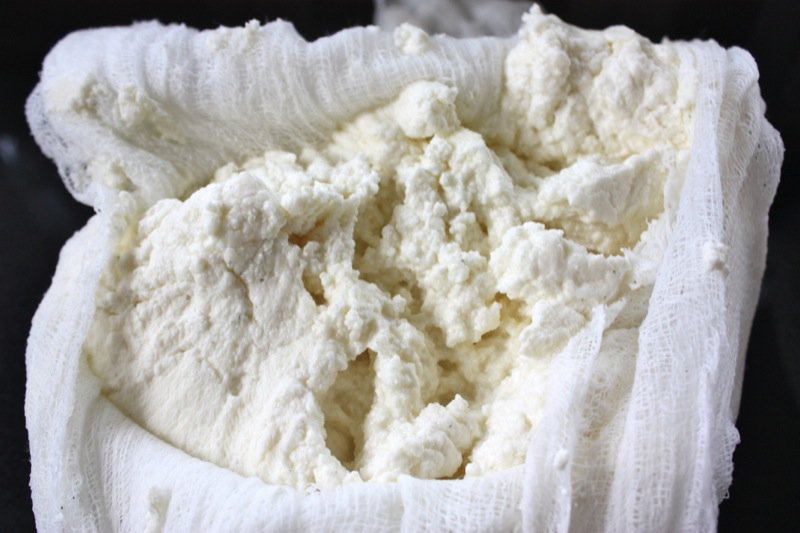
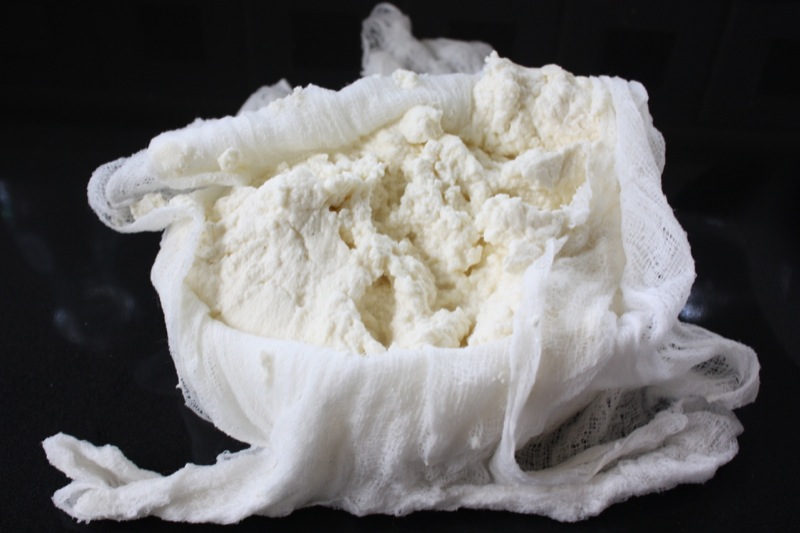
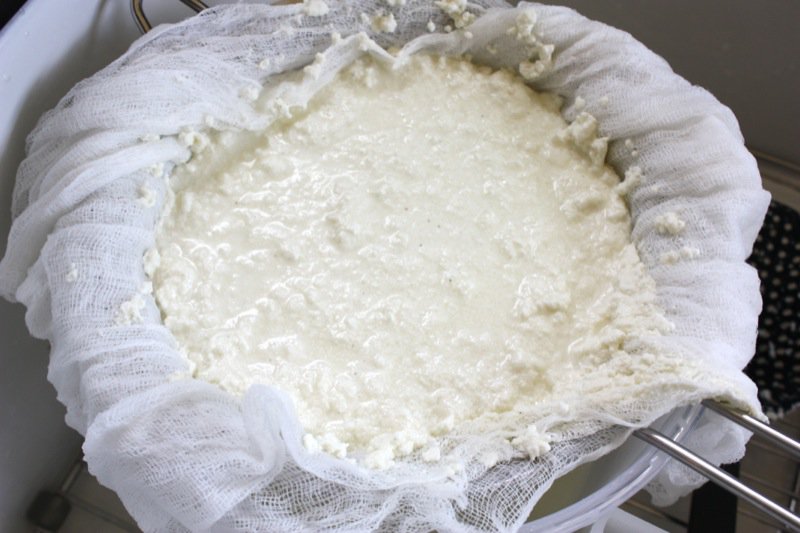
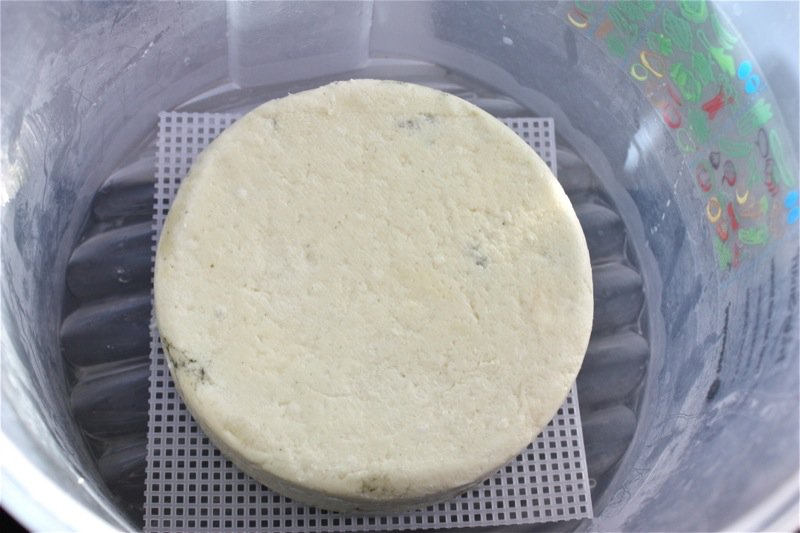
I opened the curd package, above, and divided it by eye, into four: one forth goes into the mould, is flattened, and is topped by sprinkling 1/3 of the blue mould onto each of the three layers.
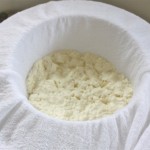
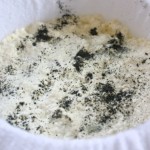
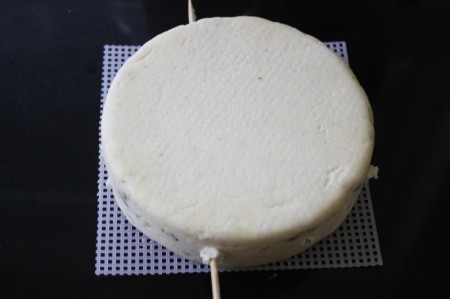
The last portion goes on top and is to be about an inch lower than the lip of the 4 inch Camembert mould.

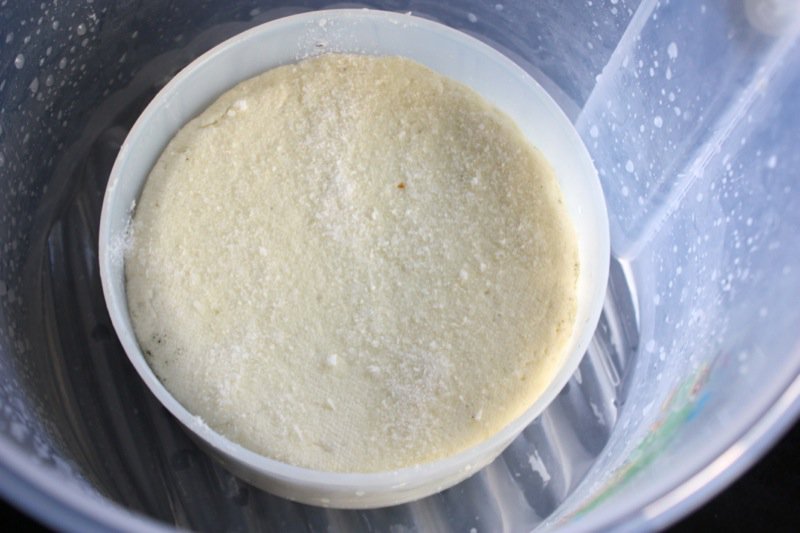
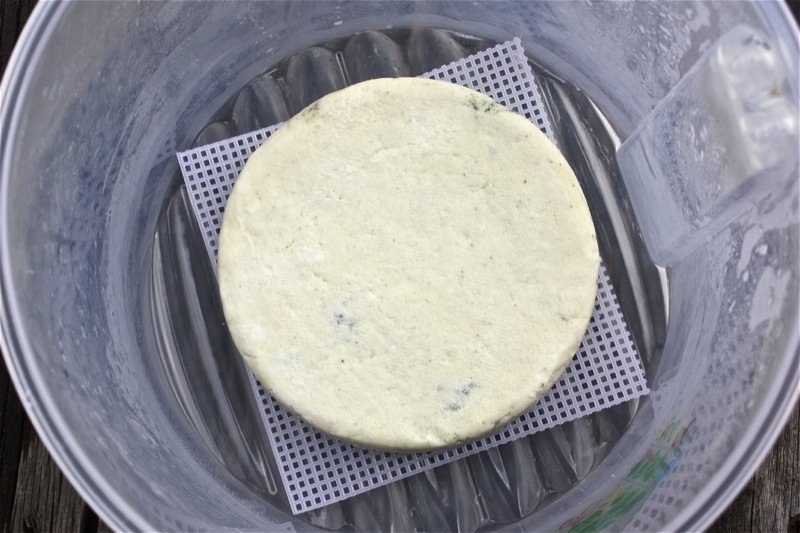
The cheese now sits for 4 hours, then gets turned over and sits another 4 hours. The whey continues to expel.
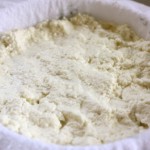
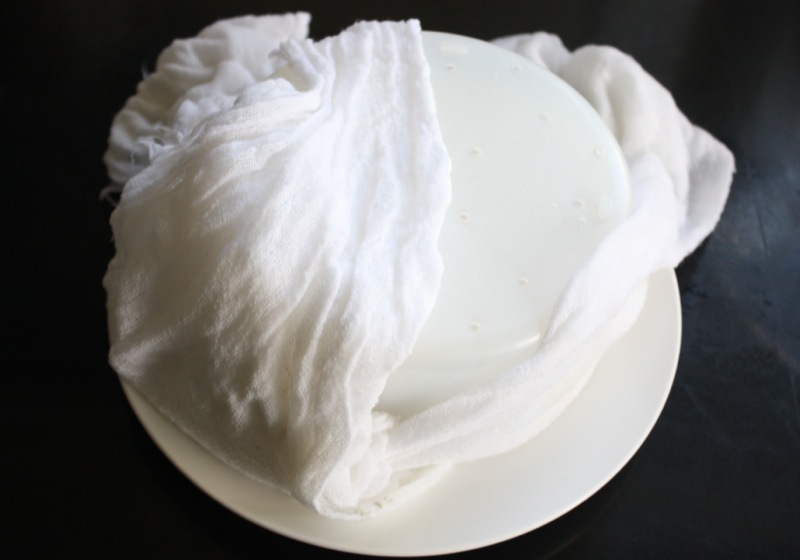
You can see how delicate the disc is at this stage, below.
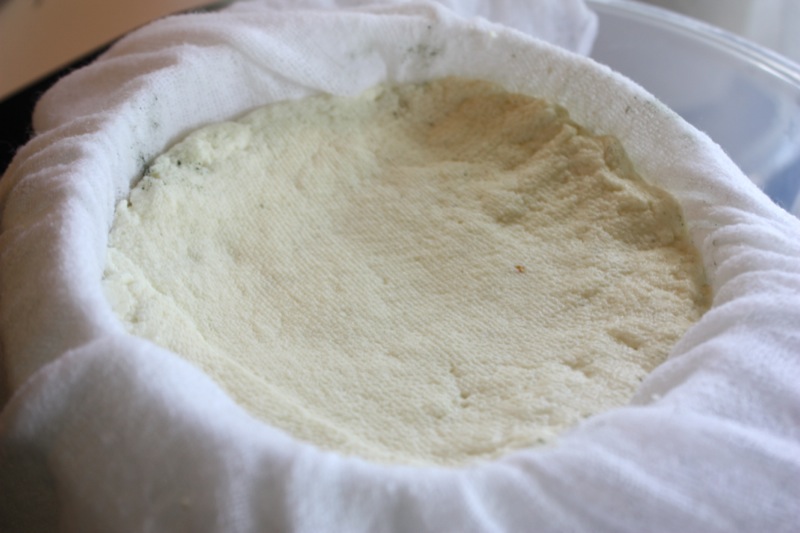
After the last 4 hours, the cheese is removed from the mould…
….turned over and salted, resting for 10 minutes.
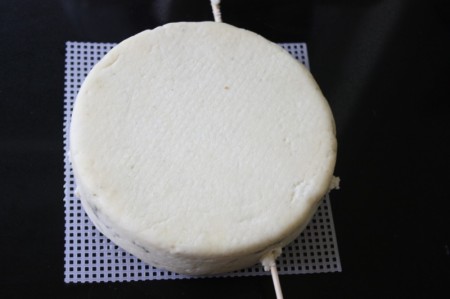
Turned over again, and salted so both sides have had a salt sprinkle. The disc is left in the mould for the next 5 hours, or in my case, overnight, inside of a ripening box, lid off, at room temperature.
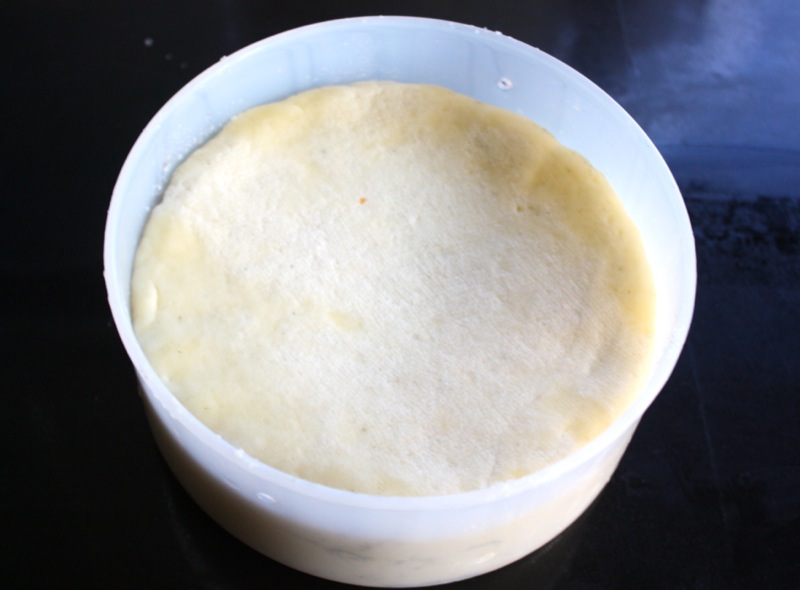
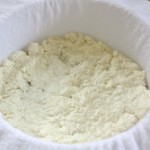
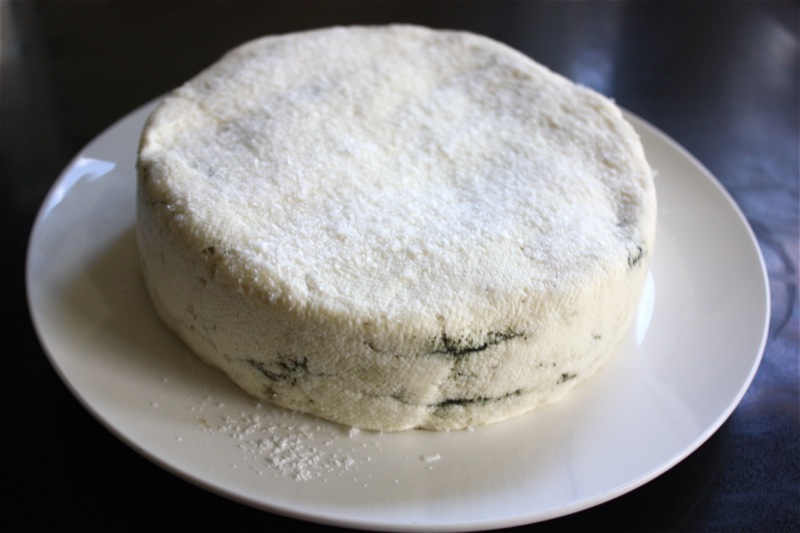
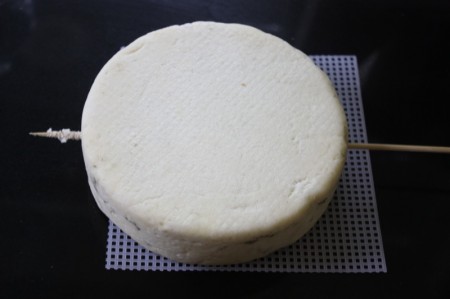
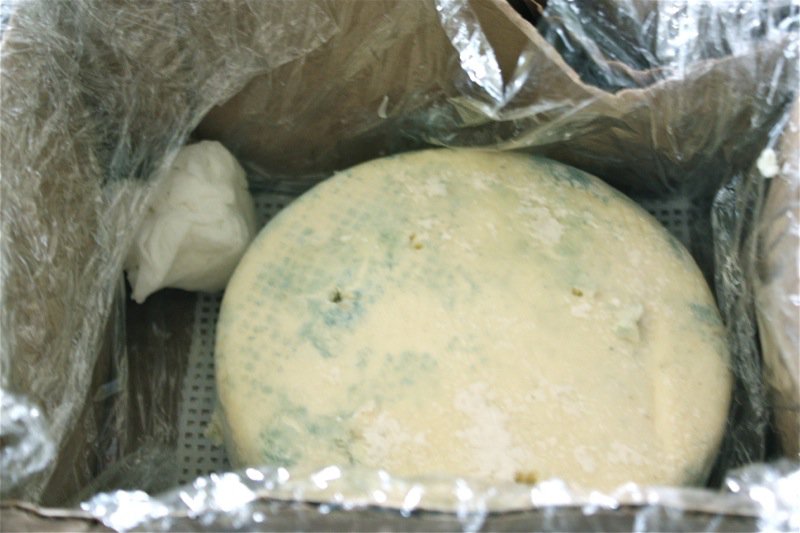
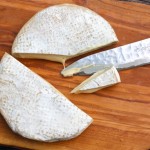
It is apparent that the cheese has aged overnight. Out of the mould now, to be placed in the ripening box at 50-55°F and 90% humidity, turned daily.
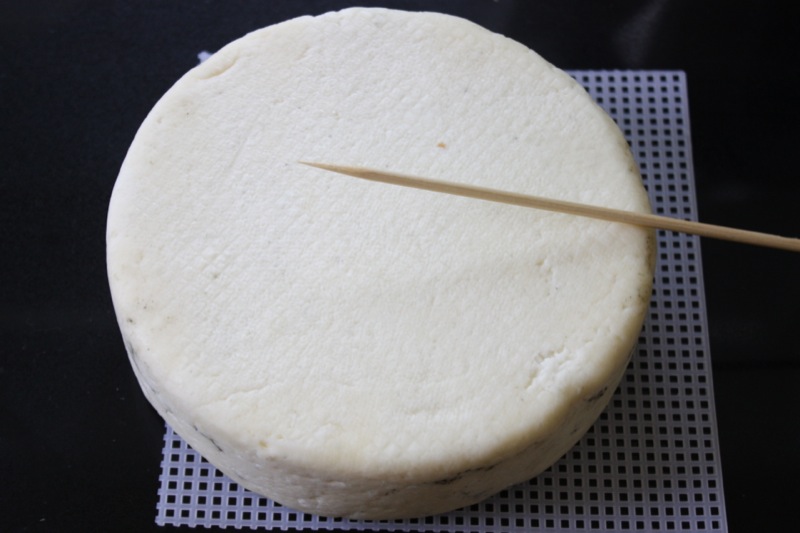
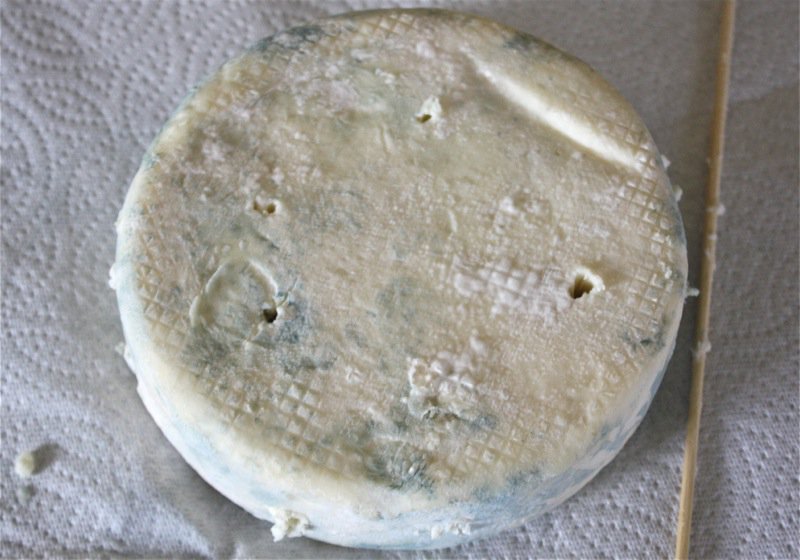
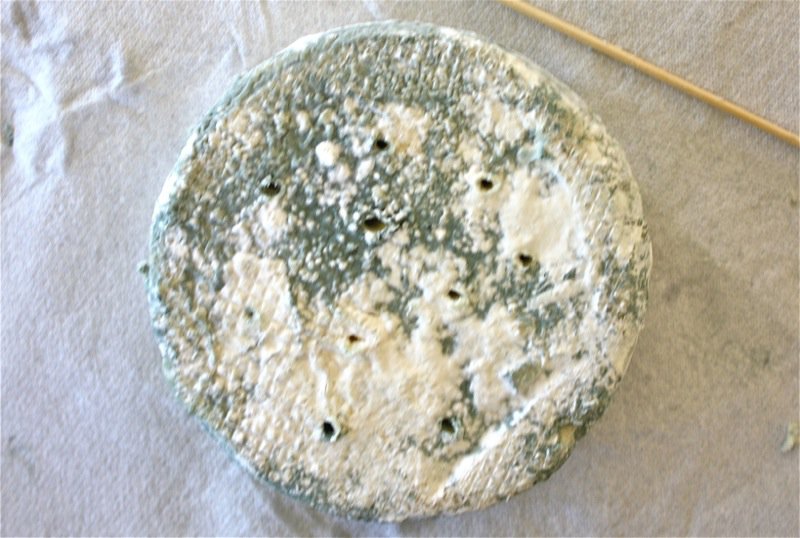
I turned the cheese daily, wiping off the lid and sides, yet keeping the ripening box humid. There was no whey at all the morning of the third day, so it was time to pierce the cheese 4 times horizontally, and 4 times vertically: all the way through. The aroma of the cheese was sweet. The taste of the crumb on the skewer was ripe with zippy tang.

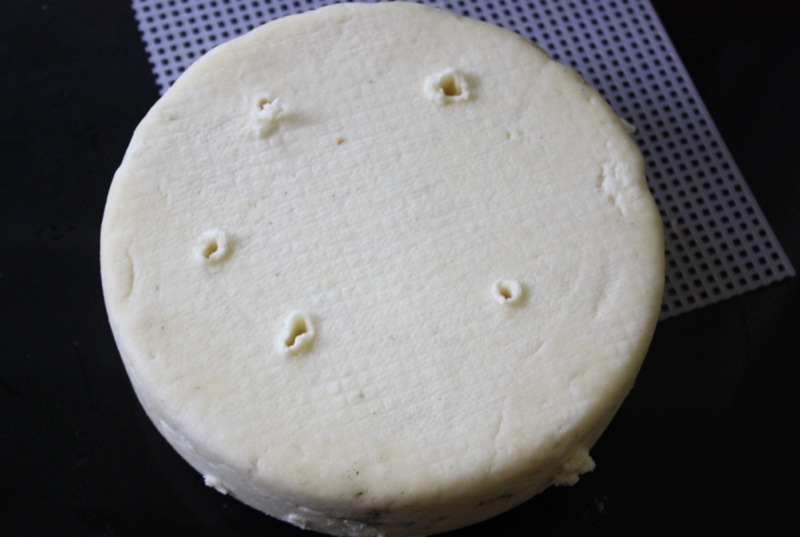
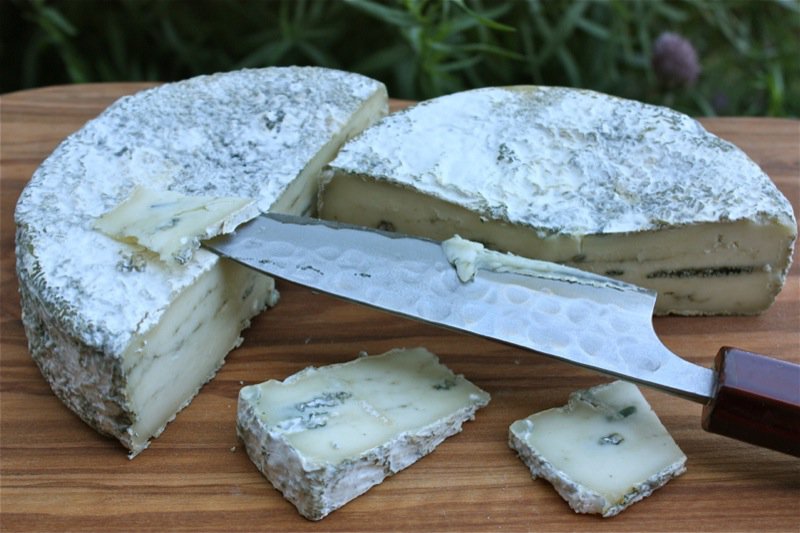
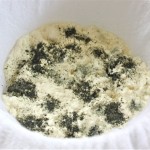
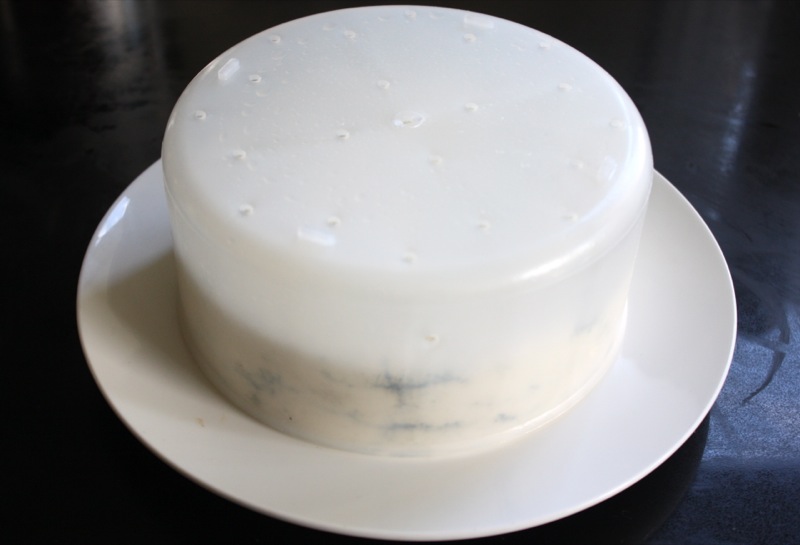
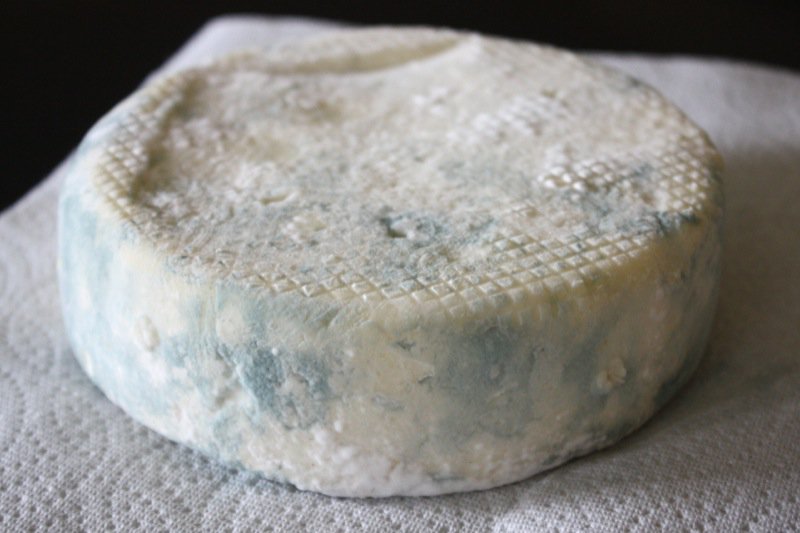
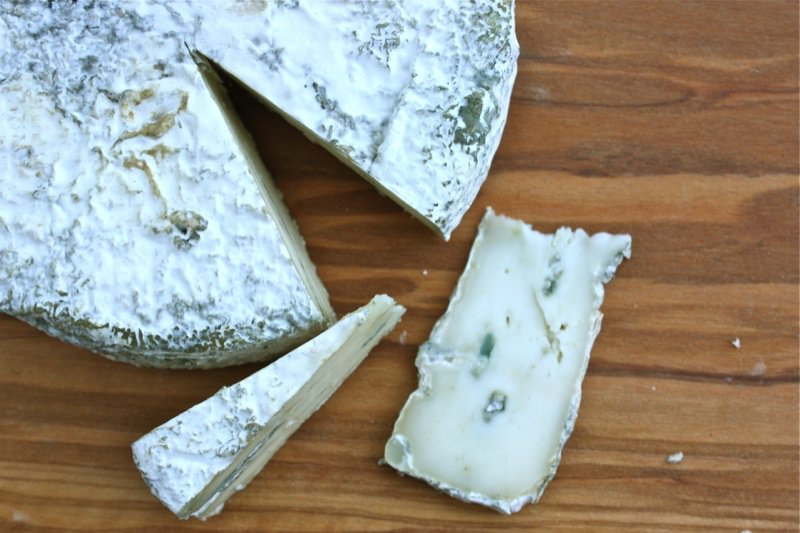
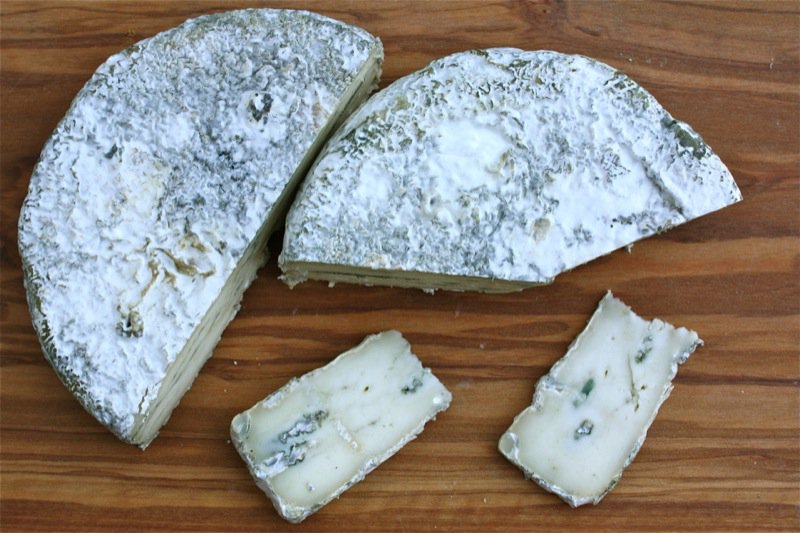
Yes, I can count. I wanted more blue into a spot I had missed. The cheese will age now for two more weeks in the ripening box and be pierce in the same places two more times. It will continue to be flipped daily for the entire ripening time. Ten days from the piercing day, mould should appear on the surface. Photos below tell the aging story….
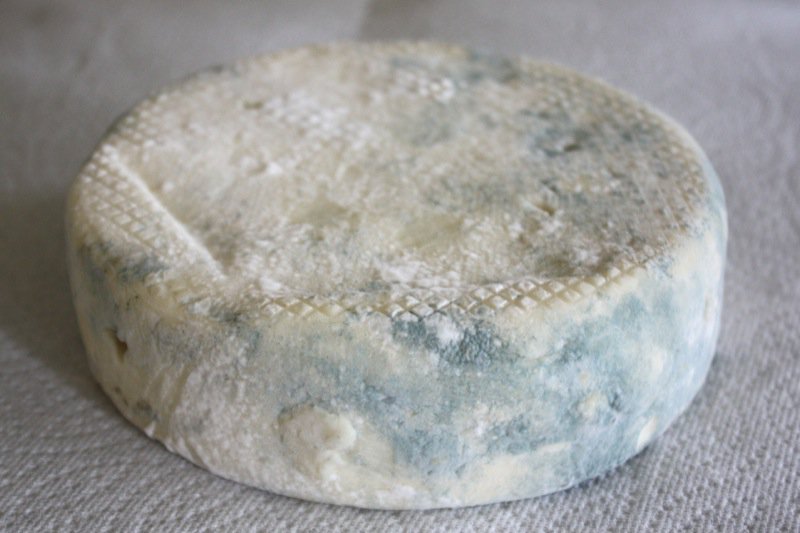
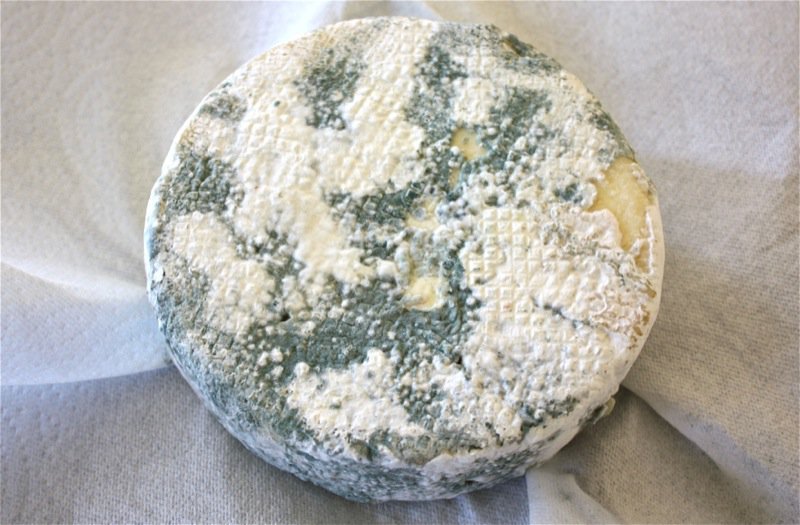
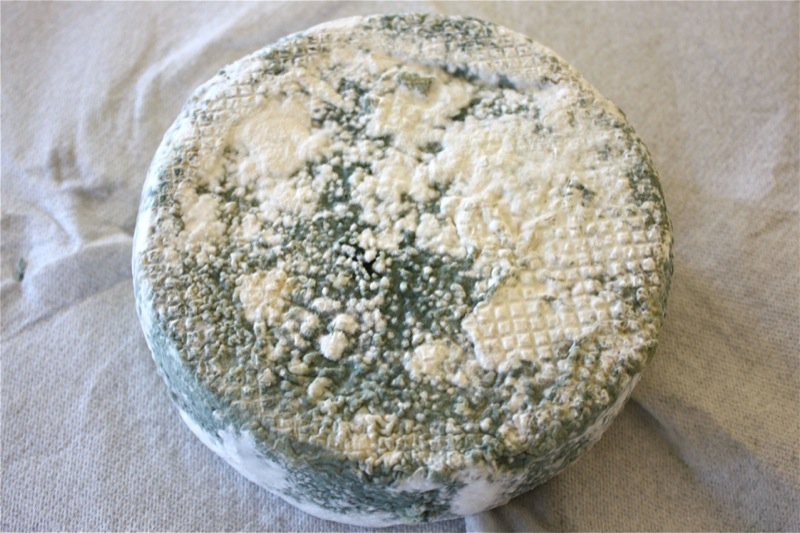
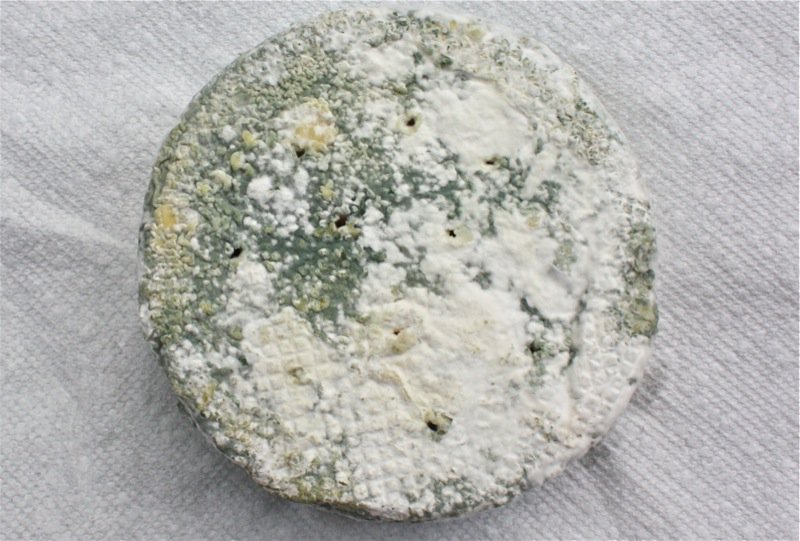
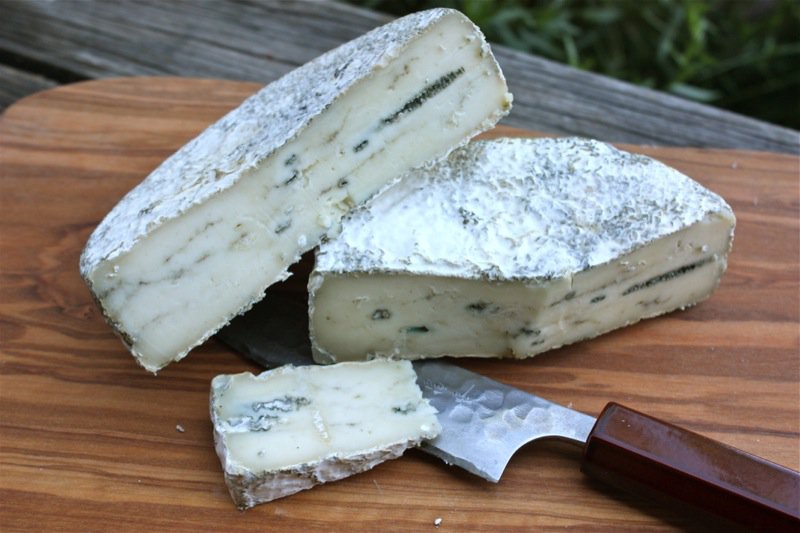
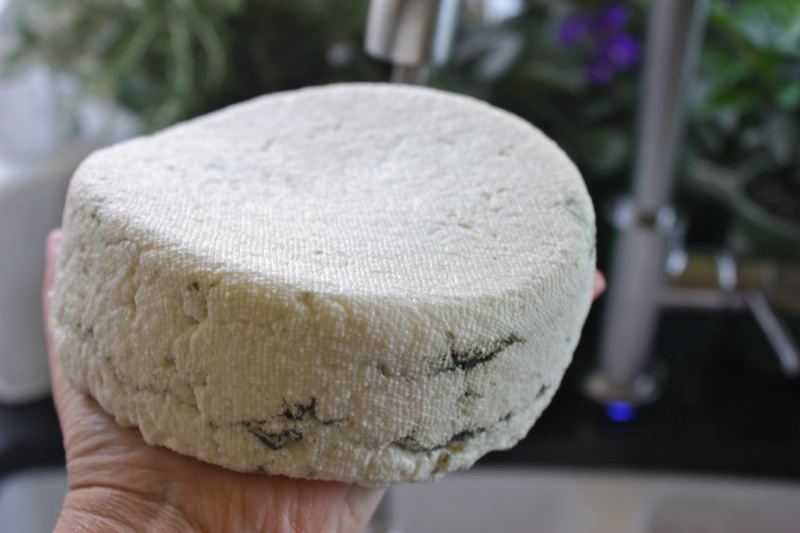
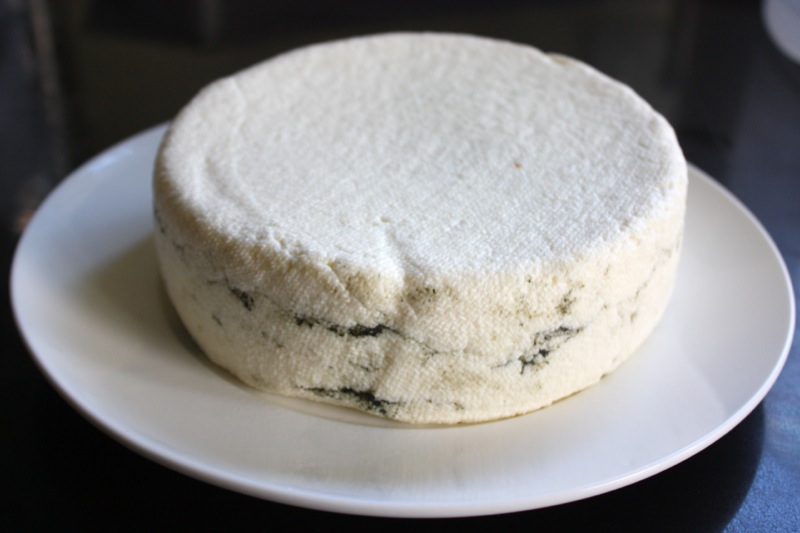
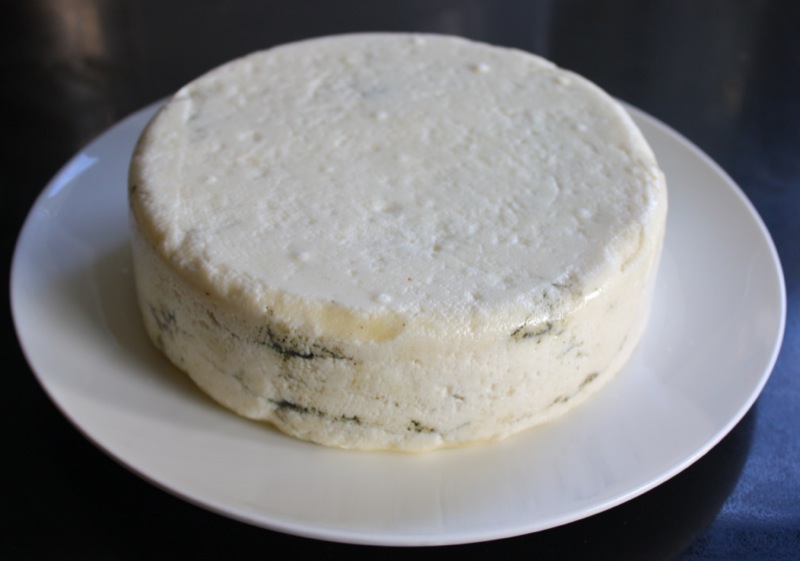
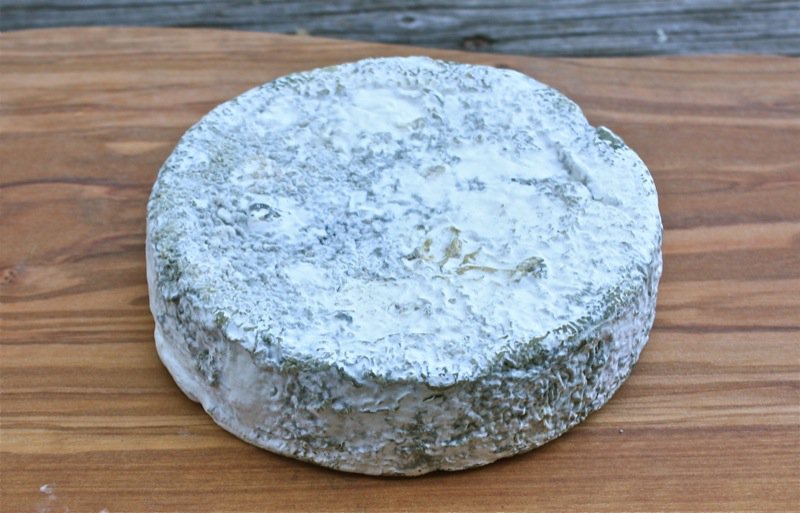
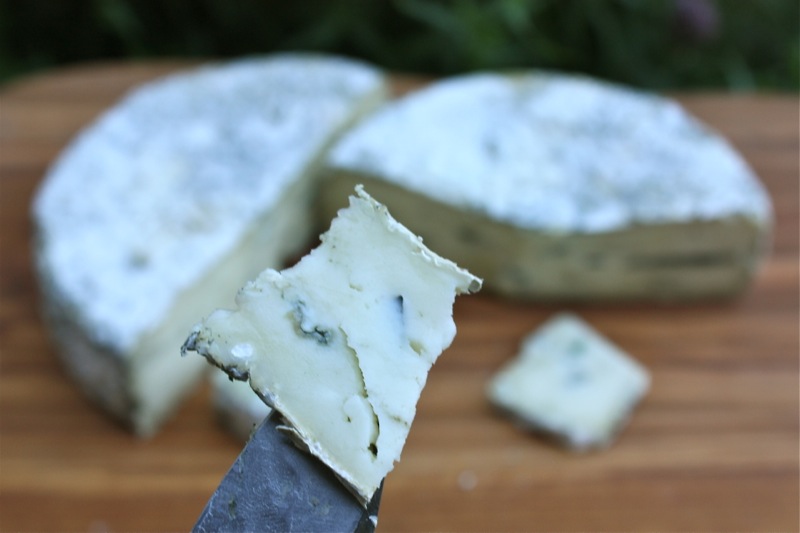
The cheese is now ready to eat. Look at the gorgeous rind.
So, folks, you know what to do by now. This is the last official Cheesepalooza Challenge. I have two Porchini Infused Camembert, two Valencay and this in my cave in ripening boxes. Make whatever blue cheese you want, but please make one! Write about it. I want to learn through your mistakes, not always my own. 🙂
Tasting Notes for Buttermilk Blue Homemade Cheese:
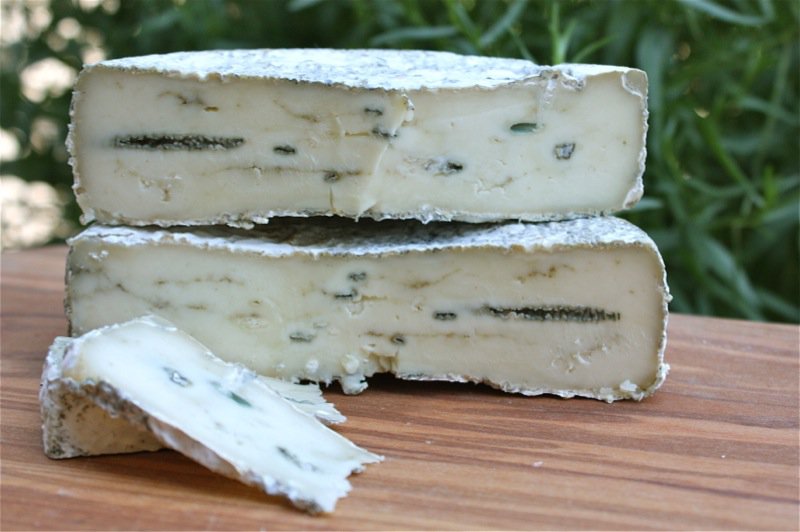
- Appearance: textured rind mottled with blue, grey, gold and white; firm cream coloured interior with blue veining
- Nose (aroma): umami inducing blue
- Overall Taste: a buttery tang on the tongue that rolls into a rich velvet full bodied mild to medium blue with no bitter aftertaste: addictive
- Sweet to Salty: a medium salty savoury blue
- Mild (mellow) to Robust to Pungent (stinky): a mild to medium blue
- Mouth Feel: (gritty, sandy, chewy, greasy, gummy, etc.): smooth and creamy paste, somewhat butter like in texture as it melts immediately on the tongue, but not easy to spread; creamy crumbles
Buttermilk Blue Homemade Cheese Recipe
Ingredients:
- 2 litres whole Cow’s Milk
- 1 litre cultured Buttermilk
- 500mL heavy cream
- 1/4 teaspoon MM100 mesophilic starter culture
- 1/8 teaspoon and a pinch of Penicillium Roqueforti mould powder
- 1/4 teaspoon Calcium Chloride diluted in 1/4 cup cool distilled water
- 1/2 teaspoon liquid calf rennet diluted in 1/4 cup cool distilled water
- 1 1/2 teaspoon cheese salt
- 4 inch Camembert mould, cheese cloth, thermometer, etc.
Instructions:
- In a 6 litre heavy, non-reactive stock pot, over low heat, bring the buttermilk, milk, and cream to 90°F (should take about 20 minutes)
- Turn off the heat and sprinkle the mesophilic starter, and a pinch of the Penicillium Roqueforti mould powder over the milk; rehydrate for 5 minutes
- Using a whisk in an up and down motion, mix the starter and the mould into the milk mixture
- Add the calcium chloride; gently whisk in
- Add the rennet; gently whisk in
- Cover and maintain 90°F for 90 minutes, or until the curds give a clean break (my Le Creuset pots maintain the heat well)
- Line a colander with a damp butter muslin over a bowl to catch the whey
- Cut the curds into one inch cubes, maintaining 90°F; let rest for 10 minutes
- Stir gently for 10 minutes, to shrink the curd and firm them
- Rest the curd for 15 minutes, or until the curds sink to the bottom of the pot
- Ladle off as much whey as possible to expose the curds; gently ladle the curds into the lined colander
- Drain for 10 minutes; tie the corners of the cloth together to form a sac and hang for 15 to 20 minutes, or until the whey stops draining
- Line a 4 inch Camembert mould with a damp butter muslin; place on a rack over a tray (I place this on the rack in my kitchen sink)
- Open the sac of curds, and divide it into fourths with your eye; gently ladling 1/4 of the curd into the mould, pressing down gently to cover the bottom
- Measure out the 1/8th of a teaspoon of the Penicillium Roqueforti; sprinkle 1/3 of it evenly over the top of the curd layer (Gently shake the spoon over the curds)
- Add another 1/4 of the curds to the mould, gently pressing to fill all the gaps; sprinkle 1/3 of the mould over it, again
- Repeat with another 1/4 of the curds; sprinkling the last 1/3 of the mould over it
- Cover with the final 1/4 of the curds; the cheese should come up to about 1 inch to the top of the mould
- Pull the cloth up tight; smoothing to cover the curd
- Let the cheese drain for 4 hours at room temperature; then unwrap, flip, redress and drain for 4 more hours
- Remove the cheese from the mould; unwrap and sprinkle the top with 3/4 teaspoon of cheese salt
- Place the cheese mould over the cheese, and flip it, unsalted side up; place in a mat in a ripening box, and salt the other side with the remaining 3/4 teaspoon of cheese salt
- Drain 5 hours; remove the mould and place back on the mat in the ripening box, covered loosely with the lid
- Age for up to one week, or until the whey stops draining at 54°F and 75% humidity; flip the cheese daily, draining off whey and wiping the inside of the box and lid dry with a paper towel
- Use a sterilized knitting needle or skewer to pierce the cheese once the whey has stopped draining: all the way through to the other side, four times horizontally (from one side to the other) and four times from the top through to the bottom (These air passages will encourage mould growth)
- Close the lid of the ripening box’ ripen at 50°F and 80-90% humidity; blue mould should appear on the exterior after 10 days
- Monitor the cheese carefully: flip daily, adjust lid if humidity increases too much…
- Over the next 2 weeks, pierce the cheese two more times in the same locations to ensure proper aeration and blue vein development
- If excessive, or undesirable mould appears on the surface of the cheese, rub it off with a small piece of cheese cloth dipped in a vinegar-salt solution
- Ripen for 6 weeks; rub off any excess mould with dry cheesecloth
- Wrap in foil and store in the fridge for up to 3 months: the longer stored, the more pronounced the flavour
Those of you that follow my blog with Google Reader may wish to Follow my blog with Bloglovin instead, as Google Reader is closing soon.


Looks amazing as ever Valerie! I’m a bit behind on these challenges but I will definitely be giving 10 and 11 a go once I get my kitchen back in order!
Nic
Wonderful to hear from you and completely understand. We have been undergoing kitchen renovations since November… CHAOS!
🙂
V
This is an interesting recipe, in particular because the cheese is small, so I am very curious to see how it turns out when it’s finished aging.
I have only made two blues, one was good the other was not. Your post tells me I should consider going for a third kind.
Hope you send in your successful post for the round up!
🙂
Valerie
I cannot wait to make this one! We ordered the proper sized mold because throughout this process we have learned the hard way that the wrong size ruins the cheese (hello skinny cheddar!). As soon as the mold arrives we’ll be making a couple of wheels of blue!
Blue cheese takes repertoire to a whole other level. Love it!
Looking at the ingredients, it reminds me of this recipe for gorgonzola dolce (which involves buttermilk and bulgarian yogurt): http://www.cheesemaking.com/GorgDolce.html
How did your buttermilk blue compare to a gorgonzola dolce? 🙂
Kind regards Anders.
You probably don’t check comments on post this note, but just in case. I think you might be doubling up on rennet. My copy (I also checked against the Karlin errata sheet online) requires only 1/4 tspn rennet. Just a heads up in case you ever make it again. If it has been working, rock on! If not (coag problems, bitter taste) then try using the lesser amount.
I do check my comments every day, Bindu
Thank you
We used her book as a guide but as we became better and better at cheesemaking in our home, we adapted and adjusted the recipes to suit our locale and what we learned work best for us. Her cookbook also has a few errors and adjustments you will find online. This is the recipe we used – the one I wrote. I really appreciate your feedback and happy to know you are making cheese at home, too!
Great fun!
Valerie