Nature’s Green Acres Alfalfa fed Chickens are Finger Lickin’ Good!
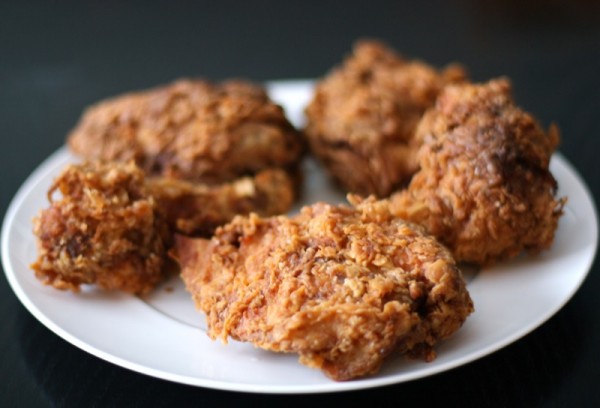
As a child, fried chicken at home was a regular occurrence. Mom would make it often because her mother raised chickens on the farm so we had gorgeous home grown ones in the deep freeze, and everyone loved it! In the summertime, if there was a nice weekend, there was a picnic. If there was a picnic, there was fried chicken. And, potato salad. They were standard summer fare. Everywhere. Not just in my family. And these are the two most personal dishes a mother can make. No one’s was every better than my own mother’s… and everyone thought the same. Kind of. My mother did have a reputation in the neighbourhood for being a very good cook and everyone else really knew they could not hold a candle to her chicken. If we were divying out the picnic fare, she was the person bringing the chicken.
As I grew older, TV commercials for Crisco reared their head, and I was dumbfounded. These raved about Crisco making the best fried chicken with the crispiest skin. I had never eaten fried chicken with crispy skin and I certainly had eaten the best fried chicken. Soon after, Kentucky Fried Chicken opened up a shop in Red Deer. Oh, my! Now, that was crispy skin. Talk about fried fat! But, come on… everyone loved it! What a sensation it caused in our little central Alberta prairie town. Deep fried chicken! Crispy chicken. Secret seasonings. It was certainly expensive and the chicken had no flavour. My grandmother would say, “Pssshaw! What kind of chicken meat is this? This is mostly fat and skin with hardly any chicken at all. I can’t even taste it!” But, no one really cared. It was all about the skin.
My mother still makes incredible fried chicken. She washes and butchers it herself, coats it with seasoned flour and fries it in butter. Once the skin is caramelized and crispy, she layers the pieces in a Dutch oven and puts it in the oven to finish cooking. This is not crispy chicken, but it is the way everyone used to cook it when I was growing up. Talk about finger lickin’ good! YUM!
Let’s move to the current century and update ourselves with a great chef, Allan Suddaby, who knows how to deep fry a great chicken without it being saturated in fat. The chicken is the star, though the crispy skin is certainly a big part of the appeal of this homey comfort food.
HIs first words, “Start with a really good chicken.”
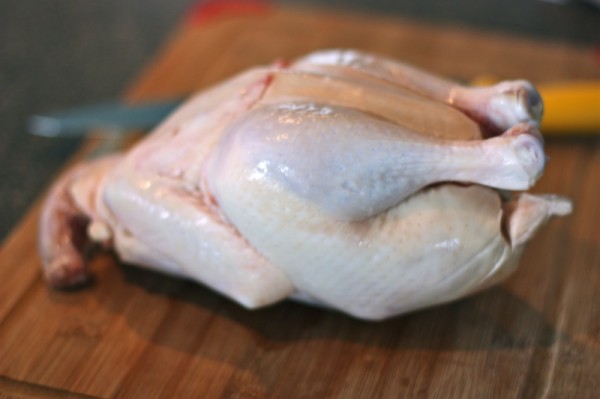
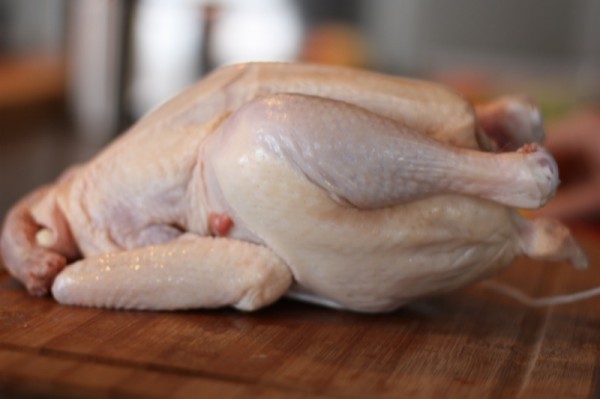
This one is from Nature’s Green Acres. They grow really tasty grass fed chickens and sell them at the downtown city market. You have to stock up as they sell out fast. Their chickens are the old fashioned smaller size which I like for regular use. Sunworks Organics Farms also grow very tasty chickens and sell at their own new shop on Whyte avenue and at the Old Strathcona Farmer’s Market. I bought 30 last year for my freezer. Their chickens are much bigger, so when I want specific pieces for specific dishes or recipes, I usually buy from them as their pieces a huge.
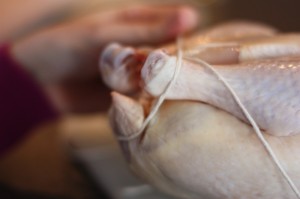
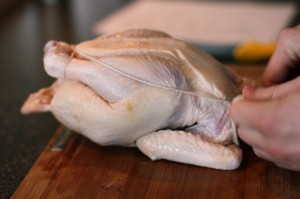
Before the butchering lesson, we got a lesson on how to tie up a chicken for roasting. See how Allan has folded the wings back under the bird, then wrapped the twine around the “pope’s nose” and the legs pulling back to the other end of the bird to secure the twine under the wings?
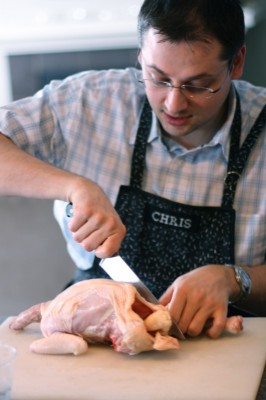
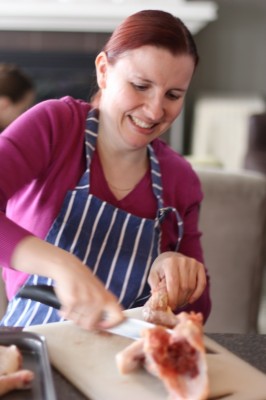
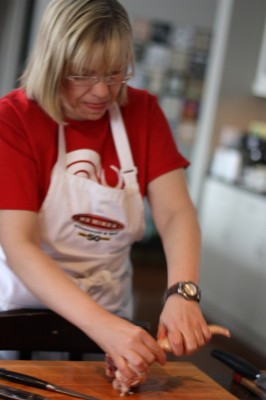
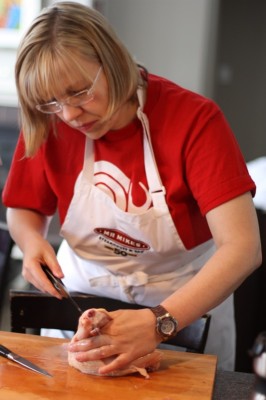
Now for the butchering lesson. I learned how to do this by watching Julia Child’s on TV. I kind you not. It was a rerun as I am not quite that old, but I watched intently and then just did it and have been doing it with great success ever since, until I got Allan’s lesson on this day! It is so important to learn skills you will be using your entire life in the kitchen from someone who really will teach you how to do them properly. This was an incredible class for me and I thought I wouldn’t be learning anything new!
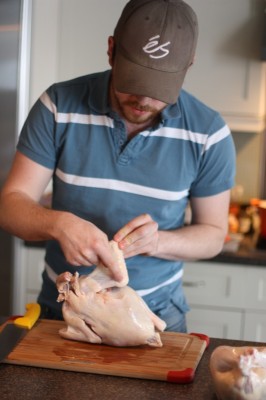
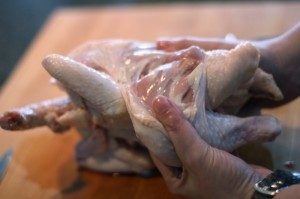
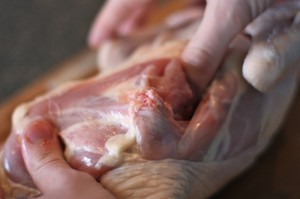
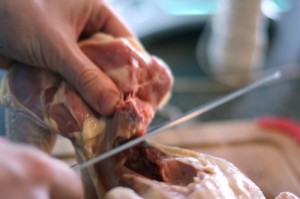
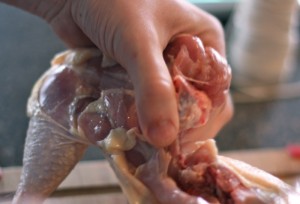
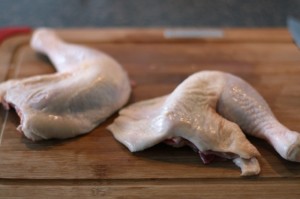
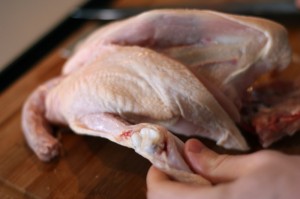
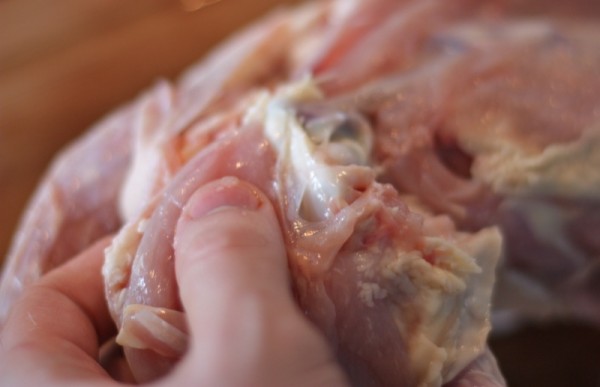
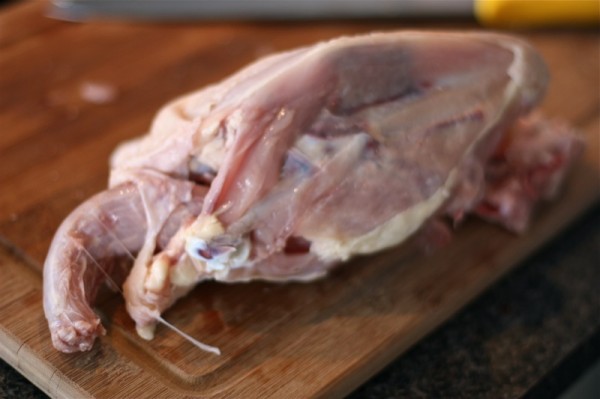
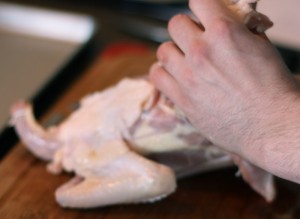
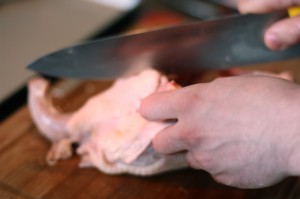
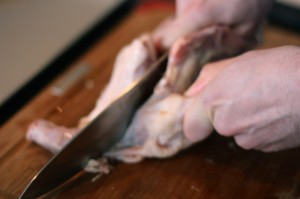
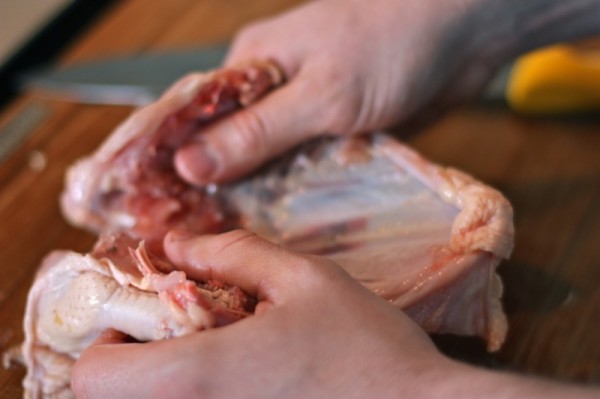
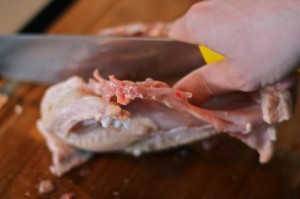
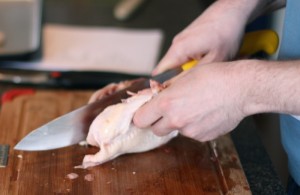
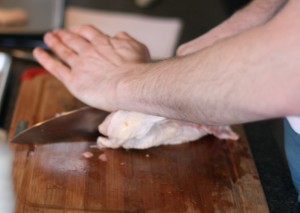
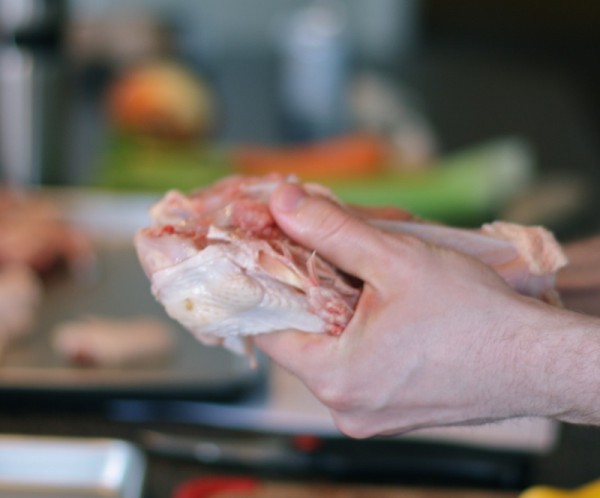
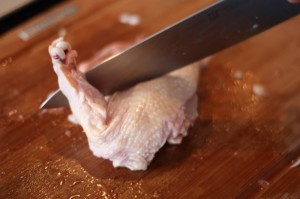
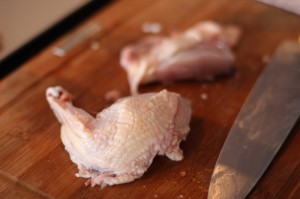
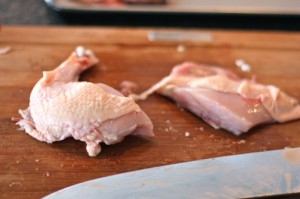
I have always started with the legs. Not the thighs, the legs. I get 2 legs, 2 wings, 2 thighs, 2 breast pieces and 2 back pieces the way I have been doing it all of my life. I usually keep the back pieces for stock, but mom used to always fry them. Allan started with the thigh which is, of course, a part of the leg. With a very sharp knife, slice through the skin following the change of colour around the top of the thigh. Fold the thigh and leg backward until the you can see the joint in the bones, and it pops to make it easy for you to slice through. However, before you do that, take your thumb (as Allan is doing in the photo below, right) ad feel under the flesh and bone into the “oyster” and loosen it from the bone to include it in the cut so you don’t lose it to the soup, later, as it is such an incredible morsel of tasty chicken flesh. Now, cut through the bone to have your leg and thigh free from the body of the bird. Repeat.
I was aware of the “oyster” and had even heard it referred to as that, but had never learned how to loosen it from the bone to rescue it from the stock pot and save it as part of the leg for the frying pan. Ah-ha!
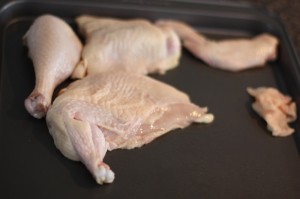
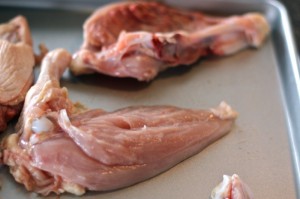
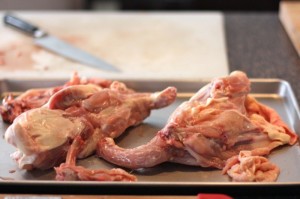
Now for the wings. Allan took off the tips. They are great for the stock and pretty useless anywhere else. True. He demonstrated how to cut a breast Suprème which is when the drumstick part of the leg is left attached to one half of the breast completely removed from the breast bone. Each of us did one of these and then we took of the other leg in the traditional fashion. The second half of the breast was removed in the same manner from the beast bone, but with out the drumette attached.
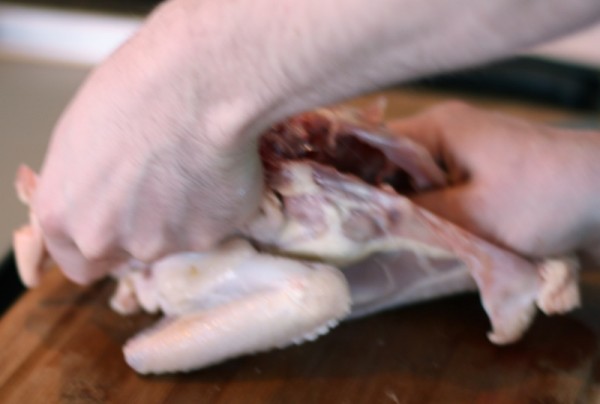
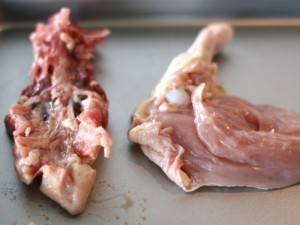
The legs have been removed. The breast is remove: one breast without the bone, and one with the bone. Now for the back. Just hold the carcus in your hands and bend completely backward and the bones will release and you will be able to slice through the skin and flesh. Next time, I will use a video camera. However, one learns best by doing and if you really want to learn how to do this, come to one of our classes here. This one wasn’t sold out which really surprised me. Usually, the classes sell out immediately. However, this one did not attract much attention, though was definitely an incredible experience for those new to butchering chickens and to seasoned old hens like me.
Apparently, there are standard ways to cut a chicken for 8, 9 and 10 pieces of meat. New to me. You will see Allan halving the Suprème to make 2 more reasonably sized pieces.
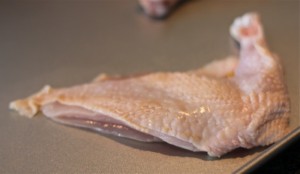
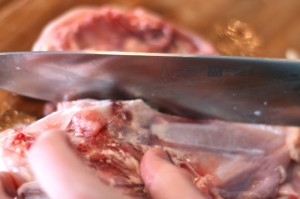
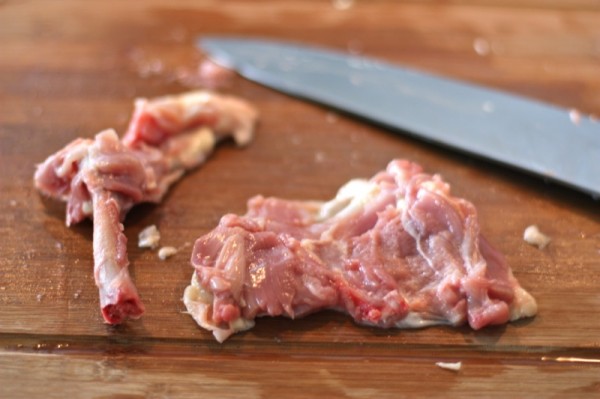
Wouldn’t another class on how to de-bone a chicken completely be fun? Allan demonstrated how to debone a thigh, below. I now have a whole new appreciation for the high cost of boneless meat. However, meat prepared with bone in is much more flavourful, so there is no reason to spend that kind of money, anyway.
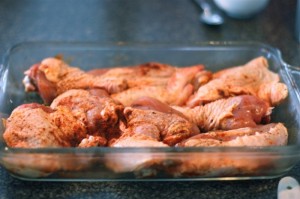
The pieces of chicken were seasoned and stored from frying at home after twelve to 24 hours with a good flavourful rub on.
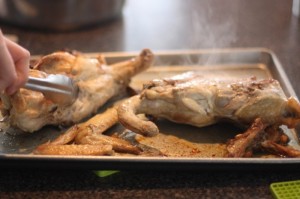
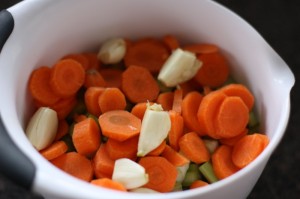
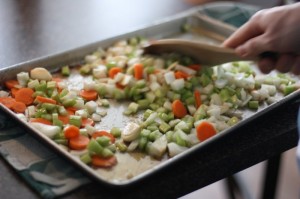
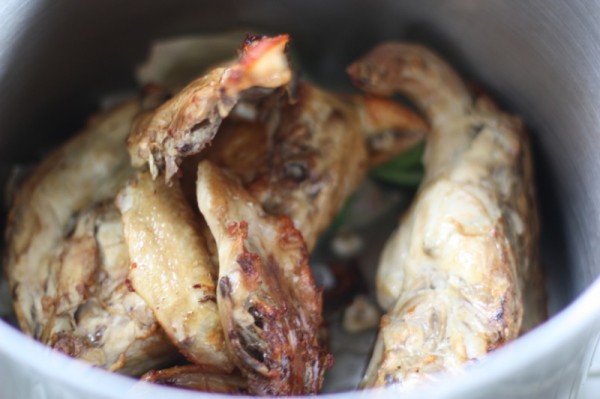
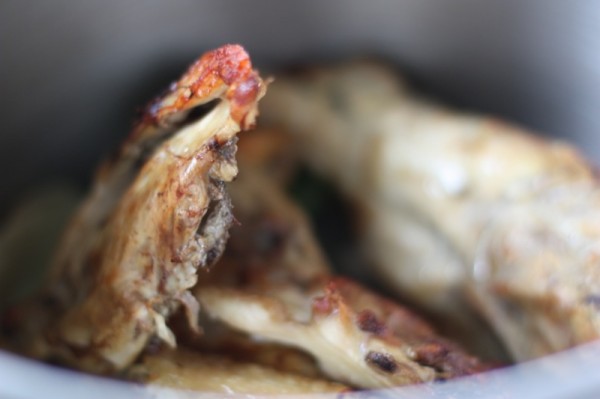
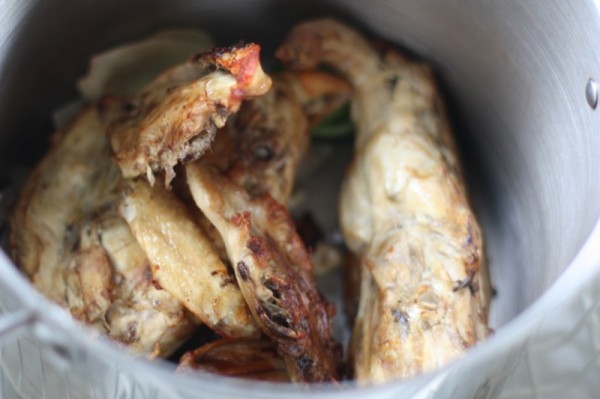
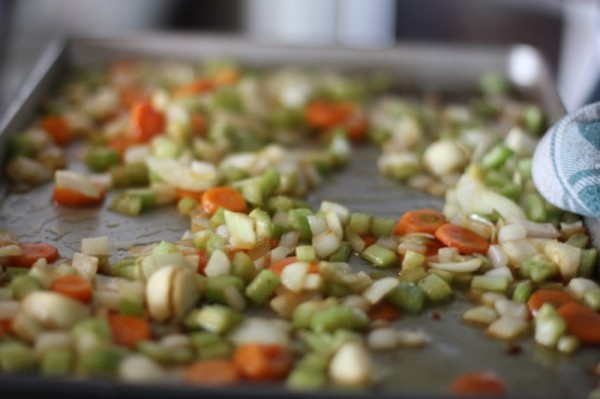
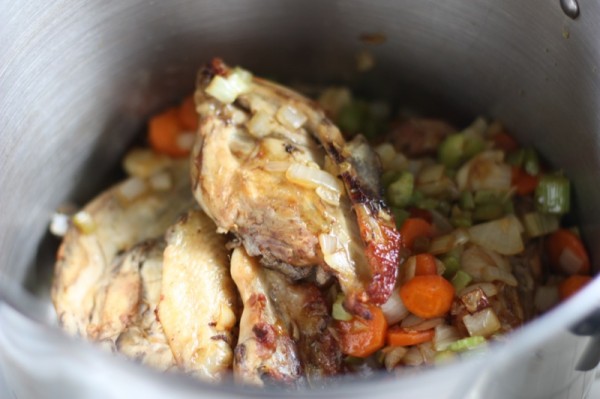
Now for the stock. The carcus pieces went into a very hot oven to brown while we diced the carrots, onions and celery.
Meanwhile, just like on TV, Allan had a beautiful plain stock for all of us to sample. No salt. But, flavour? Oh, my! After we got our bones in the oven caramelizing and our vegetables in the oven roasting, we also sampled soup made with Allan’s stock. It was exceedingly flavourful, yet very different – worlds different than the old farm prairie chicken stock and soup my mother and grandmother had taught me how to make. The roasting of the vegetables and bones made all the difference. I am partial to my own, as that is the taste I have been brought up with, but enamoured by the novel flavour here.. I can definitely see myself making this soup again. Particularly if the chicken isn’t a really good one as the caramelization adds such depth of flavour.
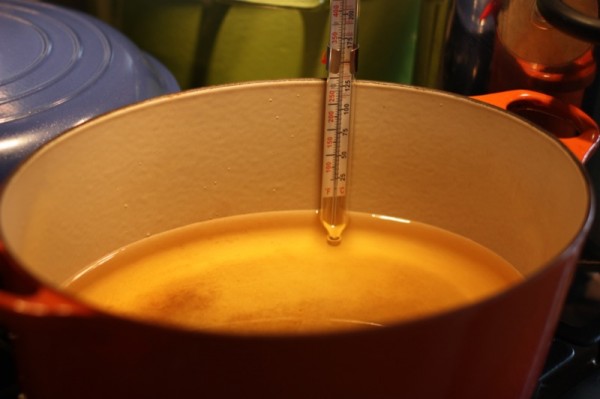
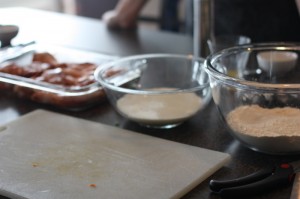
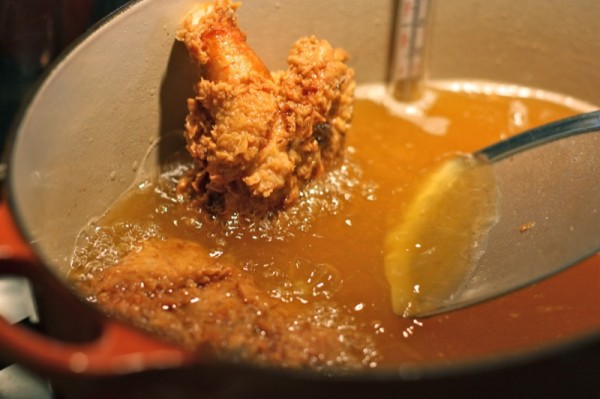
Time to get the oil to the magic 350°F temperature. Allan had seasoned his chicken the day before and the assembly line is in place: well seasoned chicken, buttermilk and seasoned flour. Once the temperature is at 350°F, dredge each piece accordingly and place 4 to 5 in the pot depending upon the size of the pot. No overcrowding! The temperature will drop immediately. Watch for it to regain its accurate frying temperature and be sure it doesn’t go over it.
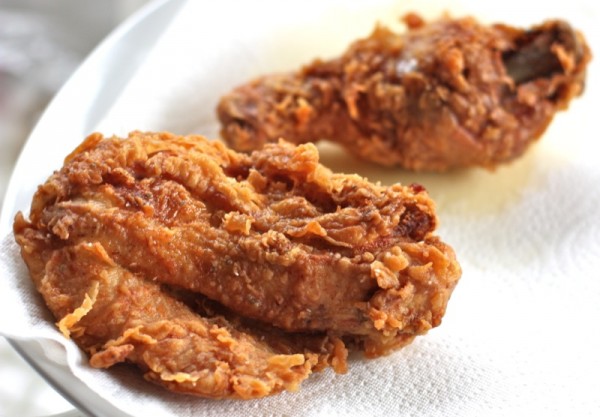
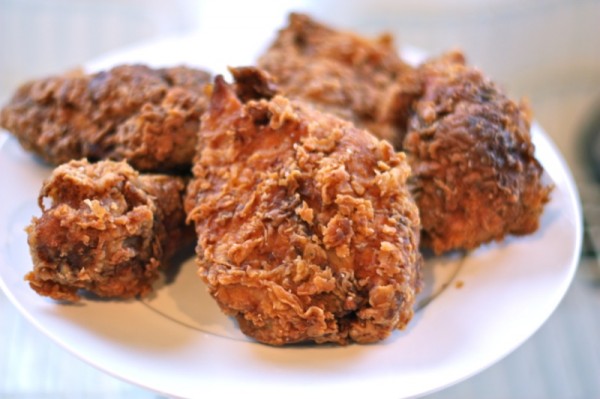
The stock was ready in the pot when the first pieces of chicken had reached their crispy perfection. What a vision! What a gorgeous site. This is not the prairie fried chicken I was brought up on. This is Southern Fried Chicken. There is no doubt about it. But, when a place in time creates a beautiful thing with their food, who doesn’t want to learn how to do it on their own? What a sense of accomplishment!
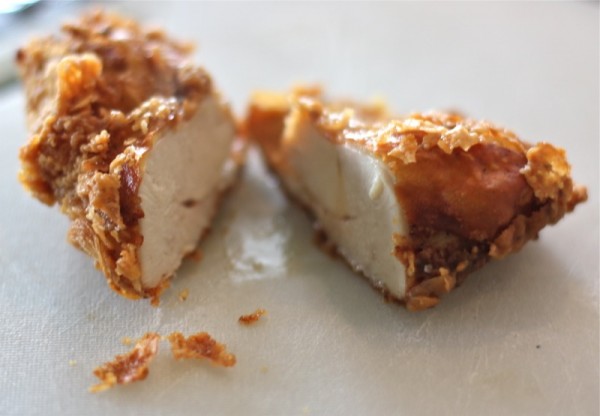
The meat was flavourful and moist and the skin was so tasty and crispy, yet not fatty and greasy. Keeping the temperature at 350°F is key.
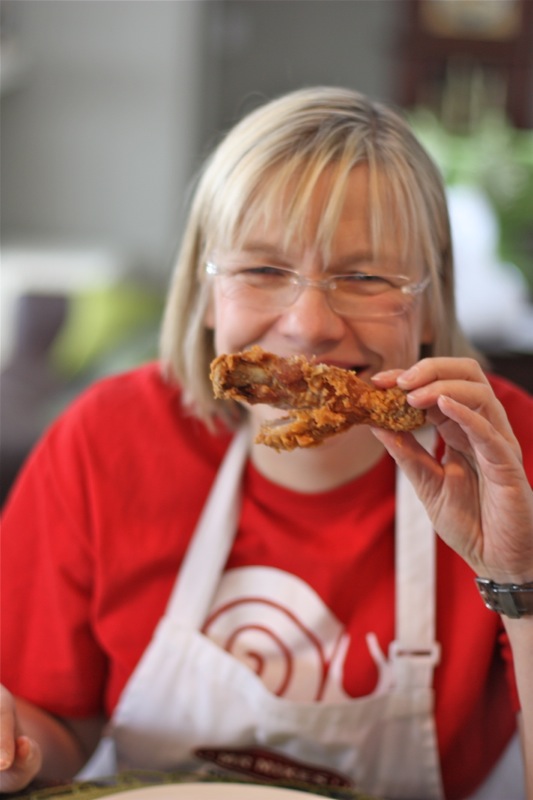
Happy! Happy! Who can resist fried chicken?
Delicious hot and cold. How often to I make it now? Mom’s way? Three to four times a year. This way? I would do maybe once or twice a year.
I think I need to change that right now. With this beautiful meal we also got a gorgeous soup and it really isn’t hard or very messy.
Once you know how!
Working with Chicken at Home Allan Suddaby for Taste Tripping March 4, 2012
Class Outline:
- chicken anatomy
- butchering chickens
- using the whole bird: making stock
- frying chicken
Anatomy
Dark Meat – highly-exercised muscles, containing myoglobin
- leg, or drumstick
- thigh
- oyster
- back
- neck
Light Meat – less-exercised muscles
- breast – keel bone
- drumette
- wingette
- wing tip
Other
- giblets: heart, liver, gizzard
- head and feet
Butchering
Boneless Cuts and Methods
- removing the breast
- ballotines and gallantines
Bone-In Cuts and Methods
- 8-cut
- 9-cut
- 10-cut
Making Stock
- stock is a liquid infused with meat and vegetables
Ideal Characteristics:
Flavourful
- the flavour comes from the meat and vegetables we use
Rich Body or Mouthfeel
- comes from the bones and joints
- connective tissue called collagen breaks down to form gelatin
Pleasing Appearance
- colour
- clarity
General Procedure
- roast bones (for flavour, colour, and clarity)
- roast vegetables in rendered fat (flavour)
- deglaze roasting pan (flavour)
- cover all ingredients with cold water (clarity)
- bring to a simmer while skimming (clarity)
- simmer very gently (clarity) for several hours (flavour and body)
- strain (clarity)
- cool and remove fat (clarity)
Principles of Fried Chicken
Ideal Characteristics:
- well-seasoned, moist, tender meat
- crisp-but-delicate exterior
General Procedure
- season chicken well in advance, ideally the night before
- dredge in buttermilk and flour immediately before frying
- fry in 350°F oil
“Quick” Chicken Stock
Ingredients:
- 1500 g chicken bones
- 3 L cold water
- 250 g onion (about half a large onion), chopped
- 125 g carrot (roughly 2 carrots), peeled and chopped
- 125 g celery (roughly 3 ribs), chopped
- 10 g garlic (a few cloves), crushed
- 250 mL apple cider, apple juice, or white wine
- 1 sprig thyme
- 1 sprig rosemary
Instructions:
- Roast the chicken bones on a heavy pan in a 375°F oven until golden brown. Remove the bones from the pan.
- Add the vegetables to the pan and roast until lightly browned.
- Deglaze the pan with the apple cider.
- Combine all the ingredients except the herbs in a large, heavy-bottomed pot. Bring to a simmer, skimming away any foam that develops.
- Simmer very gently for 2-4 hours. Add the herbs for the last 15 minutes of simmering.
Happy Special Birthday, Su! Your sister is certainly a doll to gift you with this class as a present! Hopefully, when she visits next, you will fry her up a huge basket of chicken!





















Hi Valerie,
I will keep my fingers crossed for upcoming classes. I would be interested in attending any classes of yours, so please keep me in mind if you need one more participant to fill a class.
Thanks,
Sandy
Thank you, Sandy!
A lovely compliment and I absolutely will keep you in mind. Right now, I am taking a break and hope to resume some a little later in the summer when the garden needs some harvesting.
🙂
Valerie
Who could resist this Southern fried chicken, not me.
We hardly ever had fried chicken growing up. Maybe that’s why I’m so obsessed with it now!
Lets do this soon mommy!
Wow.. really detailed way of cooking the fried chicken..