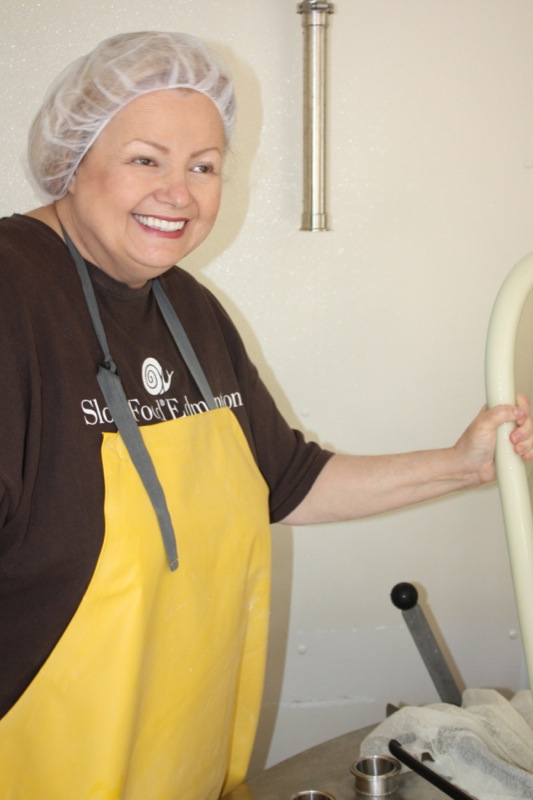
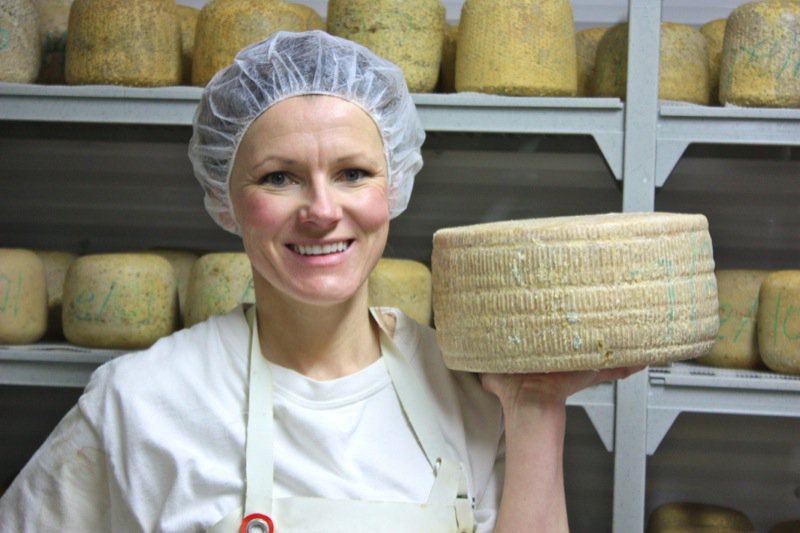
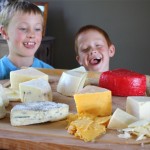
Rhonda Zuk Headon is our Alberta Pecorino Queen
The intoxicating aroma of Pecorino in the aging room at The Cheesiry, on the family farm, between Kitscoty and Lloydminster, Alberta, had me swoon. All shapes, sizes, colours and ages of Pecorino made exactly the same way, but on different days. As the seasons shift, the grasses the sheep feed on change, thus influencing the flavour of their milk and the colour and flavour of the cheese.
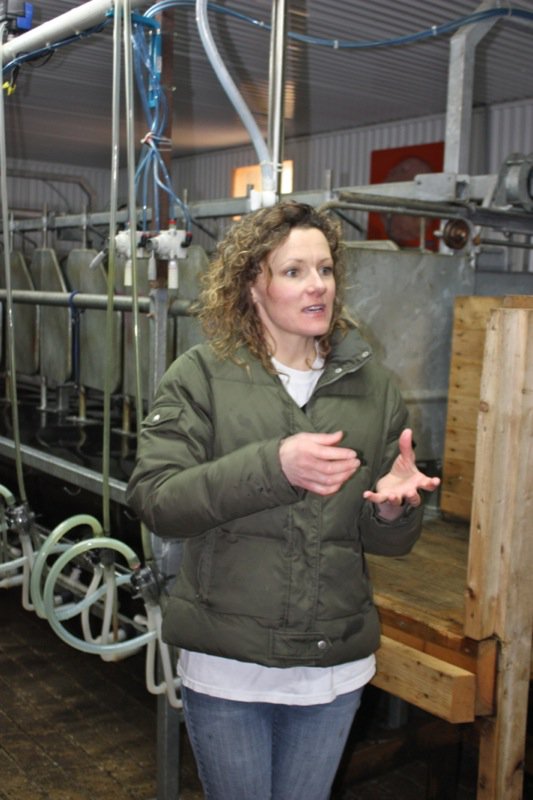
And then there is the art part. Rhonda has spent time in Italy in the Tuscan heart of Pecorino country learning her craft. Her mentor has been working with her locally, too. The more experience she gains, the better her cheeses become. She is the only sheep milk cheese producer in Alberta, but that isn’t why people love her cheese. It is just that good.
Rhonda’s story is compelling. She met Brian because she belonged to a “Date a Month” Club. She was hitting 30 and still single, as were her friends, so they all hooked pinkies and promised they had to get one date a month, or it would be two the next month. Ouch! She invited Brian out and he actually called her back. “What is wrong with this guy? No one calls back after the first date!” But he did. So… they dated a few times shortly before she was traveling to Italy,”He was the one”, but she didn’t know it then. Once home, she found her city-slicking-self marrying a full fledged Alberta beef farmer. “Sheep. I want sheep to make Pecorino!” was her premarital plea. But, that fell upon the deaf ears of a family with a long history of cattle ranching.
Arriving home from the wedding, there was one lone sheep in the front yard: a wedding gift from a dear friend. Soon there was two sheep, then four… and the family gave in and supported her longing and she bought herself a herd. But, before that, the old milking cow barn was transformed into a cheese making facility, and a sheep milking parlor was added at the rear. Rhonda was in business! It was the summer of 2010. What progress she has made in such a short period of time. Not to mention the twins she and Brian gave birth to last year! This is one busy cheese making mama!
The Cheesepalooza gang left Edmonton at 6:30 am to drive East through the gorgeous countryside, arriving at the farm at 9 am the first weekend of May. This was to be the inaugural Cheesiry Cheese Making for 2013 as she had just been collecting milk since Thursday and gleaned only 290 litres: perfect for her 300 litre vat.

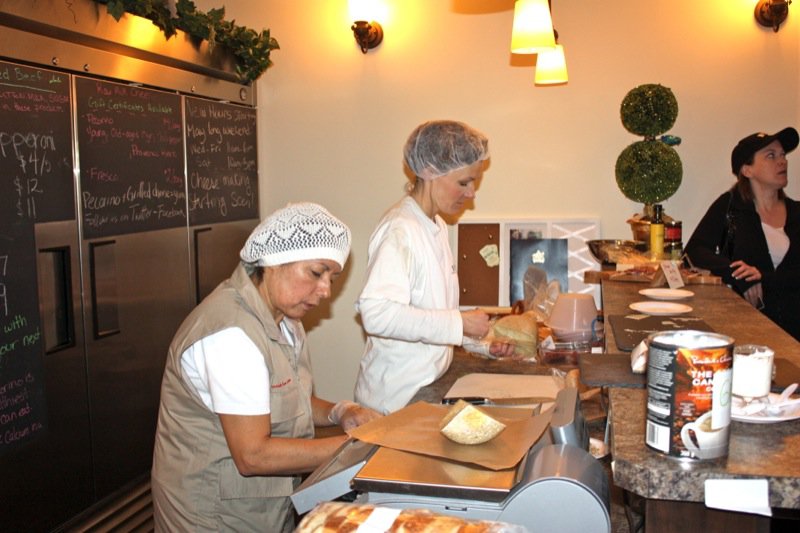
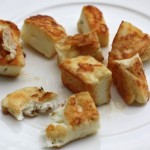
The family home that Brian and his sisters were raised in is adjacent to The Cheesiry. On this first Saturday of May, the little store front shop was busy all day long with people stopping by to stock up on their Pecorino and at the noon hour, for the best Pecorino Grilled Cheese Sammy in the country!
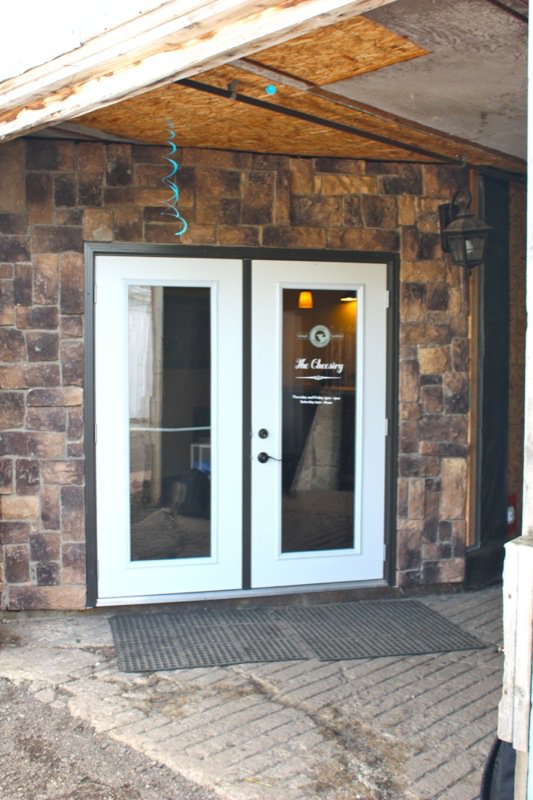

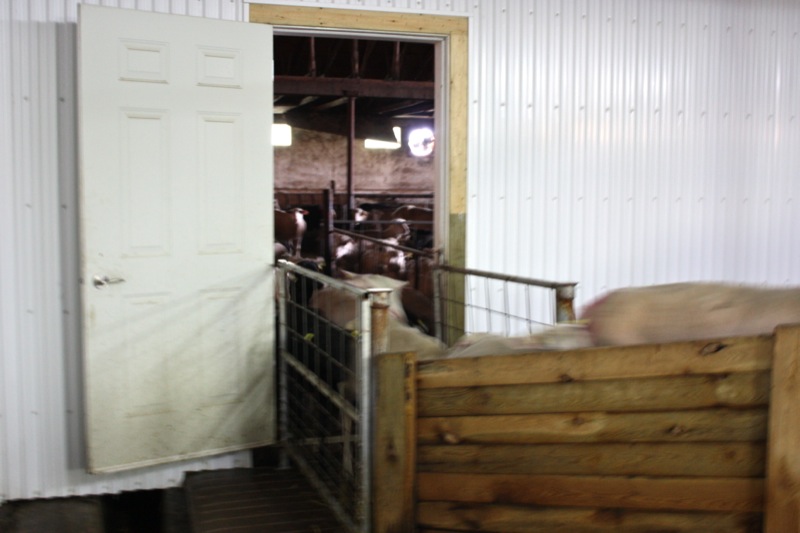
Below is the cheese making facility. The main house is to the right. The shop is on the other side of the building, as is the entrance to it and The Cheesiry. The milking parlor is straight through to the left.
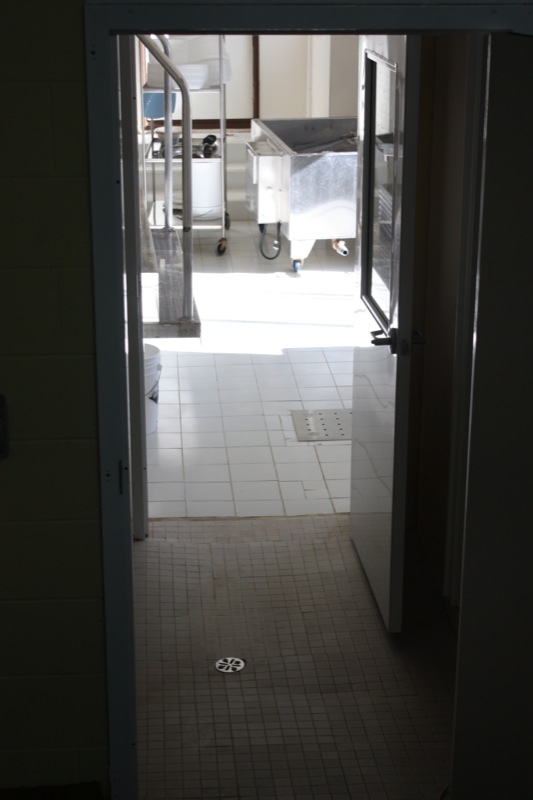
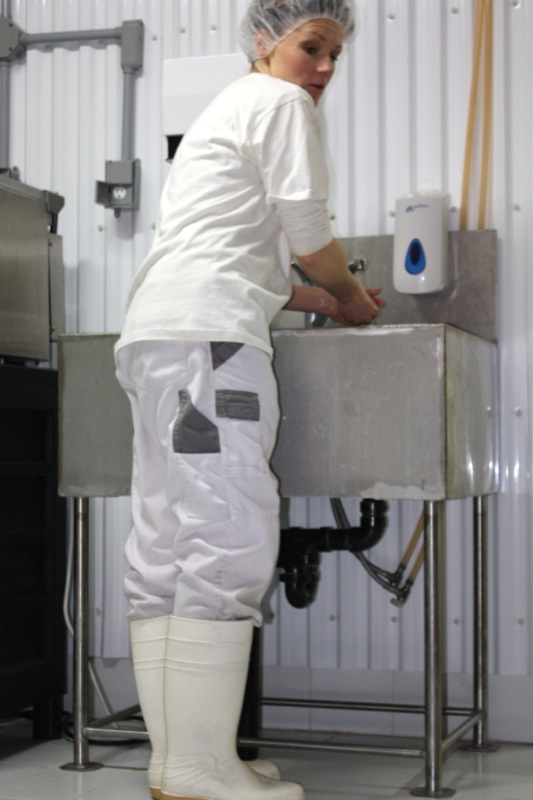
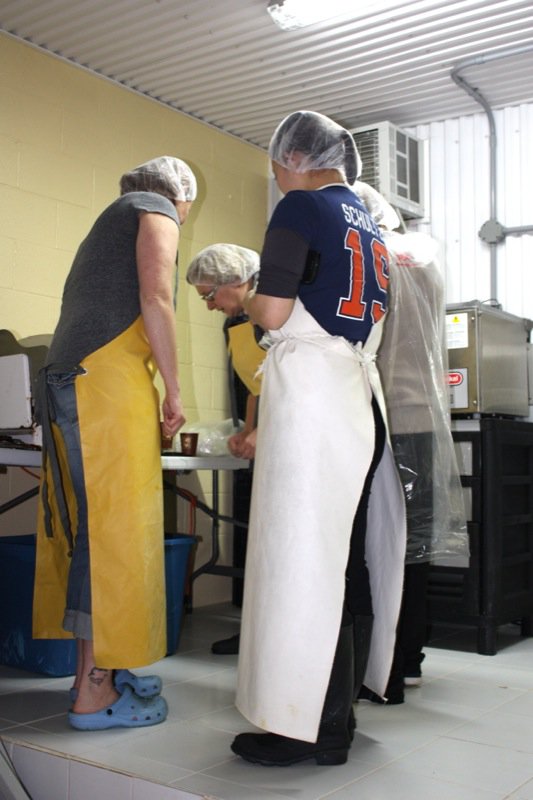
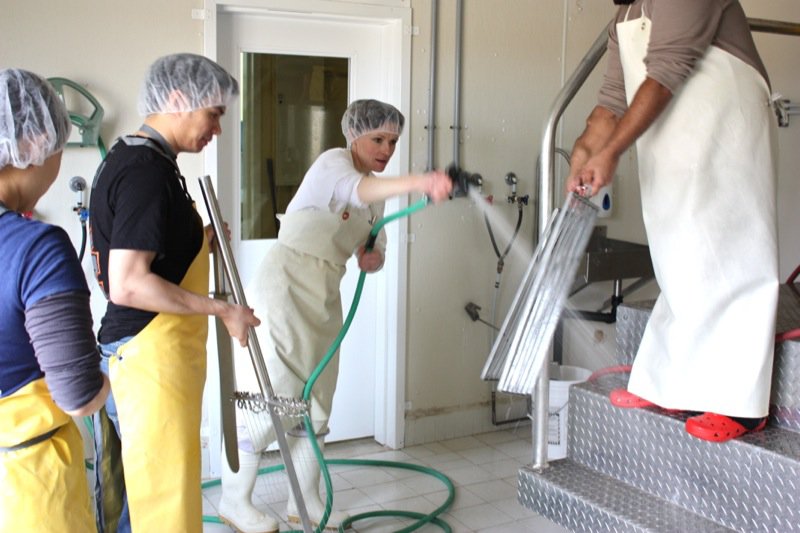
Sour milk. That is the scent that greeted us upon entering the door of the cheese making facility. It was faint, but to weak-kneed me, held me at attention. Rhonda had us change into inside clothing and water proof sanitary footware before crossing the threshold. Once inside, the bright, spacious rooms were spotless, airy and I was wondering if I had imagined the initial sour scent. Hair nets donned, aprons on, we washed up. More times that I can count. And that is a good thing.
After an interesting bit of story telling, the room needed cleaning, so we all pitched in under the watchful eye of our Queen of Pecorino.
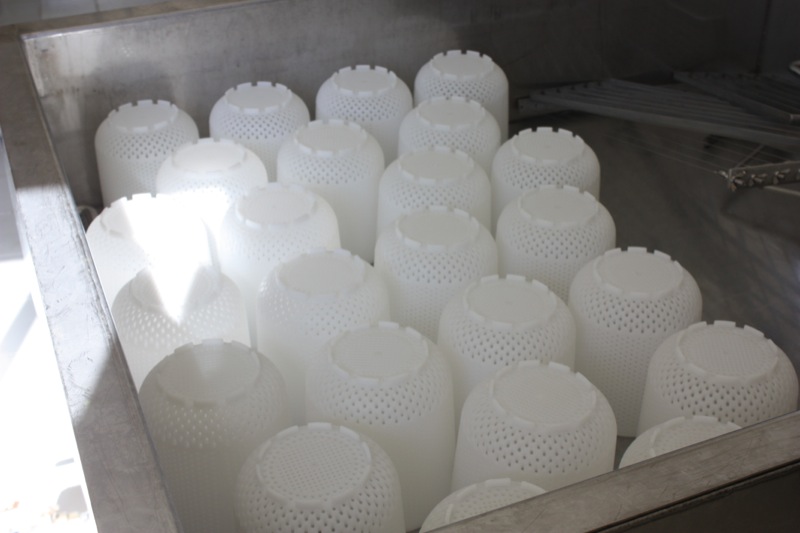
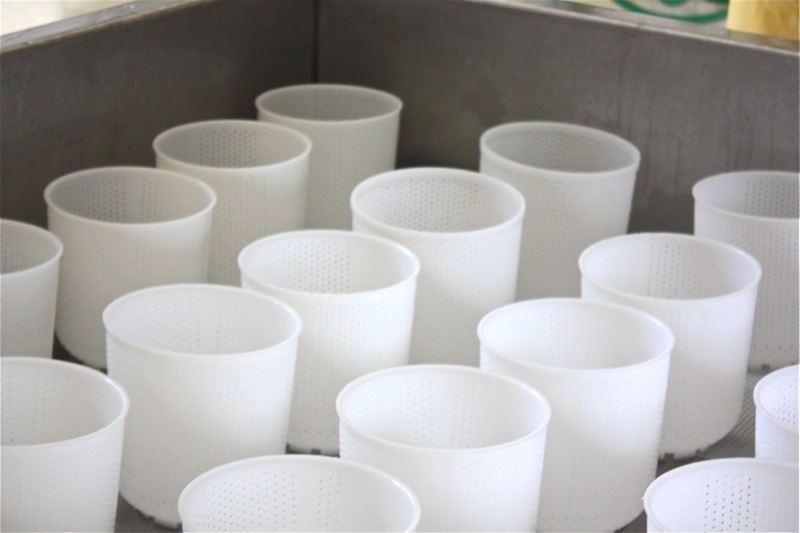
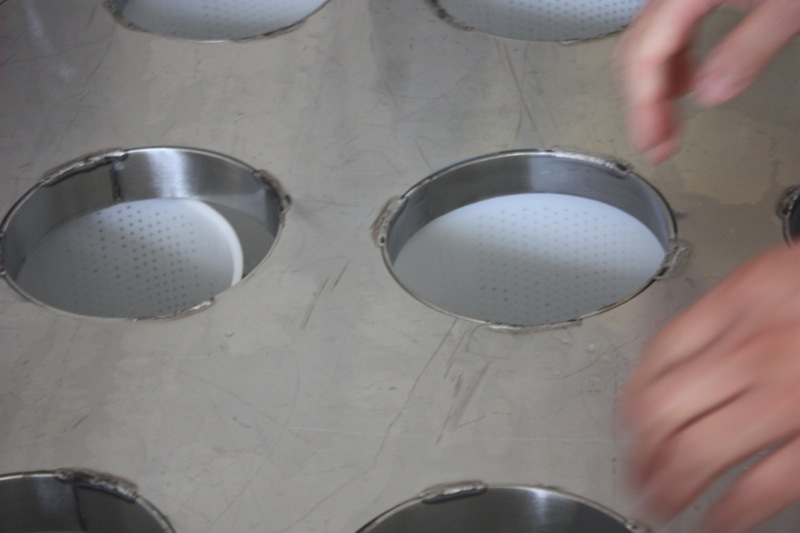
I covet cheese molds. I don’t have either of these. The above moulds make a 1.5 kilo round and 300 litres of milk makes 24 of these.
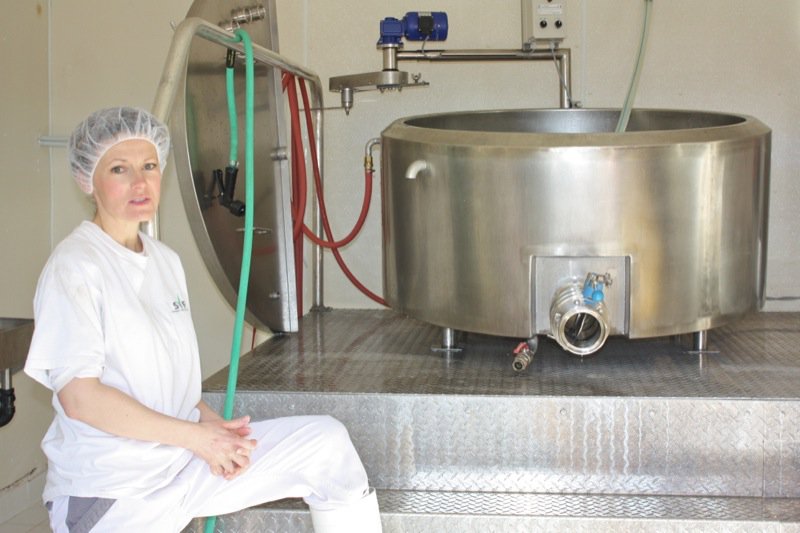
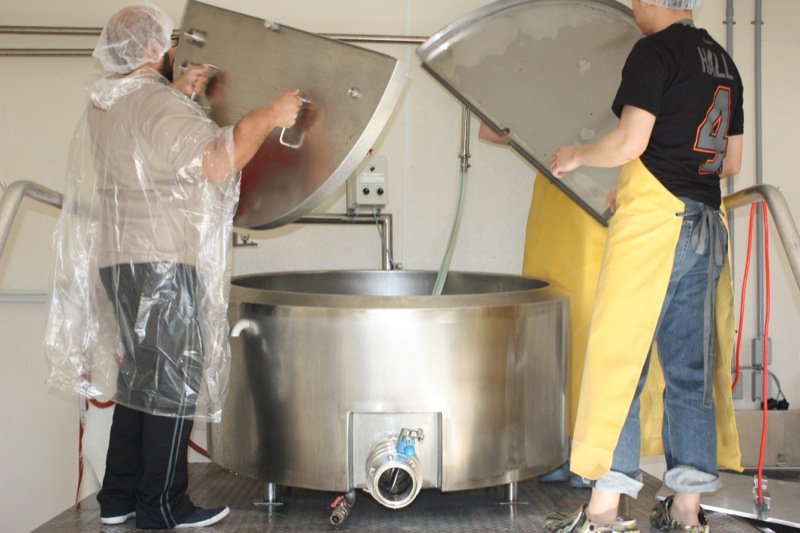
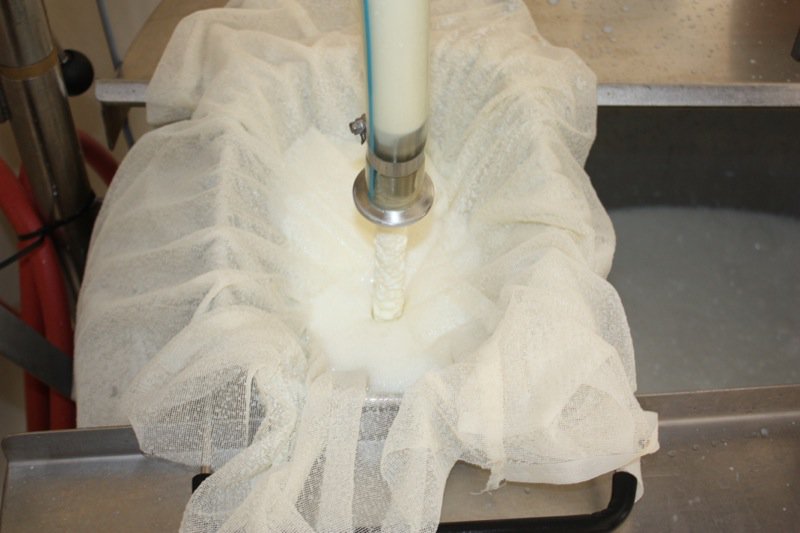
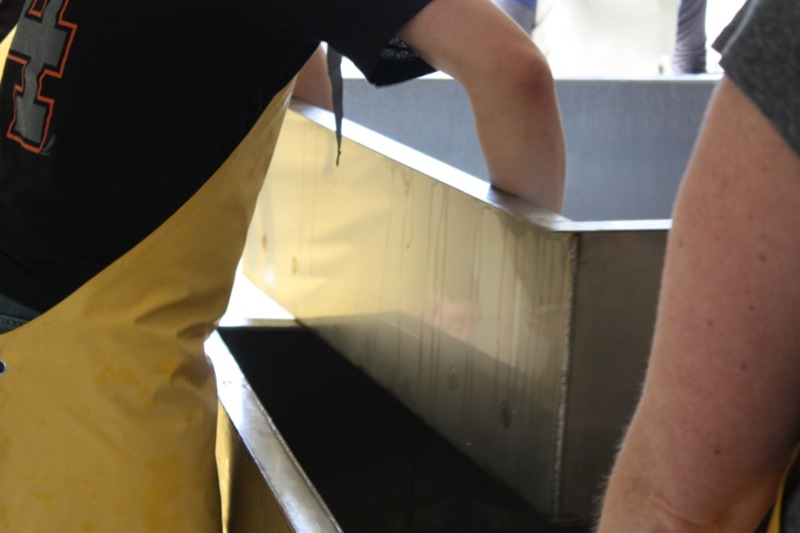
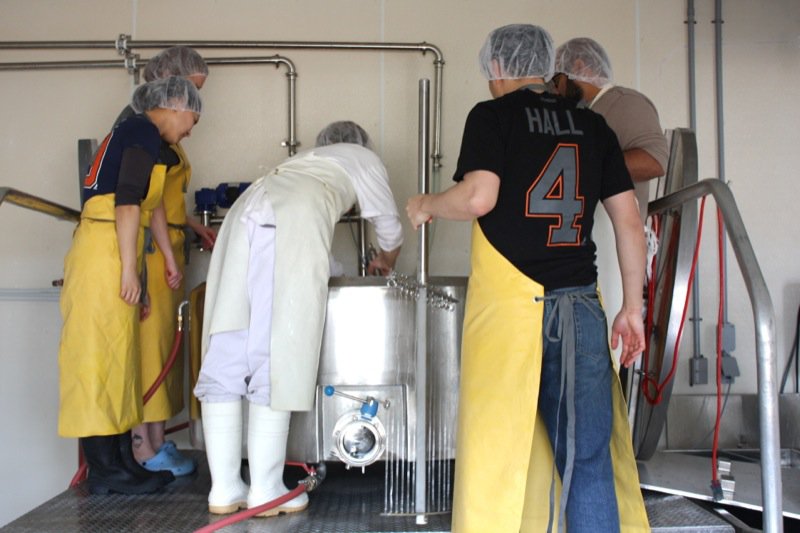
Everything spit and polished: time to set up the vat to bring in the milk. I was curious about the sieve, but Rhonda takes no chances. It was lined with cheesecloth to ensure no impurities found their way into the vat.
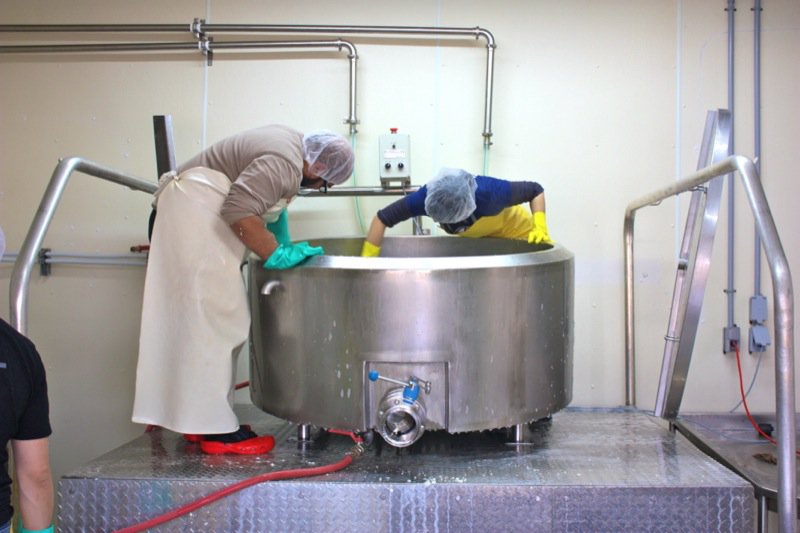
Can you feel the excitement in the air? Cheese making is so relaxing, really. The biggest effort is cleaning up.
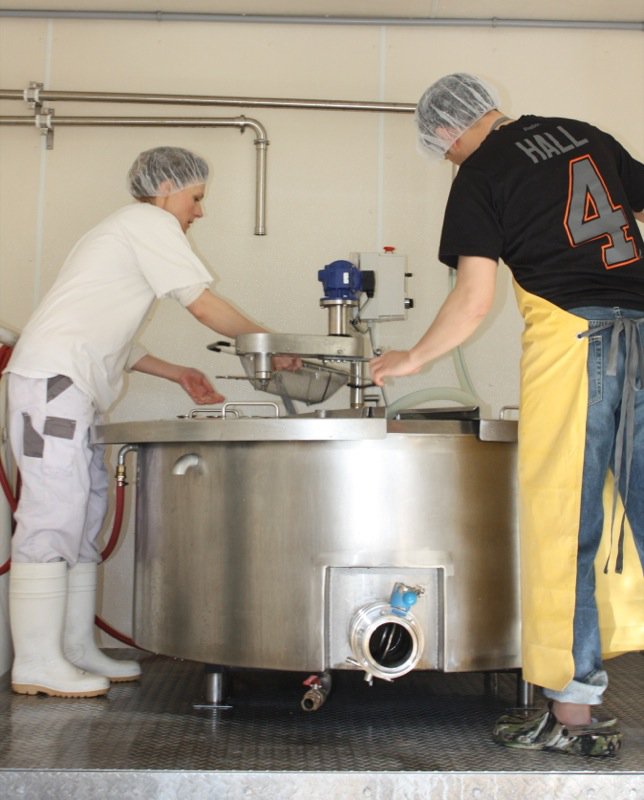
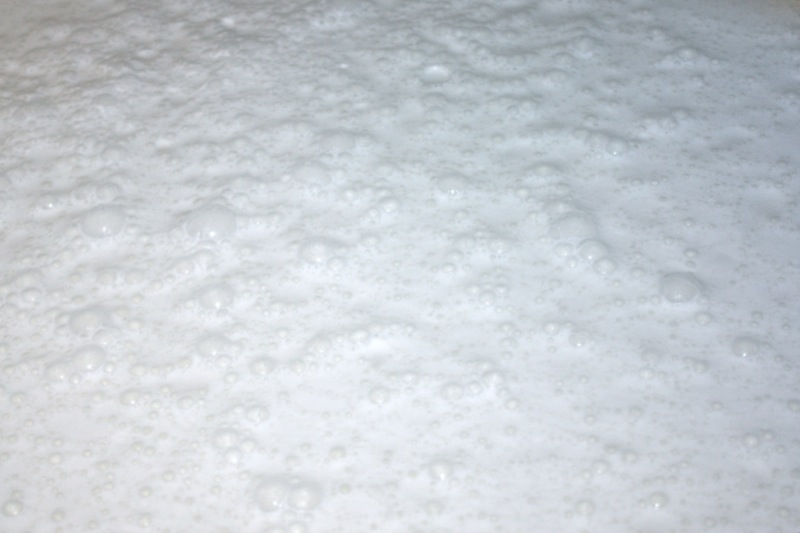
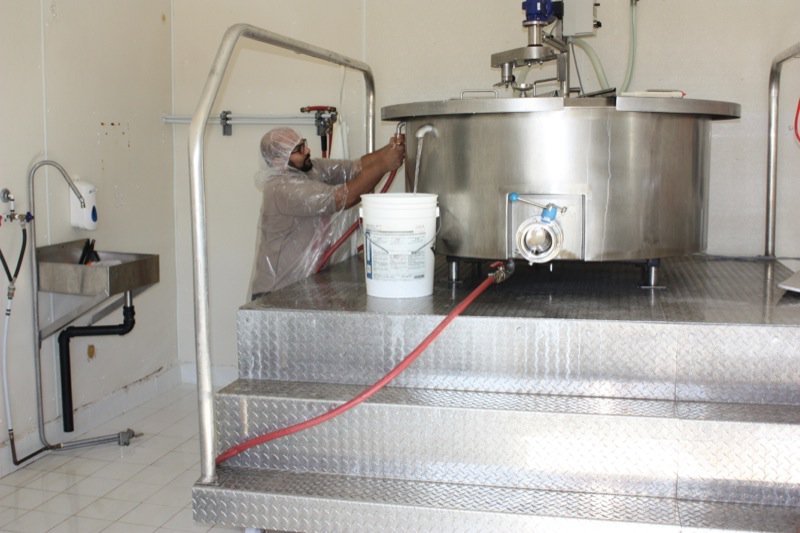
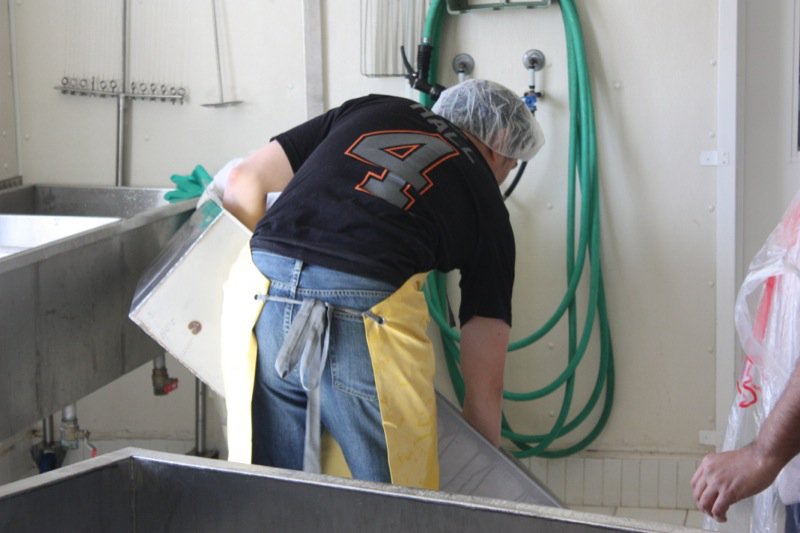
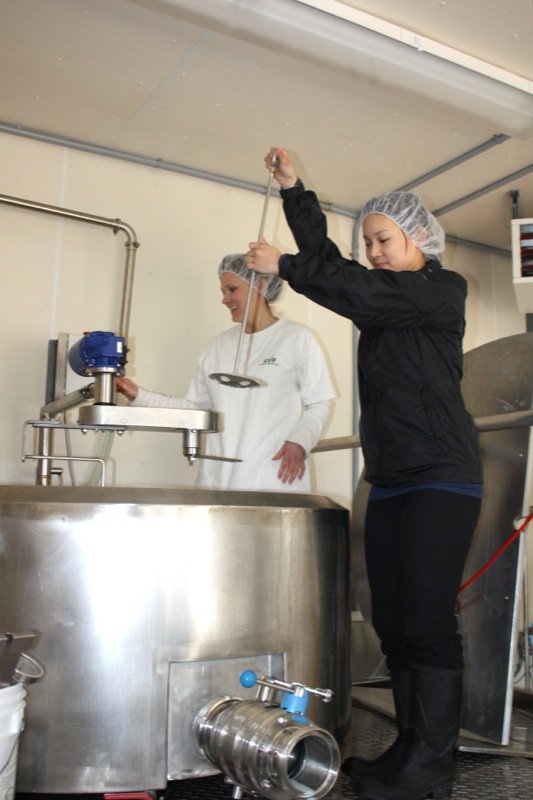
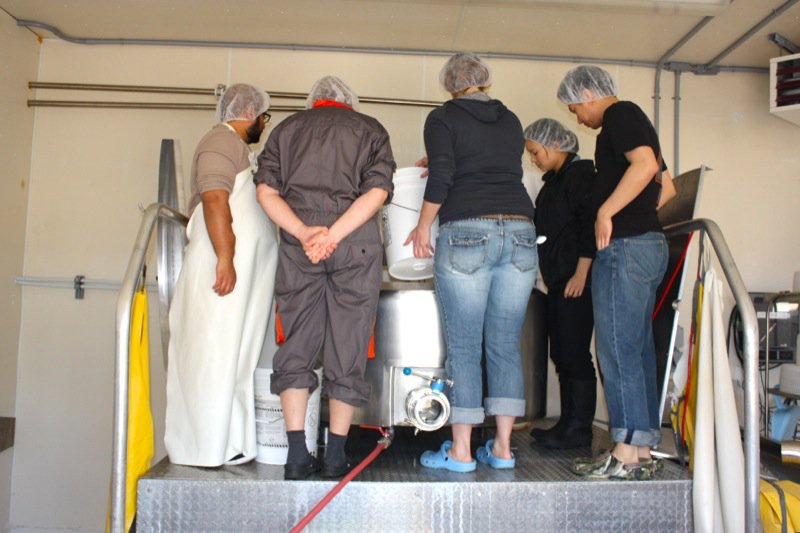
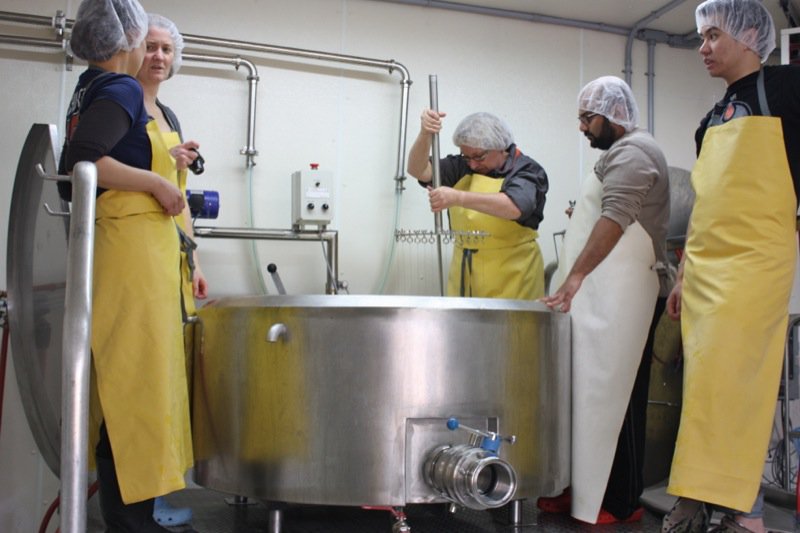
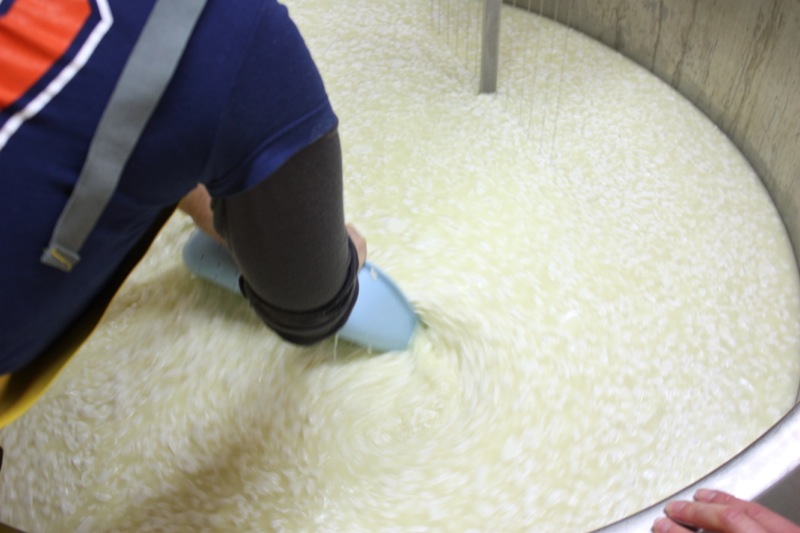
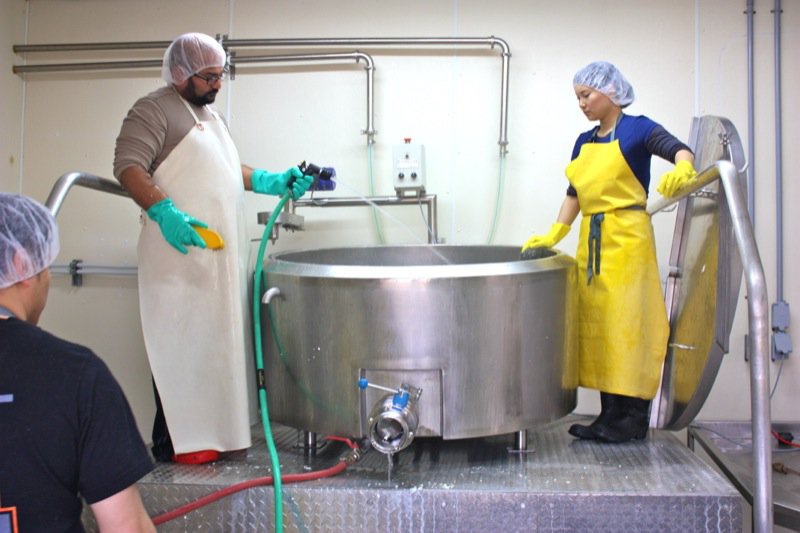
I was hanging back, feigning lack of interest, for about 60 seconds; I am holding the hose that the milk is coming in on. One move, and you can only imagine! You can see I am feelin’ the power! Just look at the gorgeous sweet, white frothy milk! I was expecting to smell a strong sheepy odor, but not at all: sweet milky goodness wafted through the room.
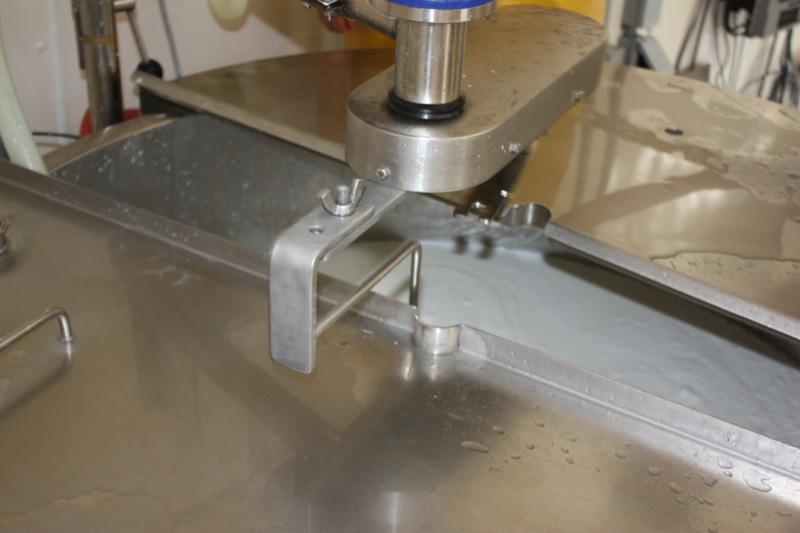
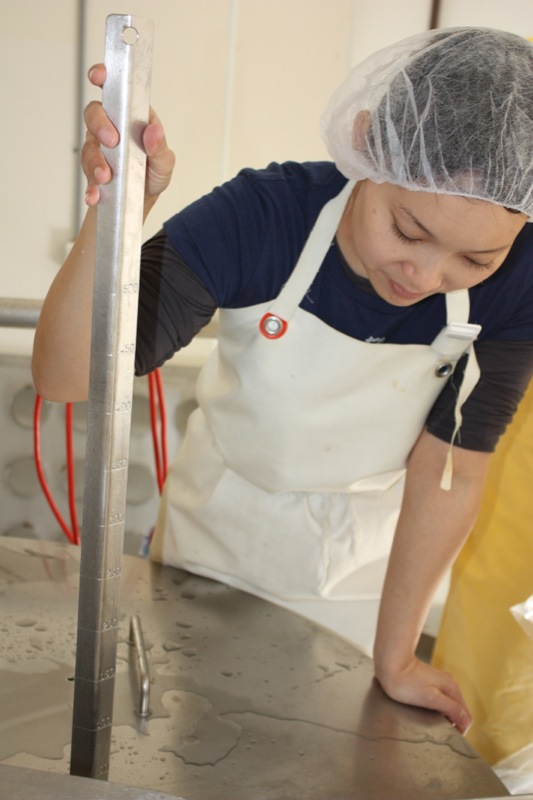
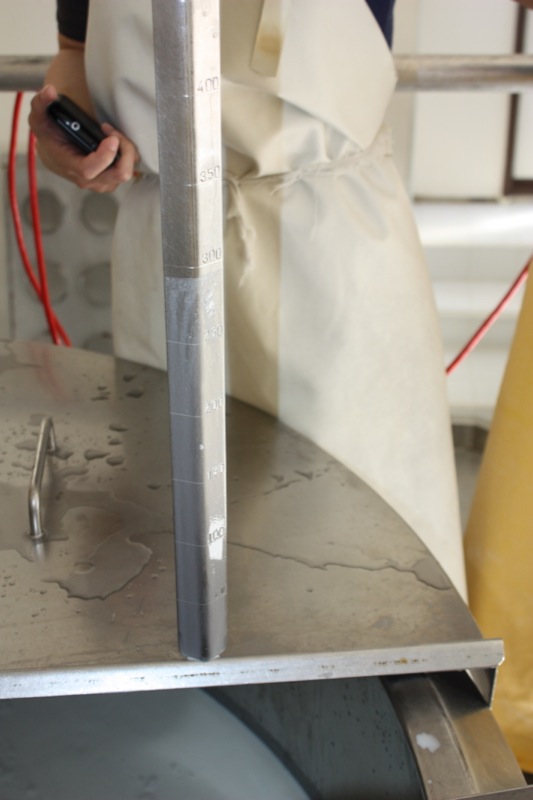
Time to close the vat and let it heat up the milk to 20°C. It usually takes about an hour to reach the correct temperature needed to add the cultures into it. You will see that Leslie is measuring the litres of milk in the vat so that Rhonda can calculate the culture and rennet amounts: 290 litres.
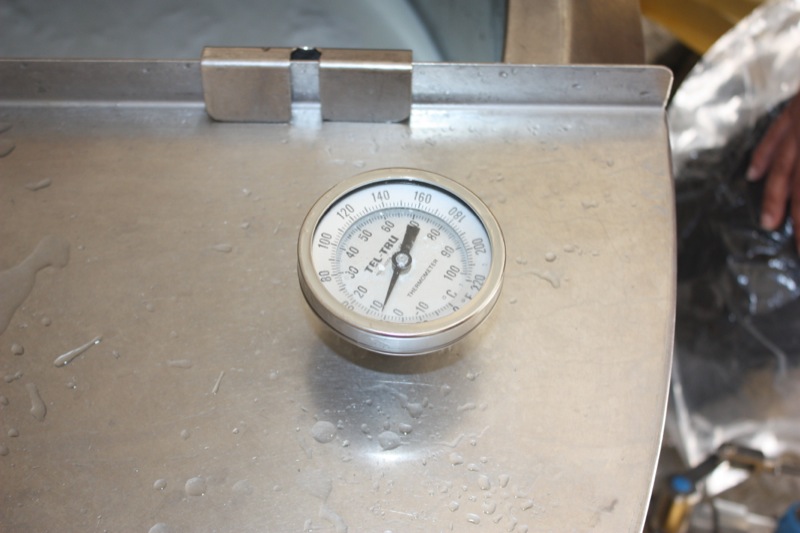
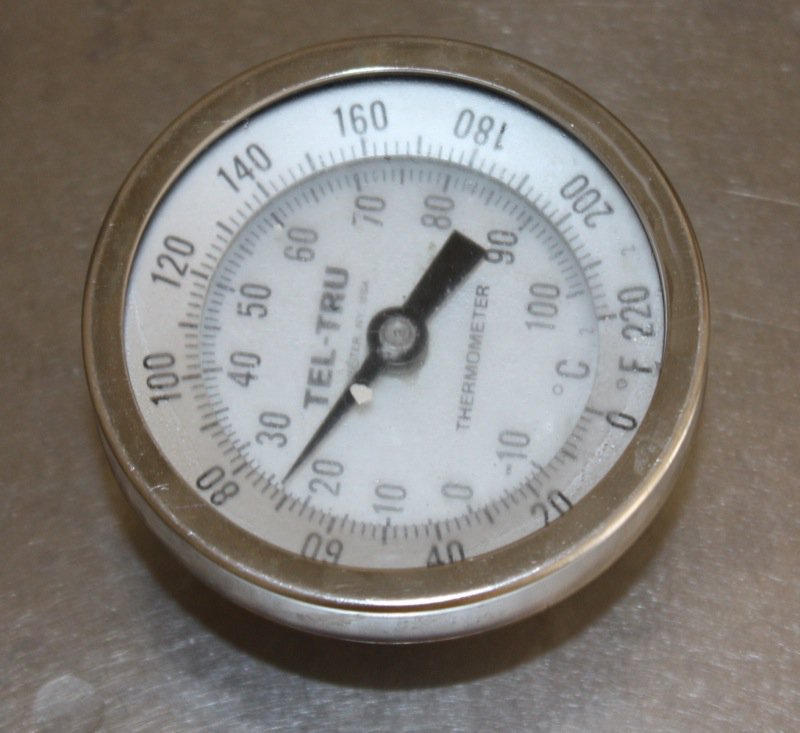
Below, Addie is holding a floating thermometer. Rhonda does not rely on just one. She uses three to ensure that the temperature is where it needs to be.
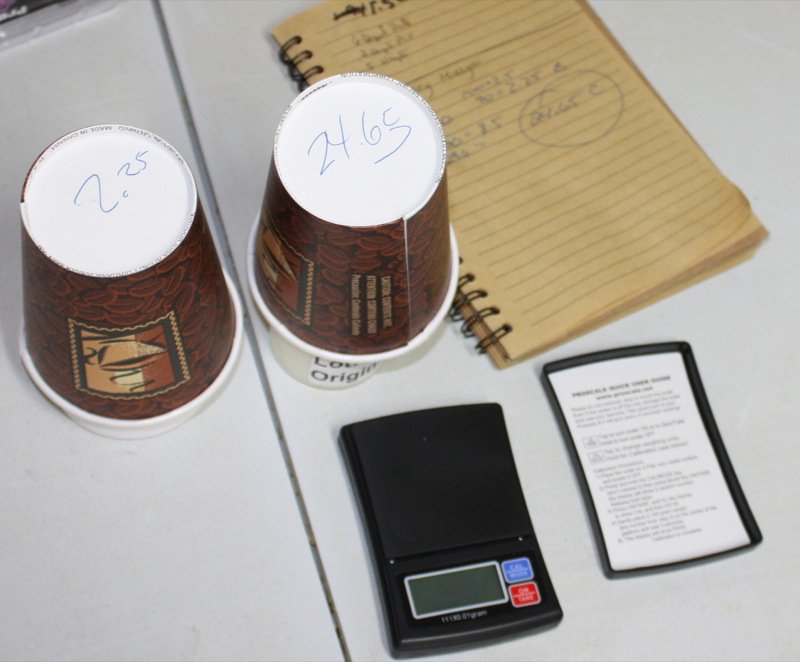
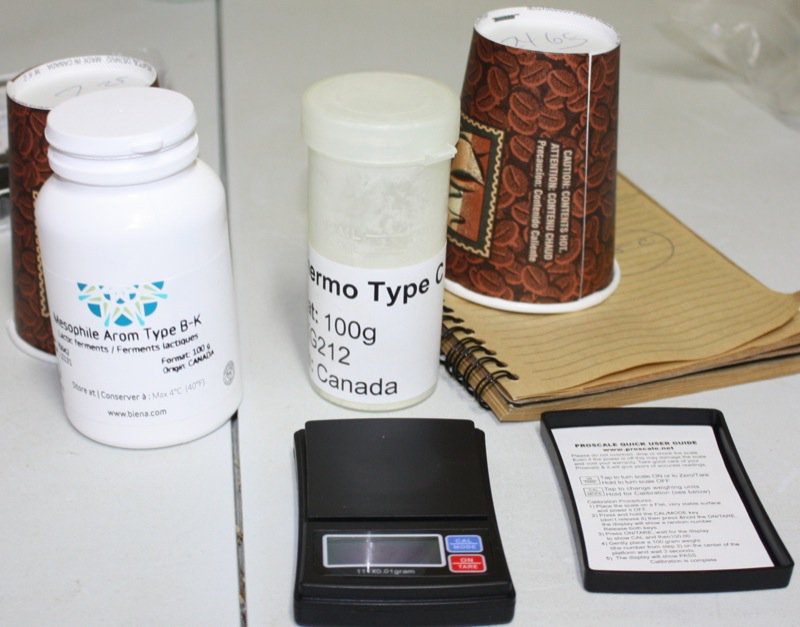
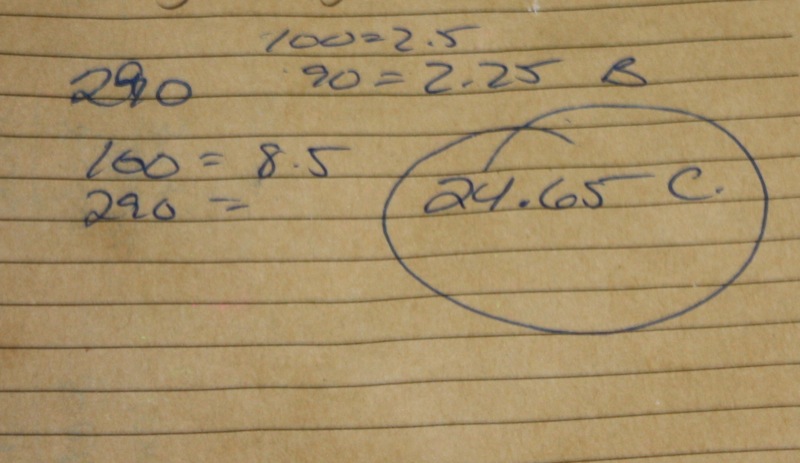
Rhonda uses both Mesophilic Aroma B (2.25 grams) and Thermophylic Type C ( 24.65 grams) cultures in her Pecorino: “the meso culture brings out a buttery flavour, and the thermo, a nutty flavour.” The handy dandy very accurate pricy little gram scale worked like a charm and was purchased at a local cannabis shop.
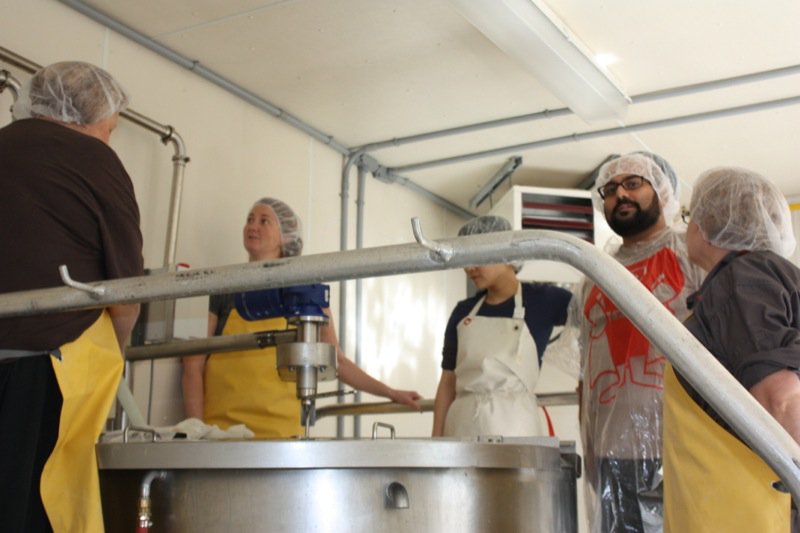
It takes about 1.5 hours for the culture to work its magic, but we had a bit of trouble keeping the temperature at 20°C, so it was taking longer than usual; Addie is working at circulating the warm water back into the walls of the vat to speed up the process. Meanwhile, how many cheese making fanatics does it take to measure a few grams of culture? (Nope, still not warm enough.)
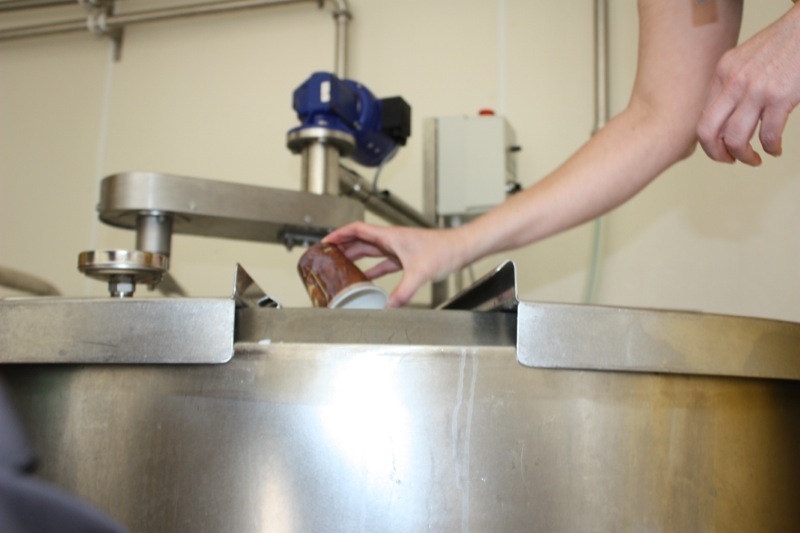
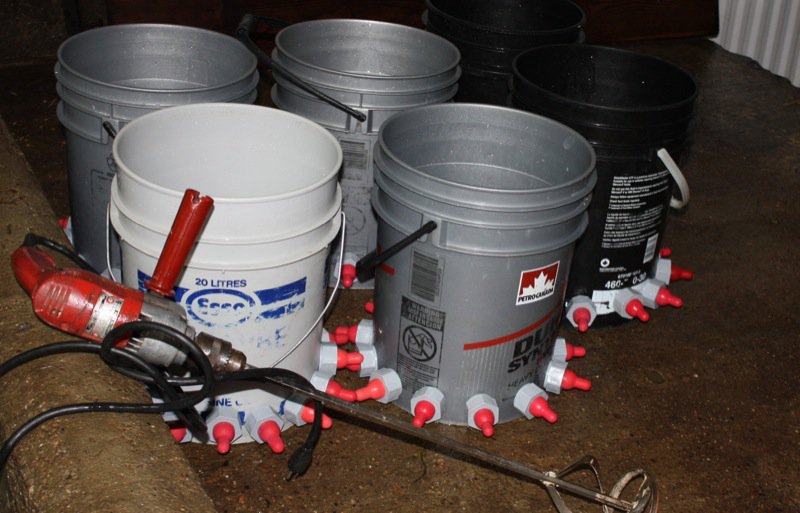
Rhonda mixes the culture with a small portion of milk in the bottom of a bucket, first; one at a time, and then pours each into the vat. This was a completely new process for we learned Cheesepalooza participants. The culture has always been sprinkled on top of the milk and let rest; even at Smoky Valley. The paper cup was also rinsed in the vat to ensure every little nano-particle of the culture got into that vat.
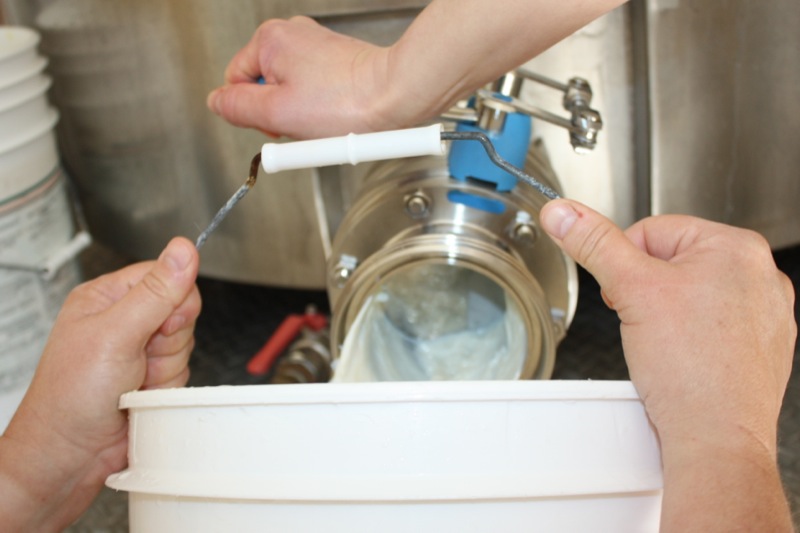
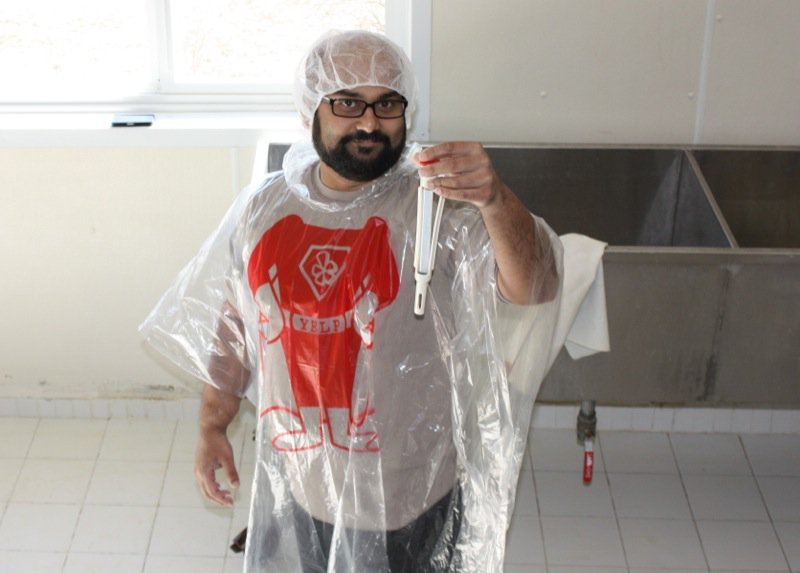
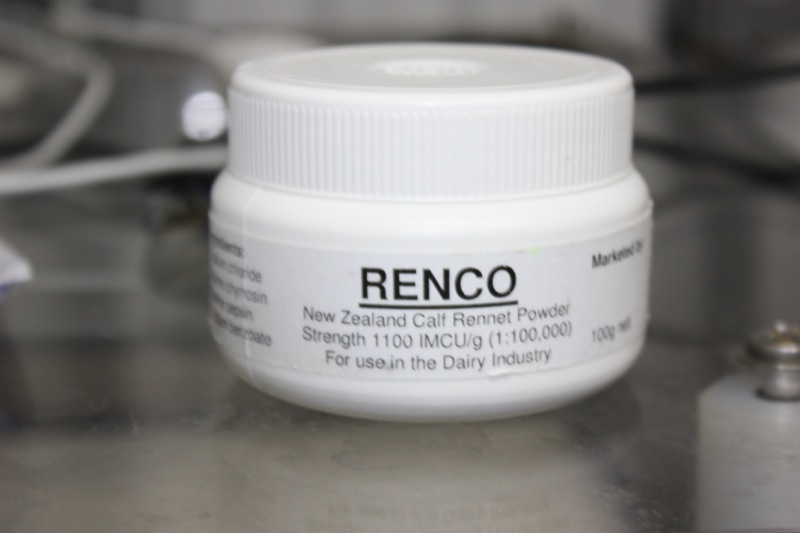
In it all goes, the vat is again covered and the milk left to rest with the culture for another hour before adding the rennet (15mL per every 100 litres). Rhonda uses the real calf rennet, pictured below.
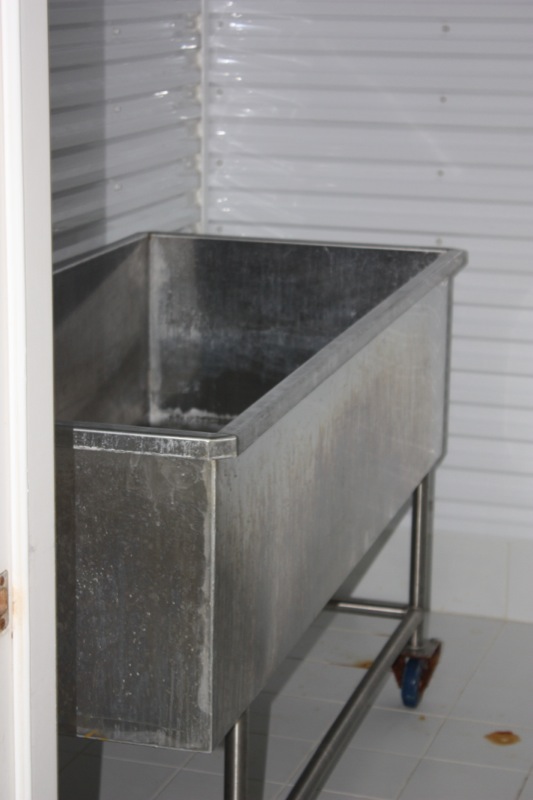
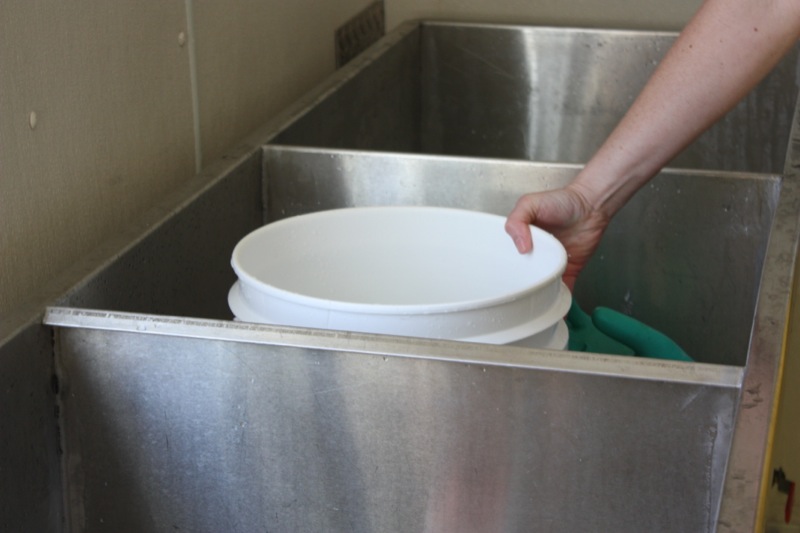
While we wait to add the rennet, we tour the facility. This room is the fresh cheese aging room and hasn’t been set up yet for the season. Guess what the troops did after lunch? It is kept very moist, with a 20% solution salt brine in the tub and at 9°C. The cheese is kept here for the first 48 hours. Sadly, Rhonda had to throw away her brine as she thought it may have been contaminated at the end of last year, and had to be safe. Usually, a cheese maker uses the same brine for life. I have mine.
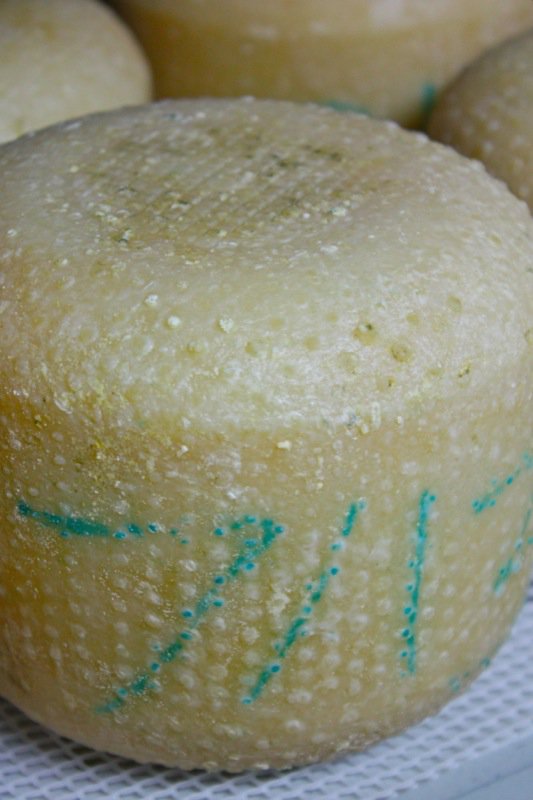
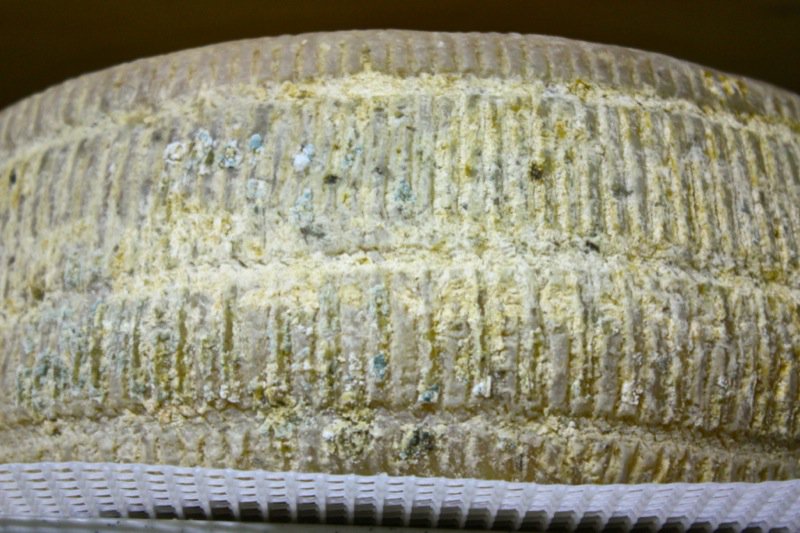
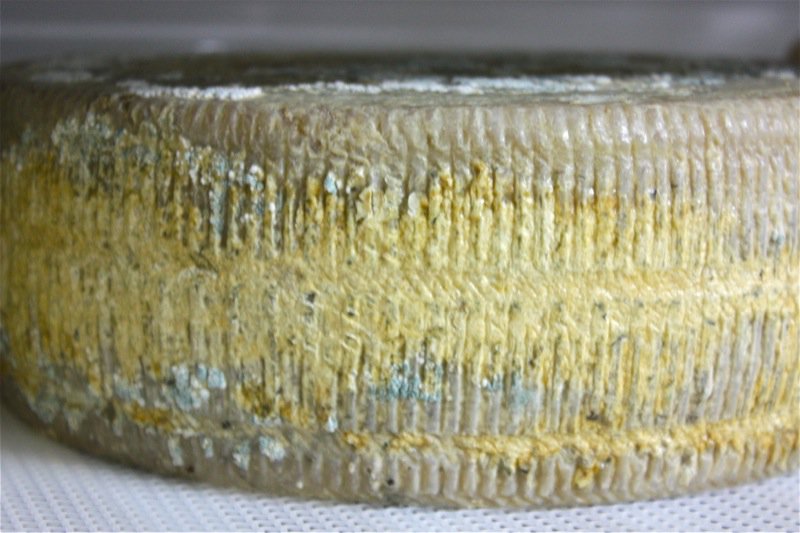
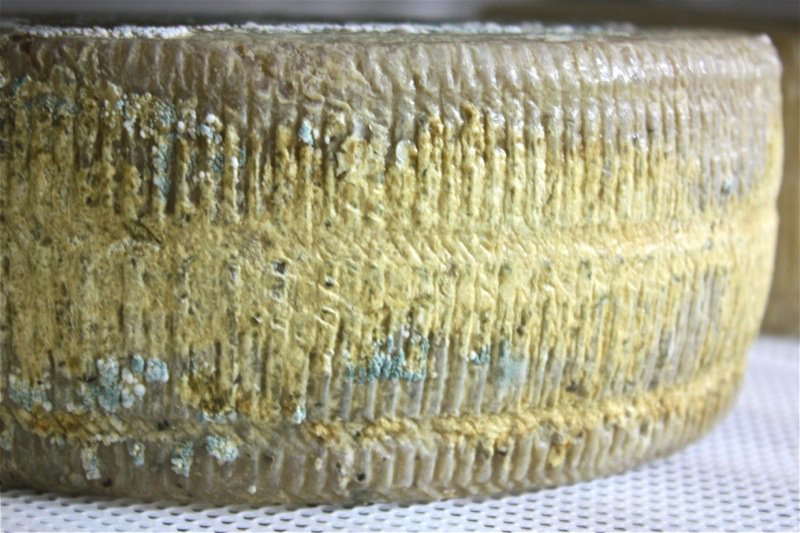
And this, my friends, is the aging room: look at that Pecorino! The oldest ones are at the top and Rhonda just lets them take on a life of their own within the confines of the 12°C temperature controlled, somewhat high humidity environment. Whatever bacteria is in the air has seemed to age these cheeses into the most complex wheels of wonder.
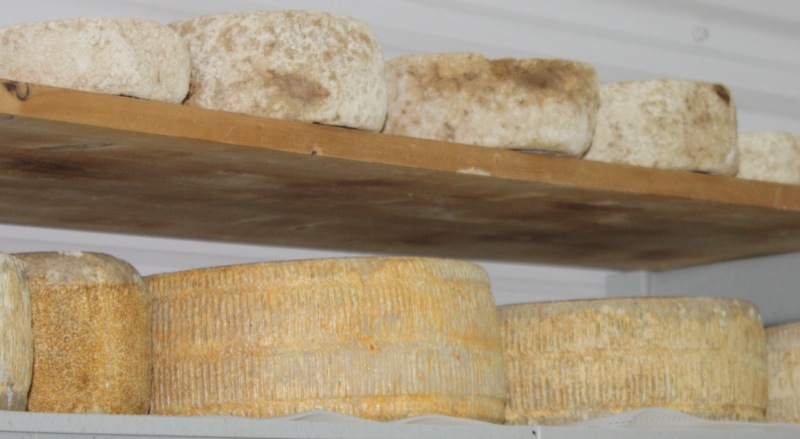
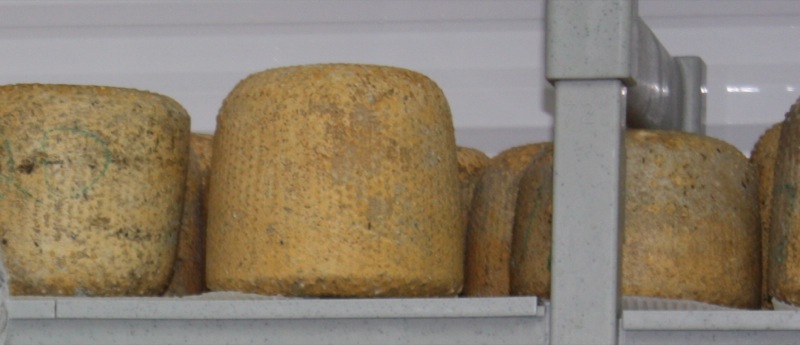
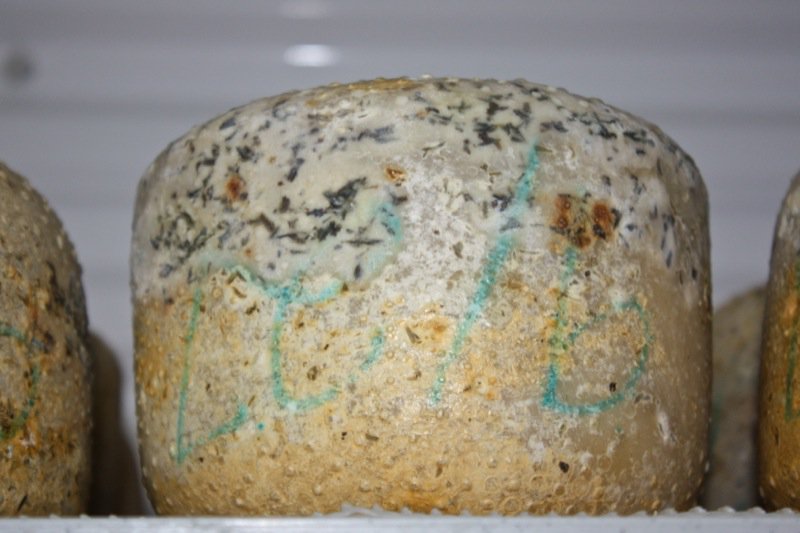
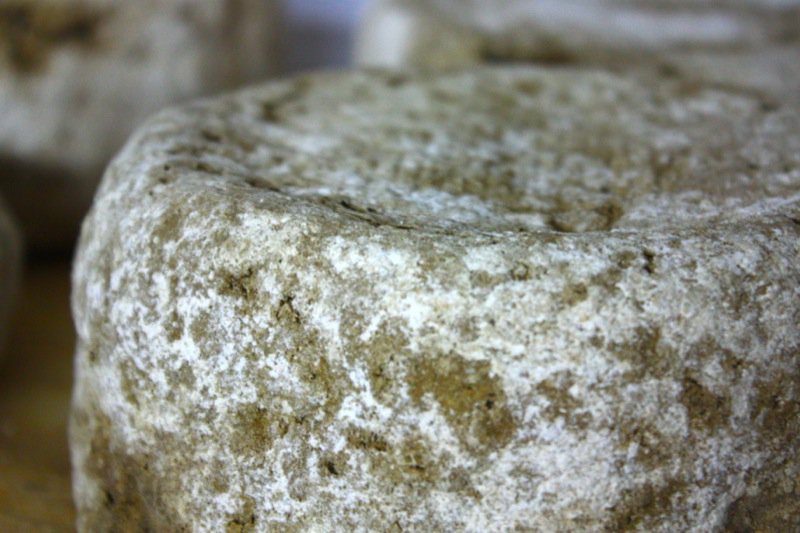
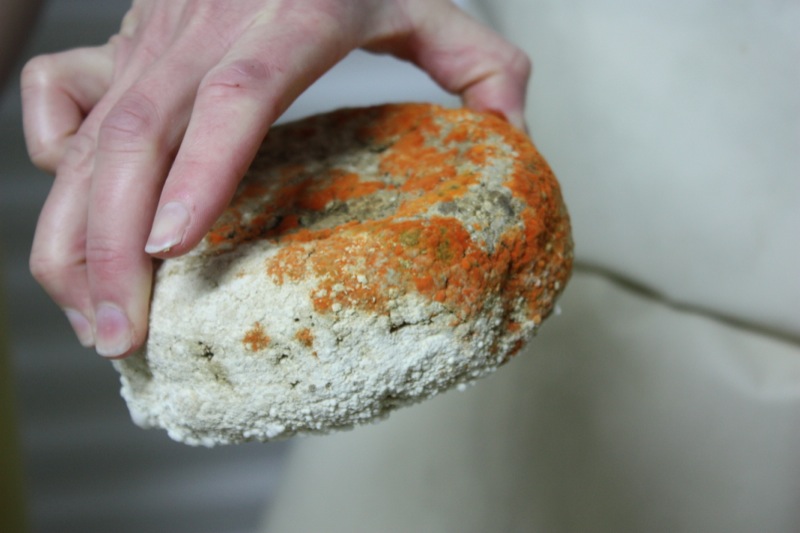
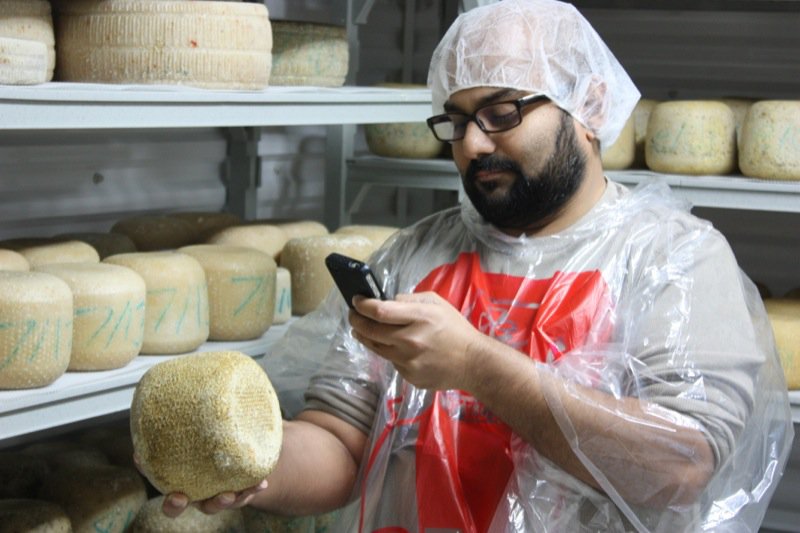
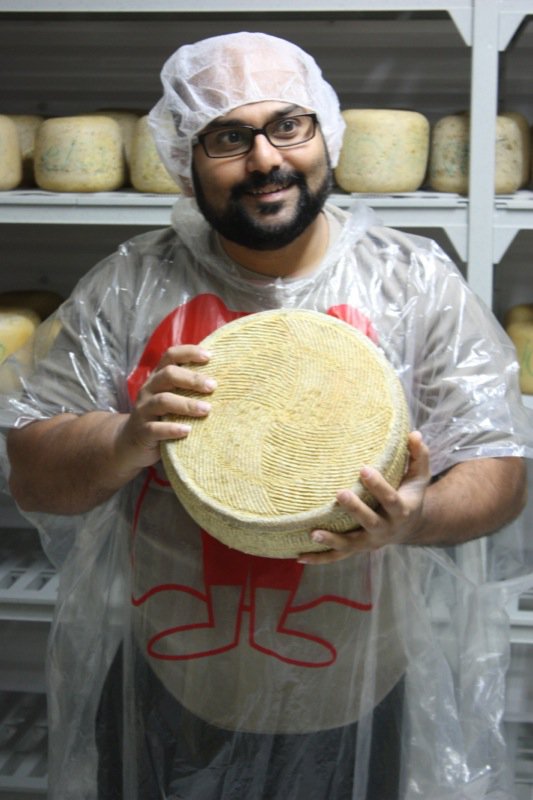
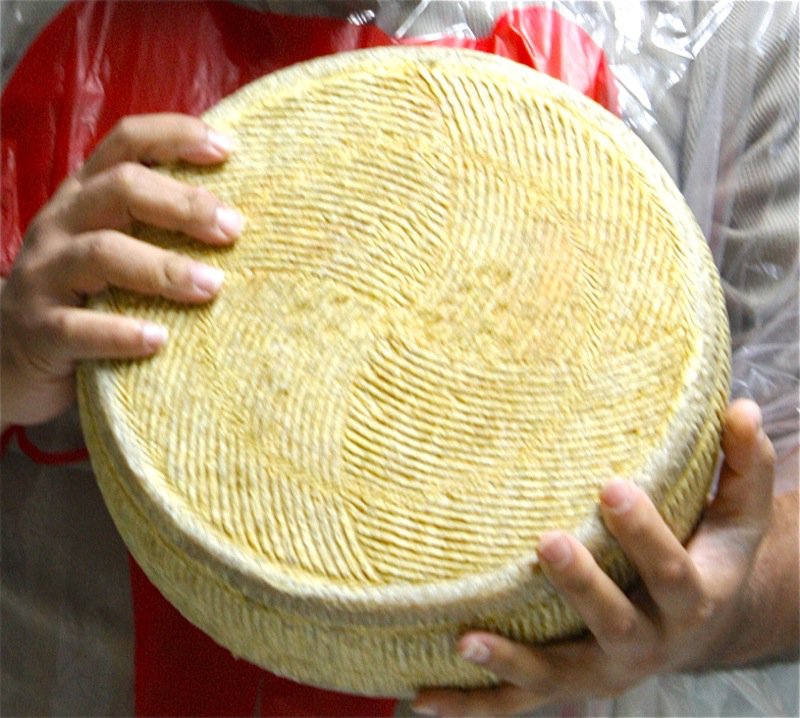
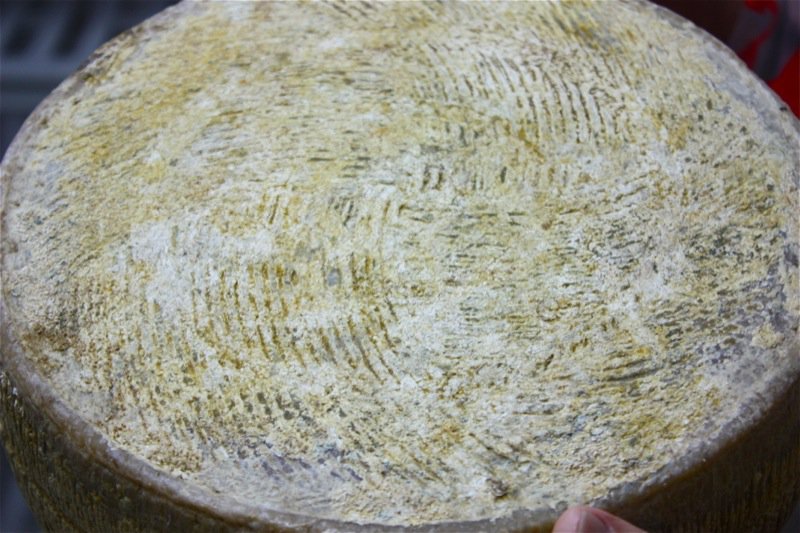
Apparently, the bright orange mold is safe to eat. She gets unusual molds like this tested. As she tests her cheeses, it is clear some are “better than others” according to her palate. Yet, it is really up to the sheep and their milk. Being able to produce a cookie-cutter-consistency in the artisan cheese making business is not possible, and not even sought after. Still, Rhonda has enough control over her animals, what they eat, and her product, to ensure a very high quality of texture, or paste, and flavour. Look at the gorgeous wheel below; the basket mould used is one of my favourites. I don’t have it, and my 14 litre vat is too small to fill it. It must take 30 litres of milk to fill this mould.
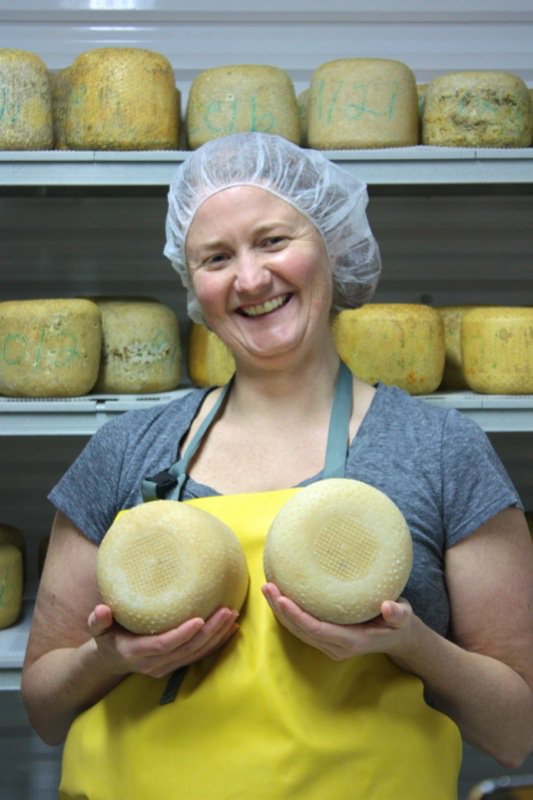
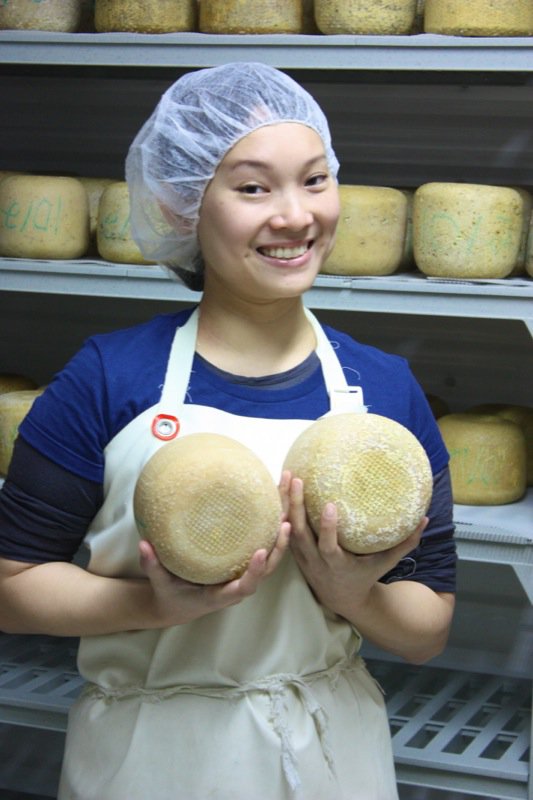
What fun we had with the little rounds: it was all Rhonda’s idea! Cris and Leslie both took on the challenge!
I am sure Rhonda is required to keep these kind of cheese notes, but Ian has taught us how important it is for our own personal reference when making cheese at home, too.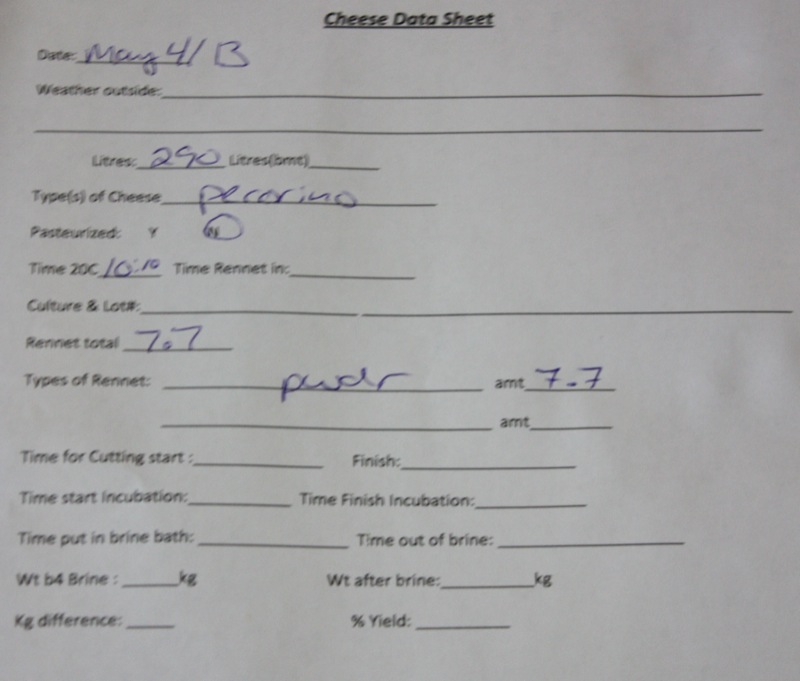
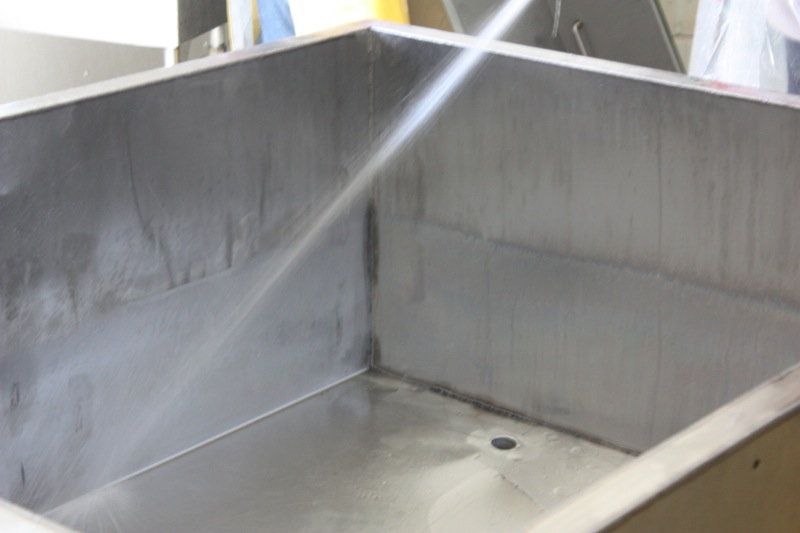
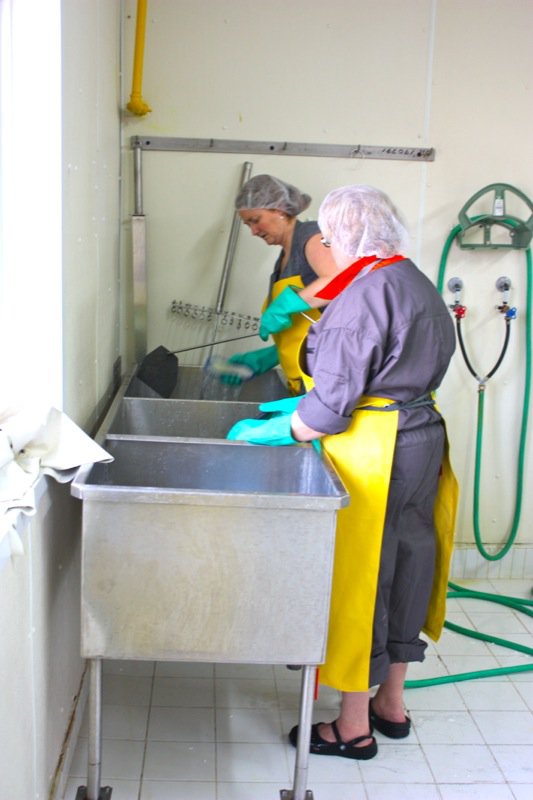
Tour complete, time to prepare for making the cheese. More cleaning.
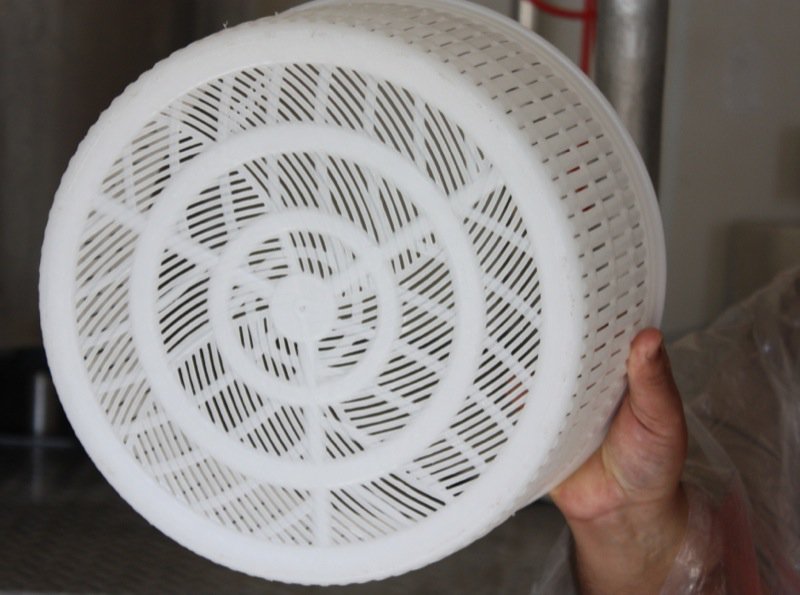
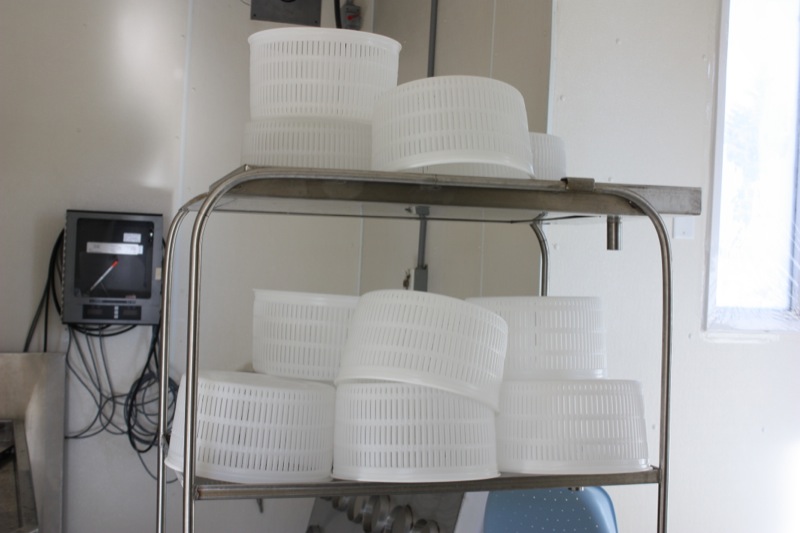
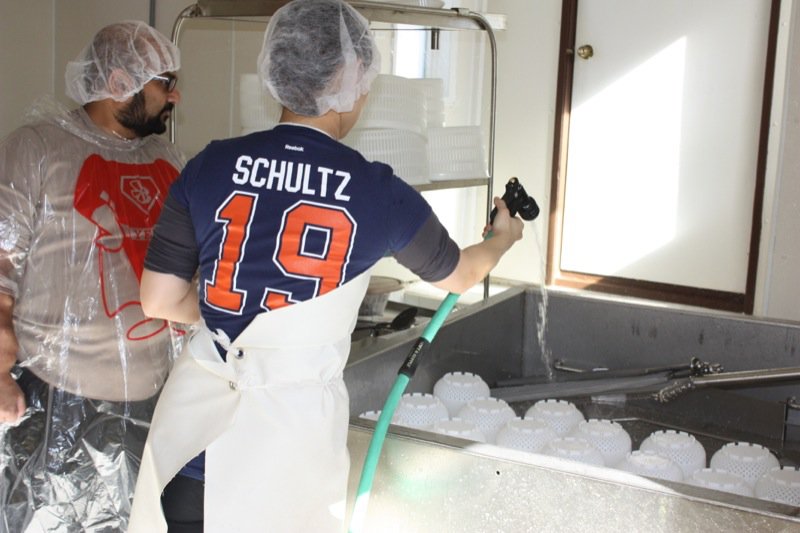
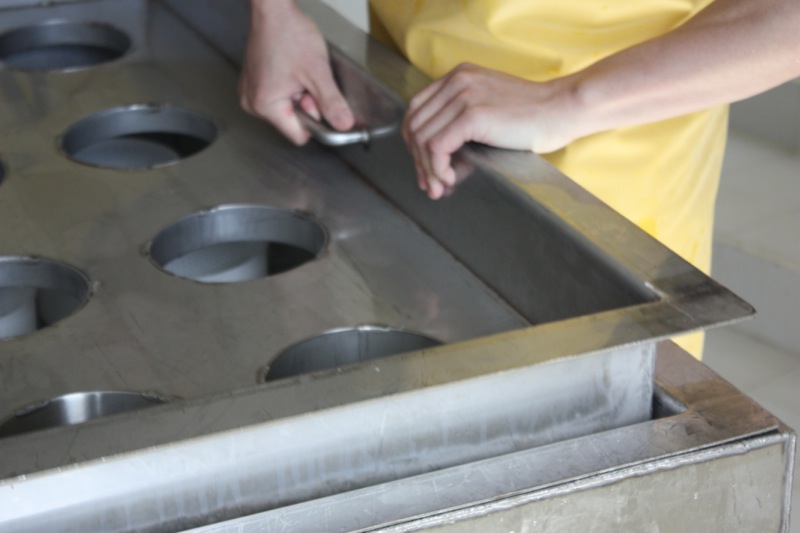
Above, my favourite basket mould. Below, removing the lining from the 24 hole cheese mould table to clean.
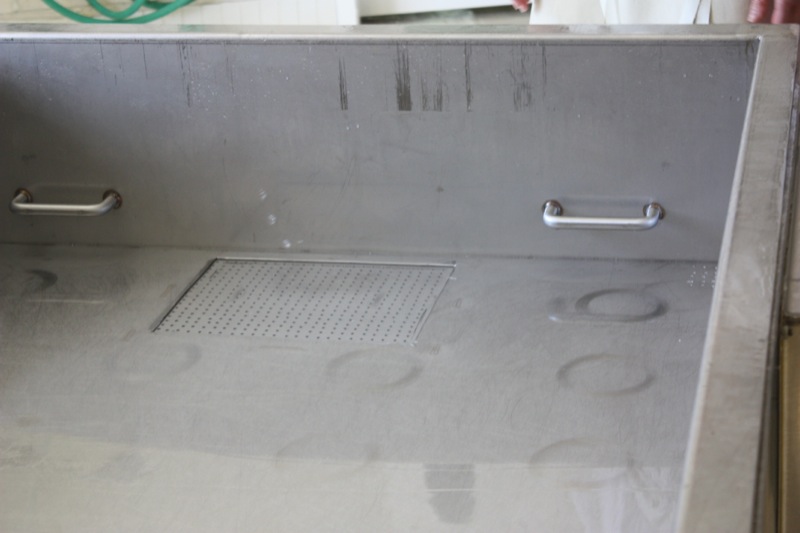
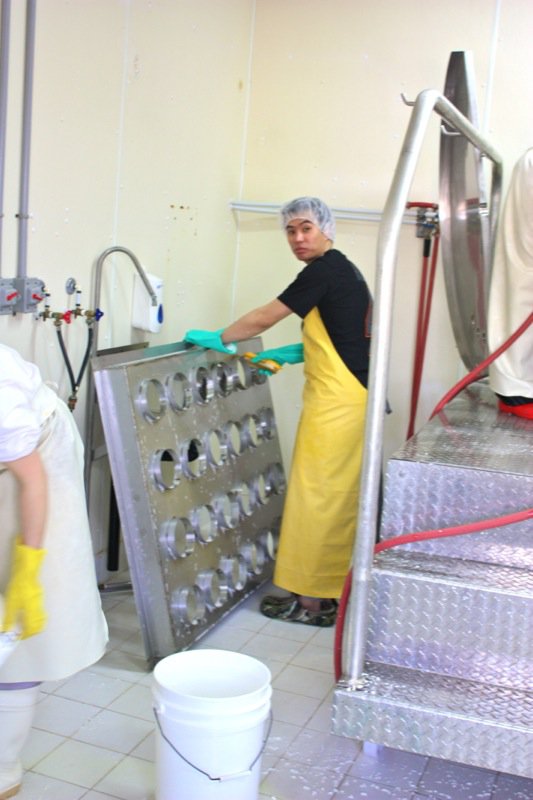
Above, the inside lining is being cleaned, and below, the table is also being washed out well.
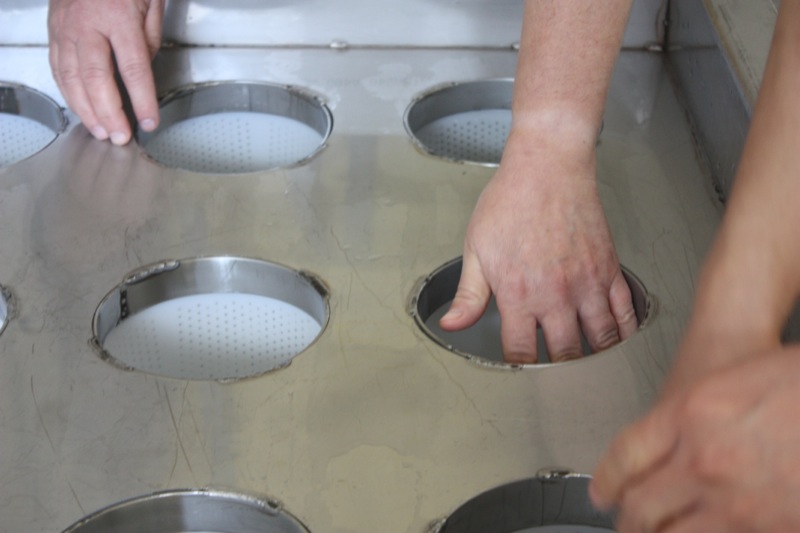
As the lining inserted back into the table, you can see the drainage for the whey to release into the bottom of the table, under the liner.
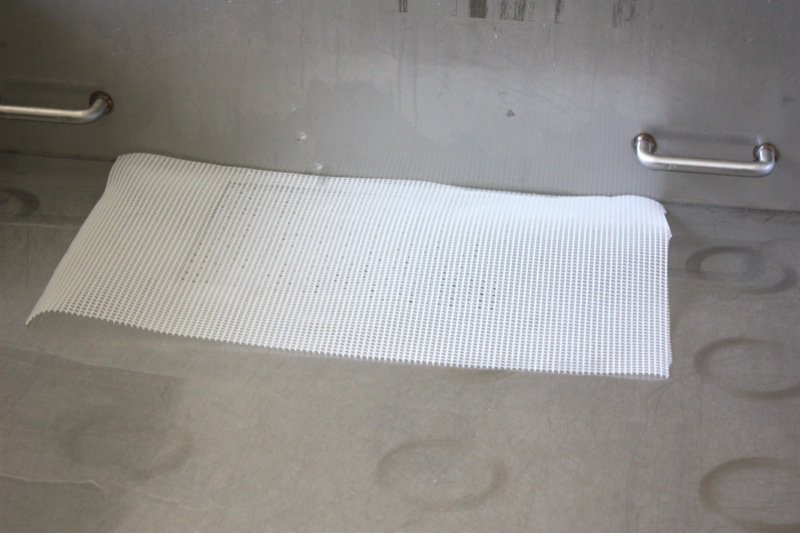
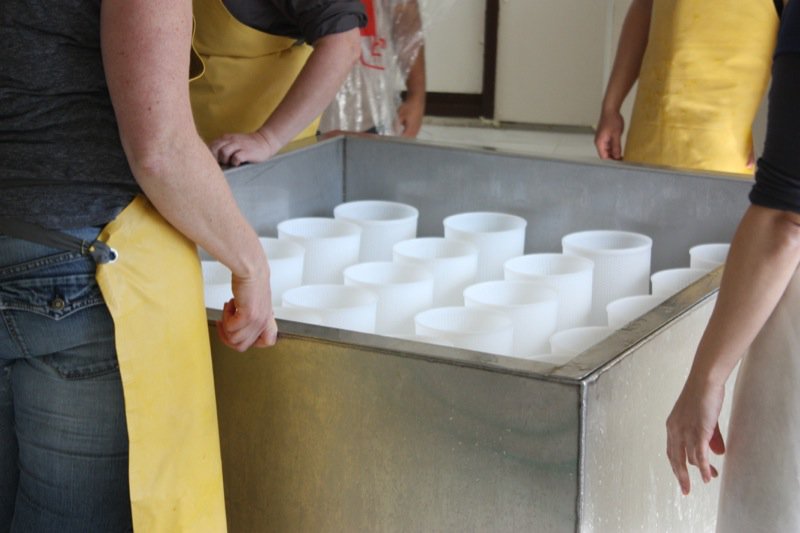
Now what? “The lid” is placed onto the table and the Pecorino moulds fit perfectly into each hole. Rhonda had this table made by the Hutterites nearby. She gave them the specs from a cheese making order book and they built her some fantastic equipment at the fraction of the price it would cost her to buy from Italy.
Each little mould in its place awaiting the sheepy curds, it is time for an early lunch. First, the customers!

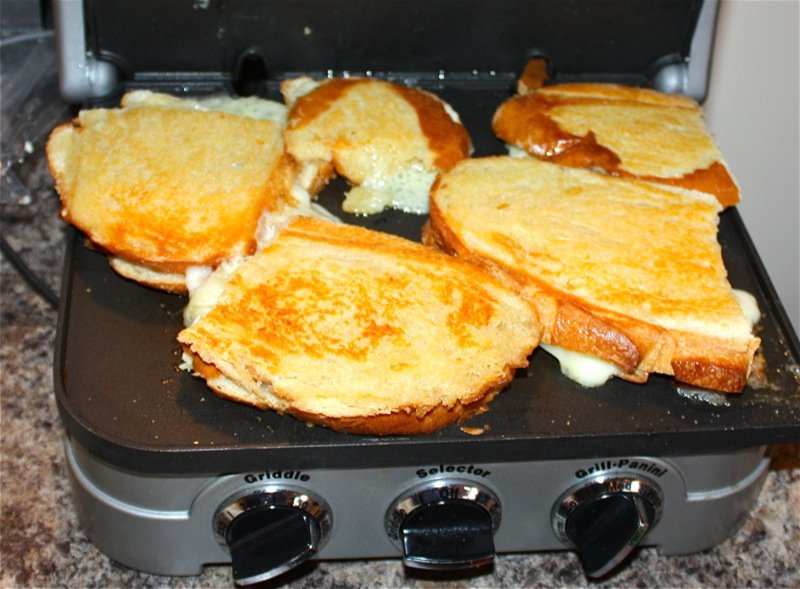
The sandwiches were delicious. We were a hungry and thirsty bunch, though we hadn’t worked very hard. In the middle of the meal, it was time to add the rennet.
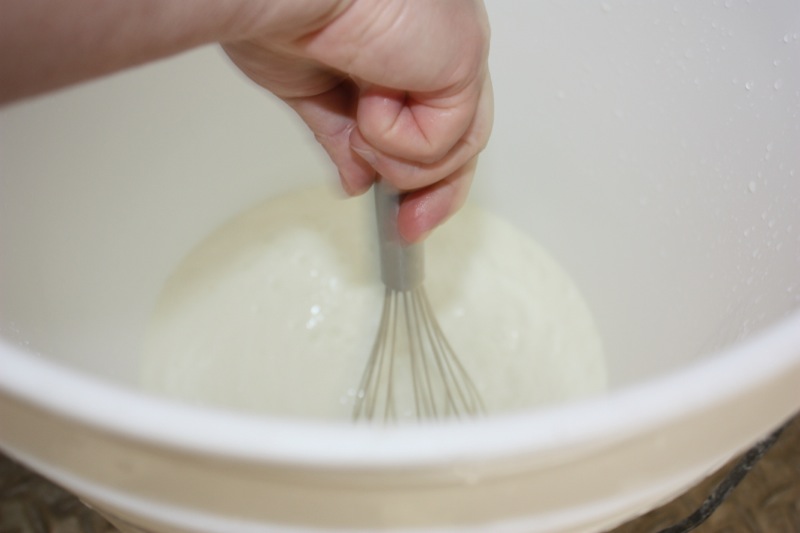
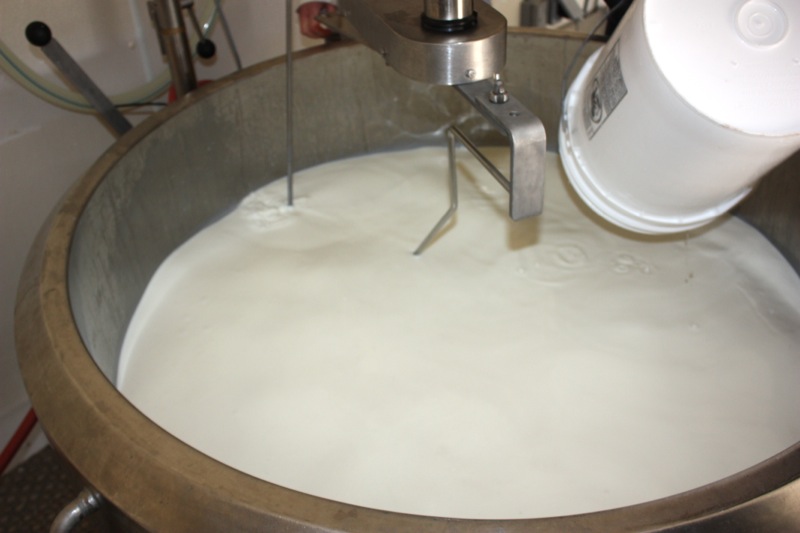
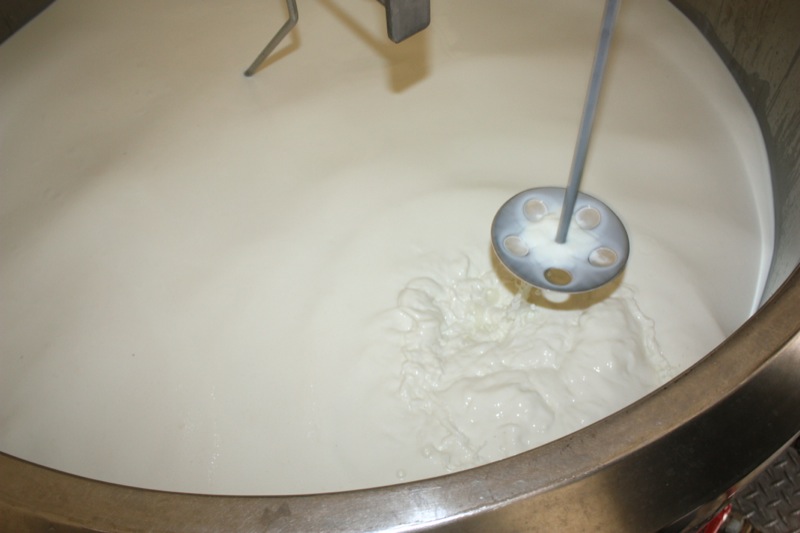
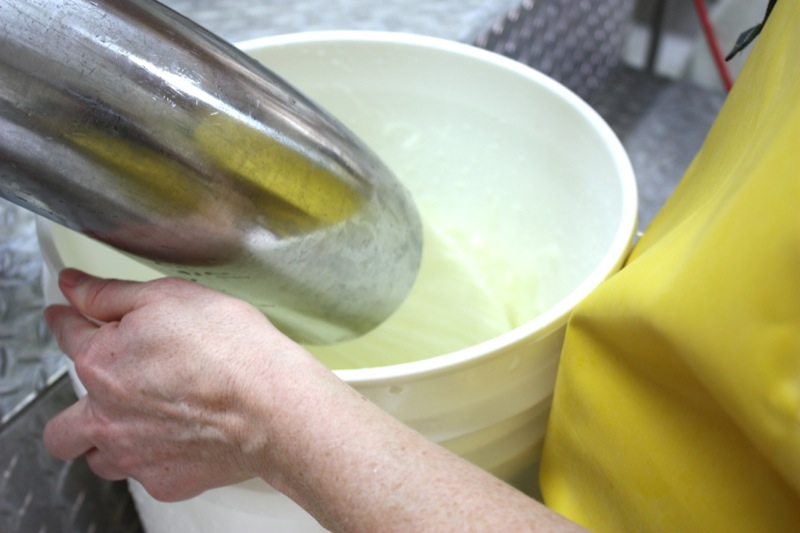
Rhonda used the same process as when she added the culture: the rennet went into the bucket, milk was added and whisked with the rennet and all was returned to the vat and then stirred in. Again, the process was quite different than what I have experienced and learned. She used a plunger to plunge in and out many more than the usual twenty times to move the rennet through the milk. In 45 minutes, the curd should be set and ready to cut.
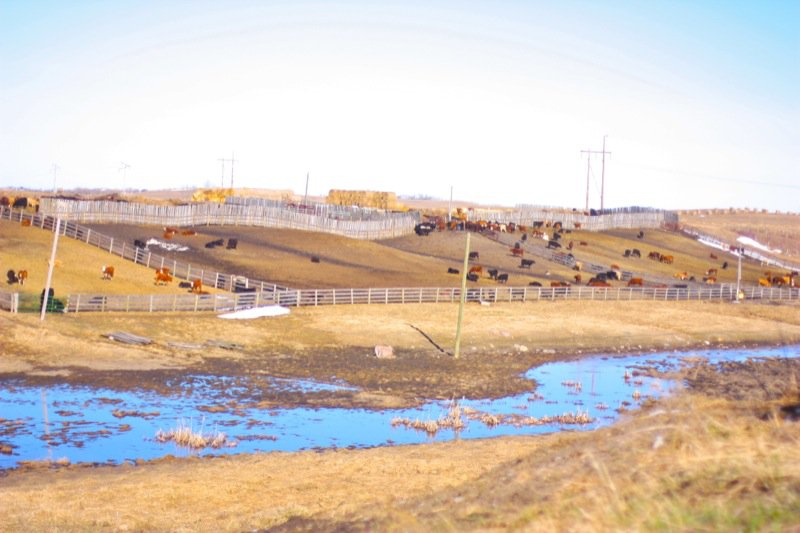
The curd wasn’t setting. This is not so unusual with the first milk of the season. We added a bit more rennet, took off our sanitary inside clothes, had a wee break outside and went for a tour of the barn and farm.

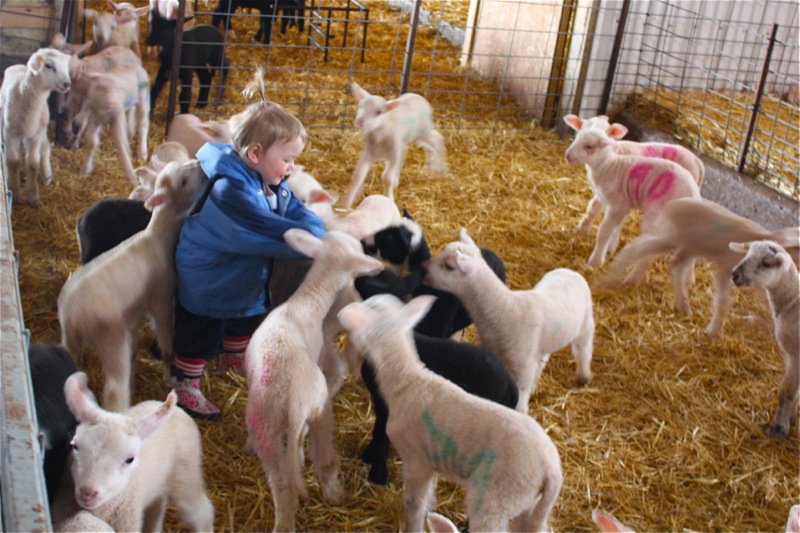
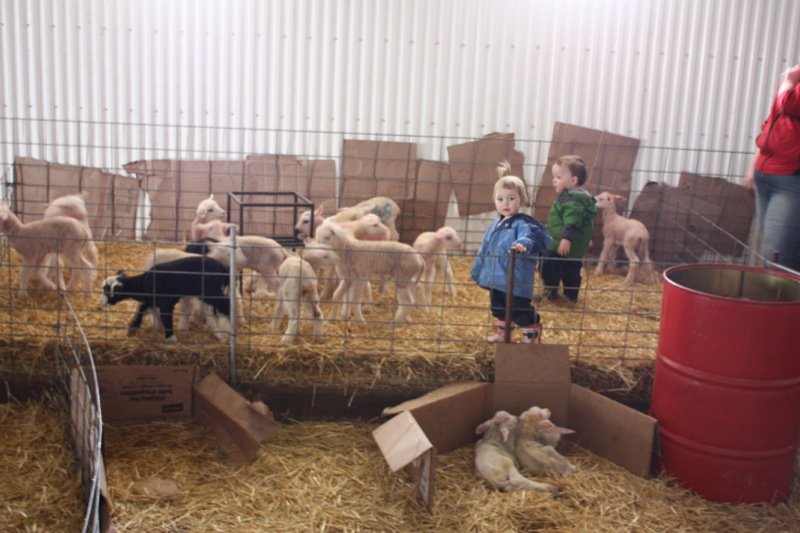
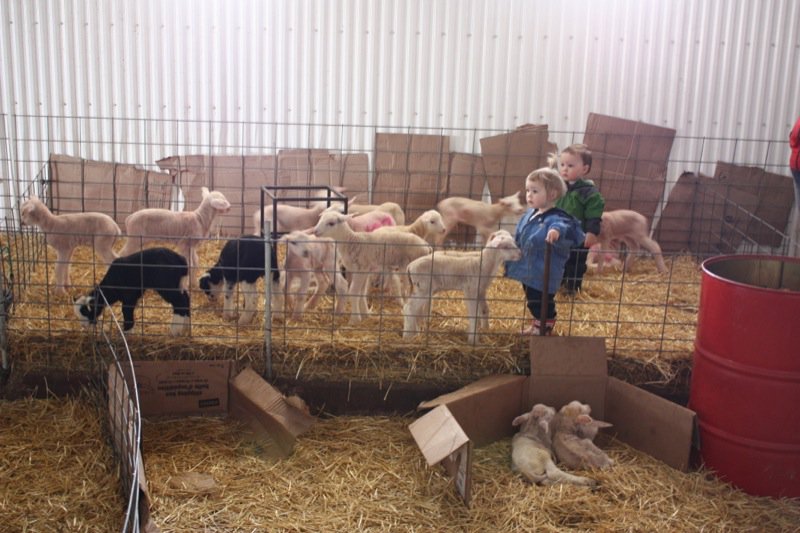
Look who woke up to join us? Twinsies! They love to visit the lambs every day after naptime.
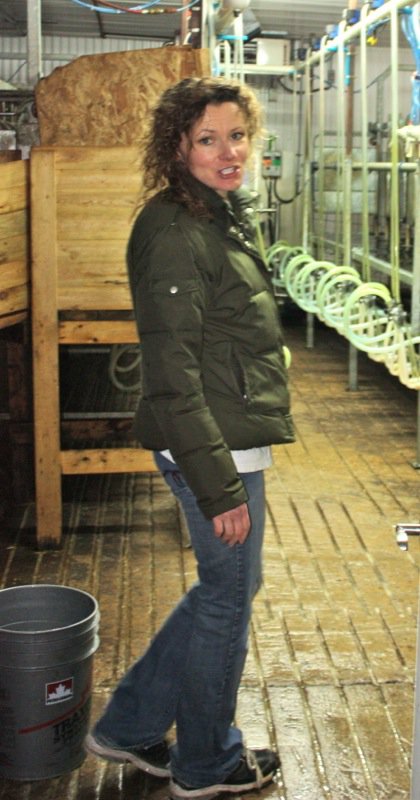
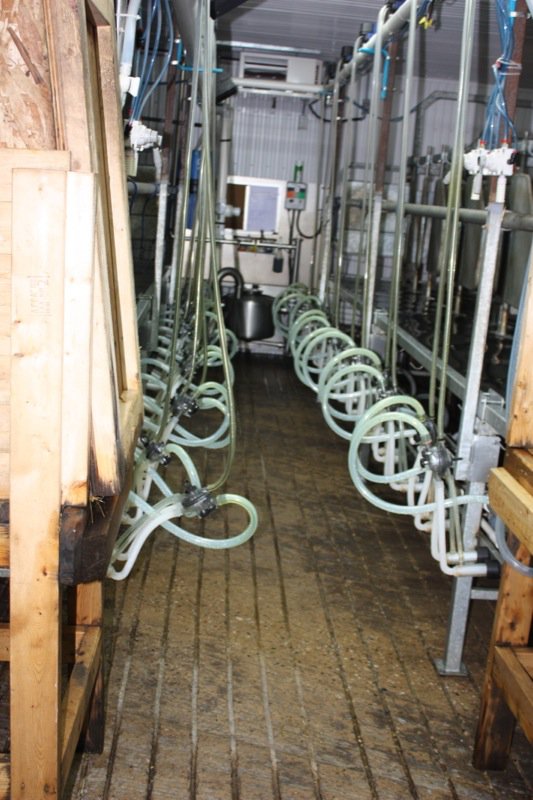
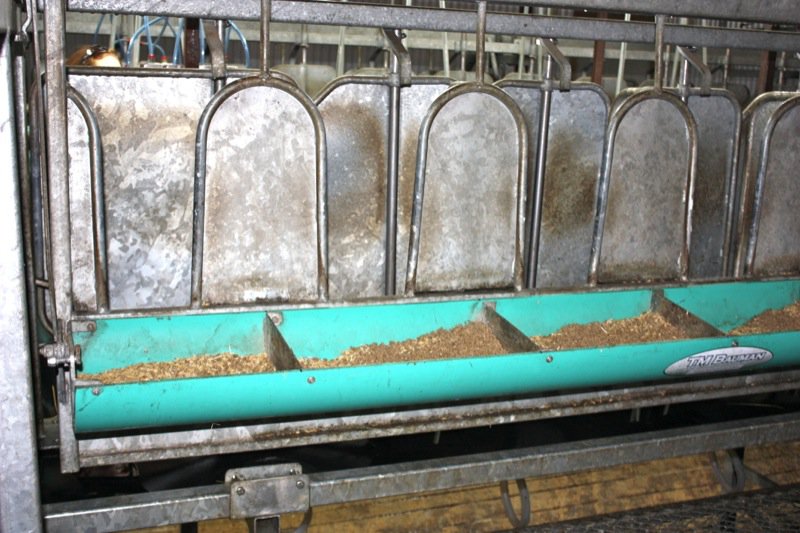
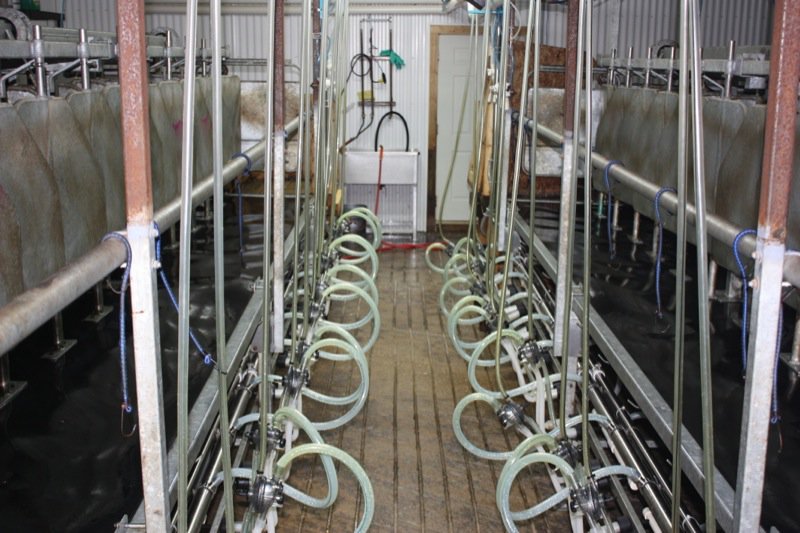
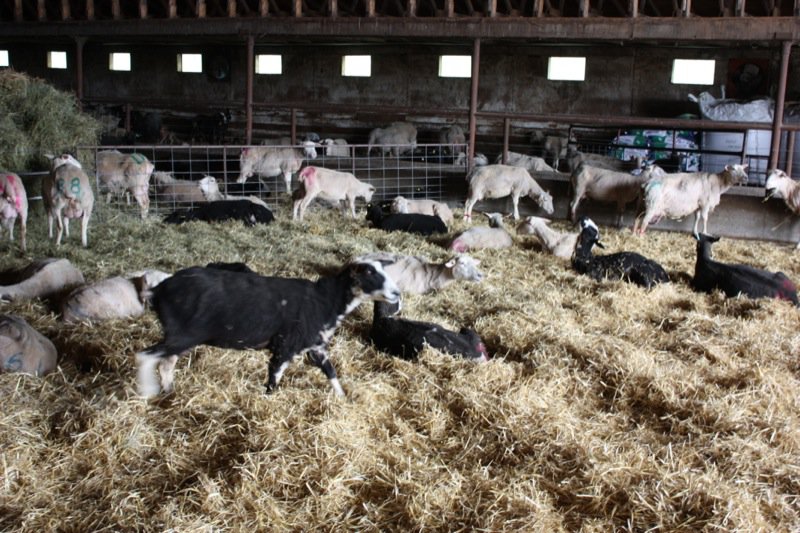
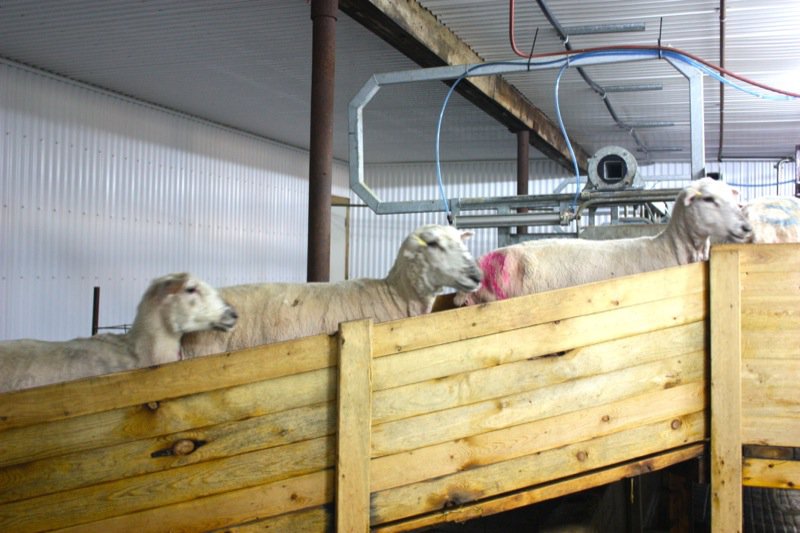
We are headed there, too… through the Milking Parlor, first. (Yup, that’s Rhonda without her net cap.)
Rhonda shares it all, but I will stick to the cheese making, and let the photos speak for themselves.
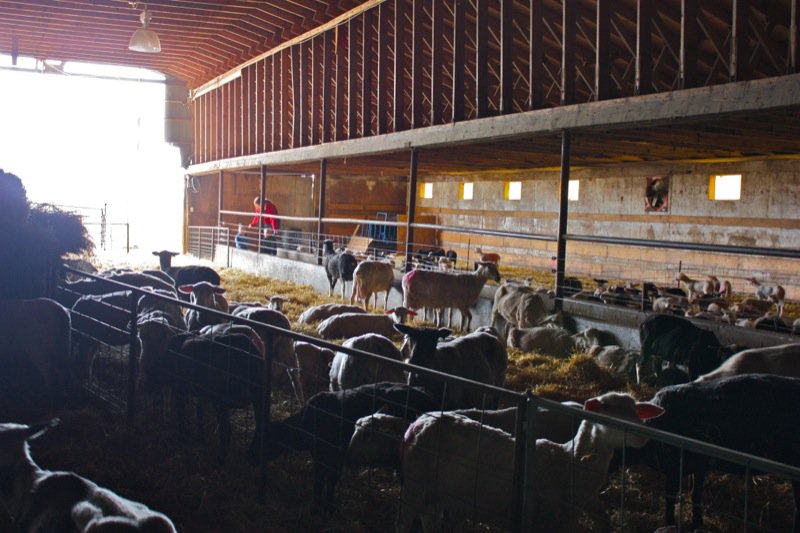
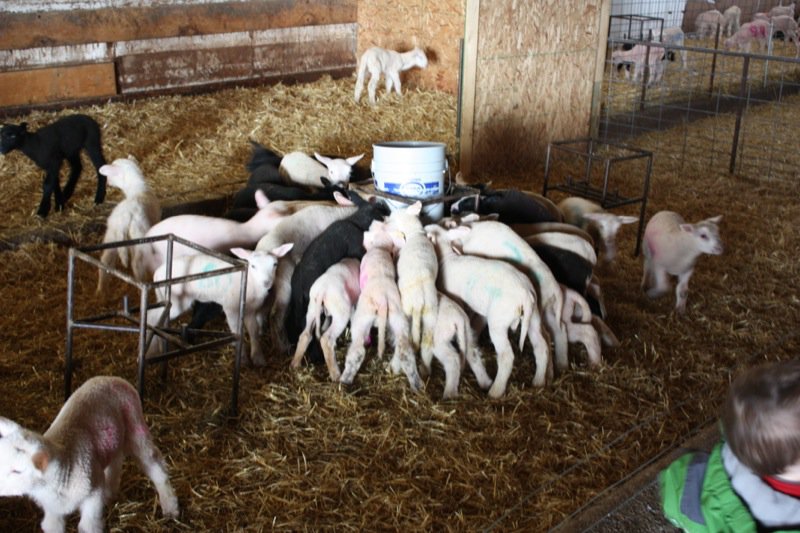
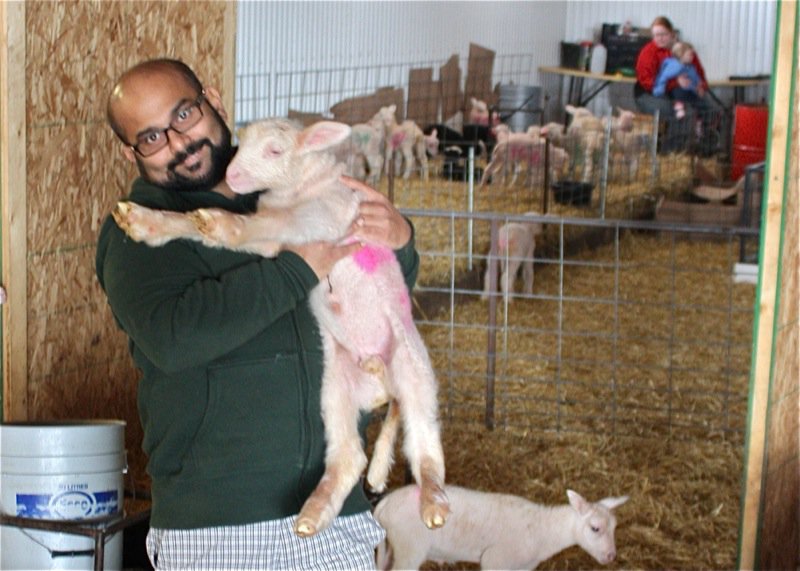
East Friesen Cross are the kind of sheep that Rhonda and Brian own, milk and breed. There are over 60 lambs so far and they will be lucky to get 40 a piece selling them at the auction, but they make the best afternoon playmates.

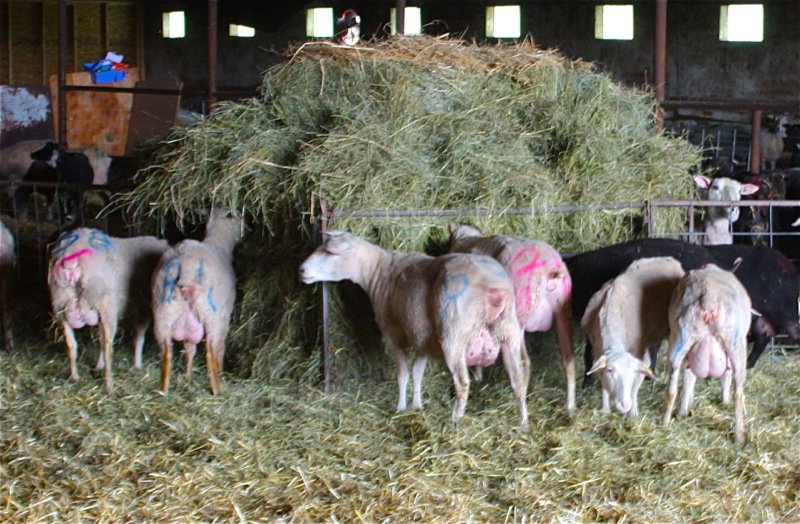
Pretty easy to see which ones are milked.
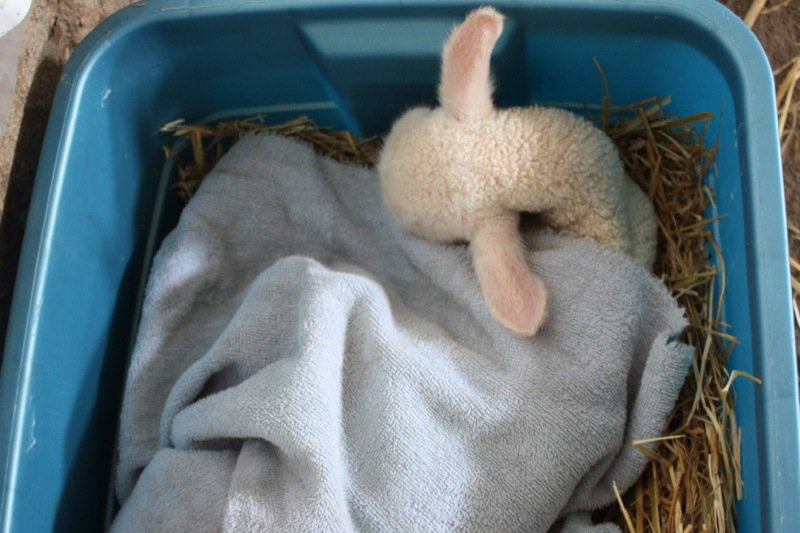
Little fella above won all of our hearts; wasn’t doing so well. The lambs in this portion of the barn are a few hours old to 2 days.
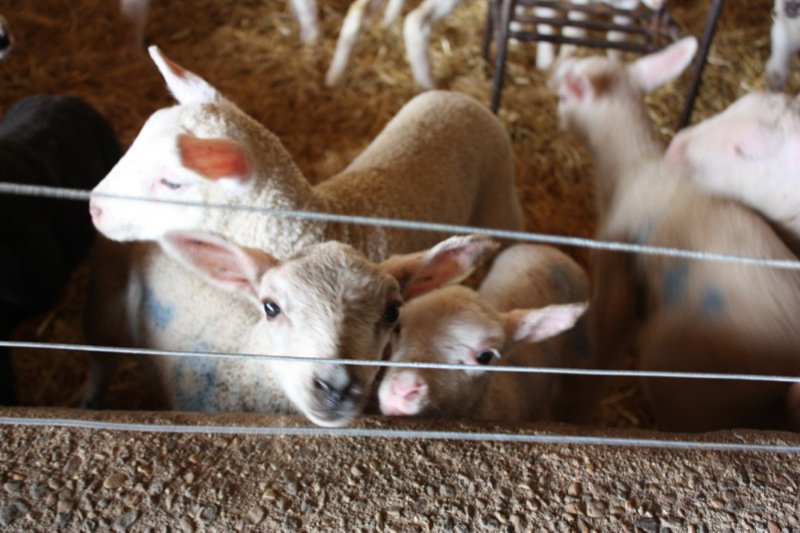
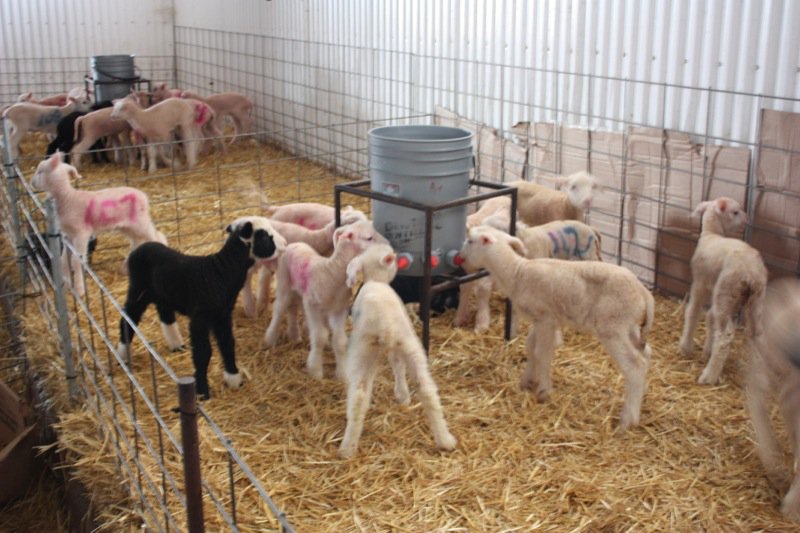
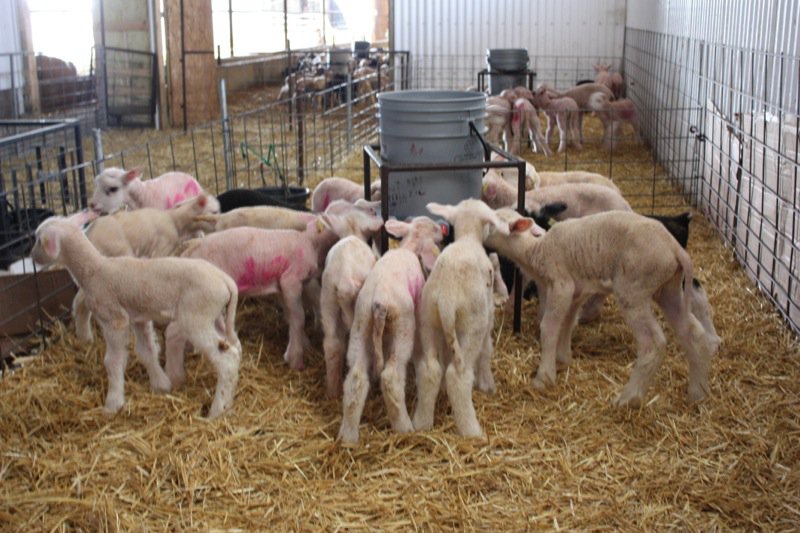
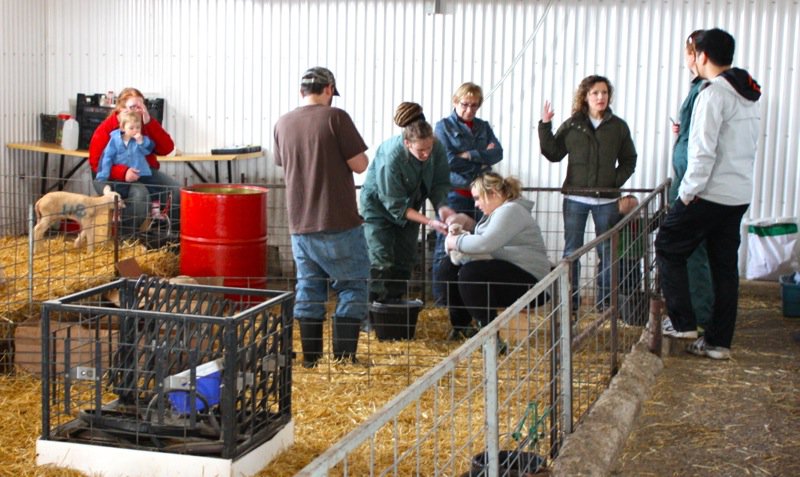
The lambs below are 2 days to a couple of weeks old and it is difficult to get their milk to them, as they are so hungry.
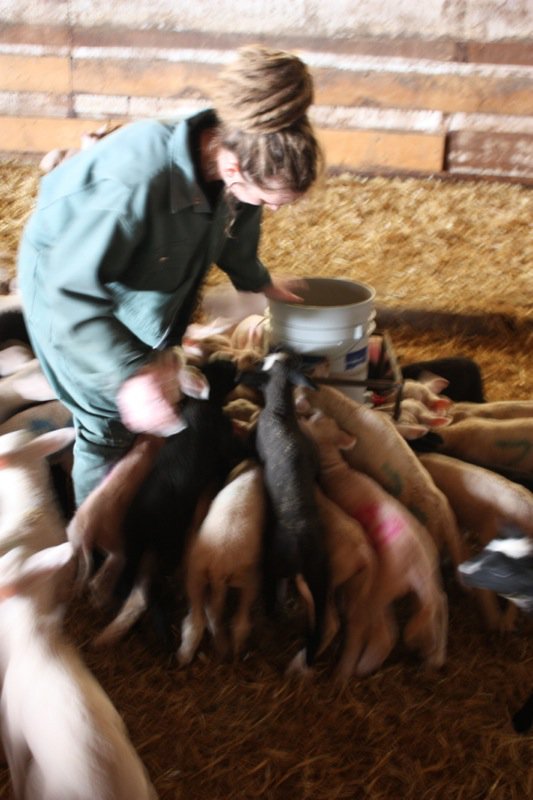
The younger lambs are fewer to the bucket and get support to learn to suck the nipple. It is difficult to believe that they are so young!
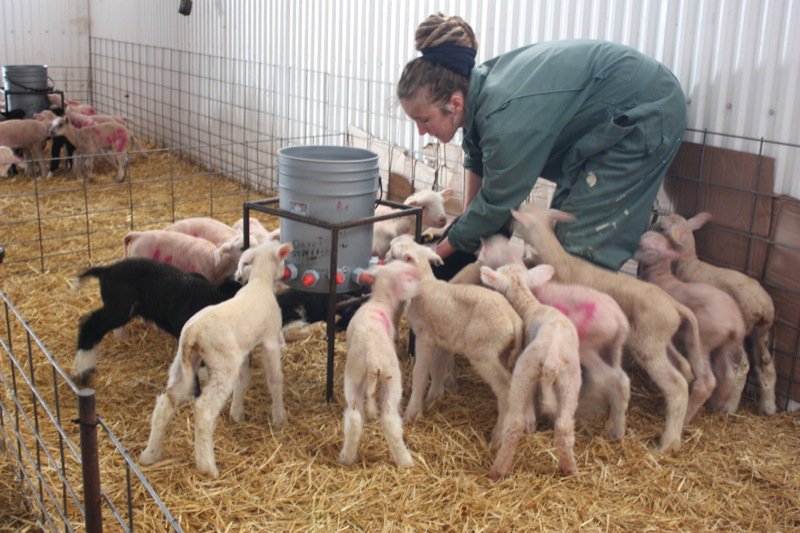
The first day, they are bottle fed.
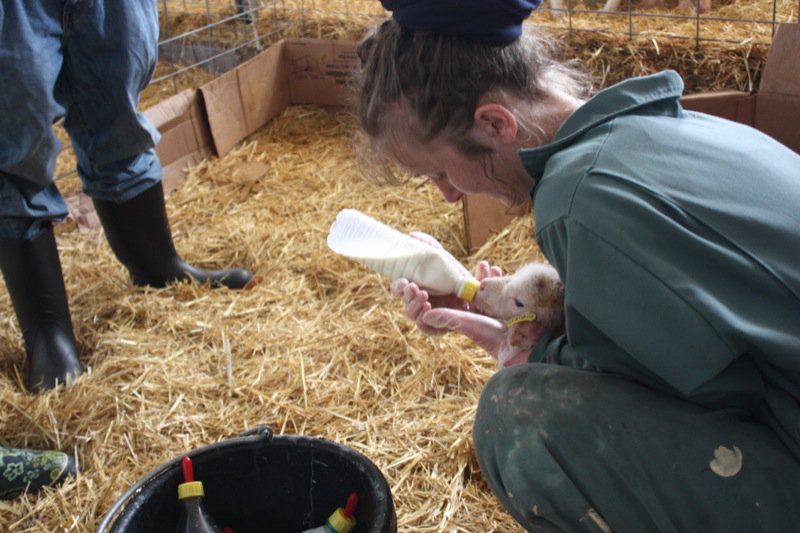

Addie was in love. We all were.
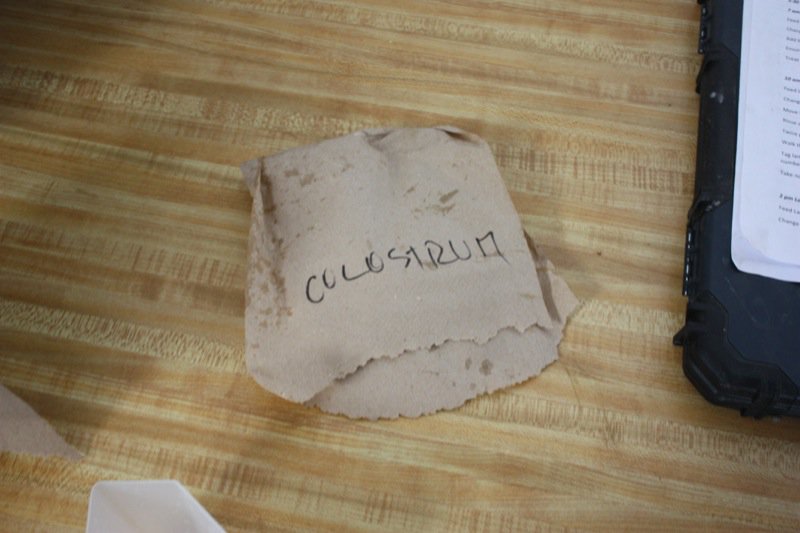
The nursing sheep’s milk has a high degree of colostrum which is what the little lambs need to thrive.
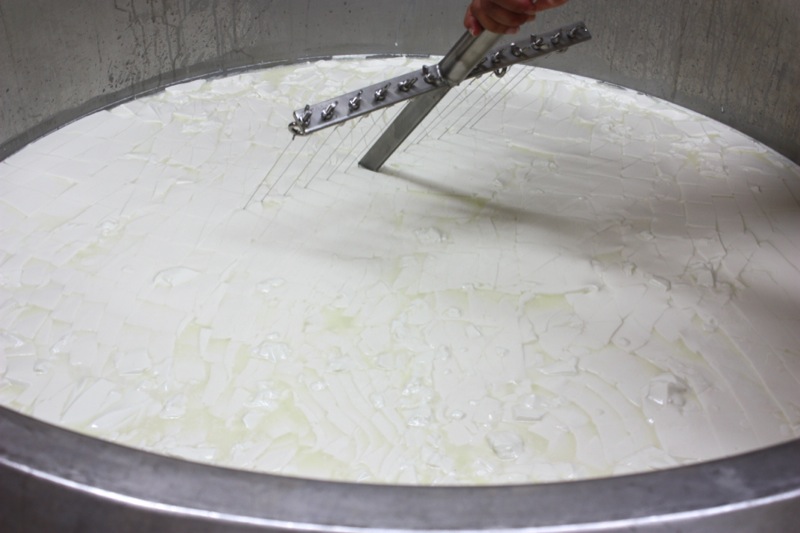
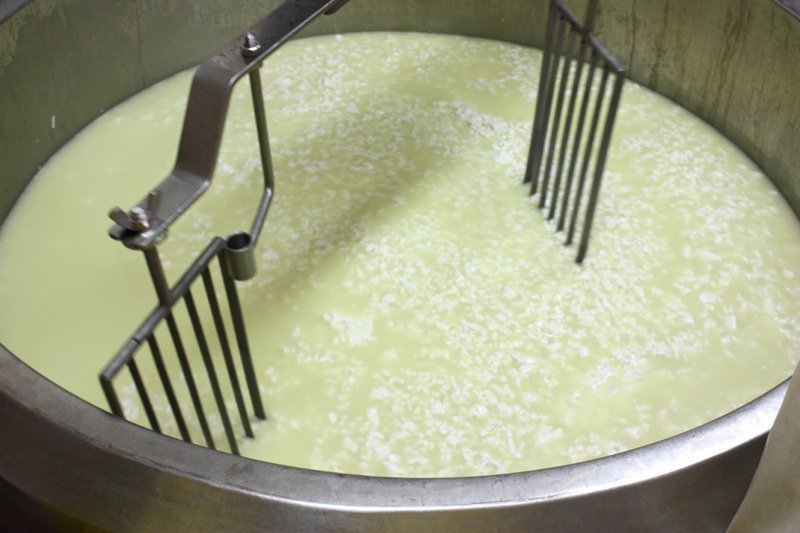
For some reason, the rennet took a very long time to set: bout 2.5 hours compared to the usual 45 minutes. It was difficult to keep the temperature up in the vat, but we eventually, we got a clean break and began to cut the curd: only after thoroughly cleaning all of the curd cutting implements.
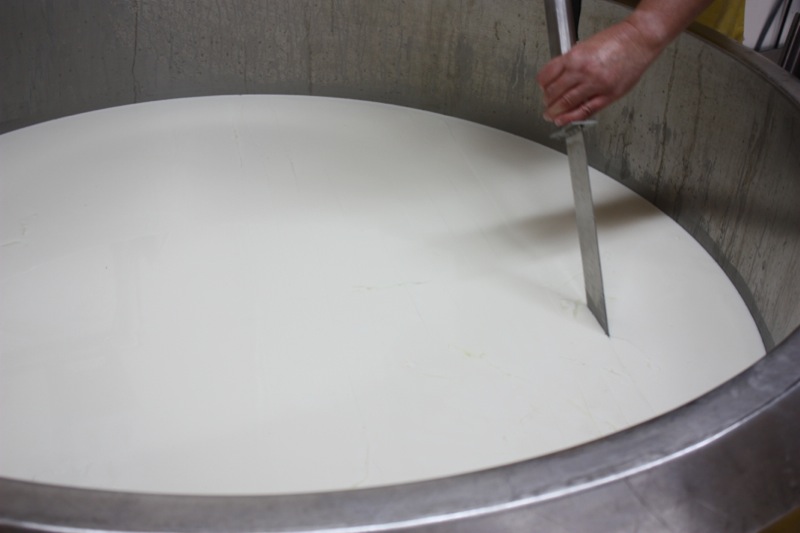
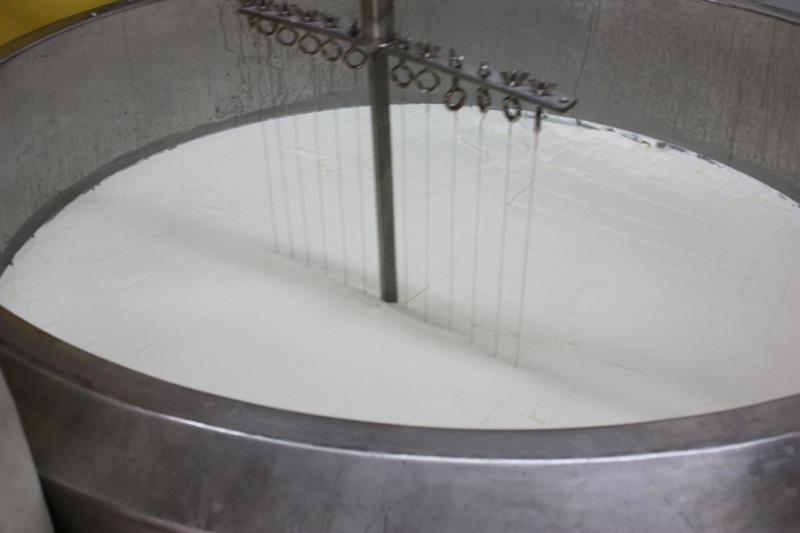

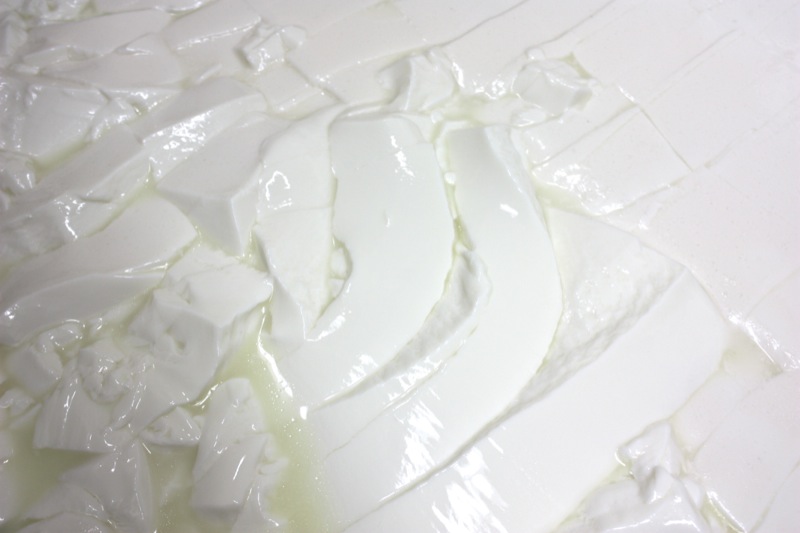
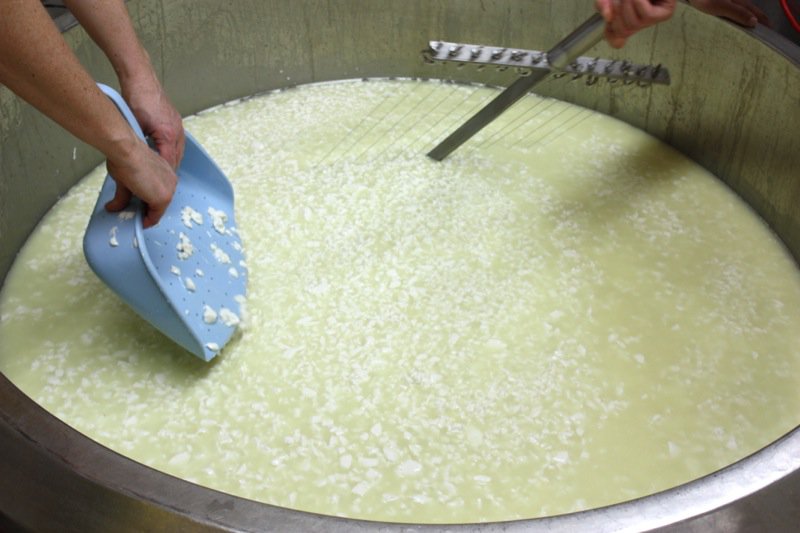
The curd excites me every time. The huge, lovely, gelatinous curds are somehow ethereal. When making any hard cheese, the curd must be very small. The smaller the curd, the harder the cheese; thus, the cutting of the curd was a process that didn’t take long with our group, but would be labour intensive with one or two working at it.
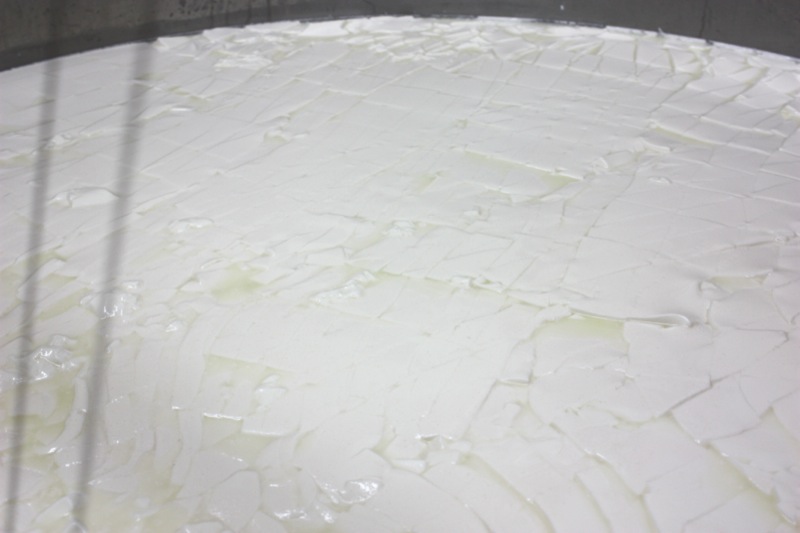
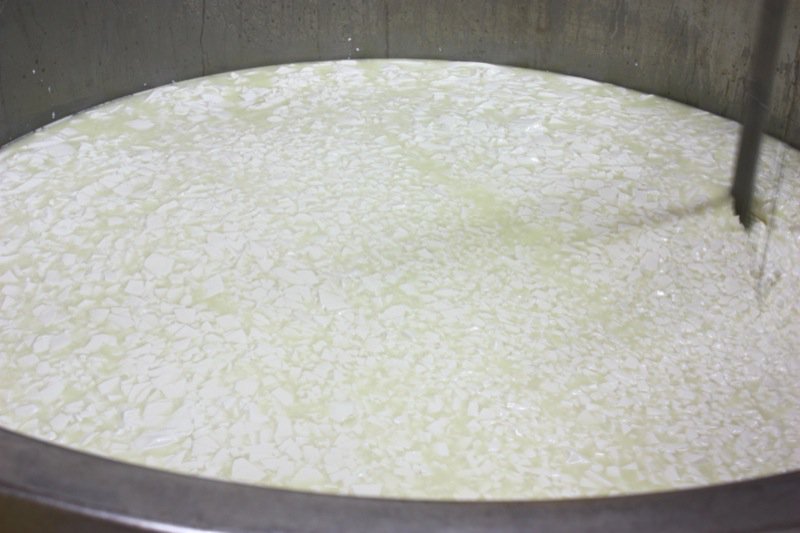
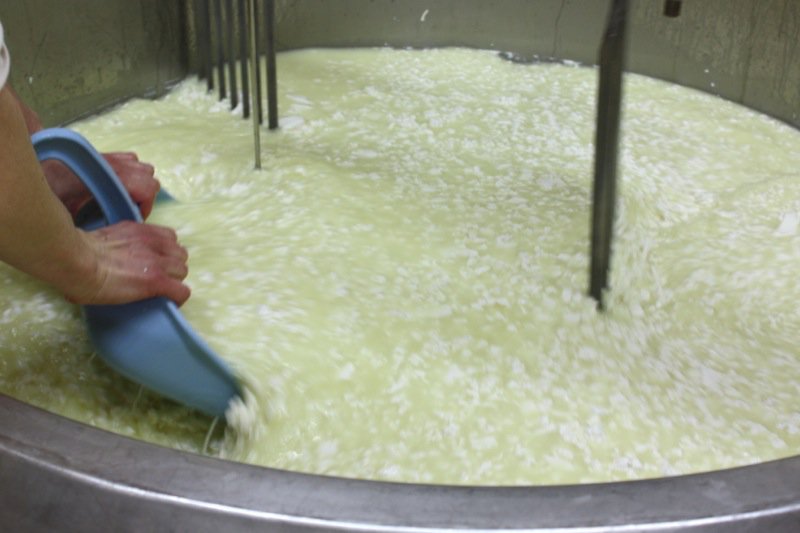
The familiar yellow green whey begins to appear, and as the curd gets smaller, the whey rises and the curds fall, the closer we are to completing the cutting process.
Rhonda’s magic curd pan was used to scoop the curd toward the cutters over and over and over to speed up the process and cut the curd as small as possible.
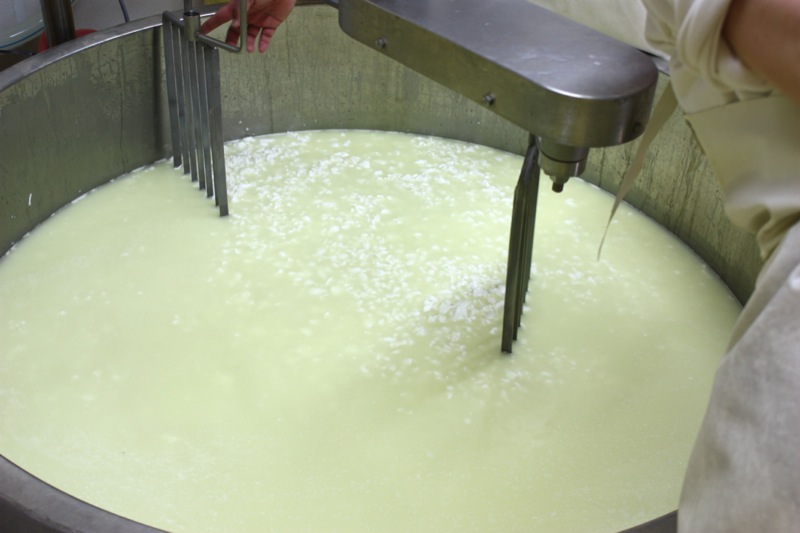
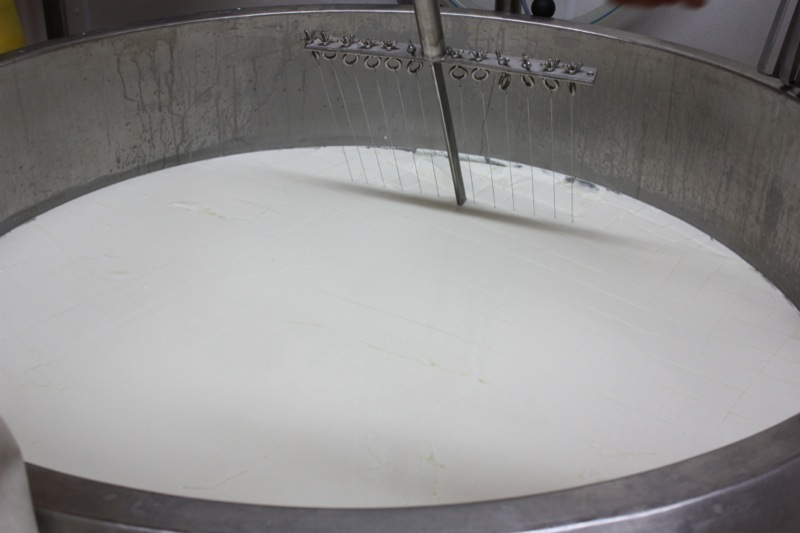
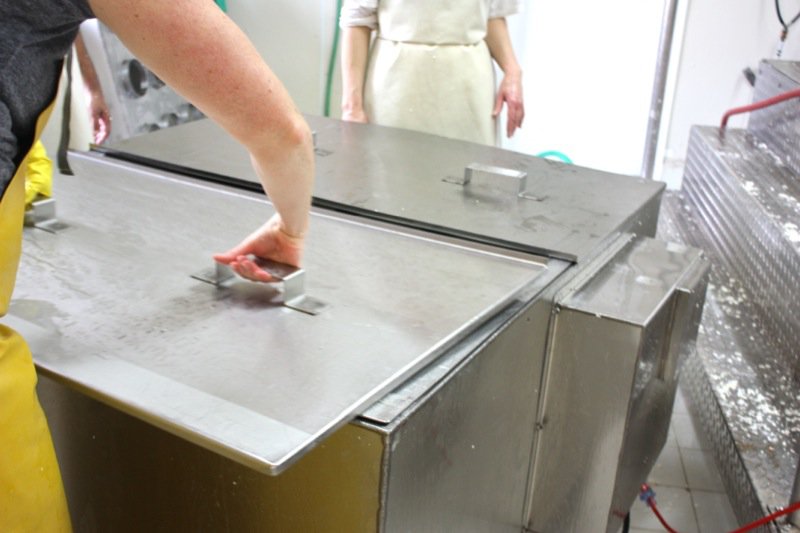
At this point, the curd is cut, and Rhonda inserts the turning blades for stirring the curd at the warm temperature to set it.
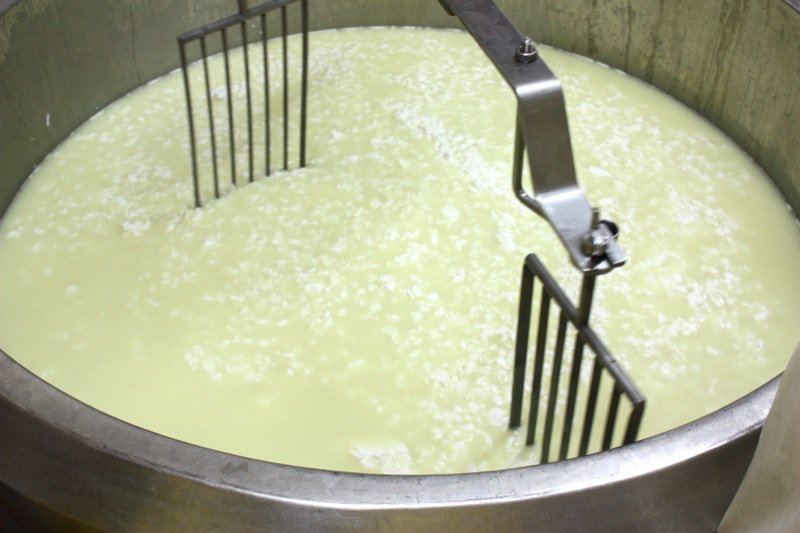
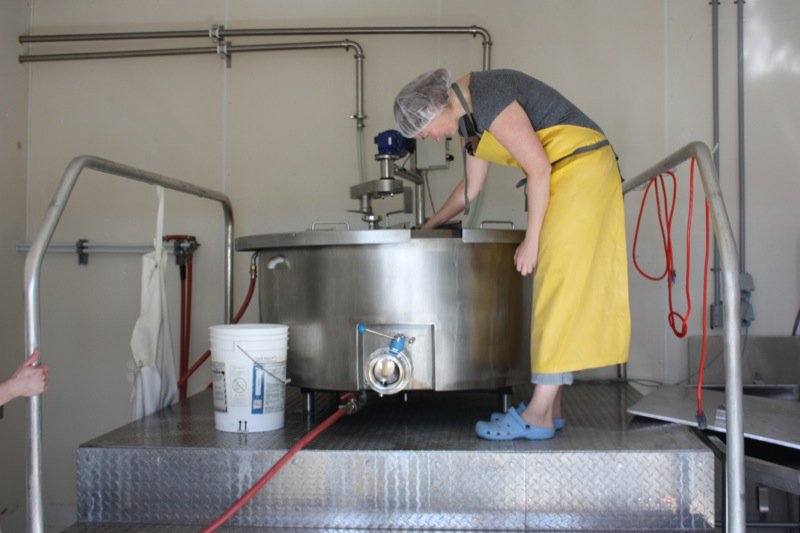
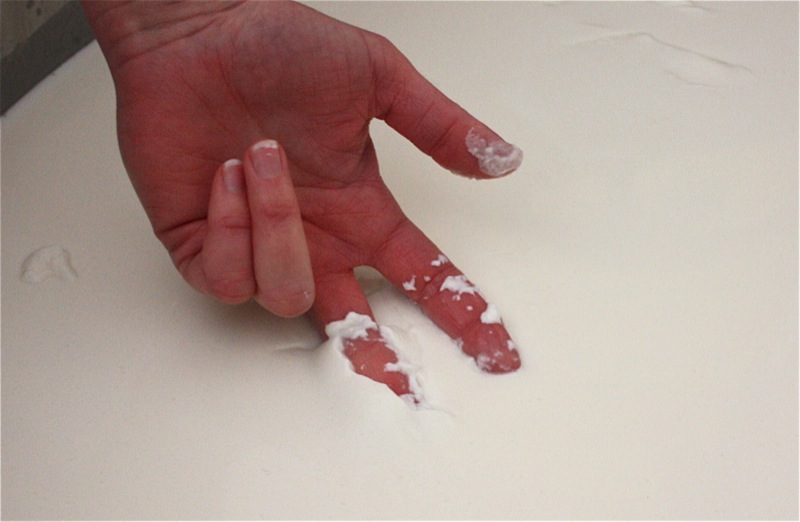
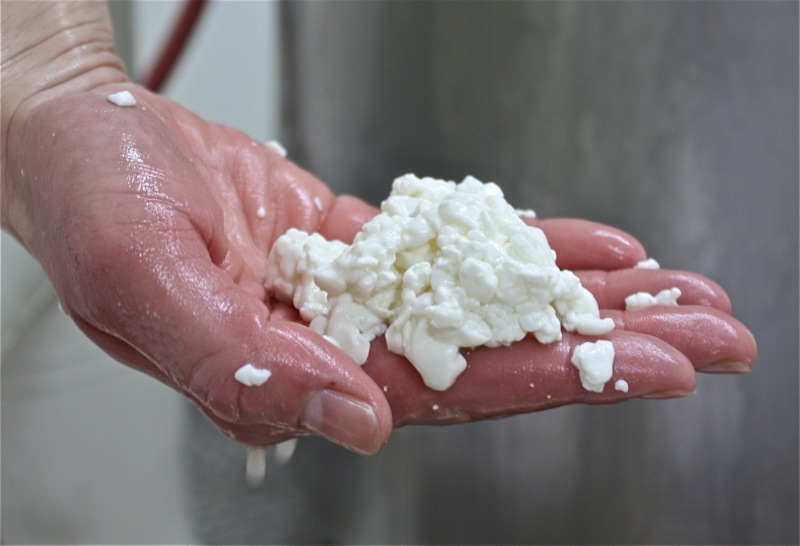
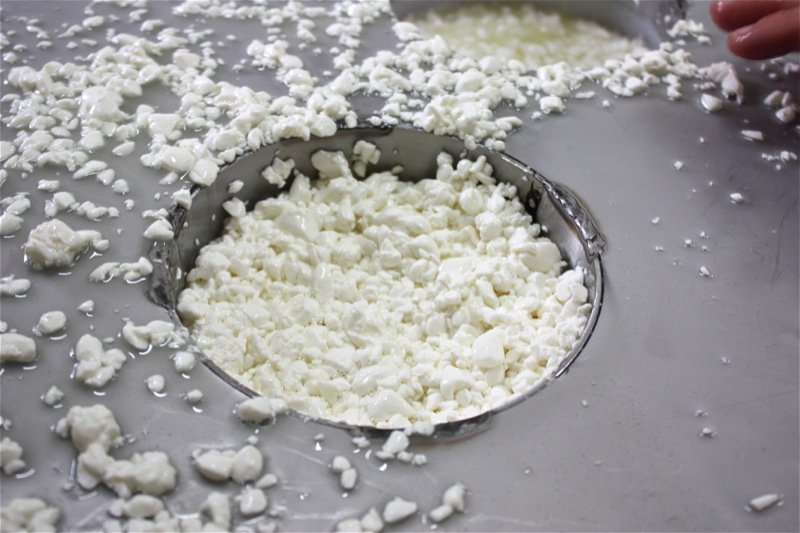
Below, Rhonda readies the vat for draining the curds and whey. You will see the size of the curd when we started to fill the moulds. If Rhonda had squeezed the curds in her hand, you would have seen them knit together. They are definitely ready when they have a good knit.
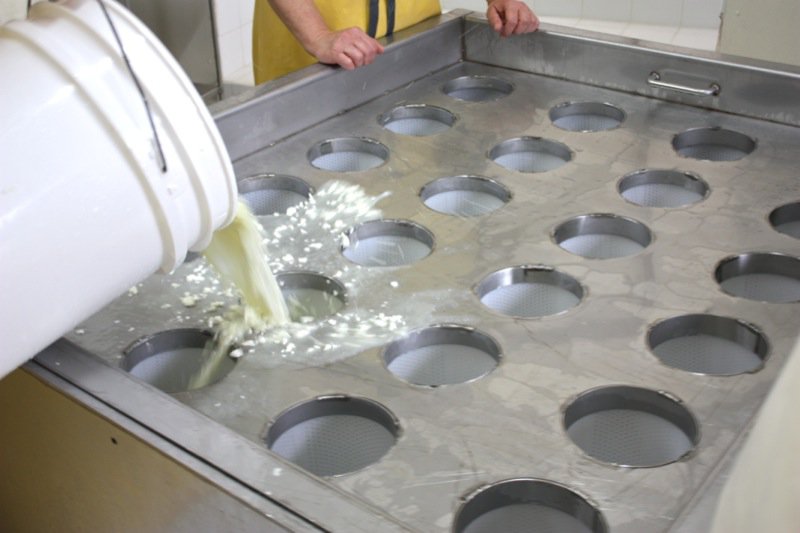
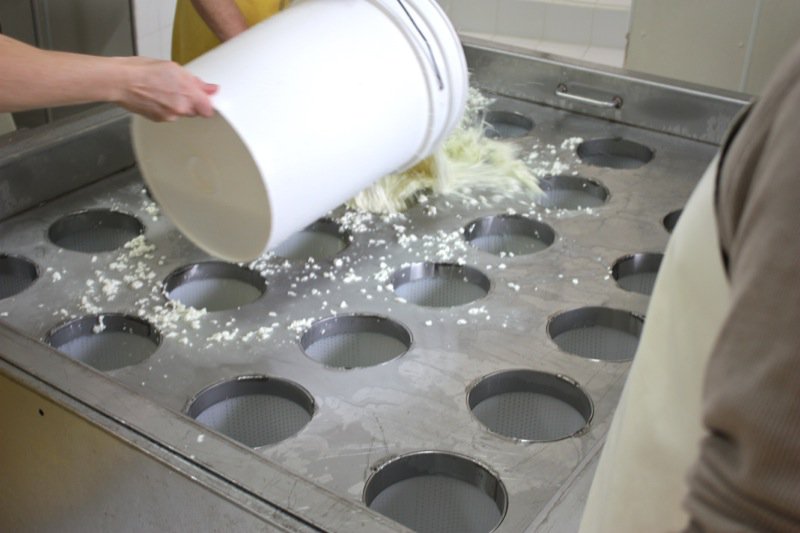
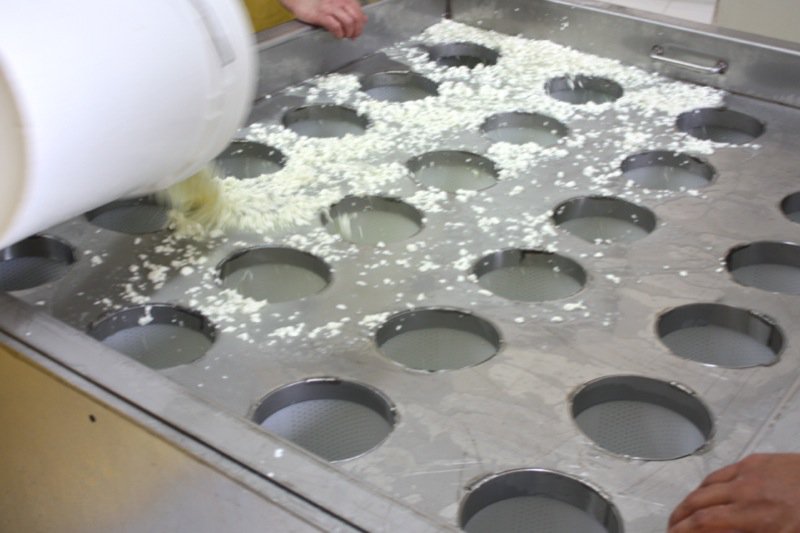

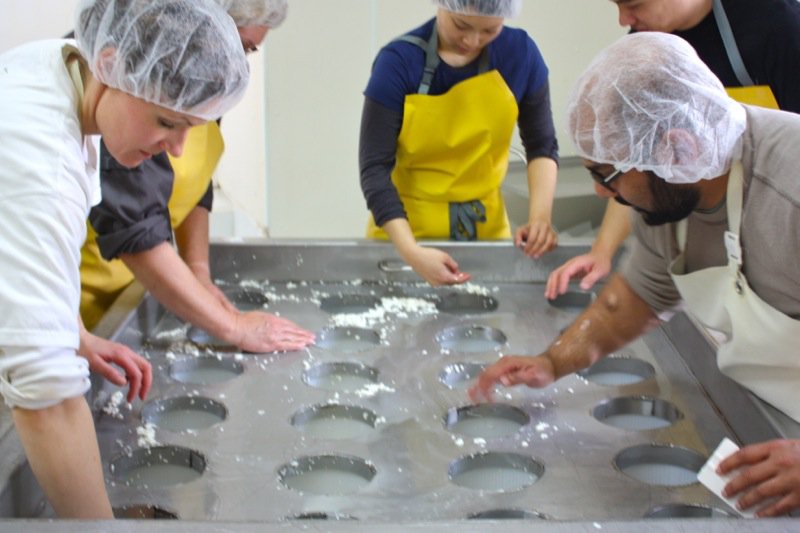
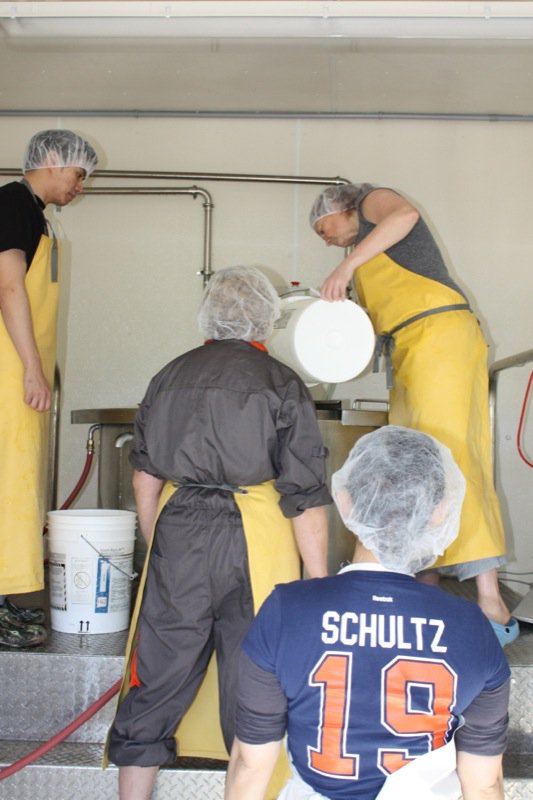
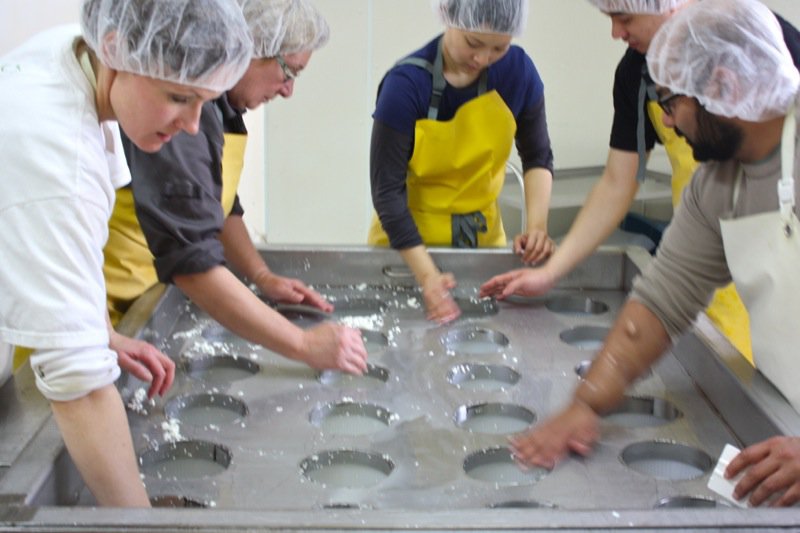
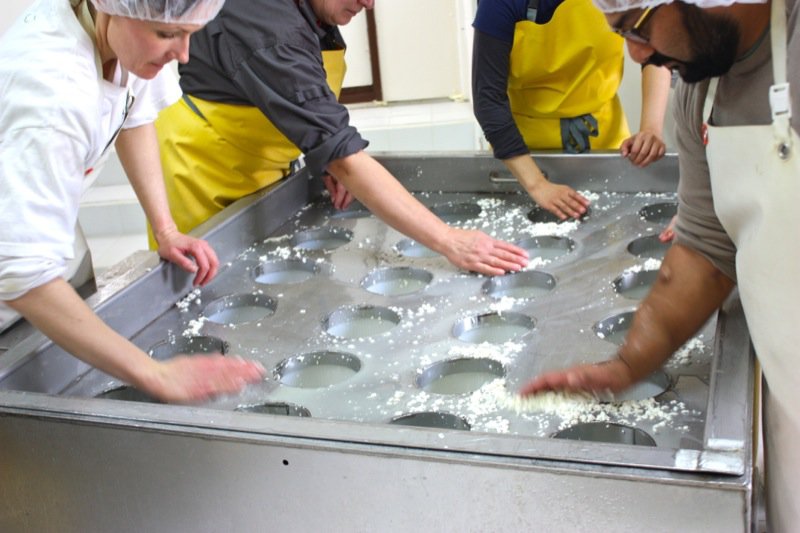
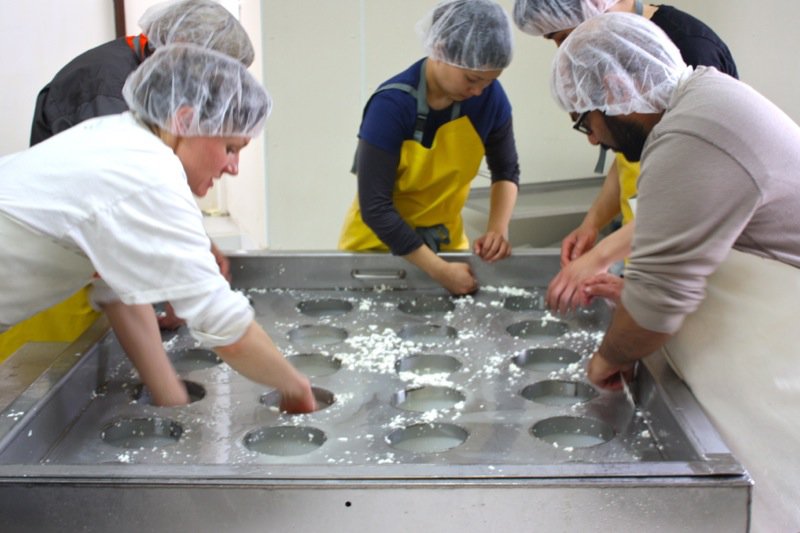
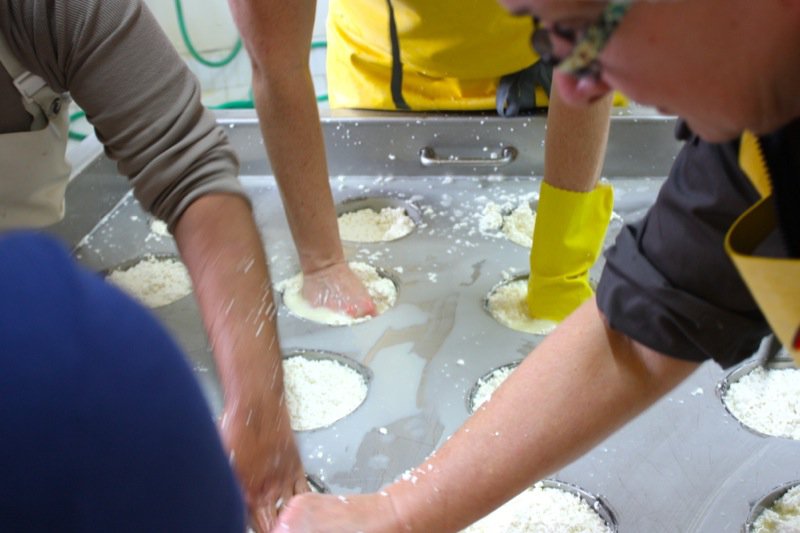
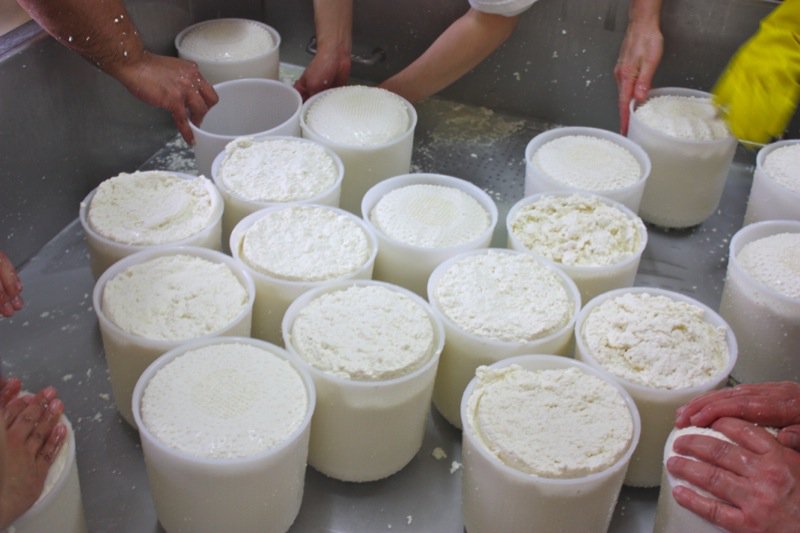
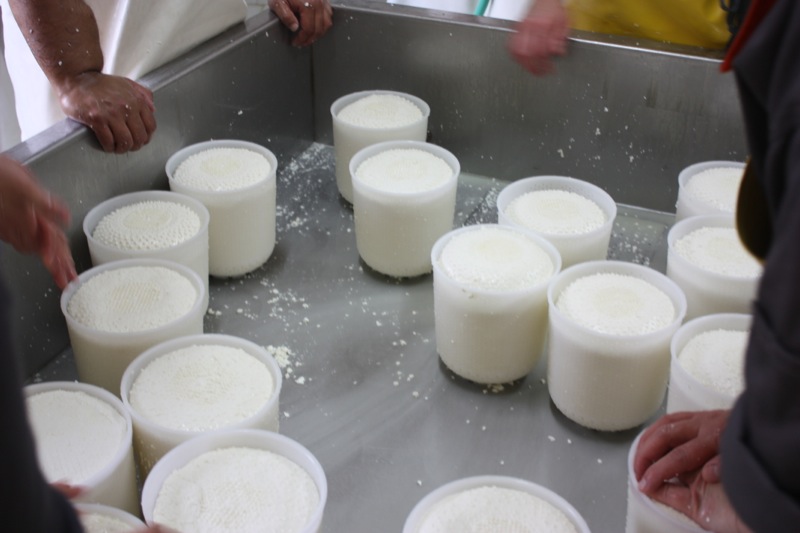
Many hands around the table made potting the cheese easy work: scoop the curds into the moulds and press the curds in each mould.
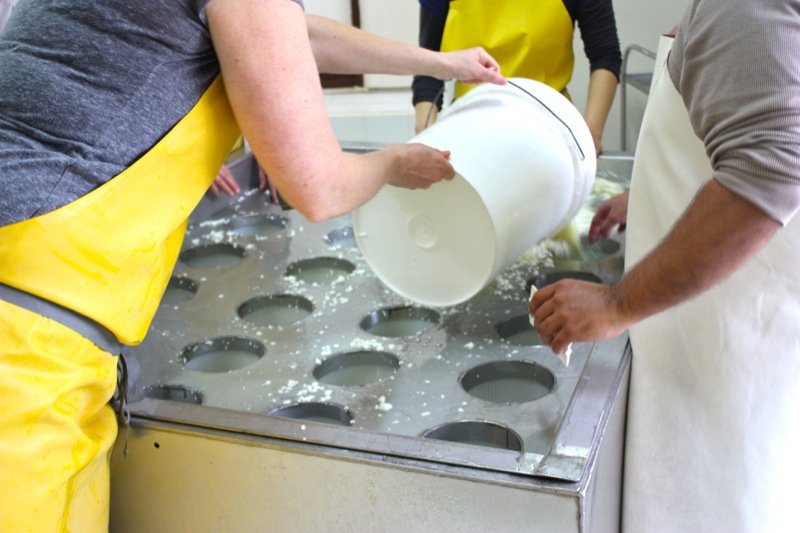
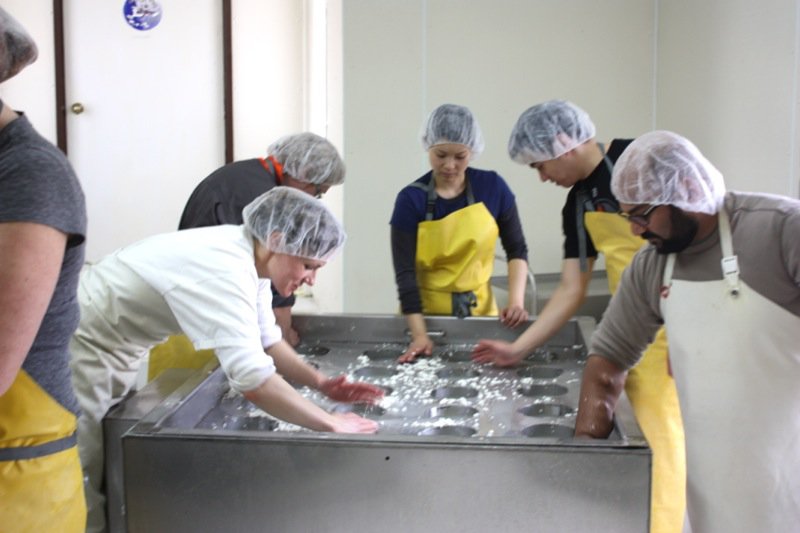
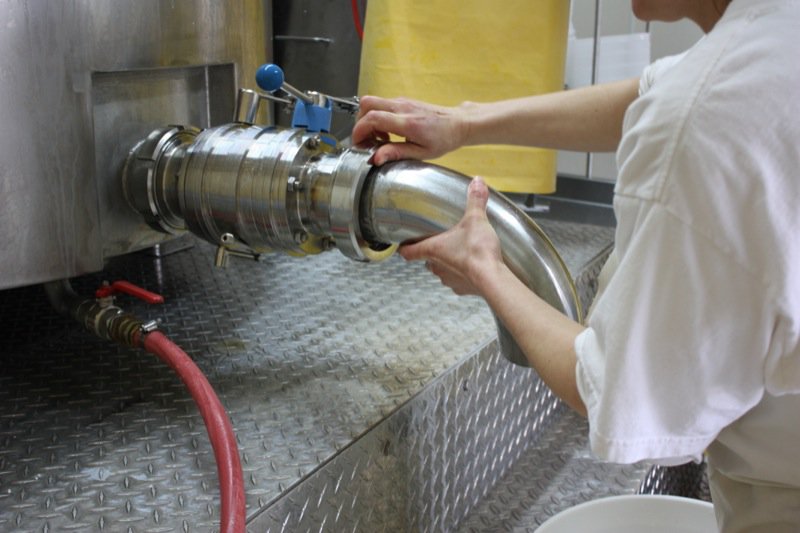
Once all of the curds were filled into the moulds, Rhonda drained the whey from the bottom of the table and poured it over the moulds again, to catch every curd possible.
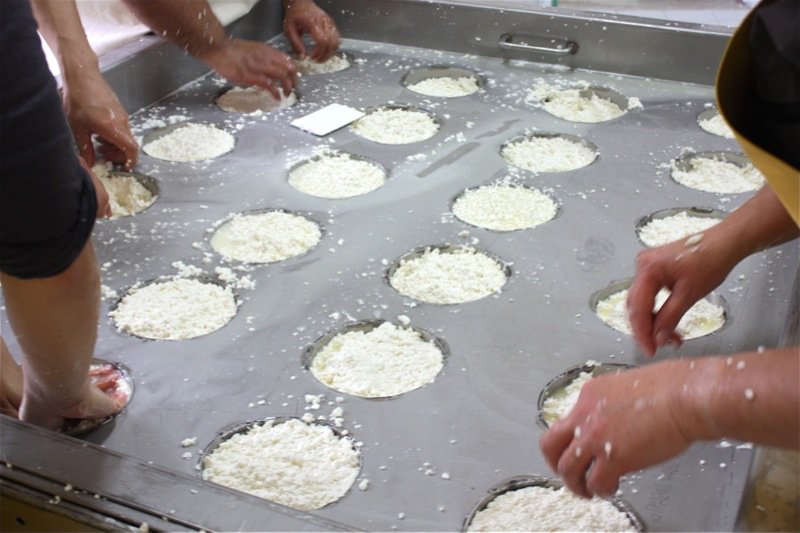

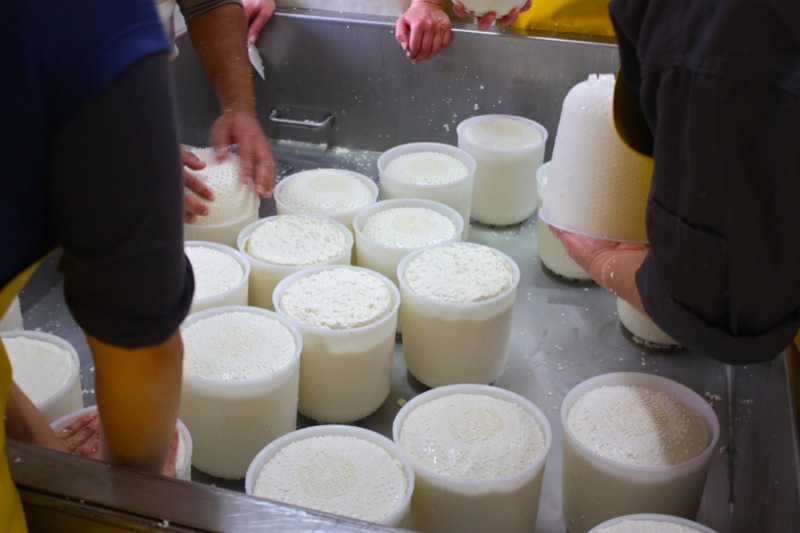
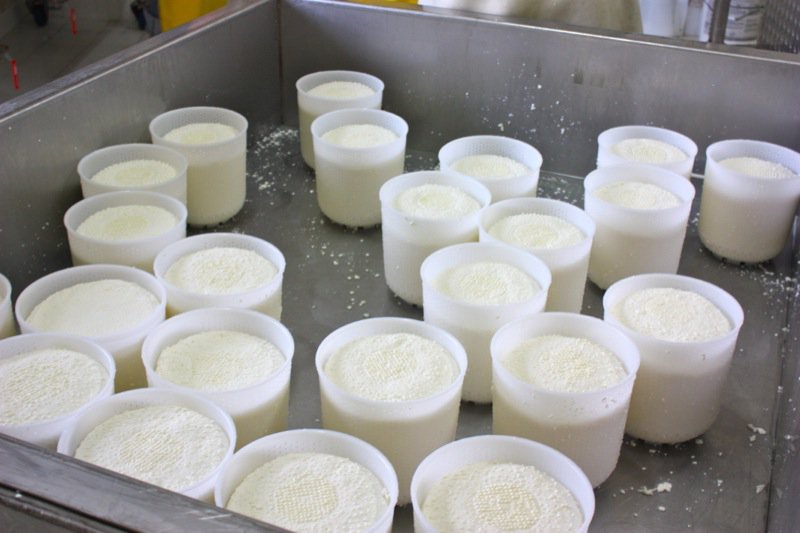
By the time all moulds were filled and pressed, and curds distributed as evenly as we could, the lid was lifted off of the table, and the cheese was ready to be turned and placed back into the mould upside down. Rhonda doesn’t press the cheese, so does this every 15 minutes for three hours.
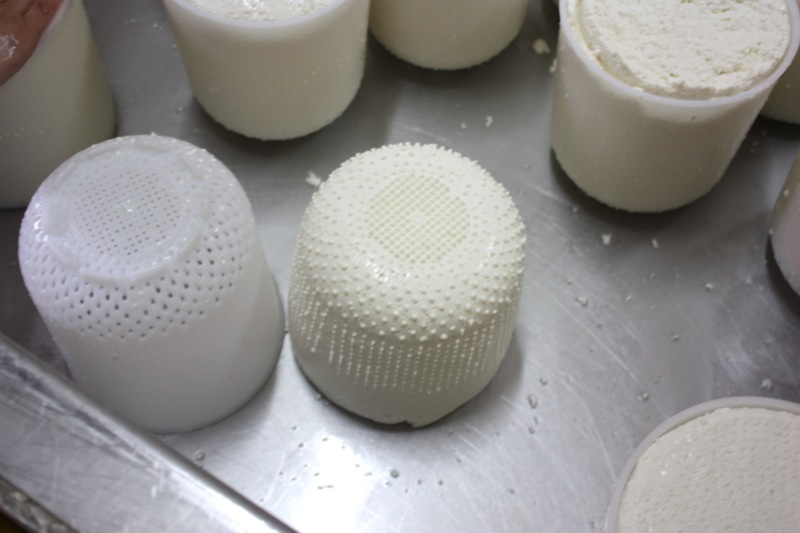

After the first couple of turns, the moulds are full; as the process continues, more whey is expelled and the wheels get smaller in the moulds.
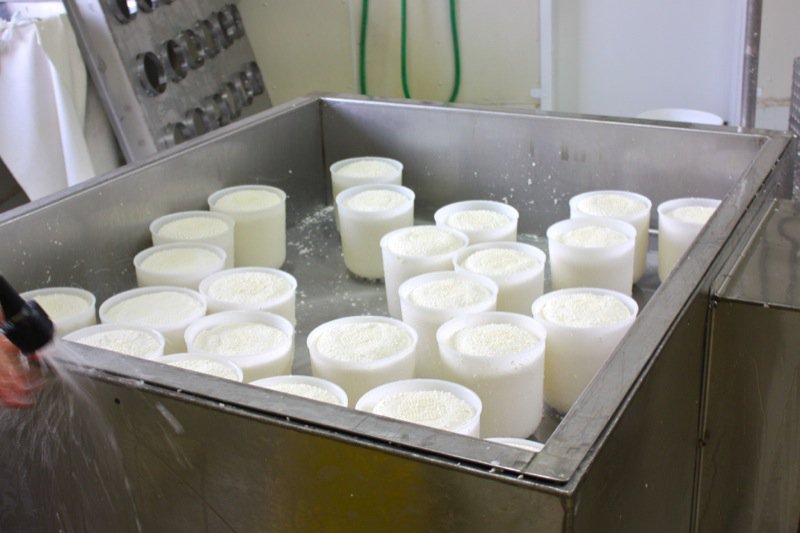
After each turn, the lid is placed on the table to keep the curds warm. Now time to clean the room. Addie and Leslie took on the vat.
Diana and Cris washed “the dishes”, and Steven took on the top of the mould table. Me? I took the photos! See how the cheese in the moulds are shrinking?
We didn’t stay for the full turning time. Then it goes into the 9°C brining room for 12 hours in the brine. The young discs are washed every second day for 2 weeks with the brine solution, then maybe twice a week for 1.5 months. In 2 months, you can cut into your young Pecorino! Or, you can age it for years.
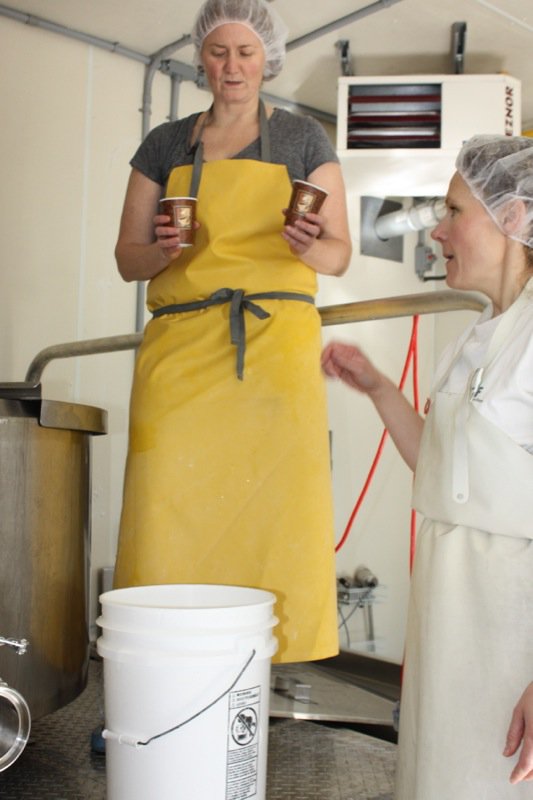
Gathered back in the little shop for a bahtte. Tasting the sheep milk, I was bowled over! The milk was thin, almost the consistency of a Skim milk, yet a dense white colour, and the flavour was mild, sweet and there was nothing “gamey” about it. I could have drank a litre. That little taste definitely left me wonting. Everyone was oohing and ahing over their bahtte. Suddenly, it was milking time. Off to the parlor we traipsed.
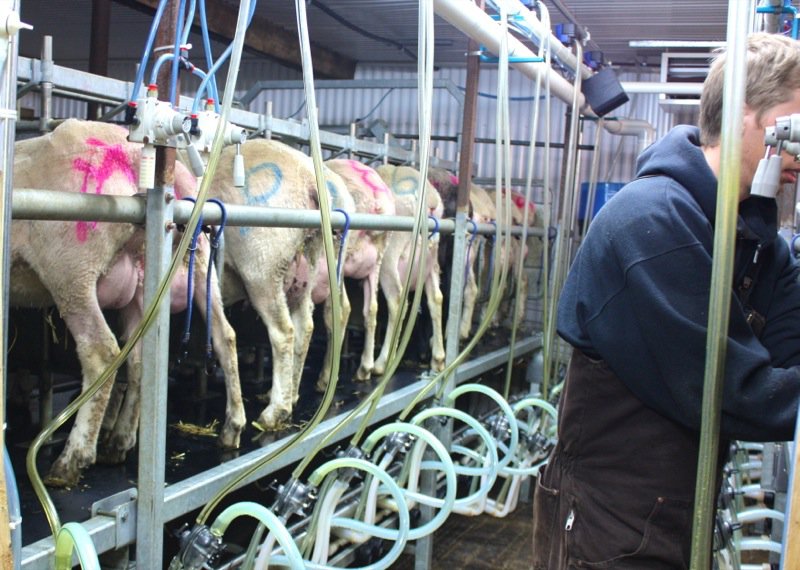
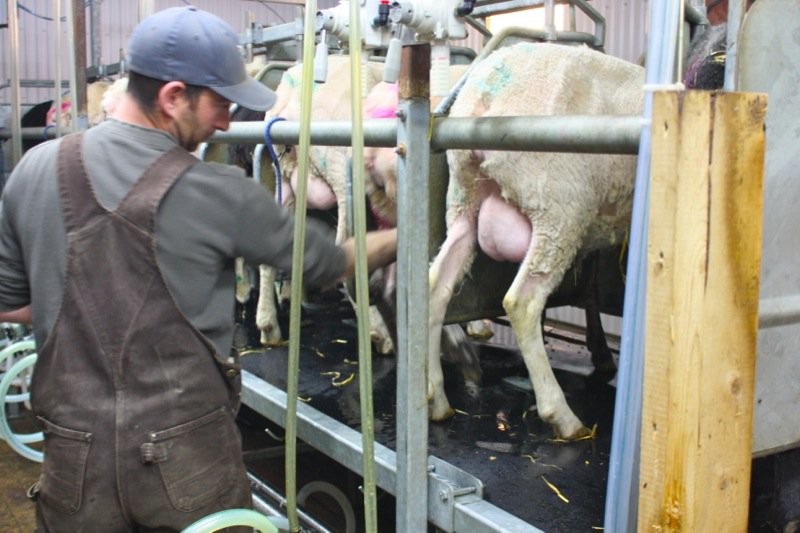
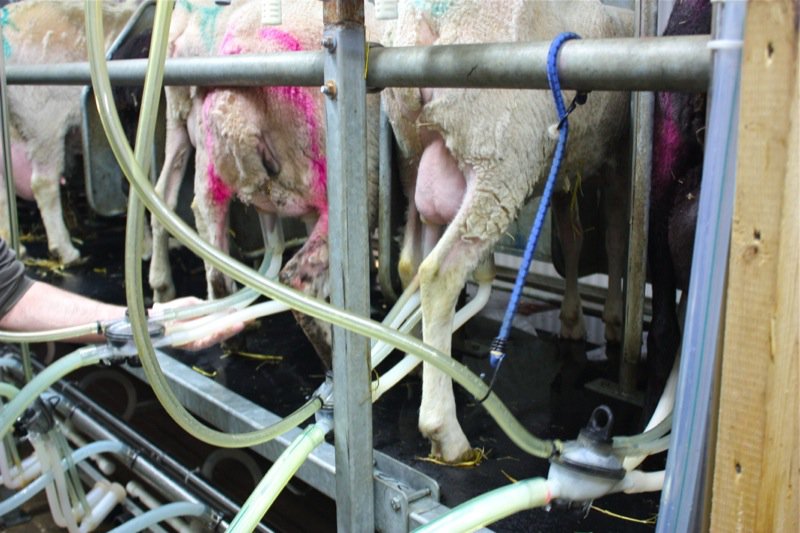
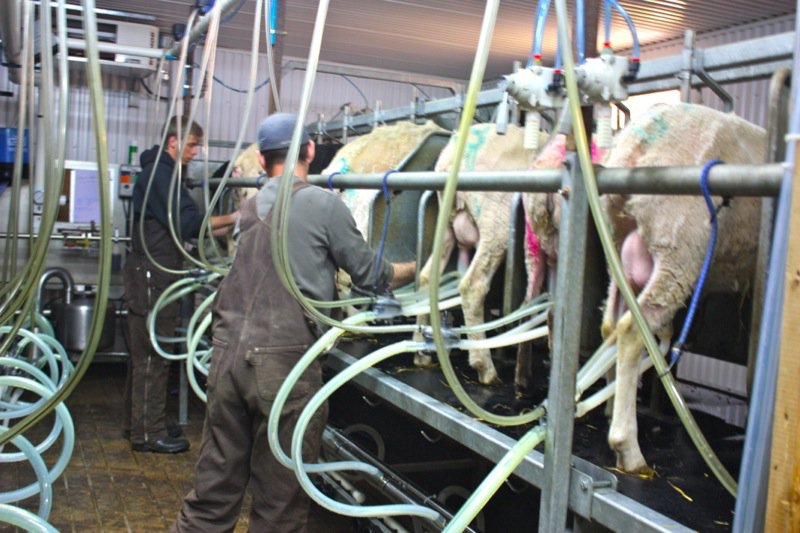

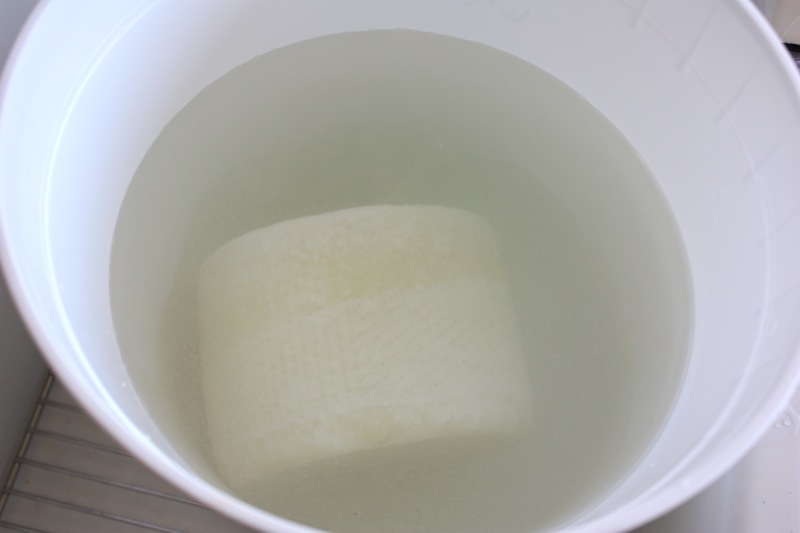
Brian actually washes the udders of each sheep when milking for cheese making. The evening milking was going to the babies in the barn, so no washing. We packed up our clothes, hugged and waved farewell. Arriving home, take a look at how much whey has been expelled from the curd inside of the mould.
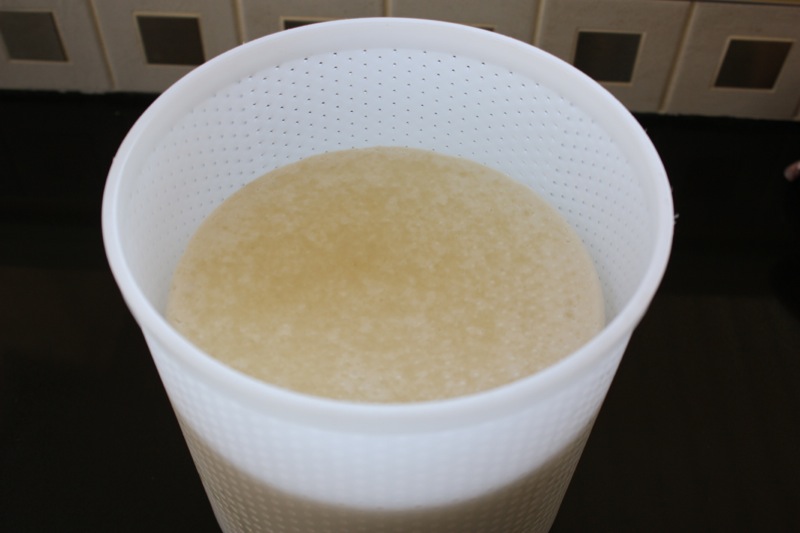
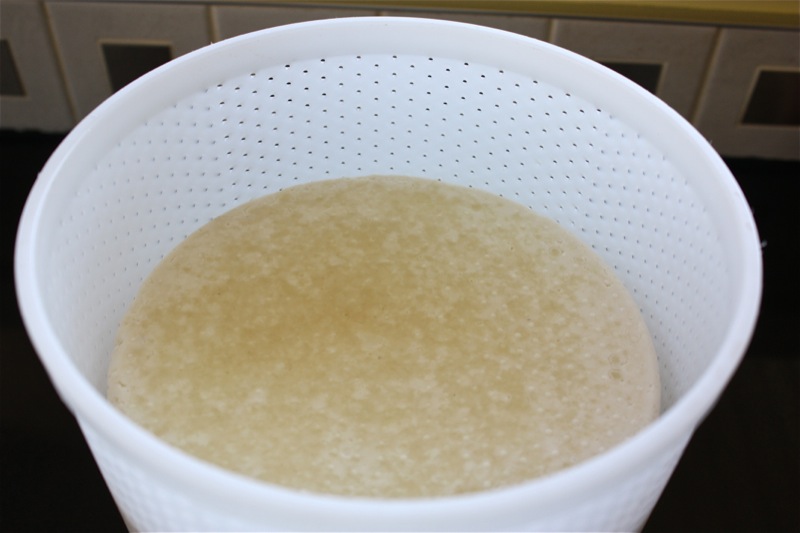
I placed my cheese in my 20% brining solution for 12 hours, then took it out and place it on a wooden board at room temperature for another day to ensure it left no moisture mark on the board before aging in my cave.
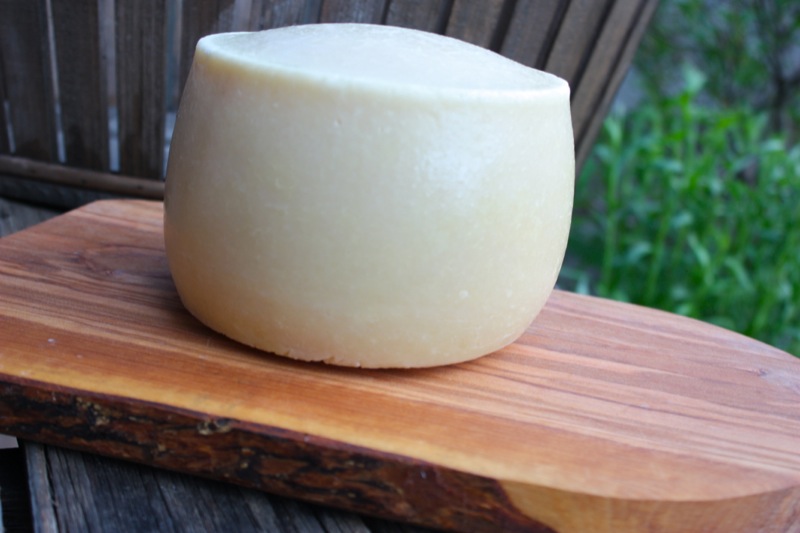
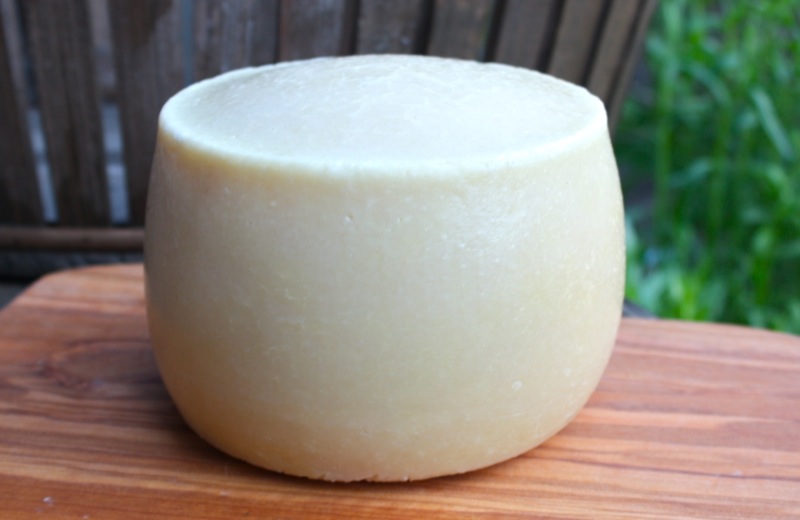
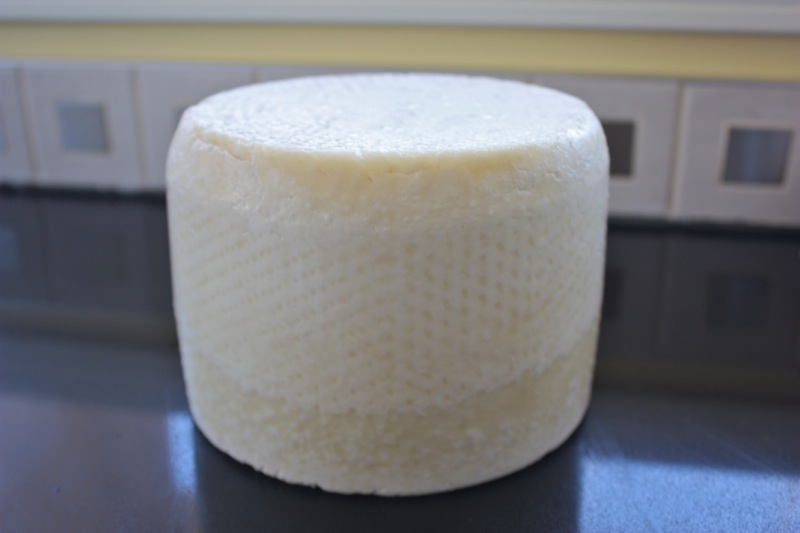
After turning it a few times on the board within that 24 hour period, it was ready for the cave. I was delighted with the shape and texture of the outer rind.
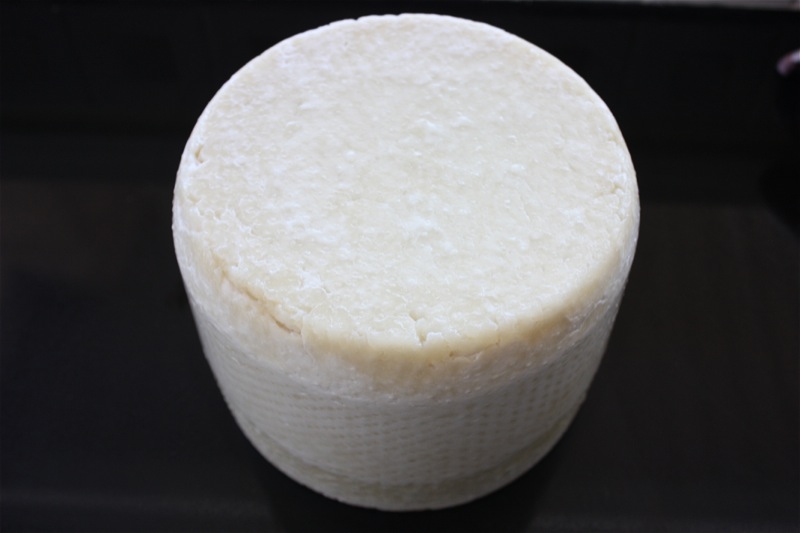
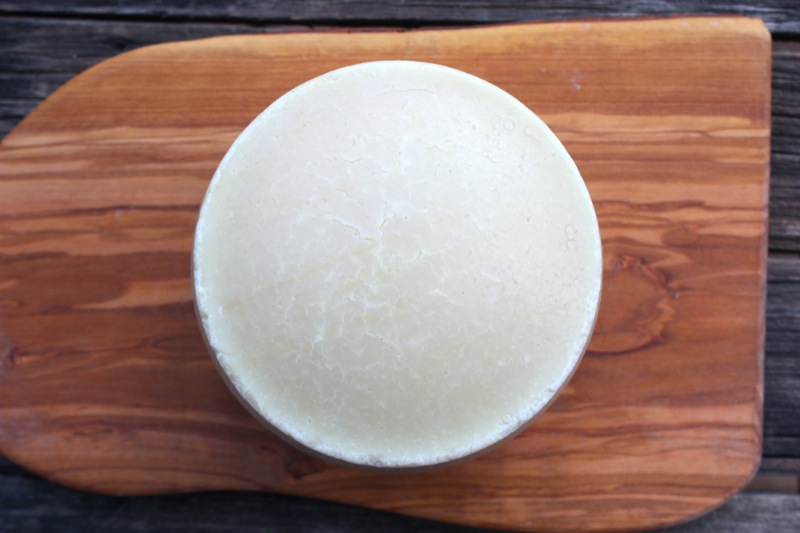
It has been a month since I made the cheese, and will be another month until I can cut into it, and taste it. I am thrilled with how it is aging in the cave. It did appear to be drying out a bit too much in the fourth week, so I added more humidity inside of the aging environment, and hope that helps. I will update this post in a month to include photos of the cut cheese and the tasting notes. I happen to adore young Pecorino, so I am aging 1/2 for 6 to 8 months and eating 1/2 young.
Making Pecorino
Ingredients:
- 290 litres of milk/16 litres of milk
- 2.25g Mesophilic Aroma /0.125g
- 24.65g Thermophylic Type C/1.36g
- 43.5g powdered rennet/2.4g
- sterilized water
- 20% salt brine solution
Instructions for 16 litres of milk:
- Sanitize all equipment
- Heat milk to 20°C in a double boiler type vat
- Once temperature is reached, whisk a small portion of the warm milk into a cup with each culture
- One at a time, combine each culture into the vat by pouring the mixture into the vat, and stirring a couple of times (rinse the cup with the milk in the vat to ensure all of the culture is in the vat)
- Place the lid on the vat, maintaining temperature for 1 hour 20°C
- Mix the rennet with 1/4 cup sanitized water; add to the warm milk in the vat, stirring 20 times in an up and down, plunging motion to combine
- Place the lid on the vat, and check for a set in 30 minutes; if not set, wait 15 more minutes, or until there is a clean break
- Prepare the mould(s) and line with wet cheese cloth
- Test for a clean break to be sure the curd is ready to cut
- Begin by cutting the curd into 1/2 inch cubes, maintaining the temperature of the vat
- Continue to cut the curd until the size of green peas: the whey will be greenish and the curd will be very small
- Stir the curd for 20 minutes, maintaining temperature
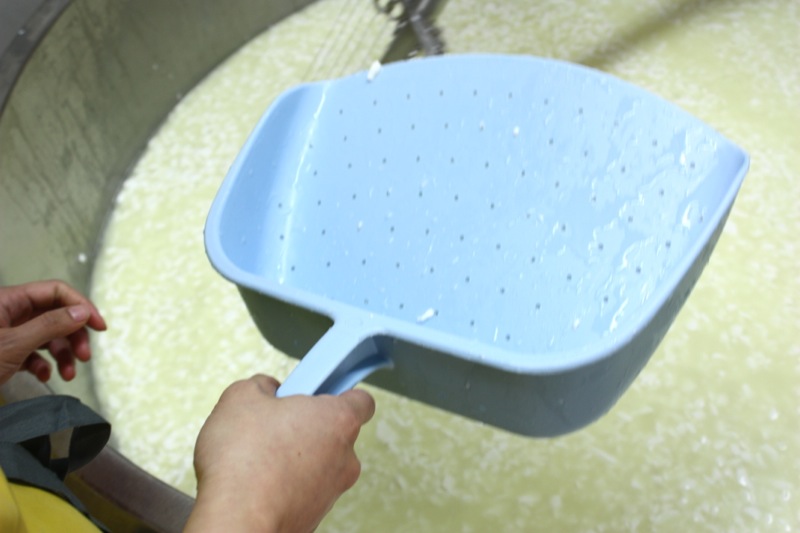
- Strain the curd from the whey using a sieve, filling the mould with the curd, pressing the curd into the mould(s)
- When all of the curd has been pressed into the mould, wait 15 minutes, and invert the cheese, placing back into the mould upside down
- Continue this process for three hours
- Leave in the mould overnight, and brine in a 20% salt solution in the morning for 12 hours
- Take out of the brine, and place on a wooden board for up to 24 hours, until there is no wet circle left on the board when the cheese is turned
- Place in a cheese cave for aging; washing with the brining solution every other day for 2 weeks, and then twice a week for two months
- Do not wax or vacuum pack
- Young Pecorino can be eaten at 2 months
![]()
![]()

CALLING ALL CANADIAN FOOD BLOGGERS!
Please join these participants in
The Canadian Food Experience Project
starting June 7th
We need each of you to join in or the project will not have the impact that it needs to really put our Canadian Face forward globally.
Commit. It will be so worth it.
O, Canada!


Wow! You have taken my breath away! Fascinating! And I am not just saying that! Living in Europe for as long as I have, we have visited our fair share of cheese makers (although we have never spent a day like this!) and we even toyed with the idea of buying a farm and making goat cheese. I am so impressed with Rhonda and all these folks who work making pecorino. What a fun day this must have been for you (you certainly look thrilled!).
Sounds like such an absolutely incredible field trip! Your pics were great (the little babies were so adorable!) and captured a fabulous learning experience for everyone 🙂 Can’t wait to see the next pictures of your cheese as it ages~
Hi, Really enjoyed following the journey of both you and the making of Pecorino.
I know this is an old post but I just have a question about the milk temperature – 20°C seems to be very low. Is this a typo?
Thanks
Hi Rose!
I get comments on my old posts all the time! Love that you popped by! I can’t find where you saw the minus twenty, but it would be a typo. In the recipe, it reads, “Place the lid on the vat, maintaining temperature for 1 hour 20°C”. Hope that helps.
🙂
Valerie
Sorry Valerie. I did mean the 20°C seems to be too low or is this unique to Pecorino?
Apparently. It is accurate, Rose.
🙂
V