Nan’s Bread Recipe used for making Traditional Newfoundland White Bread and Toutons!

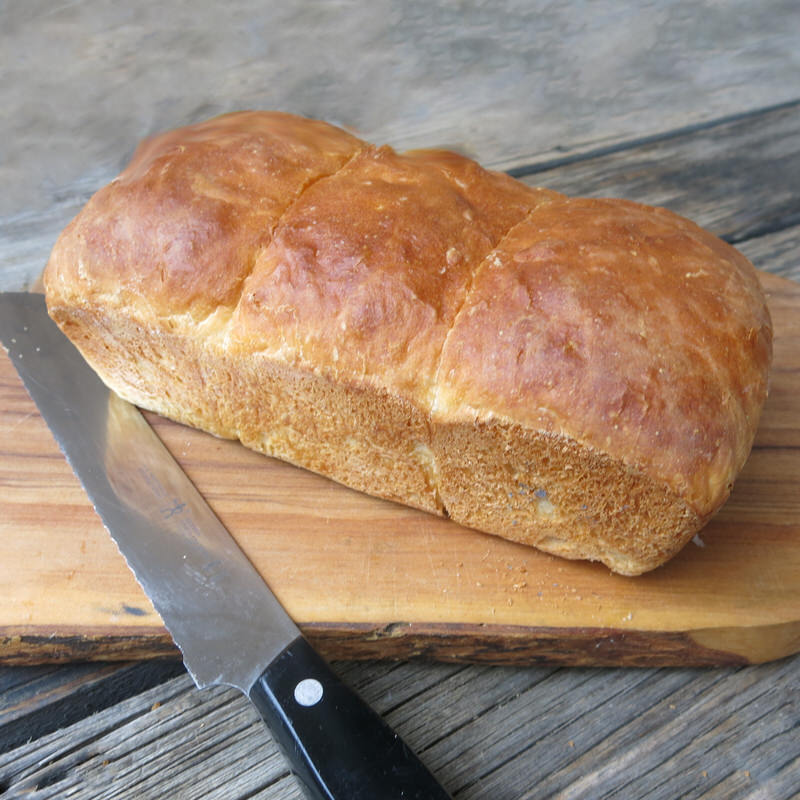
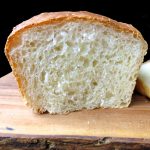
What a gorgeous loaf of Traditional Newfoundland White Bread! Another iconic Canadian regional Newfoundland heritage recipe shared with me via the most generous and in many ways, like minded, Emily Mardell.
Bread is a cornerstone within my early Alberta Prairie identity, and I share that with all who passed before and are of my generation. Formerly known as “The Bread Basket of Canada”, the Canadian prairies used to be one of the top three wheat producers in the world. Now, it is number 6 with China, Russia, India, USA and France each in front of the line, accordingly. Growing up surrounded by prairie grasses, combines and graineries, homemade bread was part of our family culture. Not as it was for my mother, however. We were city dwellers and homemade bread was a holiday specialty. Eating and baking homemade bread was a way of life when she was a child.
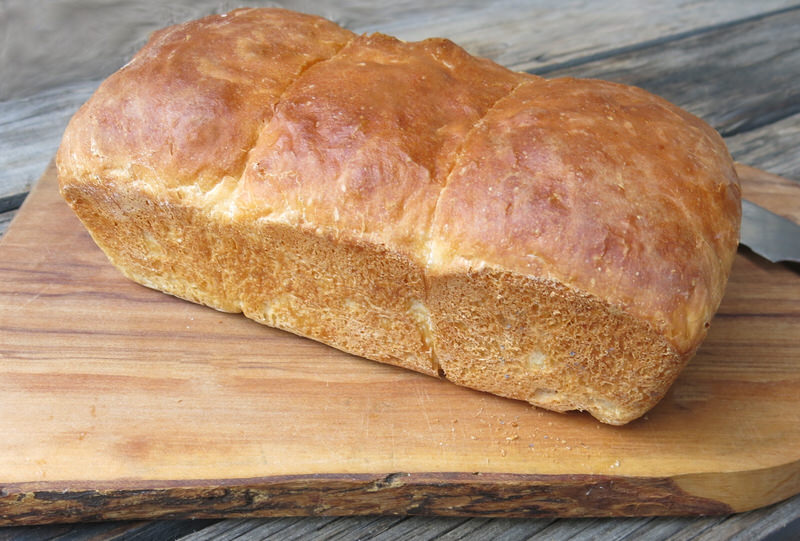
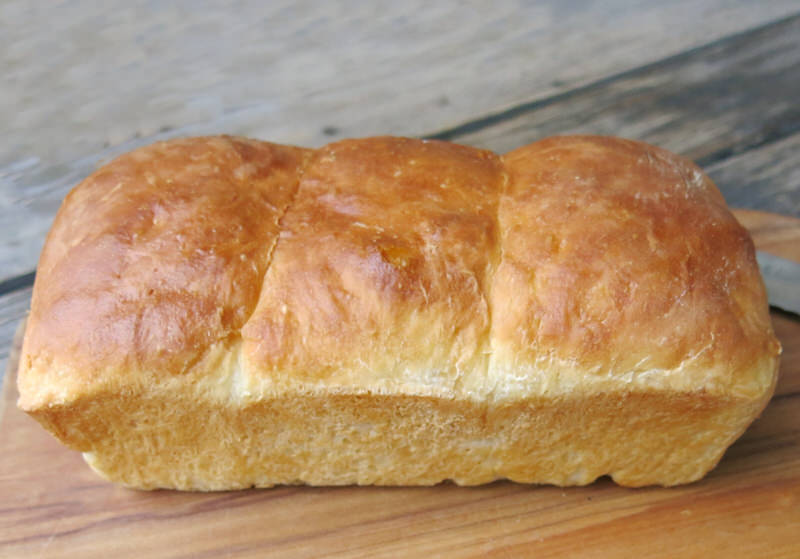
Traditional Newfoundland White Bread: The 3-sectioned Newfoundland Loaf
In Newfoundland, it is still a way of life in many outport communities as making homemade bread is almost necessity. It was most definitely a necessity only a few years ago, and a massive tub of bread would be proofing early in the morning near the heater or a fire.
Early in the morning, industrious mothers would slice off wedges of the gorgeous proofing dough and fry it for their little ones and those hard-working for a hearty “stick to your ribs” morning meal before the bread was ready to bake. That fry bread is known as the Touton which is the regional Canadian heritage recipe that I was yearning to learn to make. Thus, as this dough is part of the touton making process, I found myself revelling in it and learned another traditional Canadian regional recipe!

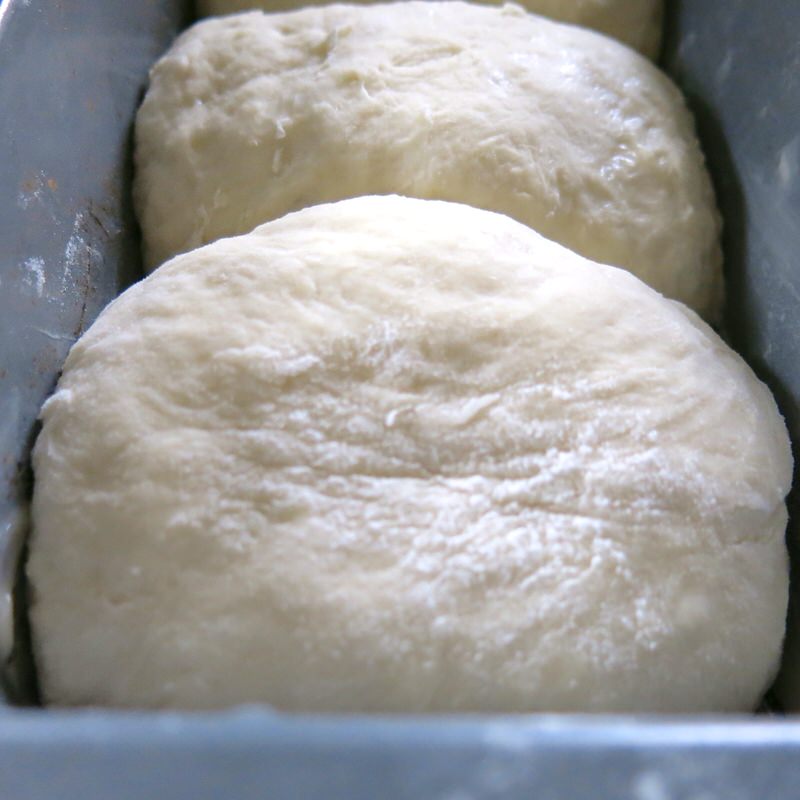
A beautiful, supple, soft sweeter dough made with milk, usually in massive oversized loaf tins that I’ve only seen in Newfoundland, with three signature balls of dough identifying the signature loaf: the classic presentation within the province. Though, noone really knows how the 3-section shaping came to be, it continues to be made this sway as when the three portions are pulled apart, the 4 slices on either side of the tear called “the kissing slices” are the most coveted of the loaf. It is commonly sold at Newfoundland bakeries in the three ball loaf shape. A Saltscapes article suggests the three balls represent the holy trinity. Don’t mess with tradition, or those 4 favoured slices of this traditional Newfoundland white bread.
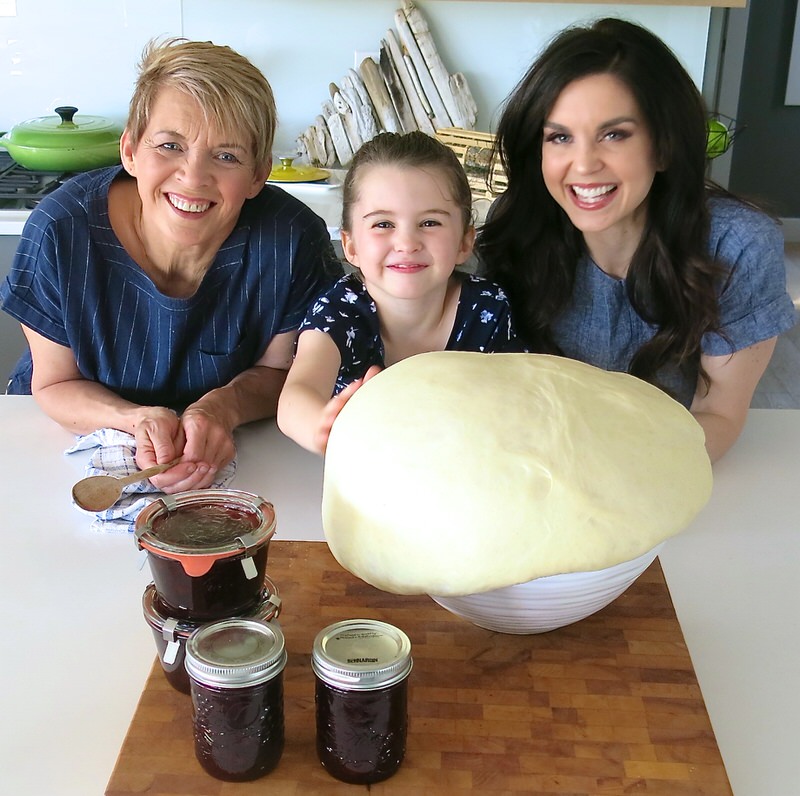
Joy said she just made “one batch” of dough pictured above. Ha! That tells me a whole lot about the work ethic of Emily Mardell’s mother, Joy Burt. Joy’s “batch”, above, would make four generous Newfoundland loaves of traditional white bread. Each Newfoundland loaf would be considered “gi-normous” to the rest of Canada. One medium loaf uses 5 cups of flour, or 635 grams. In any case, she is used to making 4 loaves at a time. Likely three, with one portion for toutons. Oh, what fun we had making Toutons in the GetJoyfull Kanvi Kitchen with Emily Mardell’s mom Joy, Emily’s daugher Cela and Catherine Bangel from Bangel PR and her two daughters.
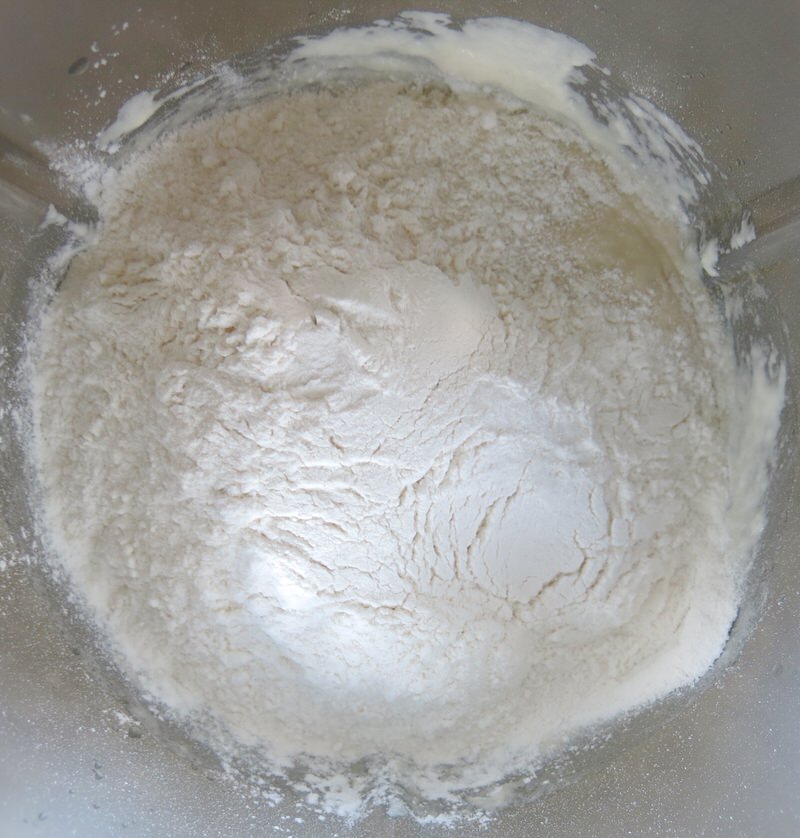
Traditional Newfoundland White Bread: Making the Dough
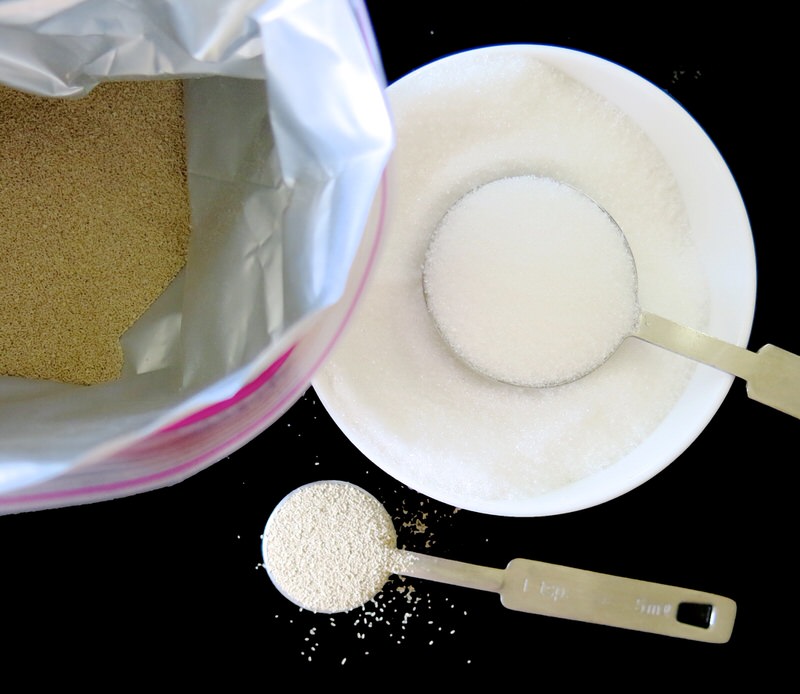
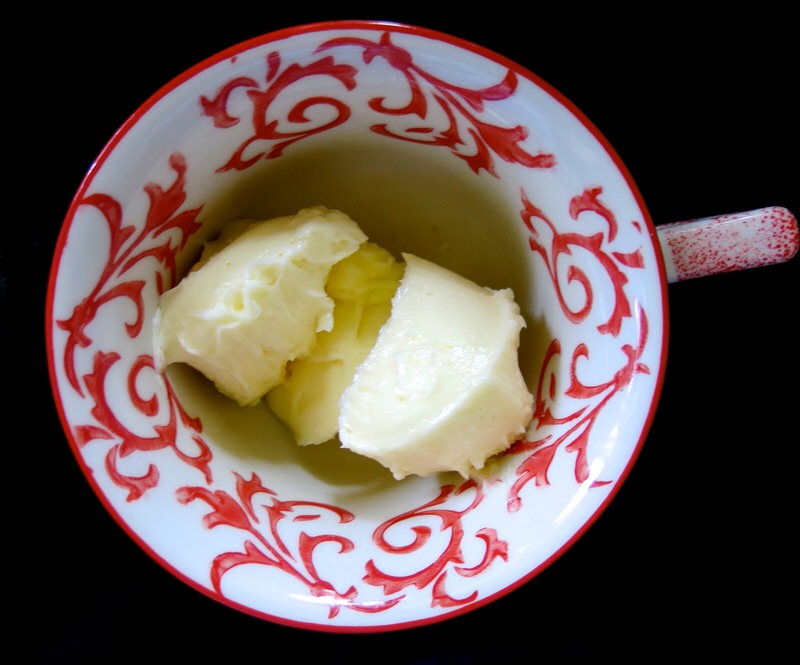

The instructions follow for making this traditional Newfoundland white bread dough in the traditional manner, but I own a Thermomix, so I adapted the recipe to make in my revolutionary kitchen machine. Why not? It turned out perfectly. Making it first the traditional way is key to understanding the texture and process to recreate with the machine. Butter melted, yeast measured, above.
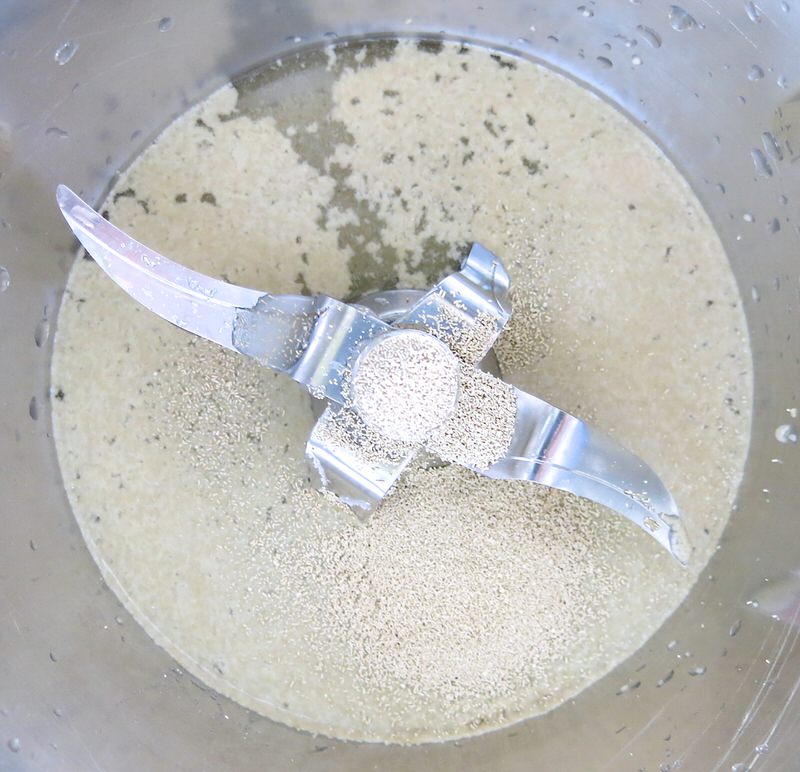
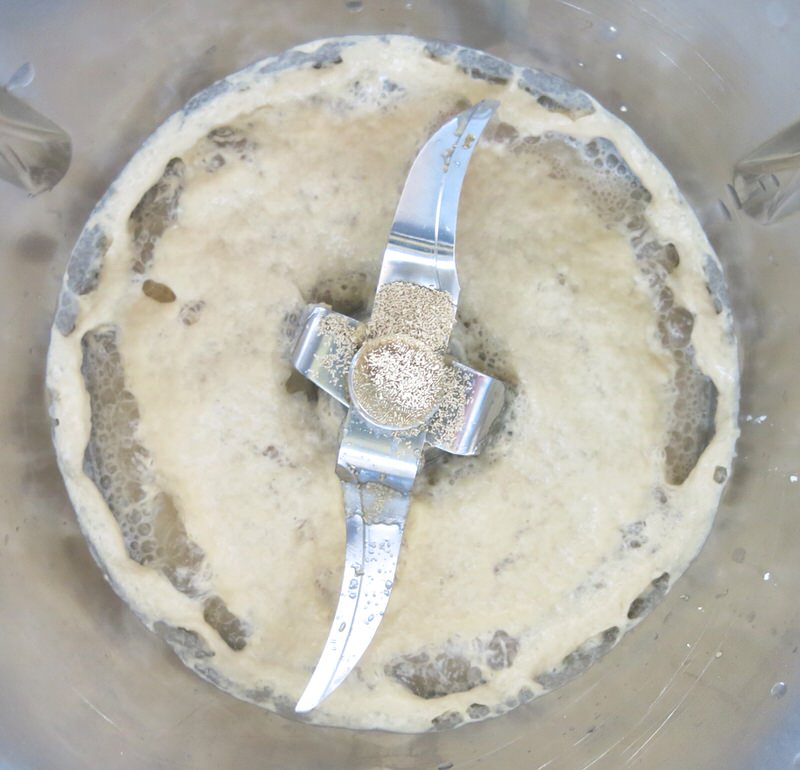
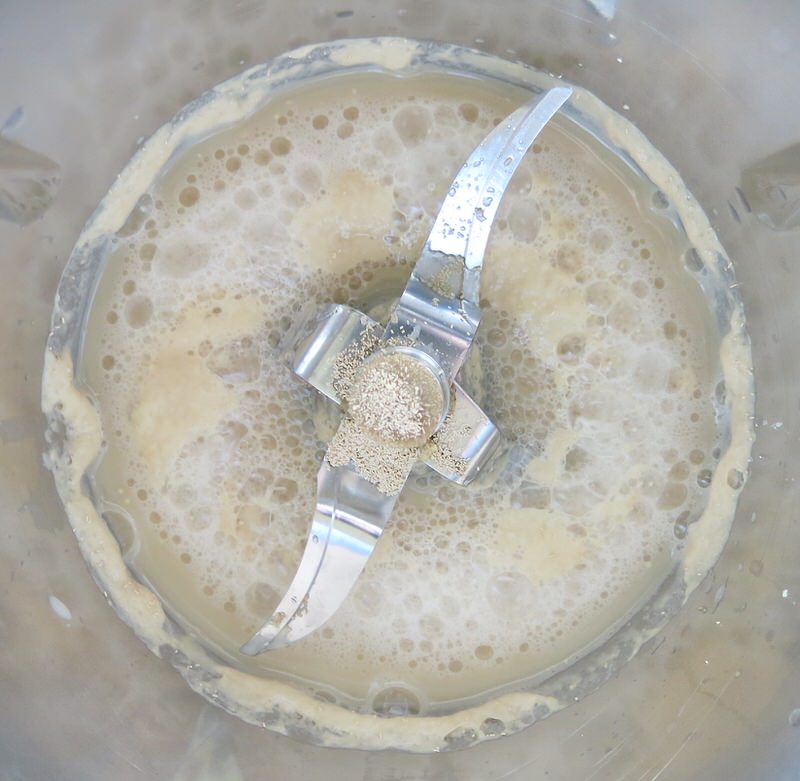
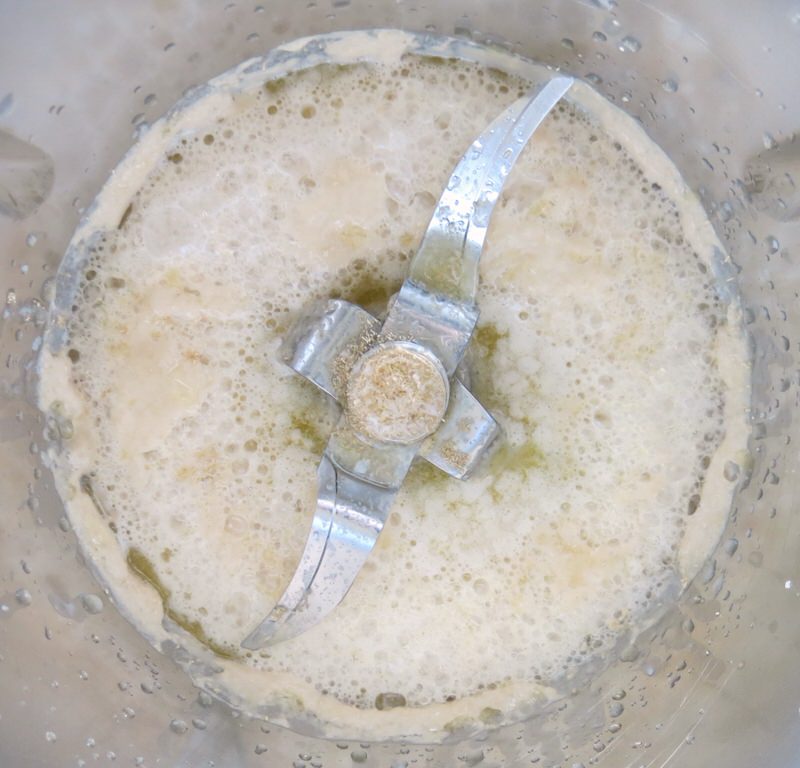
Into the TM bowl goes the yeast, sugar and tepid water. Let it rest. Let it grow. The beauty of the Thermomix, is it can grow with the 37 C temperature on soft stir for 5 minutes, then rest for 10 minutes as it doubles in size. A little whisk to combine, and it is good to go.
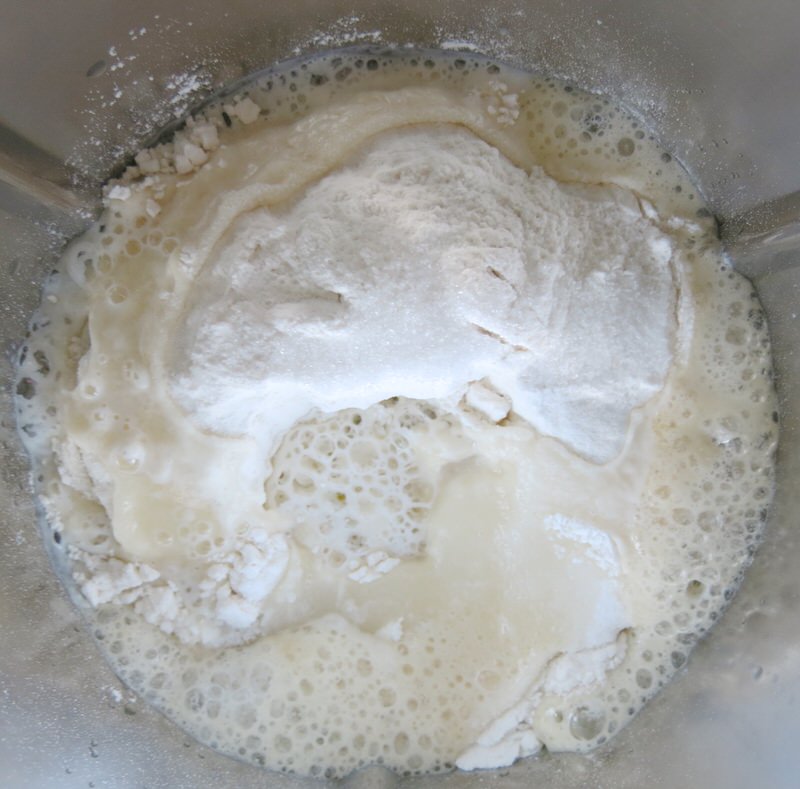
Above, the salt, milk, melted butter and some of the flour and more sugar are added to the mix. The dough is then rigorously stirred until smooth and elastic.
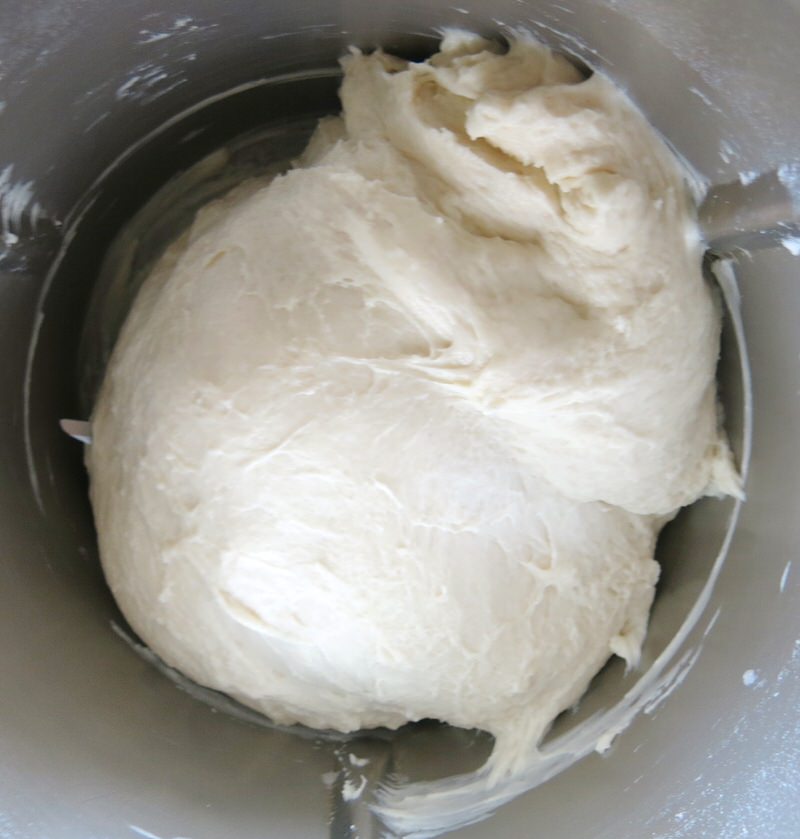
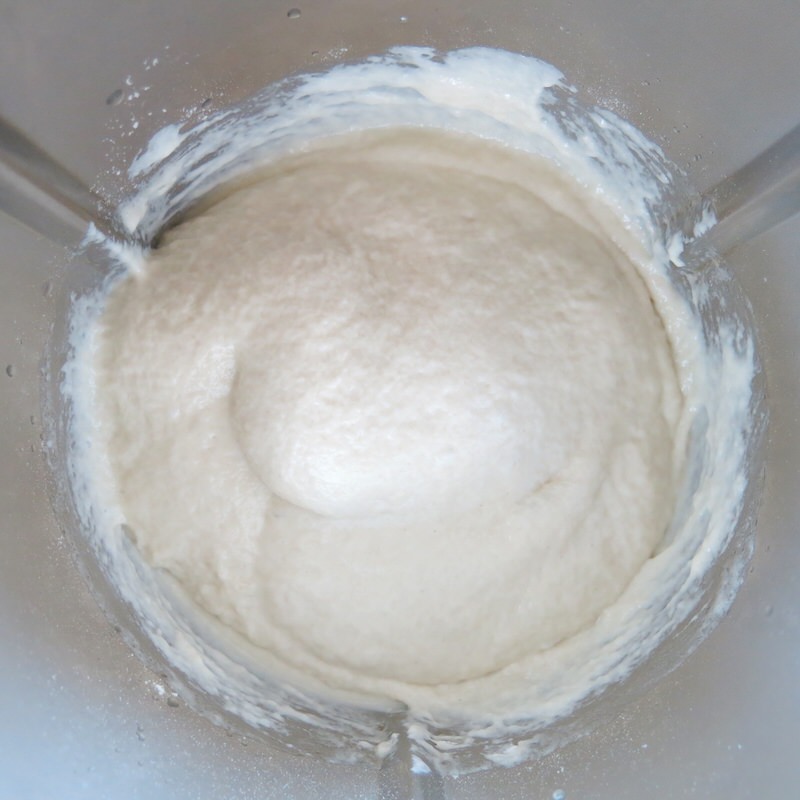
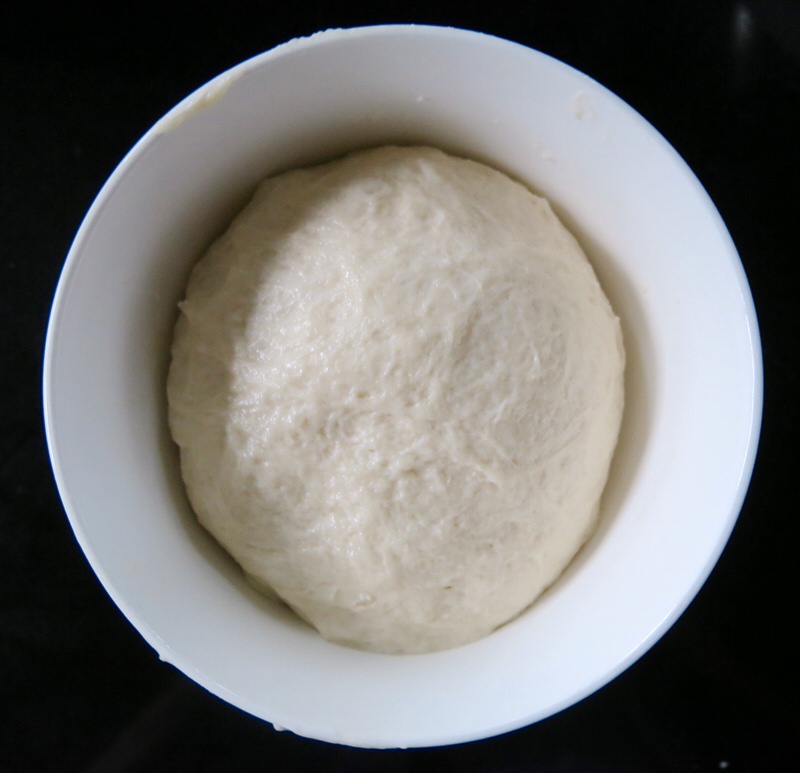
At this point, the remainder of the flour is added and the dough is kneaded until it comes clean from the sides of the bowl. Voilá!
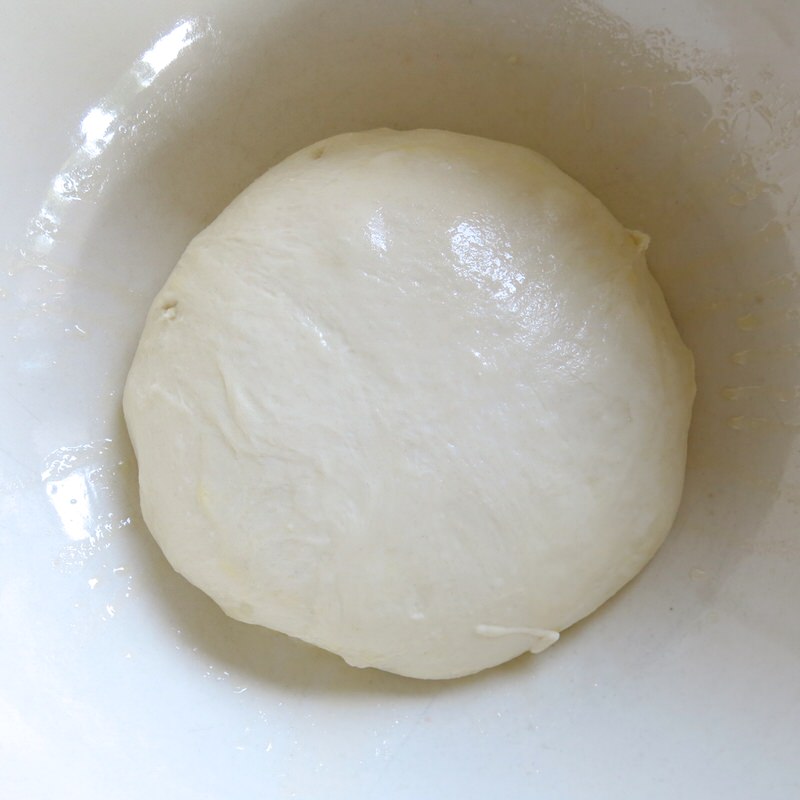

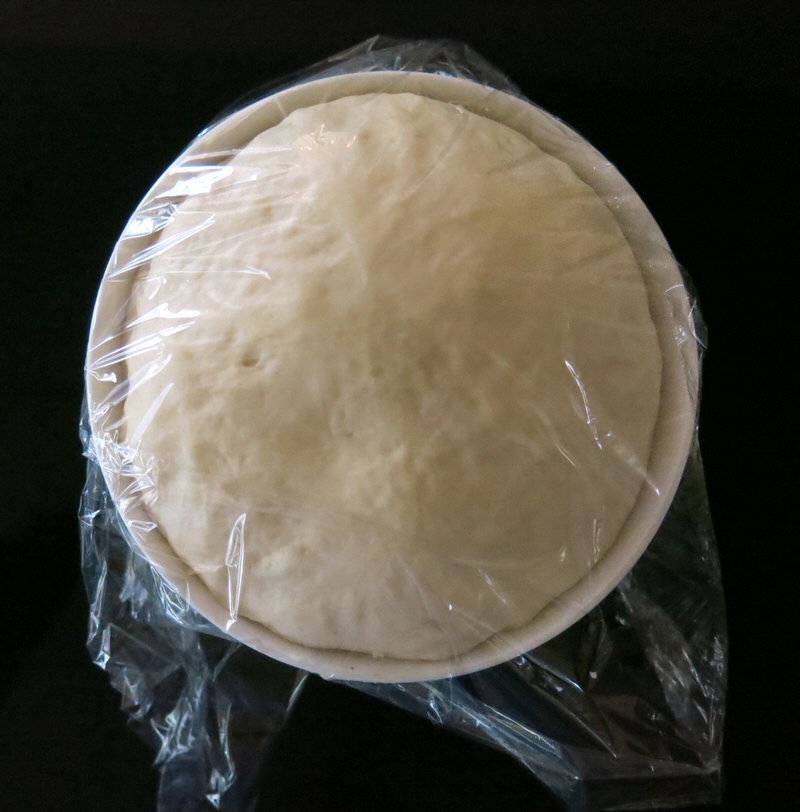
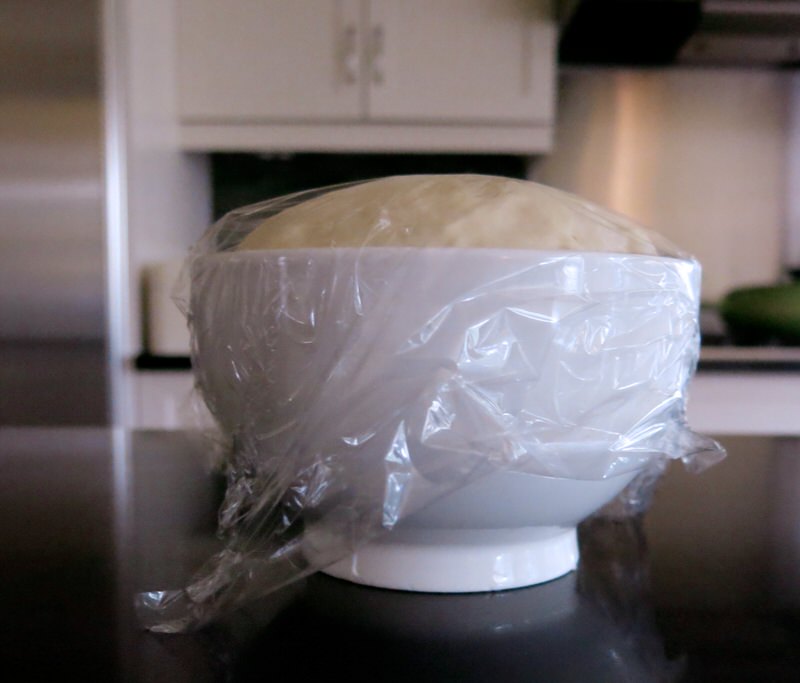
I used the remainder of the melted butter to grease the proofing bowl, topped it with a damp cloth, and put it into my oven to proof. Any warm, still location will work well.
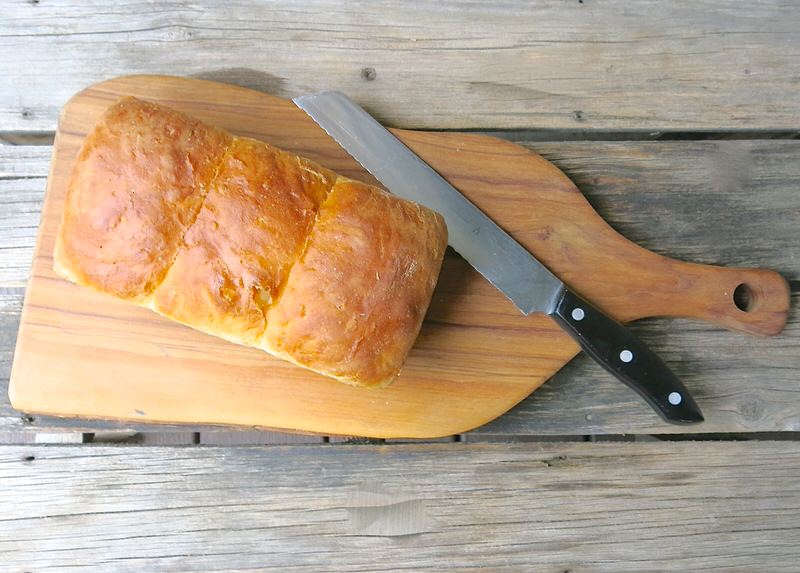
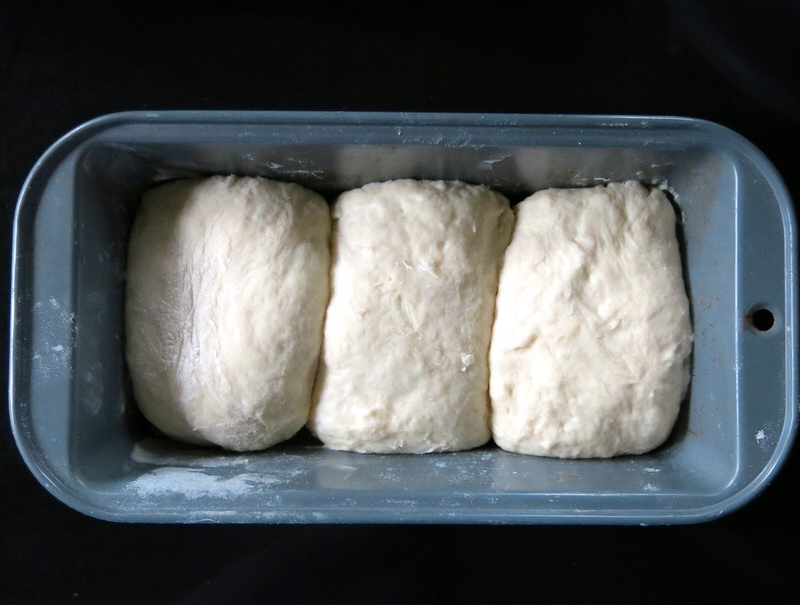
Traditional Newfoundland White Bread: Shaping the Loaf
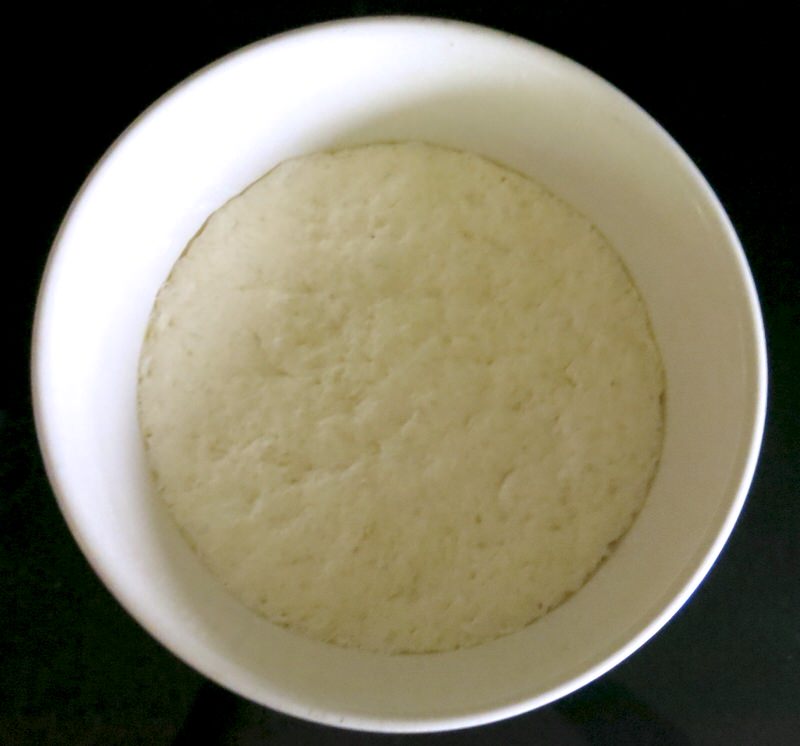
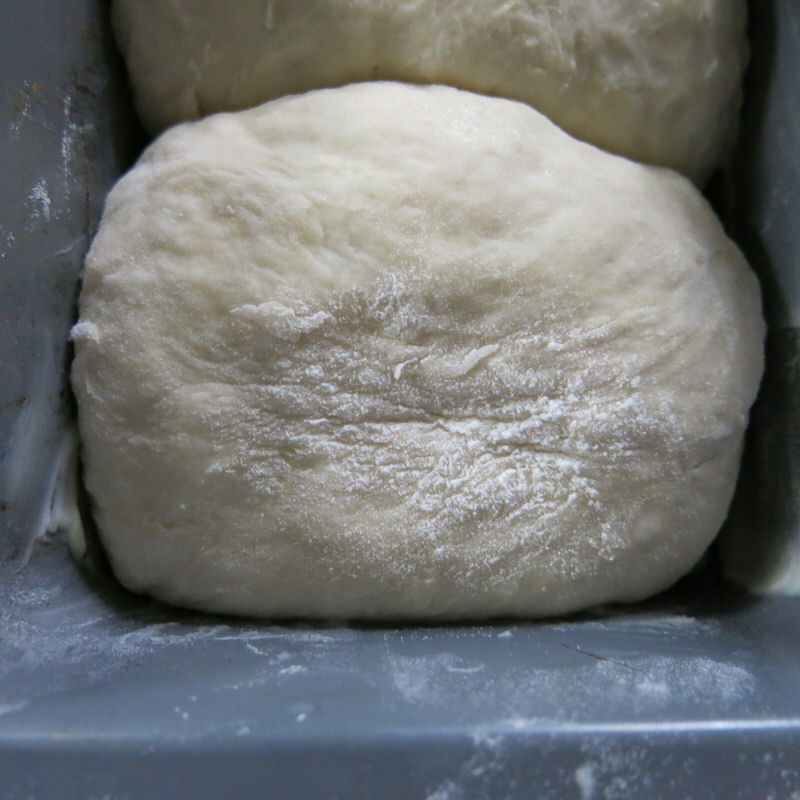
Woops, I was out in the garden a little longer than I expected, but no problem. It over proofed a bit. I weighed the dough as I wanted to reserve some for touton making. Usually, a single loaf of bread is 500 to 700 grams of flour. This was the amount for a newfoundland medium single loaf, thus my plan was to sneak off about 1/4 of the weight for the toutons to leave 3/4 of the dough to make a loaf. However, doing this, my loaf doesn’t quite have that over-abundant traditional Newfoundland “three-loaves-in-one” look. My three balls grew together a bit more than usual. Likely due to the over proofing and the missing amount of dough used for the toutons.
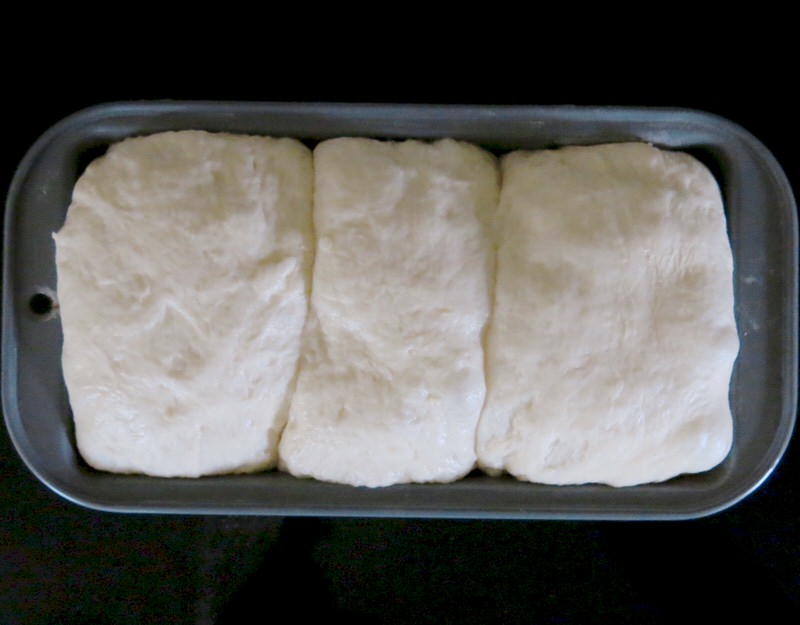
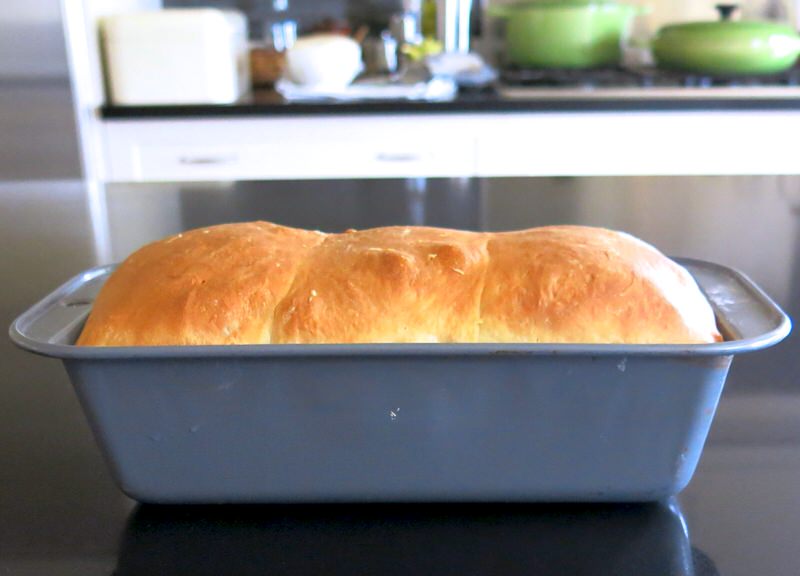
Traditional Newfoundland White Bread: Baking the Bread
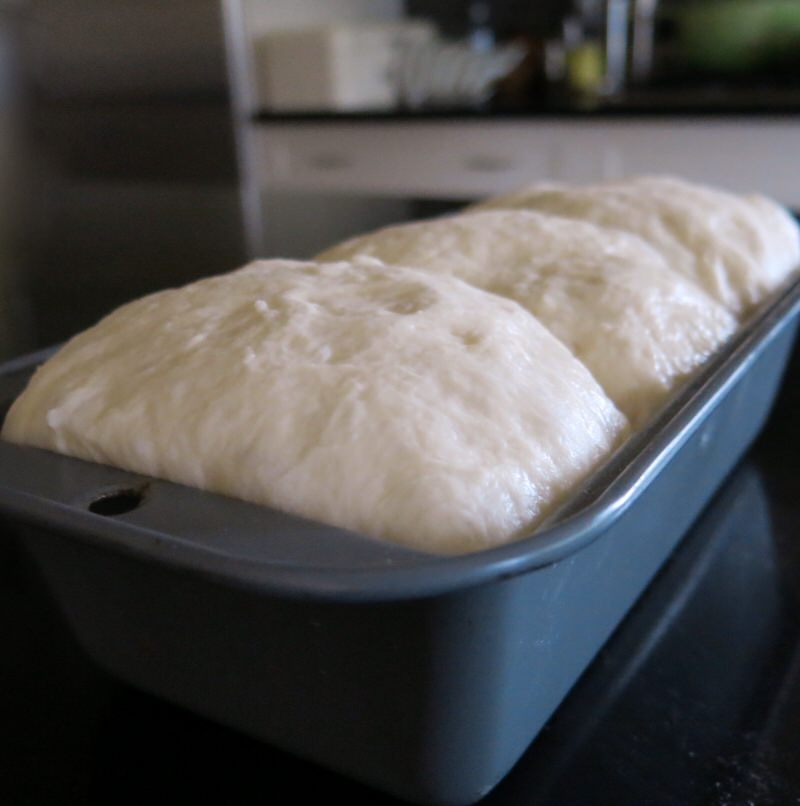
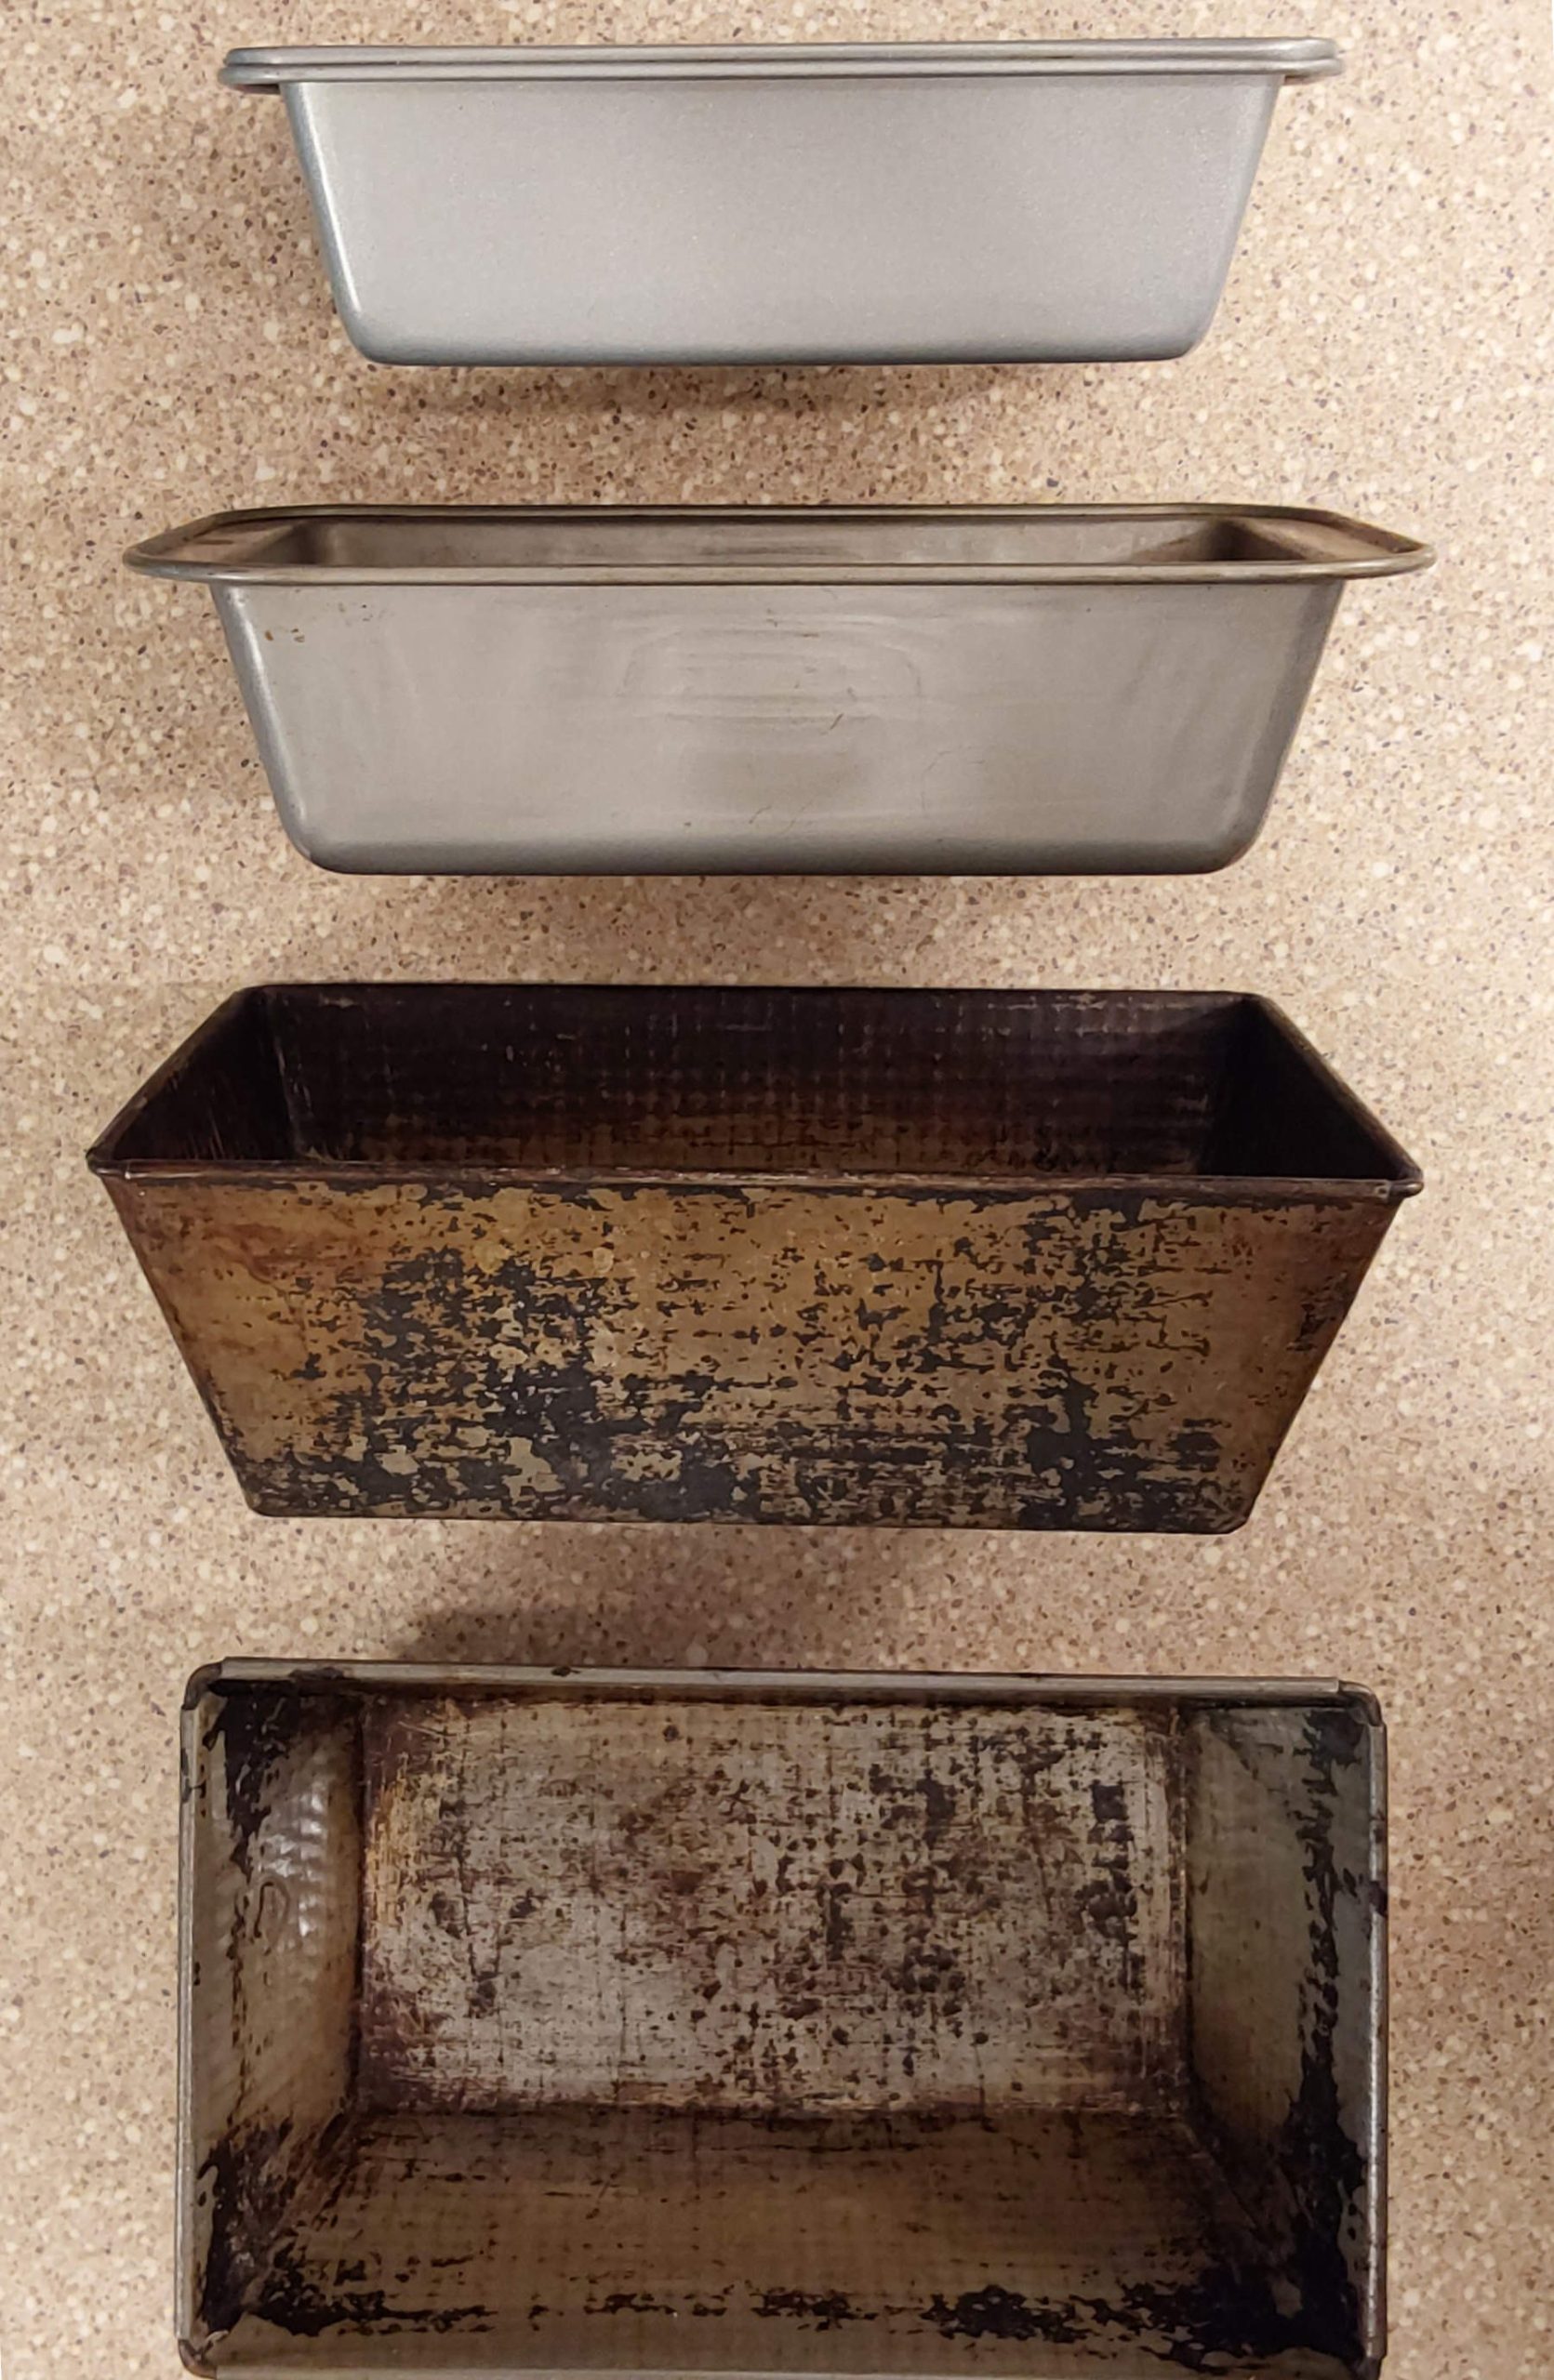
In Newfoundland, the dough would be proofed with 2-3 inches hanging over the loaf pan. This was not the case. This is not a big loaf, nor is it a large pan. One of those Newfoundland sized bread pans would find a loving home in my kitchen! Apparently, the “traditional white bread” pan is no longer available anywhere to buy. Cherished pans passed from mother to daughter create that longer, larger wider loaf well-remembered by the older folk within the community. The dough did rise well and baked into a golden crusted loaf of yeasty heaven, but doesn’ thave that traditional “three-loaves-in-one” look that I was going for.
I’ll have to wait til next time I make it to understand the appeal of those 4 coveted inner “kissing slices” of this bread.
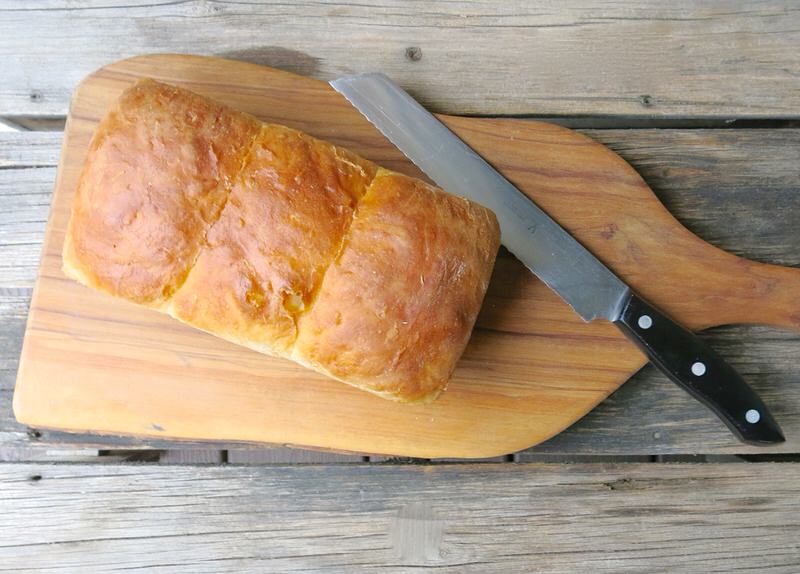
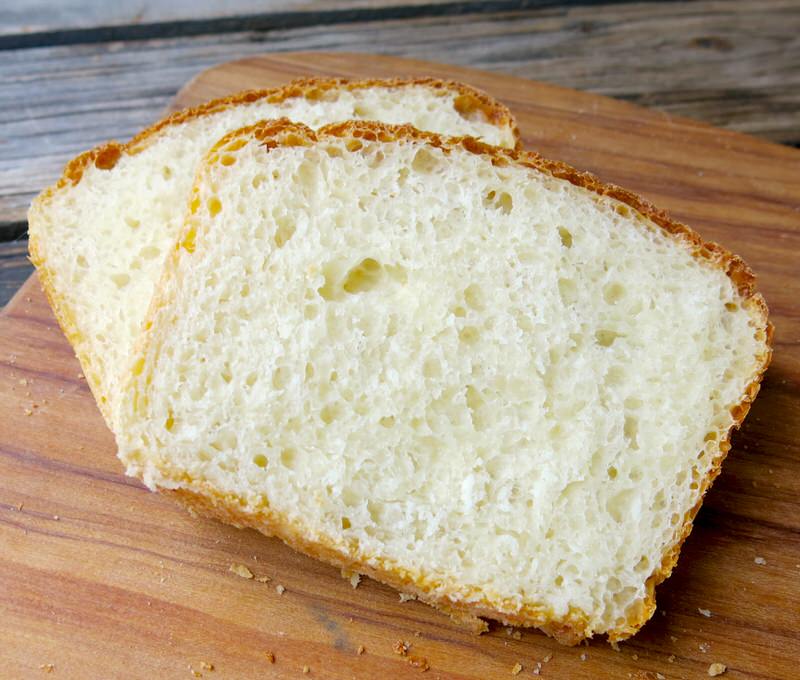
Traditional Newfoundland White Bread: Serving the Bread

Slicing into the loaf left me feeling a sense of accomplishment. Though my “bubble top” wasn’t poofy enough, the crumb was gorgeous and the scent, heady and provocative.
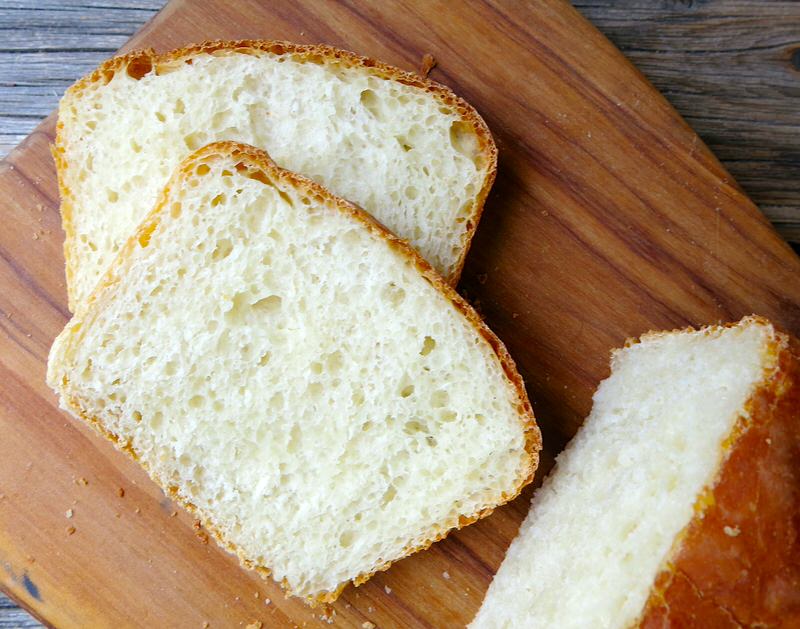
These were not limp, light, flimsy little poofy slices of white bread. This is a bread of substance. This is a bread that can stand on its own. This is a bread with a reputation, an identity and a strong sense of place. It would be recognized anywhere in this country or any other as “ours” from a Newfoundlander. Toasted, one piece is a significant portion, chewy, full of yeasty-milk flavour, and satisfying. It is not one of those “dissolve-in-your-mouth” breads too many think of when “white bread” is mentioned in this new age of processed and refined foods. It may not be crunchy outside, or hollow inside as so many artisanal loaves we have all come to know and love. No. This is home food. This is family food. This is an iconic Canadian regional heritage recipe from Newfoundland that had grandmother after grandmother after grandmother’s hand thrust deep into the roots of the family tree kneading a tapestry of the wholesome Atlantic life into each loaf, passing so much more than just bread on to those that followed in their footsteps.
Traditional Newfoundland White Bread: Making Toutons for my own Mom, Helen
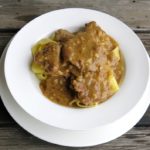
The portion of dough I stole from my Traditional Newfoundland White Bread loaf was the perfect amount for Sunday Supper dessert: Toutons!
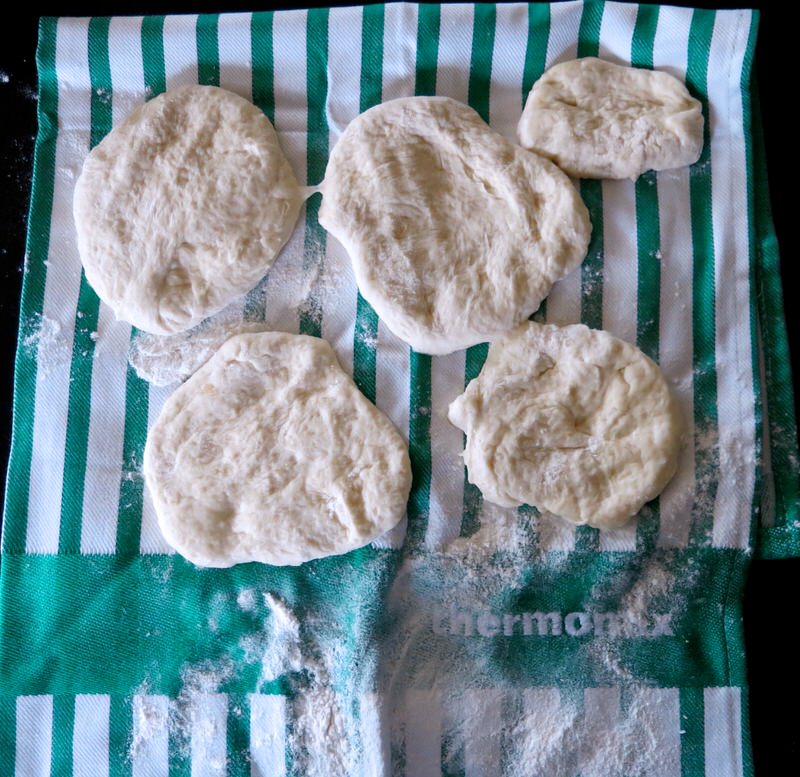
Portioned after Joy’s lesson, on a lightly floured cloth, oil hot.
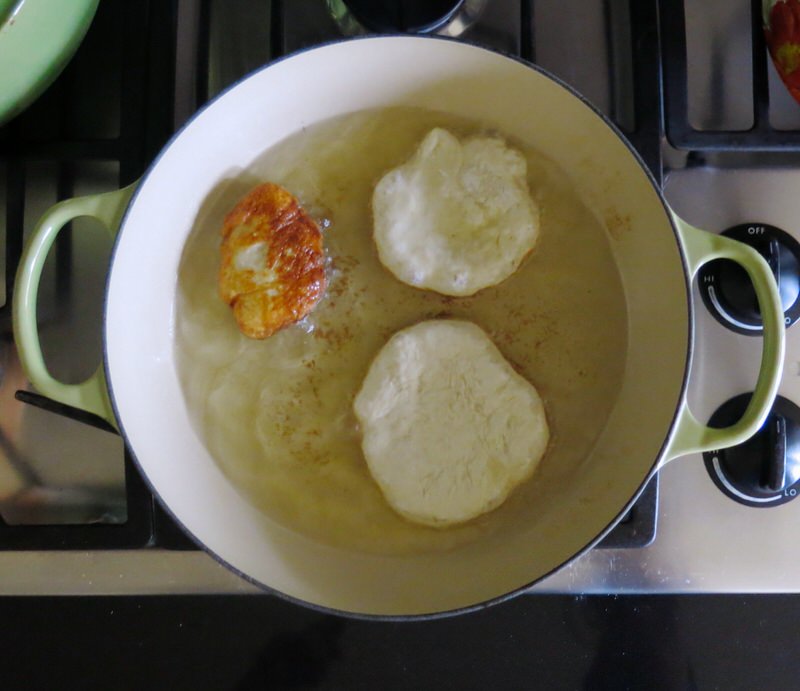
Maybe a little too hot, but they still turned out lovely.

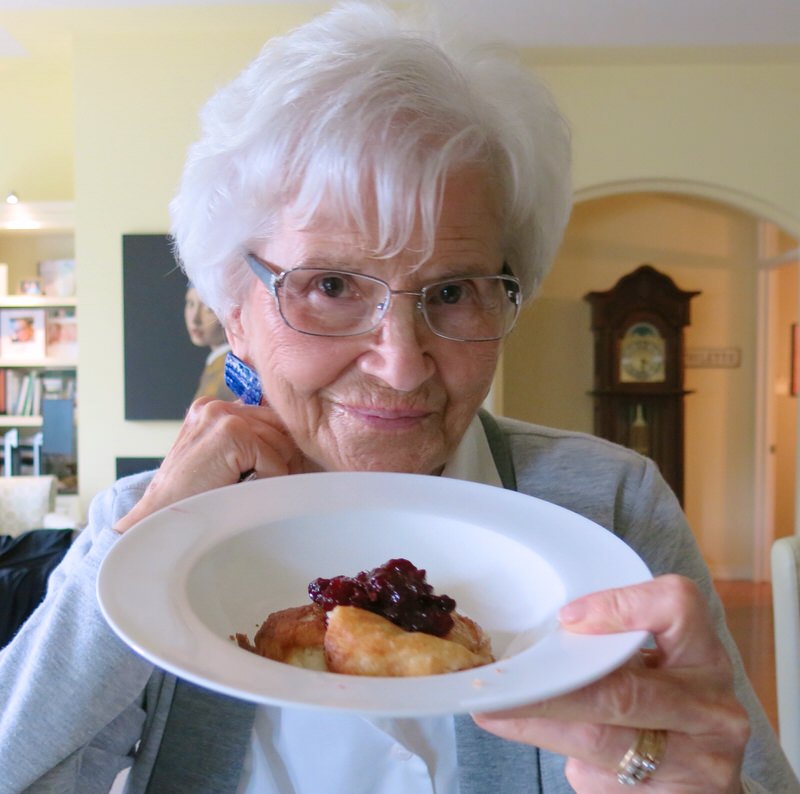
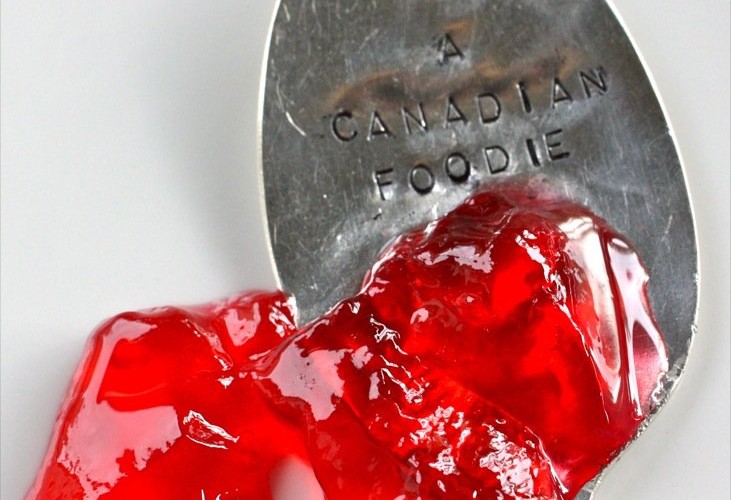
Sharing the homemade Partridgeberry Jam and my new Touton making experinece with my mom was such a pleasure.
Fortunately, it was a chilly Sunday after several very hot days, so a little fry bread hit the spot.


Did she like it? She never takes anything home. Refuses consistently. But, she didn’t say a word when I packed one to go with her. “Oh, my, there is nothing like fried bread dough, is there,” she said amongst several moans of pleasure as she enjoyed her little treat. I was so happy as I know that I will be making this Atalantic bread and these Newfoundland toutons many more times in our little Canadian house on the Alberta prairies. Somehow, that just feels right. Oh, Canada!
Recipes from Project 2017: Cooking with Emily Mardell
Traditional Newfoundland White Bread aka Nan's Bread from Newfoundland
Ingredients
- 5 cups or 635 grams All Purpose Flour
- 1 package or 7 grams traditional active dry yeast not instant yeast
- 2 teaspoons or 10 grams of fine salt good quality
- 3 tablespoons or 45 grams sugar
- 3 tablespoons or 55 grams butter, melted (need only 45 grams, use the rest to grease proofing bowl)
- 1 1/8 cups or 290 grams milk, lukewarm
Instructions
Instructions for Making by Hand
- Dissolve 1 tablespoon of sugar into half cup lukewarm water; sprinkle yeast over surface of water. Let stand for about 15 minutes until yeast foams well, then stir to combine.
- Combine 3 cups of flour, 2 tablespoons sugar and salt into large bowl; add prepared yeast, melted butter and warm milk. Using wooden spoon, mix for 4 to 5 minutes until mixture is smooth.
- Slowly incorporate remaining 2 cups flour; mixing gradually until soft dough forms and leaves sides of bowl. You may need to use a little more or a little less flour: add only enough flour to form a dough that releases from sides of bowl and remains slightly tacky but able to be handled with your bare hands.
- Turn the dough out onto work -surface to knead; knead for 8 minutes, then form into ball and place in large greased bowl.
- Cover dough; proof in warm place for one hour until double in size.
- FOR TOUTONS: Slice off portions of dough, shaping them by hand into rustic circles; lay on cloth until ready to fry.
- Punch dough down; knead a few minutes by hand before resting for another 10 minutes.
- Grease 2 medium loaf pans; divide dough into 4-6 equal portions. Form each division into a ball, placing 2 or 3 balls of dough in each loaf pan.
- Cover with clean tea towel; proof until about 2 inches above rim of loaf pan (approx. 2 hours, depending upon room temperature).
- Bake at 350 F for 30-40 minutes depending on size of pans, or until loaves are golden and sound hollow when tapped.
- Turn loaves onto wire rack to cool; brush tops with melted butter to soften top crust.
Instructions for Thermomix Machine
- Weigh 15 grams sugar and 120 grams tepid water into TM bowl; add packet of yeast and stir for 5 minutes at 37C speed soft. Rest 5 minutes.
- Stir yeast mixture, to combine; 5 seconds at speed 2.
- Into same TMbowl over yeast mixture, weigh 45 grams melted butter, 290 grams lukewarm milk, 375 grams flour, 30 grams sugar, 10 grams salt; stir rigorously to combine until smooth for 1 minute at speed 4 (little longer or higher speed, if required)
- Weigh remaining 260 grams flour into TM bowl; set knead for 4 minutes until dough completely releases from side of TM bowl.
- Grease large bowl with remaining butter; form dough into ball and place in prepared bowl covered with damp cloth and proof in warm place for one hour to ninety minutes, or until double in size.
- FOR TOUTONS: Slice off portions of dough taking care to retain as much air as possible, shape each by hand into rustic circles; lay on lightly floured cloth until ready to fry (Rest 10 minutes after shaping before frying)
- Punch down remaining dough; rest 10 minutes.
- Grease 1 large loaf pan; divide dough into 3 equal portions and form each into a ball. Place 3 dough balls into each loaf pan.
- Cover with clean damp tea towel; proof until about 2 inches above rim of loaf pan (approx. 2 hours, depending upon room temperature).
- Bake at 350 F for 30-40 minutes, depending on size of pan, until golden hollow when tapped.
- Turn loaf onto wire rack to cool; brush tops with melted butter to soften top crust.
Notes
AFTER NOTE
Lou, in the comments, below, indicated she had been given an oversized pan from her grandmother in Quebec measuring and kindly send the photos, below.
It’s wonderful to share this kind of Canadian food history. If a reader happens upon this post with any photos or sizing information about the traditional “oversized” Newfoundland bread pans, it would be so valuable to all readers and I would be delighted to add this information to this post, with photos, if available.


Just made it earlier this morning. Both loaves are cooling on the rqck. They do look pretty good if I may say so with their humps! I did follow the recipe as written with a few exceptions: I did find that in addition to the 5 cups mentioned, I had to add a little more. I did use my trusty Kenmore stand mixer with the dough attachment. At first I did the initial cups by hand then I transfered to the mixer on medium for about 8 minutes. I added the remaining two cups bit by bit, and then I spooned in gradually what seemed like another cup. The dough was tacky but manageable. Proofed for an hour. Divided it into two halves. Each half was rolled into 3 balls each for a total of 6 balls. Two loaf pans were used. I proofed them for another 60 minutes and then finished them off in a cold oven at 350 deg for 30 minutes. They turned out perfect. I wish there was a way of adding a few photos of the two gorgeous loaves. I did forget to cut a slice off the dough for Toutons…..another time! Thanks for this wonderful recipe!
Thank you so very much for sharing your process and experience. It truly warms my heart. Love the photo you sent after I asked, and I was truly going to post it, but it was just too blurry when enlarged for the site.
However, the bread was delicious. We are both fans – and hopefully, once others read this, they’ll give it a go, too!
Hugs,
Valerie
Mmmmm! Turned out perfect and delicious by hand, Thanks!
So good, eh? Emily and Joy will be delighted with your feedback!
🙂
Valerie
This recipe sounds so perfect. I want to make it but would like to make 4 loaves at a time. Should i double the amount of flour and all other ingredients? Any tips you can give me will be appreciated.
Thanks
The batch is already huge. My suggestion is to do them separately, one after the other. Let me know how it goes.
🙂
Valerie
LOLOL…batch too big, my Mom did 5 loaves in one batch and on occasion two batches in the same day…that was quite a number of years ago as she raised 12 children. Anyway, I digress. My first time baking homemade bread, as i look at it in the oven it looks as though I found another niche. Nice and easy recipe and as one comment mentioned, I too had to add a “little” more flour.
Hope you love it as much as we do, Fred.
TWELVE children! I think that would be a wonderful house to be brought up in!
🙂
Valerie
Yeah, it was first come first serve ;>)))
I knew a lady who had 13 children and would bake bread every day. Be nothing for her to make 10 loves or more in one batch. 2 loaves would be a waste of time for her. Can I double up. Also is this recipe iok to be doubled. If I am going to be half of the day making bread I want to make enough to freeze for a later time. Thank you.
I’m not sure if you were able to read the post. I know it is a long post – but this recipe is reduced from the original.
So, yes, you can absolutely double it!
Let me know how it goes.
🙂
Valerie
Love Love Love this recipe! It is amazing, best bread recipe I have ever utilized. I used 5 cups of flour optical, used my Kitchen Aid stand mixer. The dough was so soft and silky to handle, I did not do a three bun loaf, just a regular loaf, and three mini loaves. it was delicious and will be using this recipe again!
WOW, M! Great to hear from another who enjoys this recipe as much as we do! This will definitely provide confidence to my readers and hopefully motivate them to give it a go!
Cheers,
Valerie
I must be missing something.. I do not see the recipe !
I Found the RECIPE.. ahah,,, I thought I had scrolled to the bottom.. but no a little further yet . 🙂
Good for you!
Let me know how you enjoy it after you make it!
(Yup, a lot of history with this recipe and a BIG STORY to tell!)
Warmly,
Valerie
So I’m making the recipe now. Sadly found out too late that 2 cups of milk is Not 290 grams. 2 cups equals 488 grams. This is why I had to use way more milk to even be able to knead. I wish I had just used the Grams recipe. We’ll see how it turns out.
Smartphones are a wonderful resource for conversion. I try to put both systems in my recipes but don’t always do that.
Hope it worked well the second time!
🙂
Valerie
I’ve made this recipe twice now. Once was my “Mistake” loaves (too much milk – I used the Cups measurement), and now following the Grams measurements. Both were amazing! Truly, all of the loaves were delicious. The Mistake loaves were just a bit larger lol! The bread stays soft and lasts on the counter (even in a MN summer). This is our go to bread from here on out. While I liked both I think my next try will go with maybe 400 g of Milk and see what I get. Thank you!!
Thank you so very much, Amy – for chiming in as your experience with this recipe will definitely provide confidence to my readers to also try this recipe.
I love it!
Hugs
Valerie
At first I thought this recipe had too much flour, I actually added a full cup after mixing was complete. In my 30 years of cooking I have never tasted anything so good out of my own oven. Amazing thank you so much! My family was very impressed as well!!!!
Lovely to hear this, William!
It is one of my favourite recipes. We now have it on our Thermomix recipe platform called COOKIDOO for those that own a Thermomix. They can make it from there. An outstanding recipe! Did you try the toutons? I sometimes just make a batch for these.
Thank you so much for chiming in as that means a lot.
Sincerely,
Valerie
Hey Valerie! What size is a “traditional size” Newfoundland loaf pan? I know it’s “oversized” but just how big is it? Love this post btw!!
I had the information once, and for the life of me, cannot find it anywhere. Not like me to have not included it in the post – but I will not spend more time than the 2 hours already spent looking.
Hopefully, someone else can chime in.
🙂
Valerie
i have an oversized loaf pan i received from my gramma ‘76/‘77. its 10 x 5 3/4 x 3 3/4 deep.
Thank you so much, Lou – and for the photos of your Quebec Loaf Pans. I have added them to the bottom of the post – let’s hope others will share their 100-year-old pans from Newfoundland now. Fingers crossed.
Love this kind of Canadian baking history.
Hugs, Valerie
Hello!! I have been using this recipe for a few years now, it always has come out with the best bread and I always get so many comments from those I share it with!! Thank you so much!! I did try to make it again yesterday, made a few attempts and all of my bread turned out dense and didn’t rise well. Do you know what could have gone wrong? My yeast foamed appropriately in that first step and it was brand new stuff! I’m not sure what went wrong this time. It ALWAYS came out perfectly before haha
Hi Kayla
I responded to you personally, already…
Do you make it with a Thermomix or by hand?
If by hand, it’s possible it wasn’t kneaded enough
Also, salt and yeast can never be added at the same time
These are two factors I know will create a dense loaf.
– under-kneading
– adding salt with yeast
I hope this helps.
Hugs
Valerie
Can I substitute the white flour for whole wheat flour? I made the white today exactly as per your recipe & it was delicious!!!
Christine,
Your bread photos looked so yummy! So happy the bread was loved by you as we love it!
Let me know how it goes with the whole wheat!
🙂
Valerie