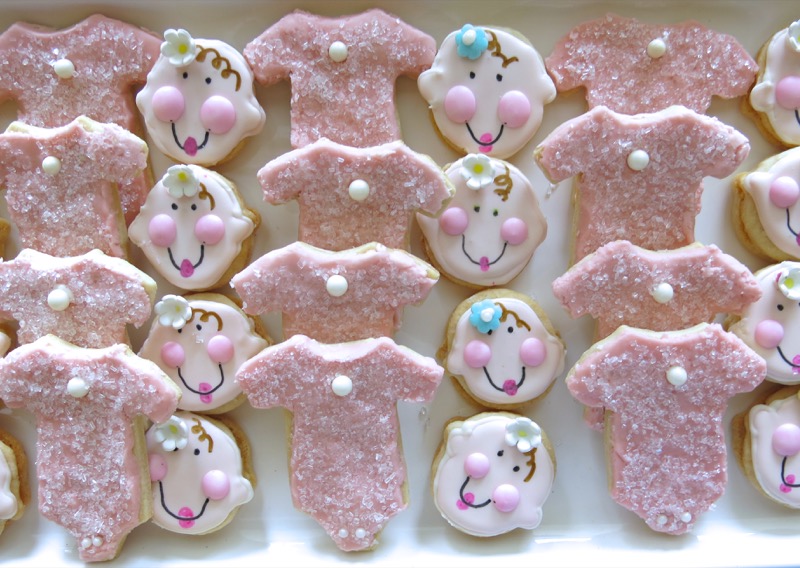
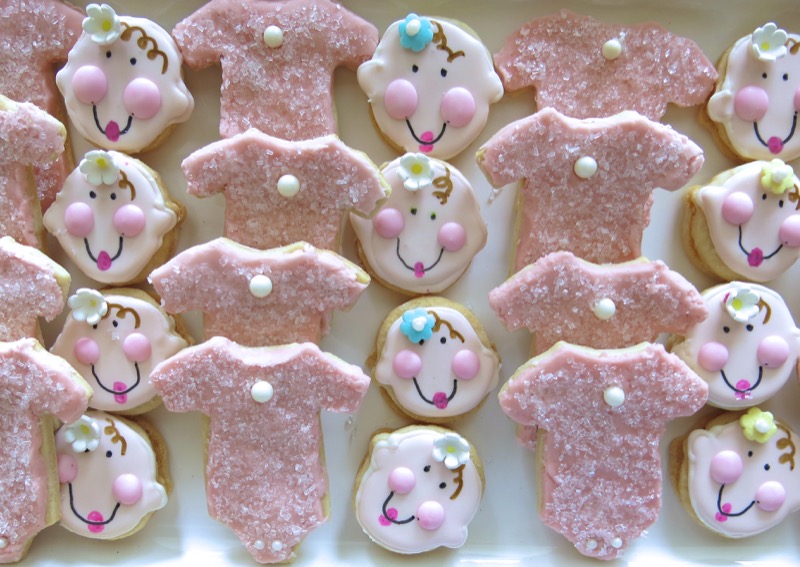
Tickled Pink to make Baby Girl Shower Onesie Butter Cookies!
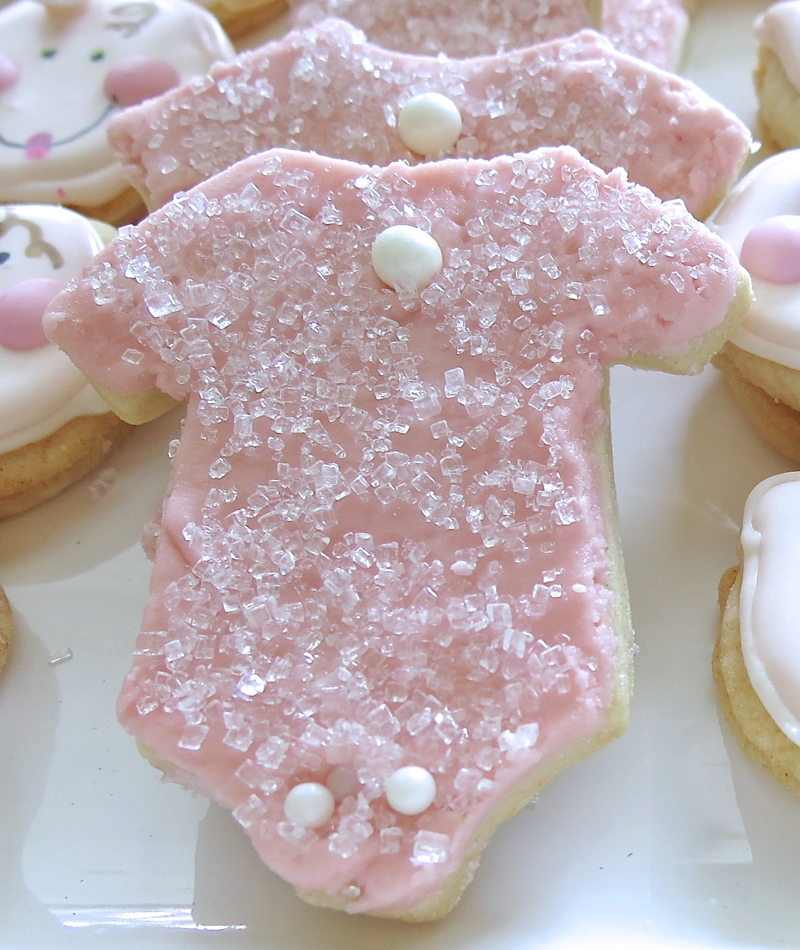
Simple. Pink. Sparkly. Love how the Baby Girl Onsie Butter Cookies turned out. So “Amy-esque”: feminine with a bit of bling. Yet, it wasn’t as simple as it looks, or as it should have been!
I had to re-make my babyface cookies, recall? Well, if you read the post, you would know I made them twice due to using the wrong pen, by accident. That took a bit of wound licking. Well, am I getting old, or what? (Yes, I know. I am getting old!) Wait ’til you hear this story! (Likely only that exciting for me, but – play along?)
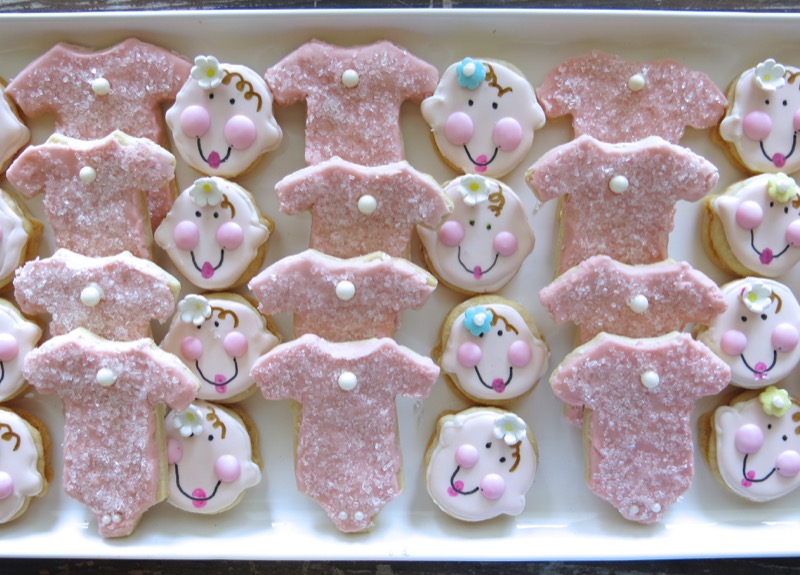
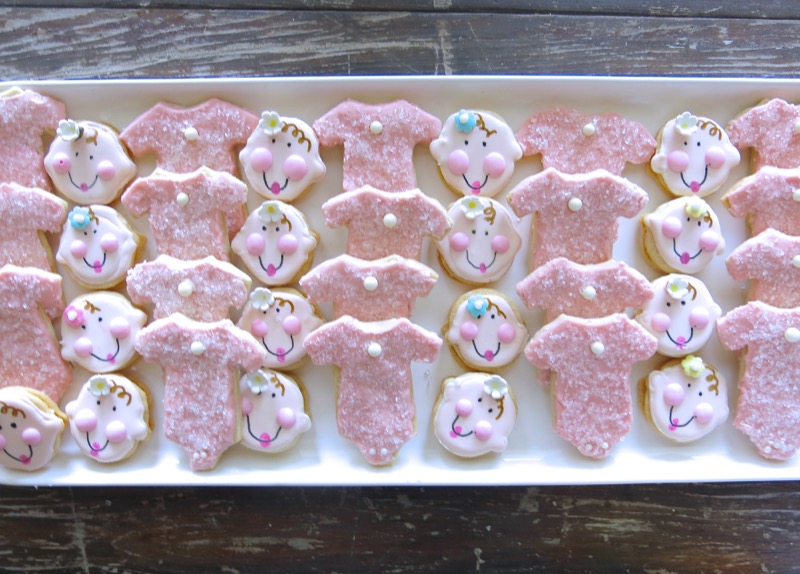
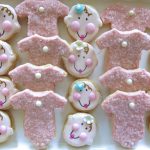
The baby girl onesie butter cookies on the cookie platter are my second batch. I cannot believe I didn’t even take photos of the first batch. I likely didn’t want to live with the memory of them. (It is OK. It is fine. These actually turned out better.)
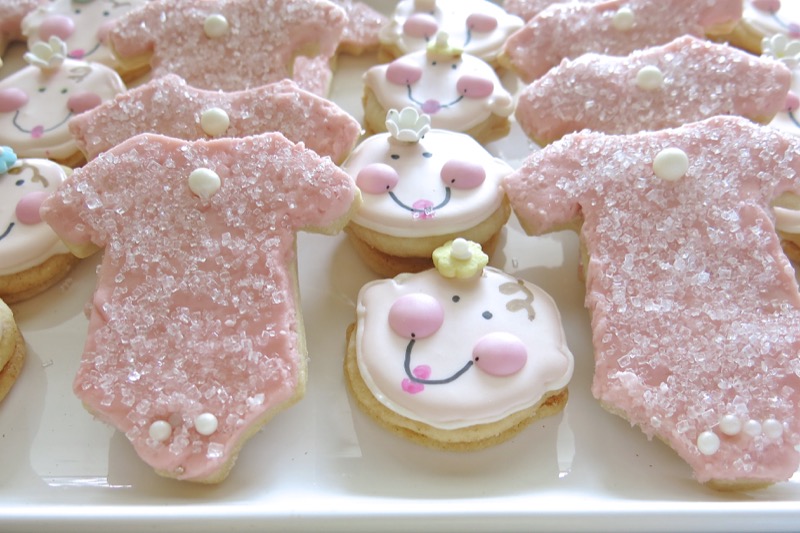
Initially, I wanted a miniature onesie cookie cutter to align more with the miniature babyface cookie. However, a 3 inch cutter arrived in the mail, so it would be. Sandwich cookies are my favourite when homemade, so my initial plan, was to have these sandwiched, as well. You see that isn’t what happened. (It is OK. It is fine. These actually turned out better.)
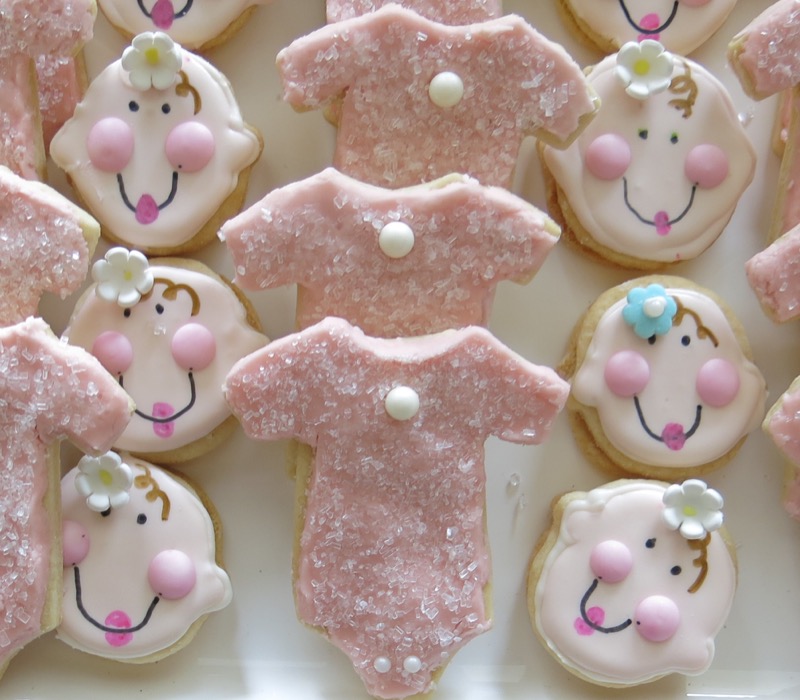
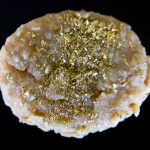
In the end, the little faces look like they could top the onesies, so I was very pleased. The sparkling sugar is the bomb! I love it, hadn’t thought to use it until I was in rescue mode, and should have gone this route from Day one. I love the little pearl snaps over the diaper. Aren’t they sweet? (It is OK. It is fine. These actually turned out better.)
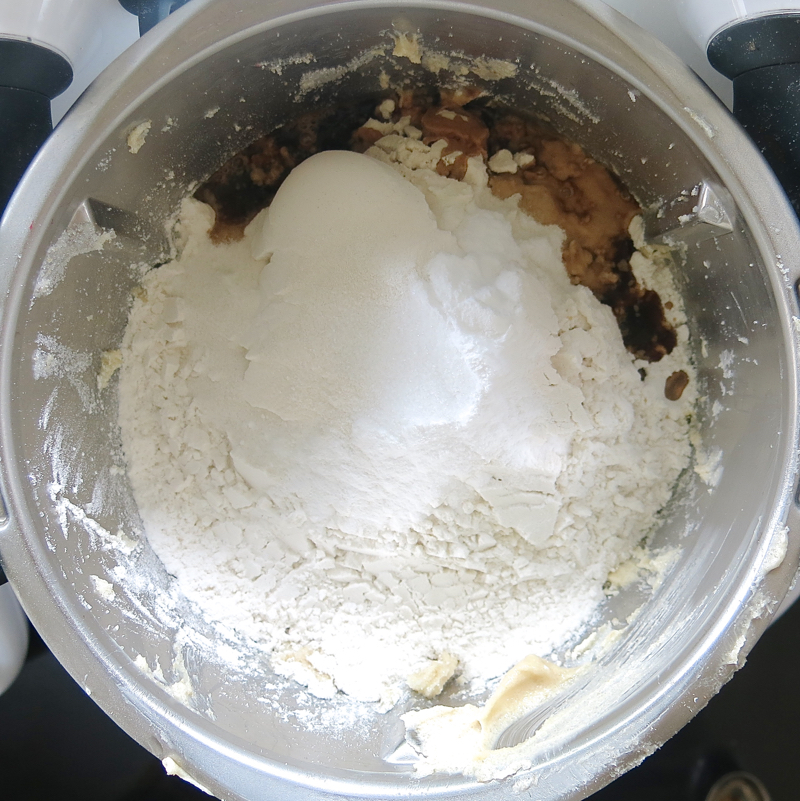
Baby Girl Shower Onesie Butter Cookies: Making the Dough
The babyface cookies were shortbread. These cookies were going to be our family’s traditional sugar cookie recipe. But, as I had to make them again, I decided to do the butter cookie recipe, and I am really happy I did as it is also delicious, and not “traditional”. I have made it before, but clearly not often enough. Interestingly, the same ratio as shortbread cookies: 2:1:1/2 (flour, butter, sugar). My shortbread recipe has the flour and sugar mixed together with the butter worked into it. I believe that is why it is so delicious.
This recipe adds baking powder, vanilla and uses the traditional cookie making method: cream the butter and sugar, fold in the dry ingredients. Completely different cookie than a shortbread, yet equally delicious.
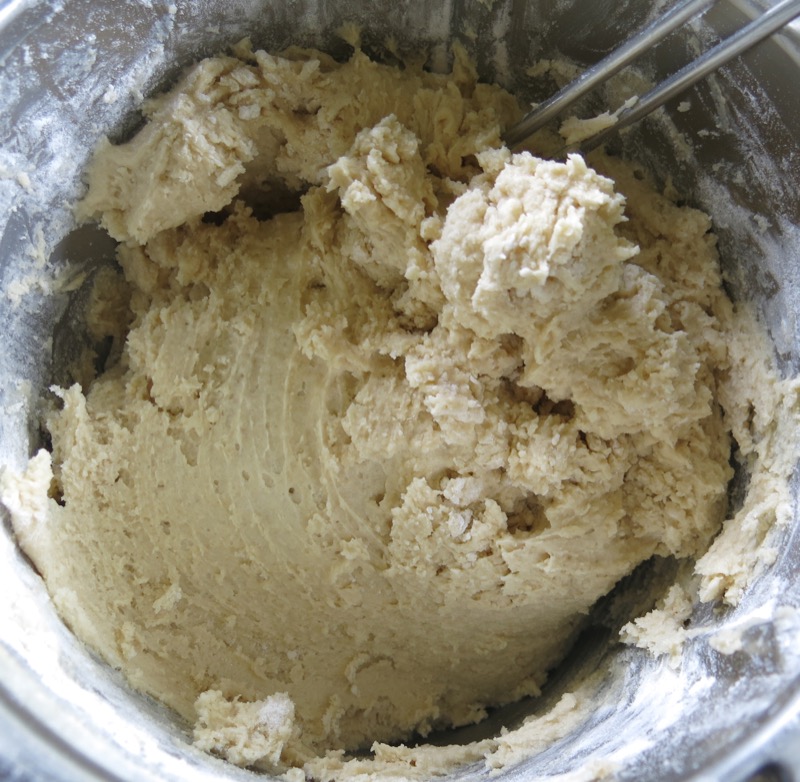
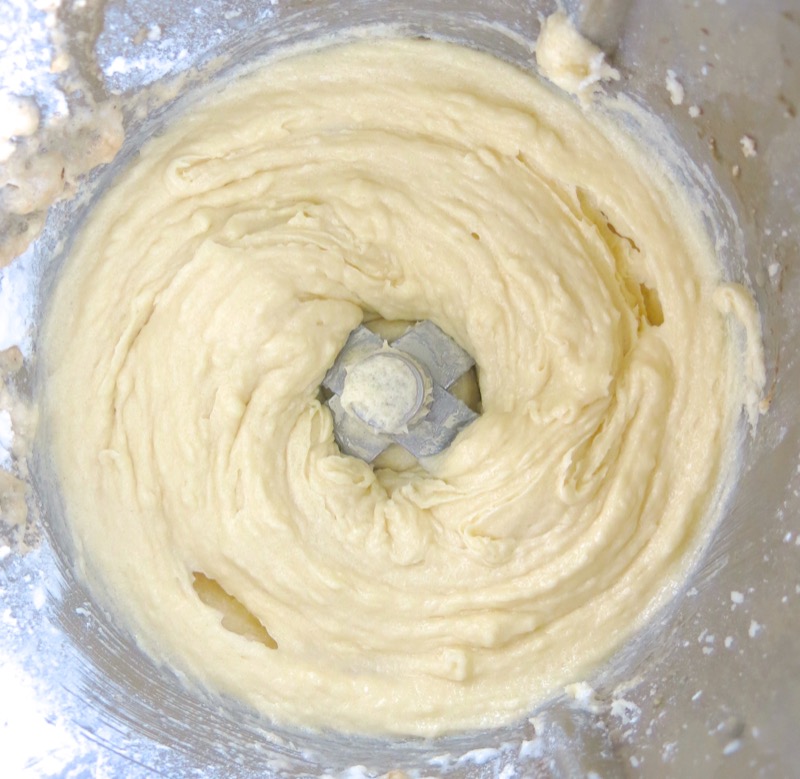
The first time I made it, thought it would be my last. The batter was so moist, I could not imagine rolling them without adding so much more flour. Yet, that was not the case.
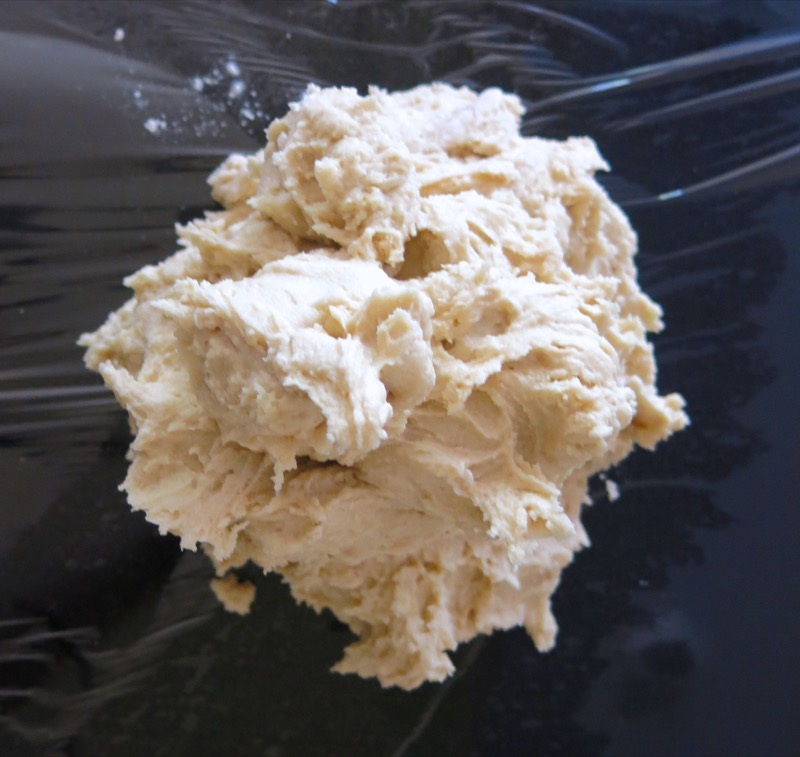
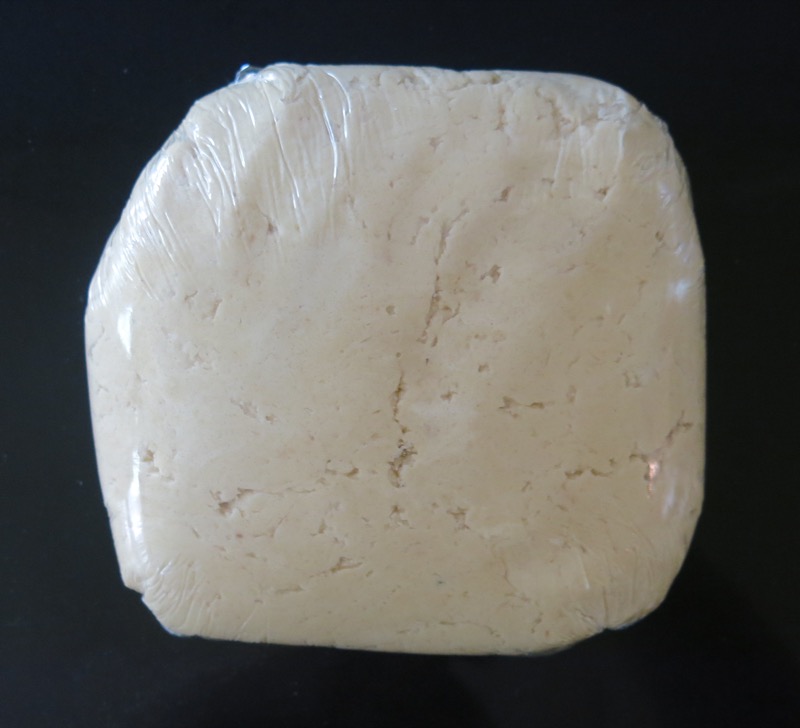
Once the dough was chilled, it was sublime to work with.
Baby Girl Shower Onesie Butter Cookies: Making the Cookies
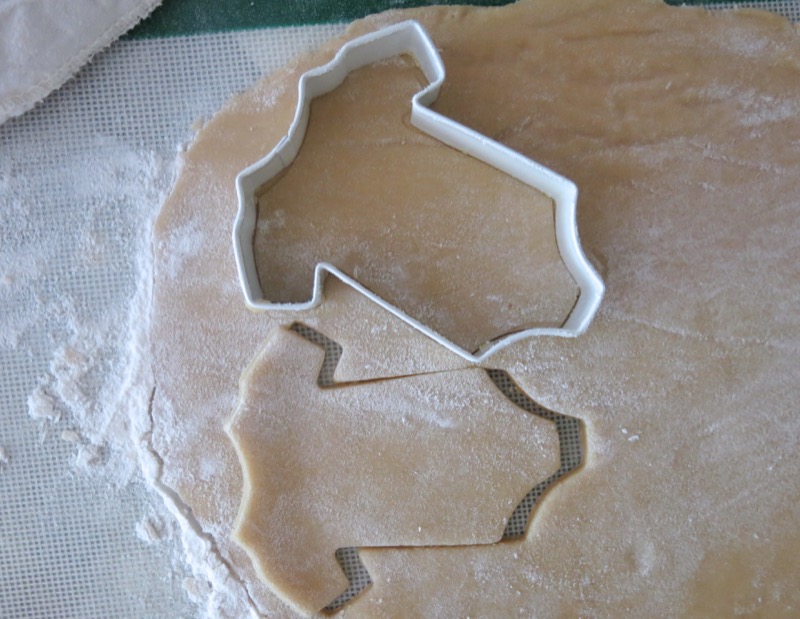
I did not take photos second time round. After making the babyface cookies twice, and now these, I was on autopilot and made them in the evening and I don’t take evening photos. The cutting was the same with the butter cookie dough. Baked them, cooled them, and made the icing.
Baby Girl Shower Onesie Butter Cookies: Making the Icing
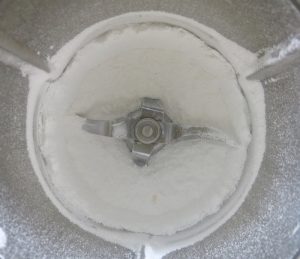
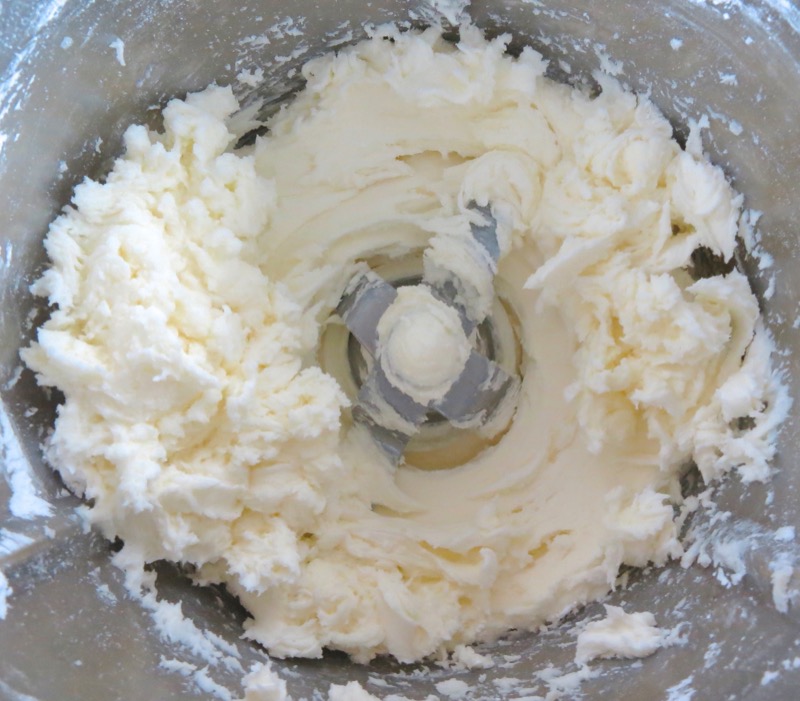
This icing is my secret. I have shared it with you many, many times, but unless you try it, you won’t understand what a delicious recipe this is and how lovely it is to work with: 3 cups icing sugar (made it myself, see above) and 1 cup butter. Mix together with your hands adding flavour and colour, into a playdough consistency. Add touch (really, so little) cream if you need to pipe it.
Baby Girl Shower Onesie Butter Cookies: Making the Cookie Sandwiches (if you make them sandwiches)

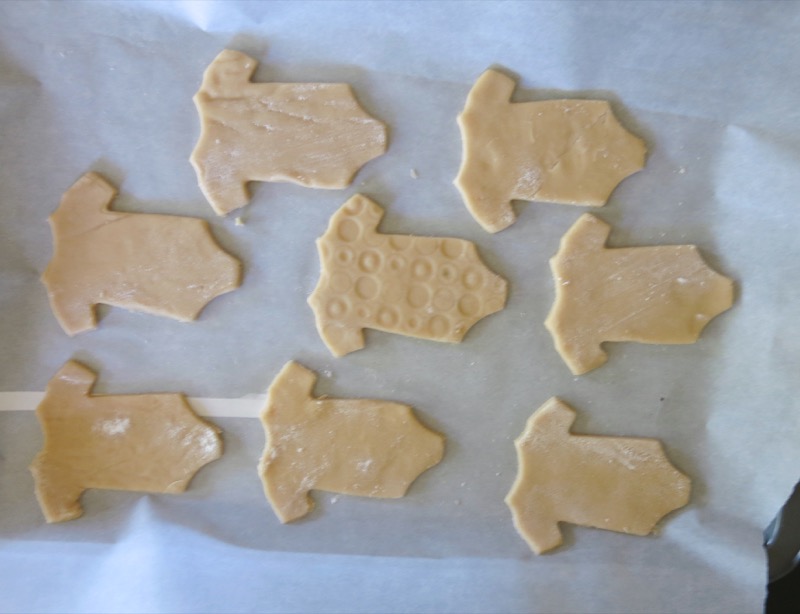
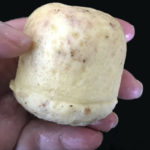
Above are the cookies I did not use. I did make them, however. Somehow, I lost my mind. What is the matter with me? I think I was so focused on carrying out my plan, I could not see how large each cookie had become. First, the dough wasn’t rolled thin enough for the sugar cookie recipe, and an individual cookie was substantial on its own. If I had noticed this, I may have not made them into sandwiches. But, making them into sandwiches was on my “to do” list for this day, and I was on autopilot (apparently), working my way through my list.
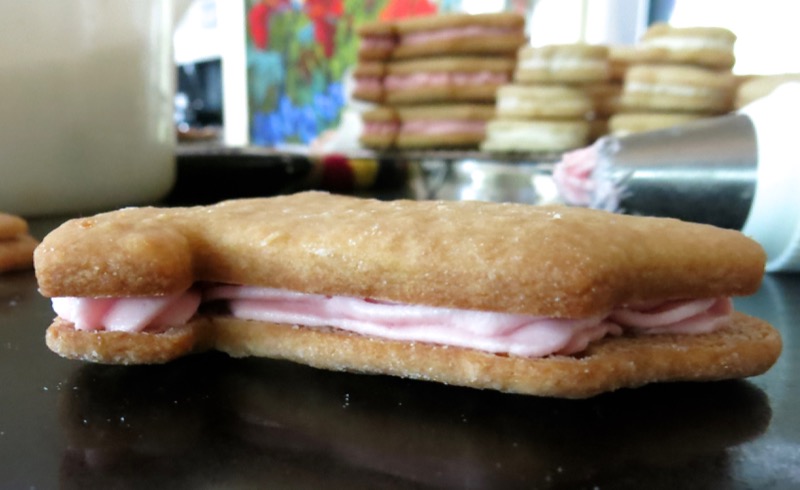
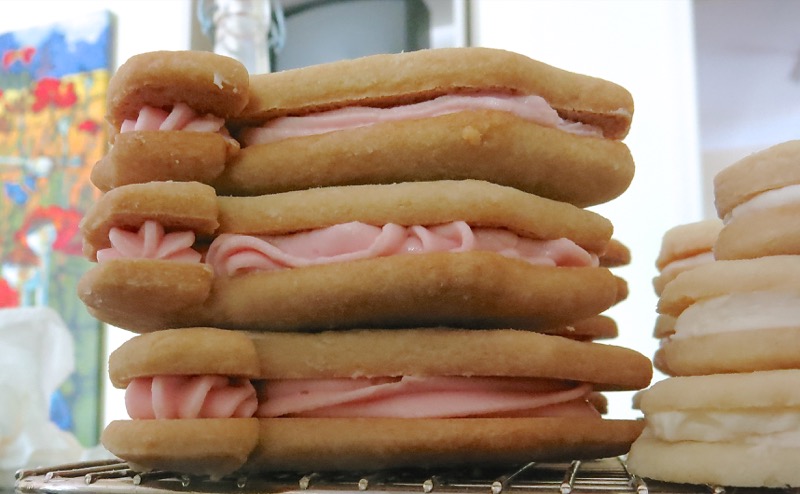
I confess. At this point, I did think they were “a little” big. “Don’t these look a little hefty, Vanja?” (Got the “how would I know” look…) “They look good to me!” was his answer. Moving on. The next day, Icing and decorating them was on my list. I had the icing made, so I rolled it out and chilled it ready for the next day.
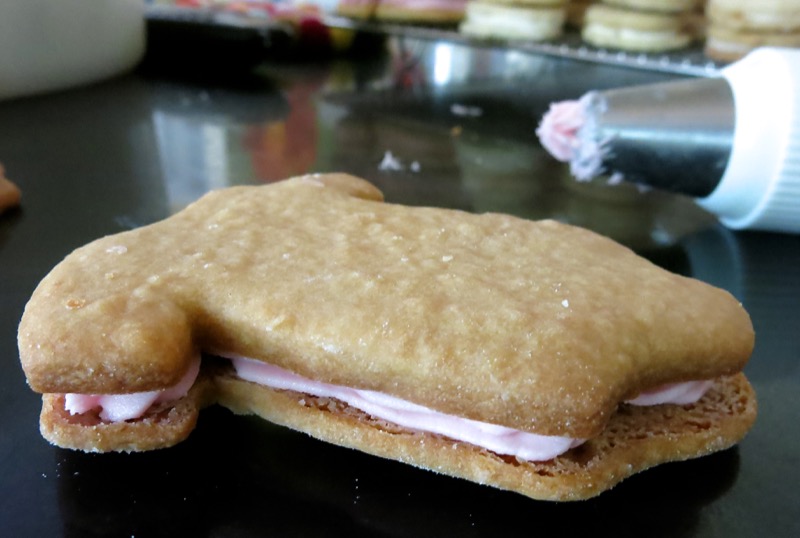
Oh, how I wish I had photographed the finished cookies. Even Goliath would have laughed, and only taken half of one. Can you imagine a layer of icing on that sandwich sized cookie, above – and decorations, too. I actually decorated every last one of them. Thinking all the while: “Maybe once I see them all together, they will work.” No. They did not.
Baby Girl Shower Onesie Butter Cookies: Decorating the Cookies
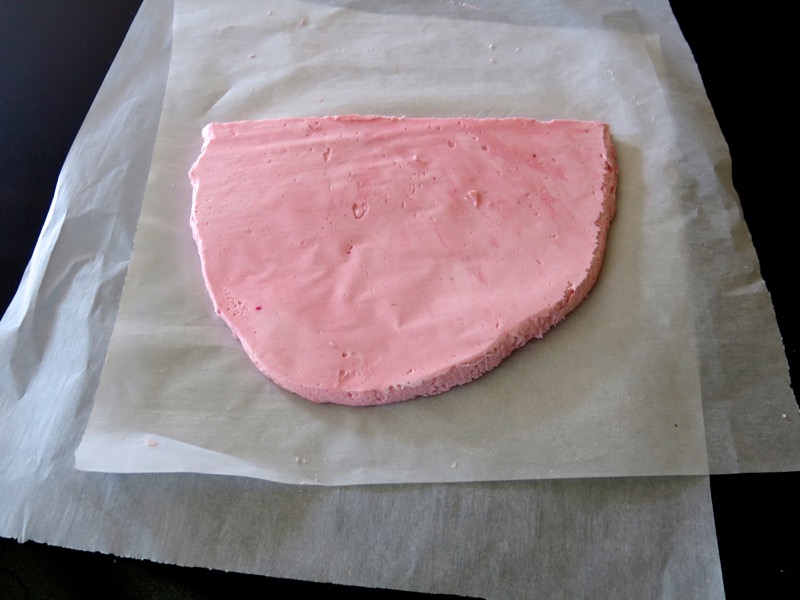
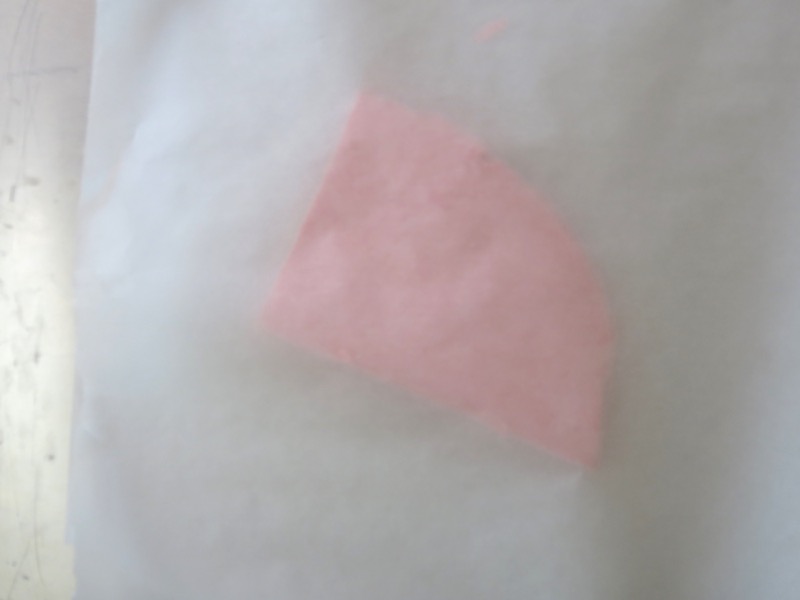
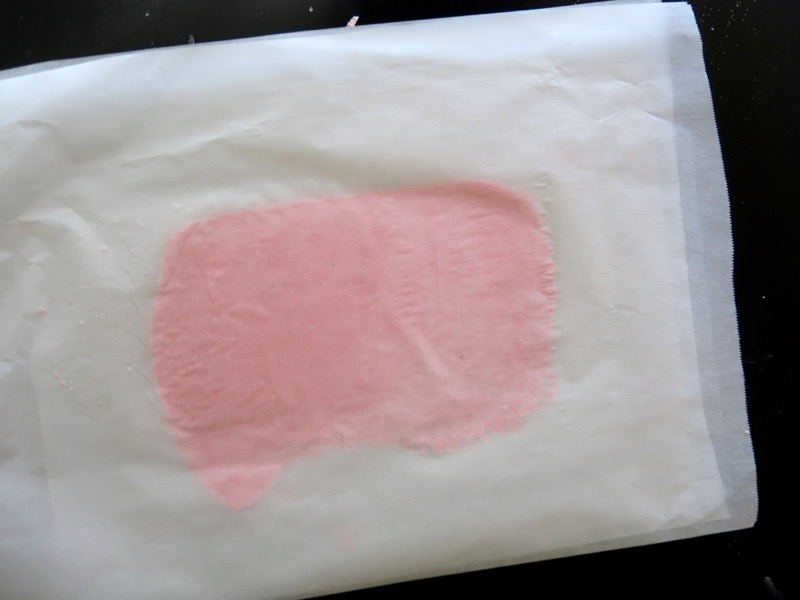
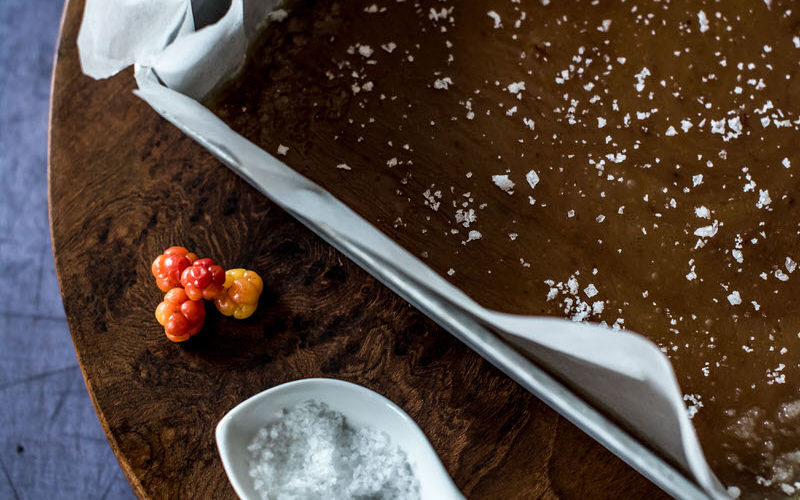
I have used this process several times for cookies and actually, individually plated appetizers, too, using a chilled and rolled cream cheese base. It works like a charm and makes a huge impression. Cookie Icing is playdough like, chilled, then sectioned and rolled between parchment to desired thickness, and chilled again. I actually have layers of chilled rolled icing on a tray when I am ready to decorate the cookies.
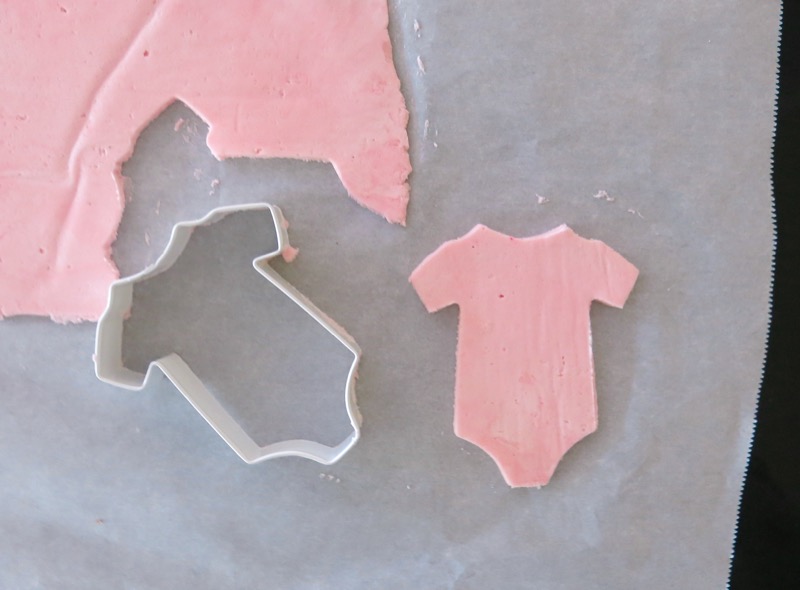
One tray out at a time, and quickly so the icing doesn’t reach room temp and become difficult to maneuver. It must be cold and firm for this process to work, but still a wee bit pliable, so that the shape doesn’t crack. I use a spatula to lift the cut shape onto the top of the cookie. The one above was moved to the parchment for the photo, instead of onto the cookie. I do use a little silicone brush to moisten the top of the cookie, ever so slightly, to receive the shape that should cover it exactly and nestle right into the cookie, once room temp. When I went to lift the tray of decorated cookies, I almost needed help. Into the freezer thy went, covered and wrapped for the party. But, I felt quite sick to my tummy. They were just too big. I showed Ragan.
She looked at me carefully, trying to have no reaction whatsoever. “Do you think they are too big?” I asked. “They are really pretty, mom.” “Do you think they are too big?” “For what?” “For Amy’s shower!” “Are you going to wrap them as thank you gifts?” Now, that might have been a good idea. Everyone could have had a huge laugh when each was presented. “No?”. “They are pretty big, mom.” I needed to sleep on that a few more days. Pretty big? They were GI-normous! What was I thinking. Once I came to that most definite admission, we had such a good laugh over them. When I showed Marie, mother of the bride, oh, she raved. “They are so cute.” I laughed. I gave her some to feed her hubby and son. One would have likely lasted a week.
The sparkling sugar, completely different than sanding sugar, was sprinkled liberally on top. I had the candy pearls and they were perfect. There is a more detailed post about how to decorate the cookies this way here: Snowflake Sugar Cookies sandwich style with icing on top. If you search on google, you will see such gorgeously decorated onesie cookies. Oh, my. But, in the end, I was tickled as pink as these little ditties. (It was truly OK. It wasn’t all that fine. But, these actually turned out so much better.) Am I the only one, or are there similar stories to tell out there? Please, chime in! I need some cookie therapy!
Pink Baby Girl Onsie Butter Cookies
This cookie uses the same formula as shortbread: 2:1:1/2 = flour, butter, sugar however the butter and sugar are creamed together and baking powder is used, both very different than traditional shortbread method, resulting in a very different, but equally delicious cookie perfect for cutting into shapes.
Ingredients
- 720 grams or 3 cups flour
- 1 ½ teaspoon baking powder
- 335 grams or 1 ½ cups butter
- 80 grams or ¾ cup icing sugar
- 125 g granulated sugar
- 15 grams or 1 tablespoon pure vanilla extract
Ingredients for Icing
- 330 grams or 3 cups icing sugar
- 225 grams or 1 cup butter
- 15 grams or 1 tablespoon of flavouring (I stuck with pure vanilla extract)
Instructions
- Preheat oven to 350°F; prepare baking sheet with parchment paper
- Sift together flour and baking powder; set aside
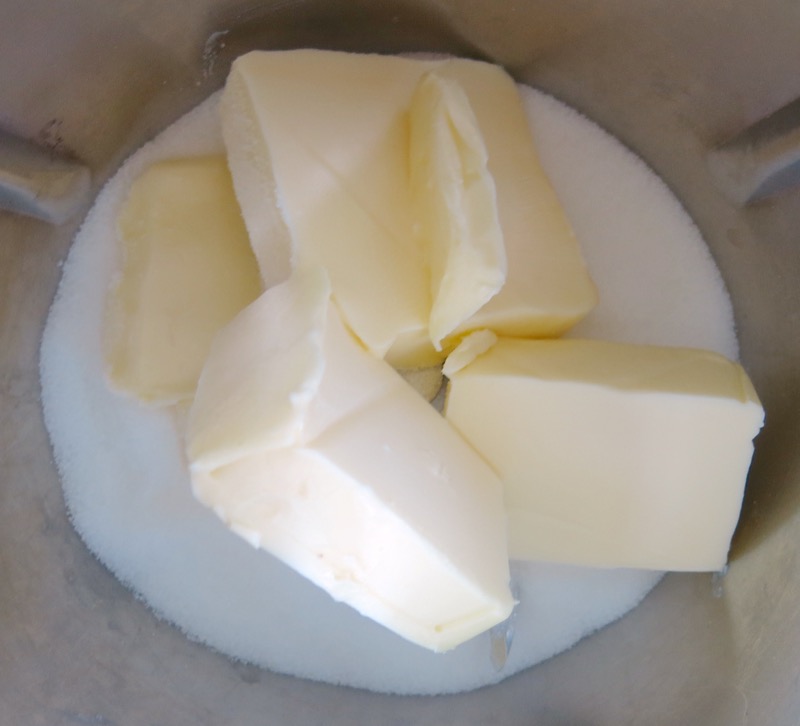
- Cream butter and sugars on medium-high until light and fluffy; scrape down sides of bowl
- Add vanilla and mix to combine; scrape down sides of bowl
- On slow speed, add dry ingredients until fully incorporated; shape dough into large disc
- Wrap in plastic; chill in fridge for one hour or overnight
- Divide disc in two; place on lightly floured surface between parchment paper papers
- Roll to ¼ inch thick; cut with cookie cutter and place on prepared baking sheet about ½ inch from one another
- Combine dough a couple of times and continue to roll out and cut into shapes; avoid combining dough more than two times, or it will be tough
- Continue with second disc, repeating the process; bake for 15 minutes, or until lightly browned only around the edges
- Cool on baking sheet for 10 minutes; remove cookies to cool completely on baking rack
Instructions for Icing
- Combine ingredients, and knead (icing "dough" will be the consistency of play dough); divide into two equal portions
- If making sandwich cookies, use one portion to sandwich cookies together, both insides facing toward one another
- Store in air tight container until ready to decorate the top; wrap second portion of icing “dough” in plastic wrap and refrigerate until ready to decorate cookies
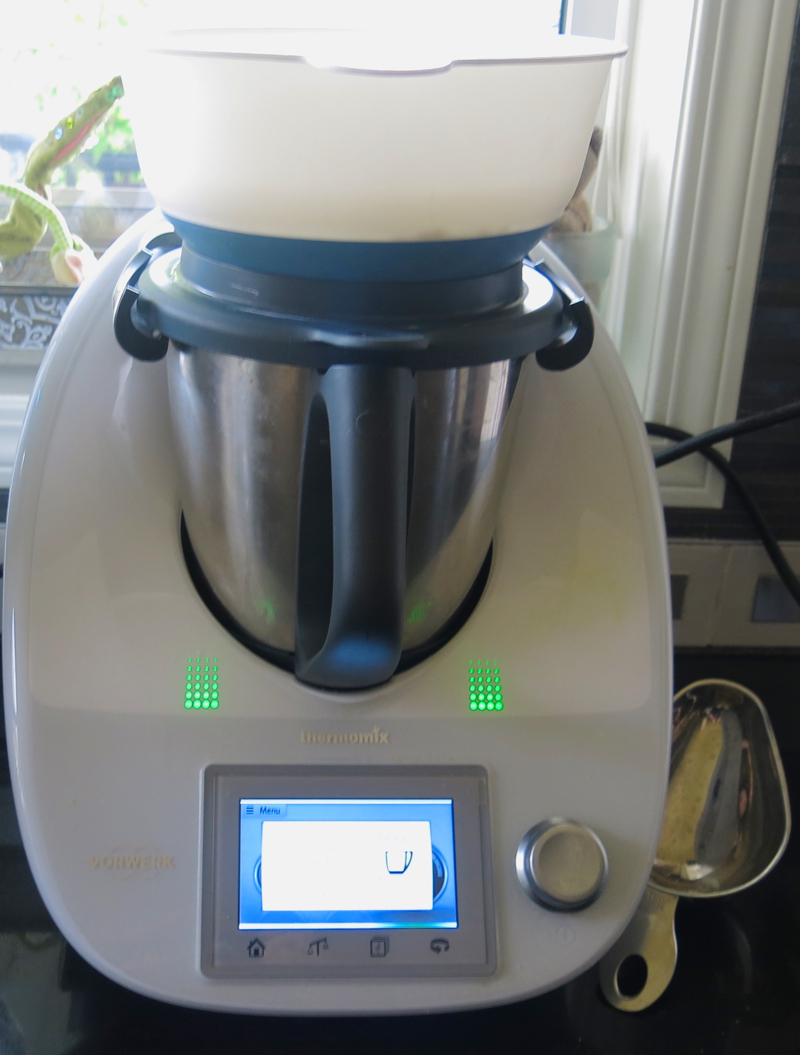
Instructions for Making Cookie Dough in Thermomix
- Preheat oven to 350°F; prepare baking sheet with parchment paper
- Place a medium bowl on Thermomix lid; weigh flour and baking powder
- Sift flour and baking powder together; set aside
- Weigh butter and sugar into TM bowl; whisk at 3.5 for 2 minutes until until light and fluffy; scrape down sides of bowl
- Add vanilla and whisk at 3.5 for 15 seconds to combine; scrape down sides of bowl
- Place pre-weighed and sifted dry ingredients into TM bowl; fold dry ingredients into wet for 30 seconds at speed 3
- Scrape down sides of bowl; repeat for 30 seconds at speed 3 until fully incorporated, but do not over mix
- Dough will be very moist; plop onto plastic wrap, shape into large disc, wrap well, and refrigerate for one hour or overnight
- Divide disc in two; place on lightly floured surface between parchment paper papers
- Roll to ¼ inch thick; cut with cookie cutter and place on prepared baking sheet about ½ inch from one another
- Combine dough a couple of times and continue to roll out and cut into shapes; avoid combining dough more than two times, or it will be tough
- Continue with second disc, repeating the process; bake for 15 minutes, or until lightly browned only around the edges
- Cool on baking sheet for 10 minutes; remove cookies to cool completely on baking rack
Instructions for Making Icing in Thermomix
- Weigh ingredients into TM bowl; combine for 15 second at speed 3.5
- Knead for 30 seconds; remove from bowl; divide into two equal portions
- If making sandwich cookies, use one portion to sandwich cookies together, both insides facing toward one another
- Store in air tight container until ready to decorate the top; wrap second portion of icing “dough” in plastic wrap and refrigerate until ready to decorate cookies
Decorating the Onsie Butter Cookies (Give your self lots of time for this)
- Remove cold icing disc from refrigerator and place cookies nearby
- Divide disc of icing into two; roll ½ onto parchment paper a good 1/8 inch thick (thin, but not too thin)
- Refrigerate rolled icing on baking sheet at least 30 minutes
- Repeat with the other ½ of the disc of icing
- Press cookie cutter firmly into icing; use an offset spatula to carefully move the chilled firm cut out icing shape off of the cutting board
- Brush cookie lightly with water; gently slide cut out icing shape onto lightly damped cookie top with spatula
- Repeat until all cookies are topped with an exact cut out of icing: this will mean combining and recombining leftover portions of icing “dough”, rolling, chilling, cutting out and repeating the process until all cookies are topped with icing
- Decorate with gel colours, pearls, dragees, sprinkles, sparkling sugar or a combination; freeze or refrigerate in tightly sealed container until ready to serve


They were um beautiful ???? but these ones are way better!
Wasn’t it an ordeal at the mid point? And such fun at the beginning and the end!
XOXO
Omg Valerie , i dont know why did i found your website so late , but I love it here , everything you are doing is with love ????
My husband bought me the last thermomix after we moved from Germany to states , but u brought the recepiec to the next level
Love it ???? Keep doing its one big motivation ????
Petra!
What a great big cyber hug! Thank you so much. You have certainly made my day.
I would also love you to share your favourite recipes with me! That’s how I learn!
Great Big Hug back.
🙂
Valerie