My Mom’s Classic Canadian Prairie Dinner Buns
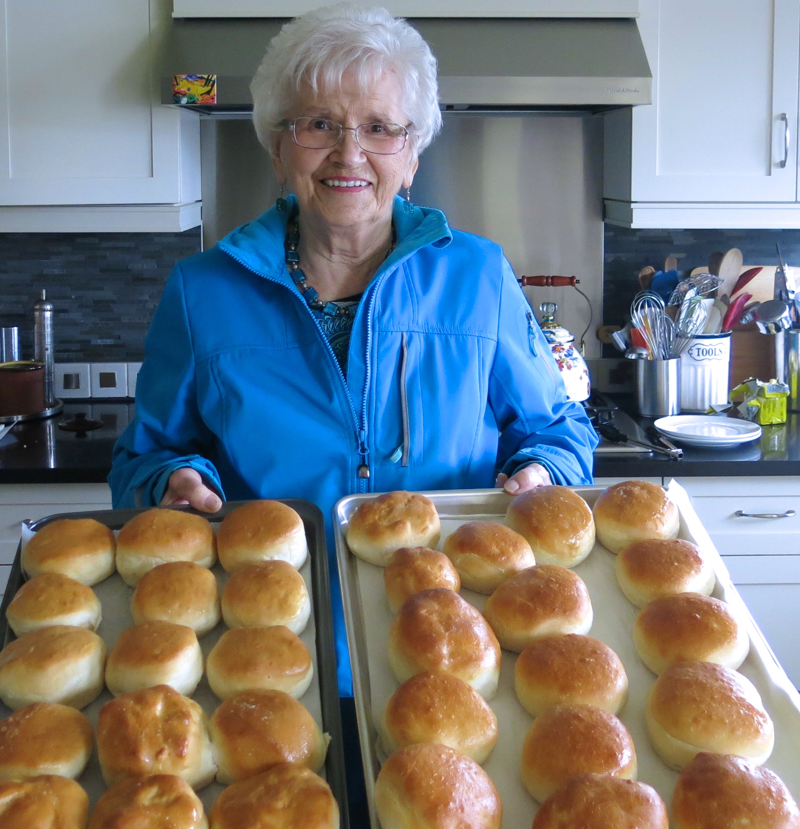
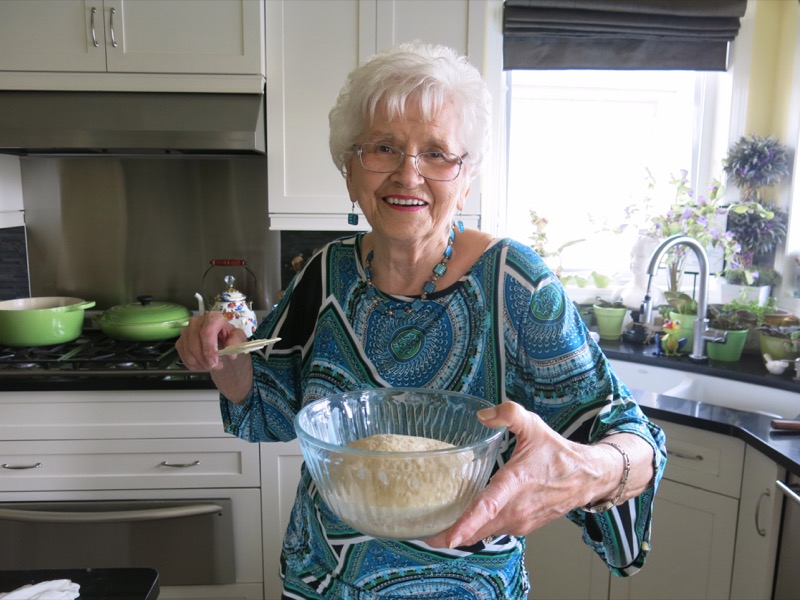
No, I do not feel guilty having my almost 86 year old mother bake buns for every holiday occasion throughout the year. Frankly, the holiday would not taste the same without her buns, and though she “showed me how to make them” many years ago, she really wasn’t a very patient teacher. Now, she is. And, now I know more so have the capacity to actually learn from her. She was just too far beyond me those years ago.
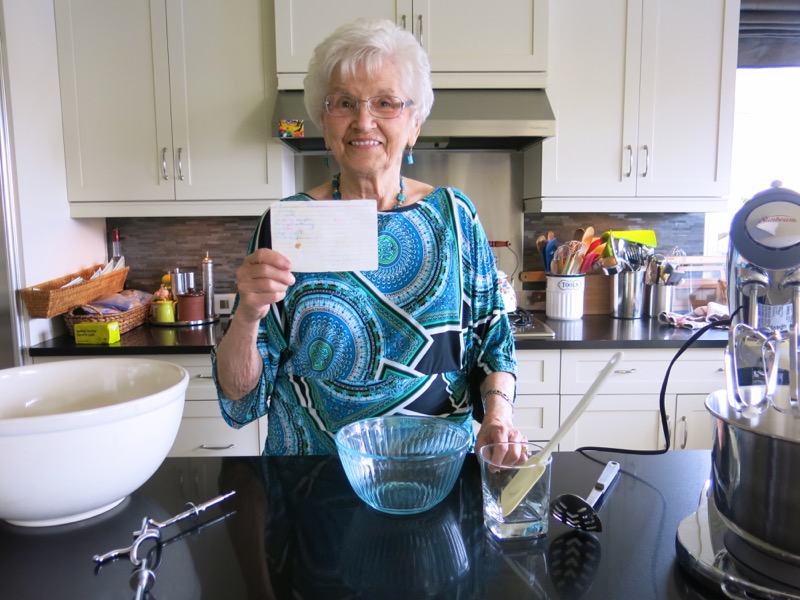
After our baking session a couple of Saturdays ago, she was doing a little dance chanting, “I don’t have to make them anymore! Hee hee hee hee! I don’t have to make them anymore!” My response? “Ha! Of course you do!” She did teach me, though. Not only did she teach me, I made them at the same time using my Thermomix machine and we did a blind tasting at the end. Truly, perfection. The yeast scented soft pillowy mounds were indiscernable: hers from mine, mine from hers. Visually, they were different, and I think I know why, but taste, nose and texture – no. What a triumph. Thank you, Mom! You are my Kitchen Idol!
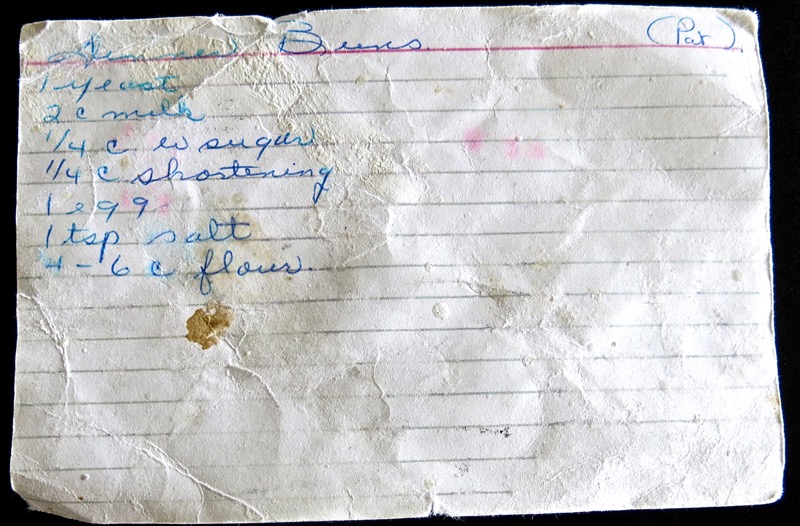
The recipe, written in her hand, is how they were written 60 years ago. No instructions. Everyone made bread. Everyone knew what to do with the ingredients. This recipe came from Aunty Pat. Aunty Pat wasn’t really my aunt. Pat Thompson. A dear family friend who enveloped you in her arms, sat you in her kitchen and fed you til your eyes fell out every time you visited. I will never forget her warmth, her love, or her table. She made the “best buns” in those days.
That is, until mom got hold of “her recipe”. Think about it. Basic bread all over the world has 4 simple ingredients: yeast, flour, water and salt. Even if the amount of each ingredient was given, the magic really happens in the hand of the maker. Think Bannock. Think French bread, Italian bread, German bread – each vastly different and most with the same 4 simple ingredients. Think any kind of bread you know. There are “Masters of Bread Making” and there are “Messers of Bread Making”. It is what you do with those 4 simple ingredients that makes all the difference.
My mom was a master. Likely because she was born from a mother who had 13 siblings, on the farm where she and her mom fed threshers every year. She was very young when she learned how to cook and to bake. It is just how it was. And, she loved it. Still does. Oh, she complains now, but her huge chest freezer is still filled to the brim. When she is bored for a day, she bakes or cooks. When most people do coffee at her condominium, they buy treats. She makes them. At Easter, her hot crossed buns: 100 of them; at Christmas, her stollen and peanut brittle: massive rounds of them and bowls of the brittle; and, off course, she makes angel food cakes almost weekly, and brings Vanja an apple pie almost every Sunday when she comes for Sunday dinner. There is no stopping her. Yes, we know we are a very, very, lucky bunch!
Helen McKinney’s Prairie Dinner Buns
Preparing the yeast to proof: sugar and water stirred together with a handy finger, and yeast.
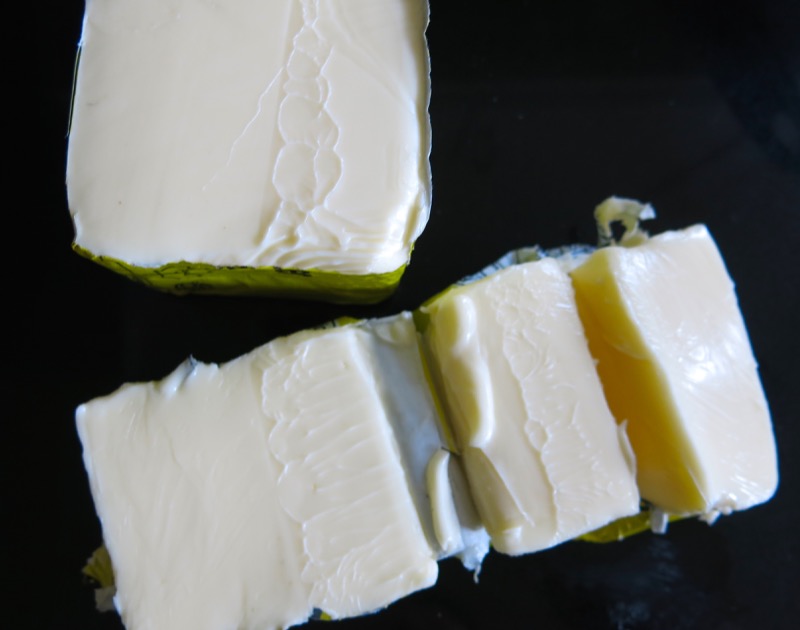
Everything’s better with butter and mom’s buns are no exception. Section off 1/4 cup from the pound and organize the special “Canadian Prairie Dinner Bun” additions.
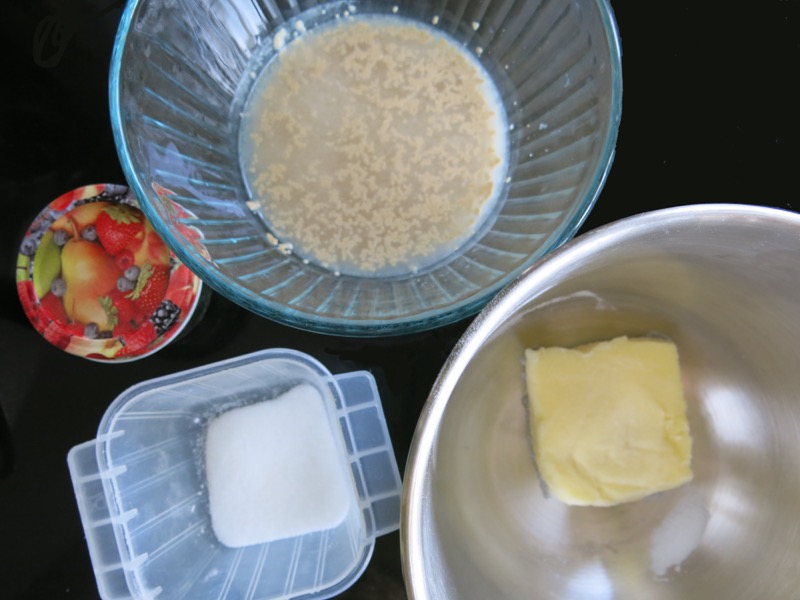
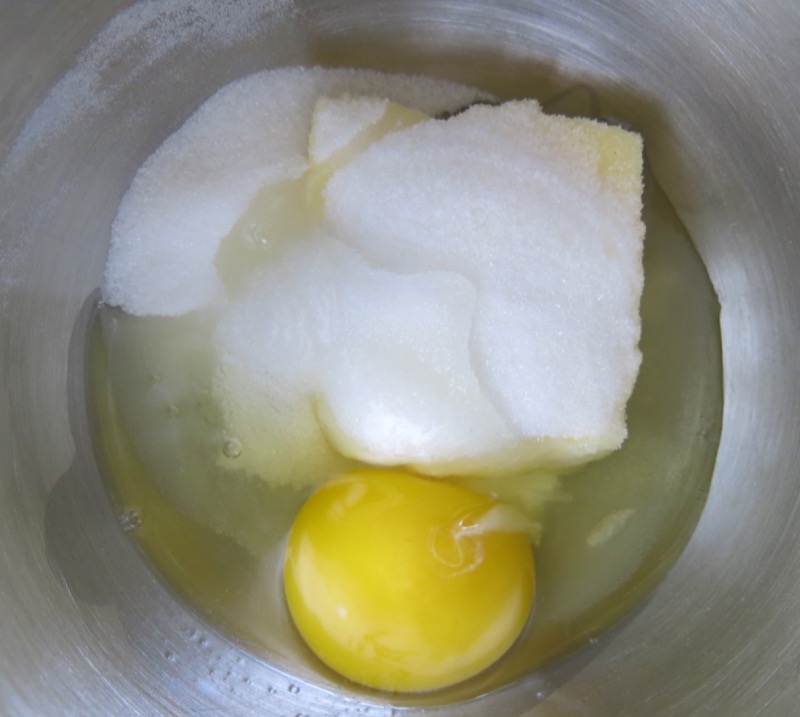
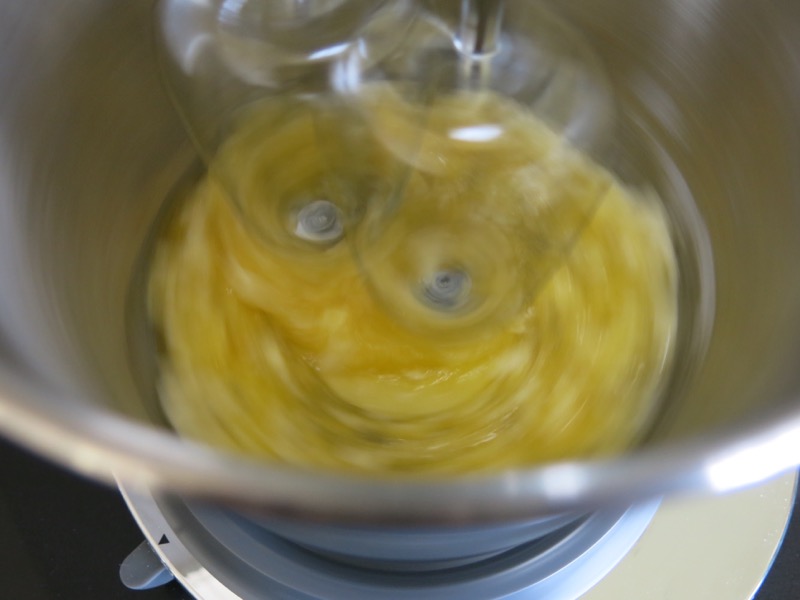
Butter, sugar, egg and milk (not in the photo). The salt is added with the sugar at this stage, too. While the yeast is proofing, the butter, sugar, salt and egg are combined with an electric mixer. For mom, this has always been the Sunbeam. Her first GE Sunbeam worked earnestly in our home kitchen for well over 30 years. Those were the days appliances were built to last a lifetime. She has had 2 the last 10 years, and will use nothing else.
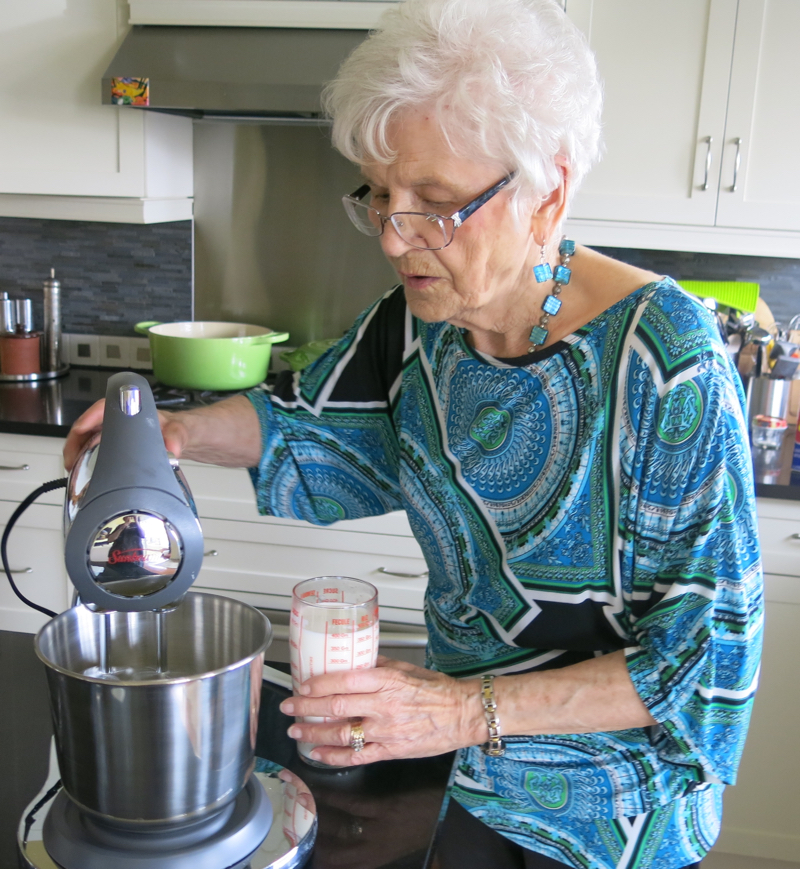
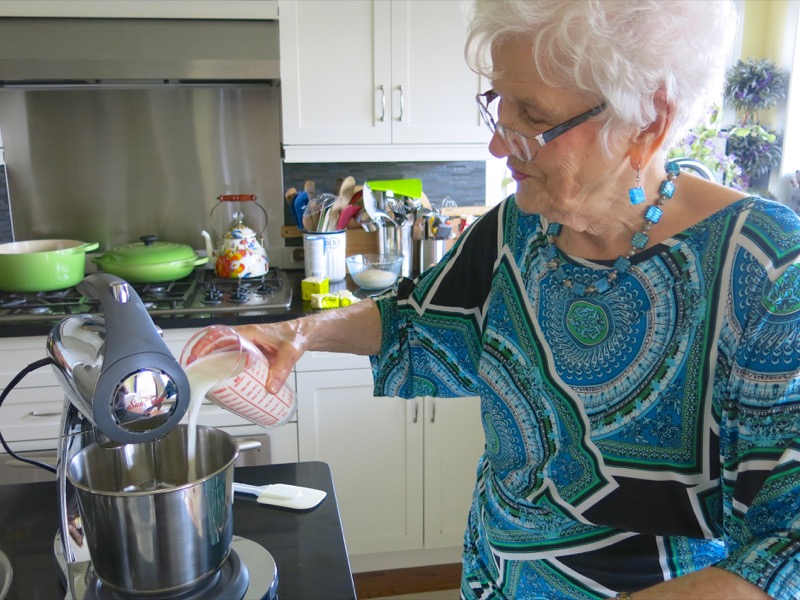
The milk is warmed to prepare the mixture to welcome the growing yeast to an environment where it can continue to thrive.
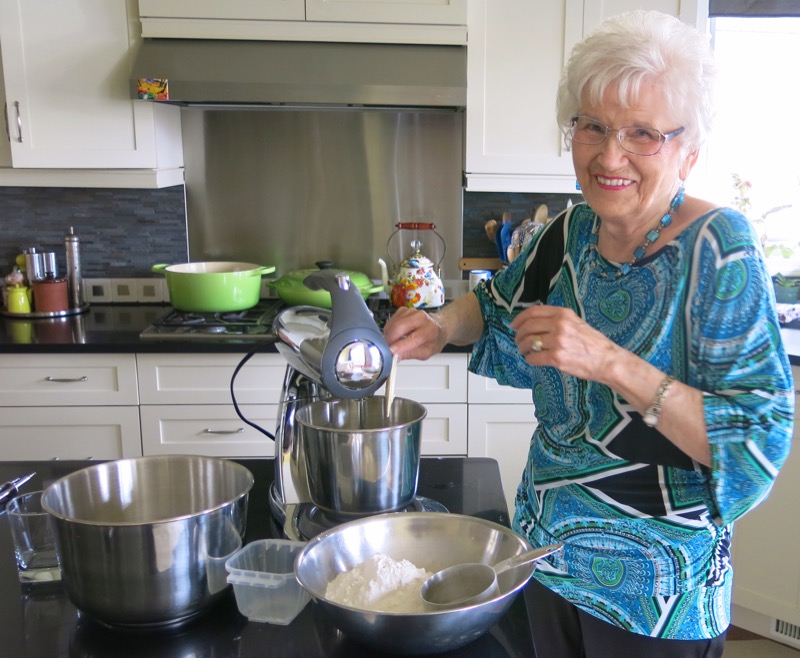
Cute little giggle. We always have fun baking together.
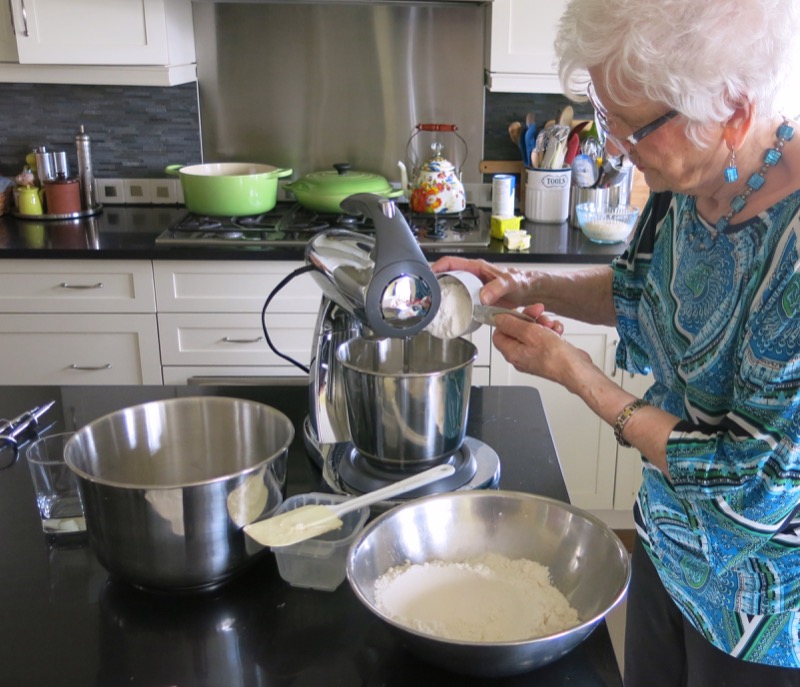
A cup or two of flour is beat into the wet ingredients before the yeast is added.
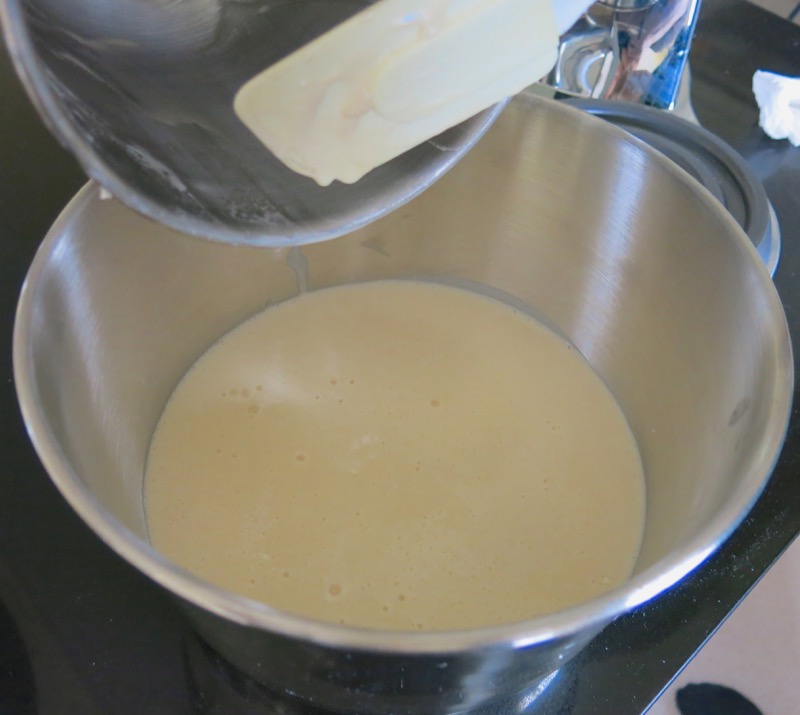
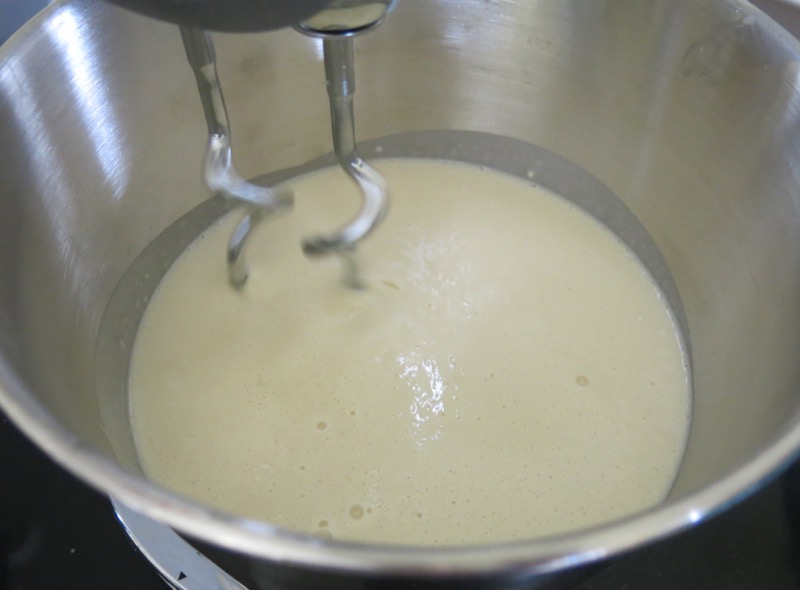
Thicker, but definitely a runny batter. Not a dough yet.
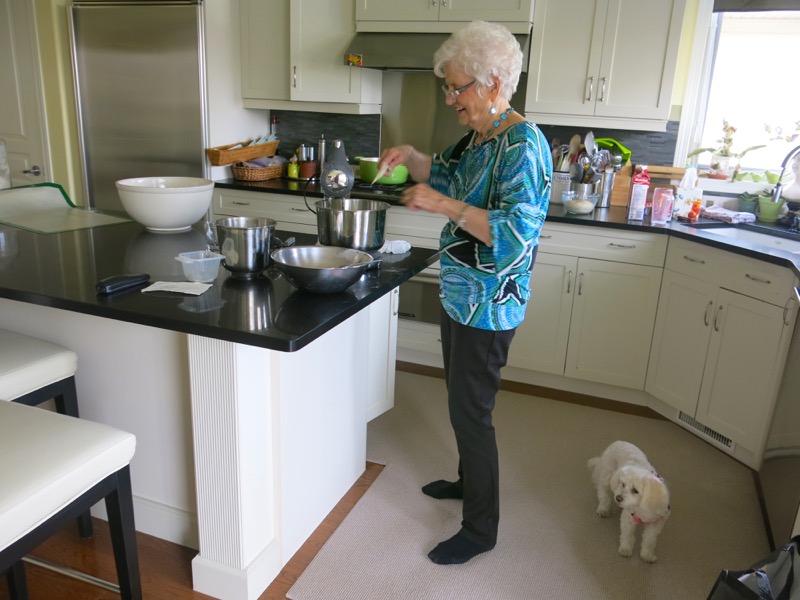
Penny monitors everything we do. Always have to look before walking when she is around. Such a sweet little puppy at 15 years or 105 in human years “theoretically”. She cannot see or hear much at all. Even her sense of smell has considerably diminished, but not her ability to show love.
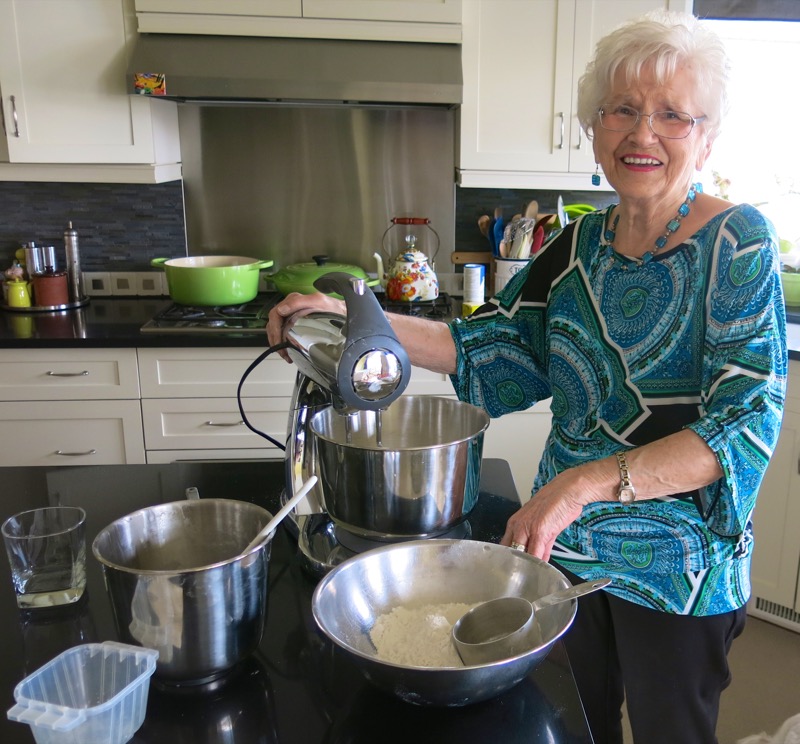
“Oh, Valerie! Stop with the pictures, already!”
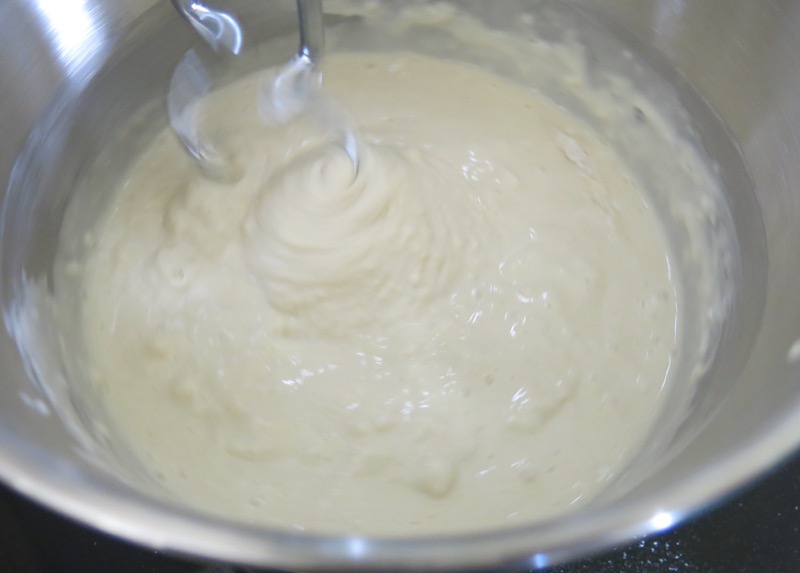
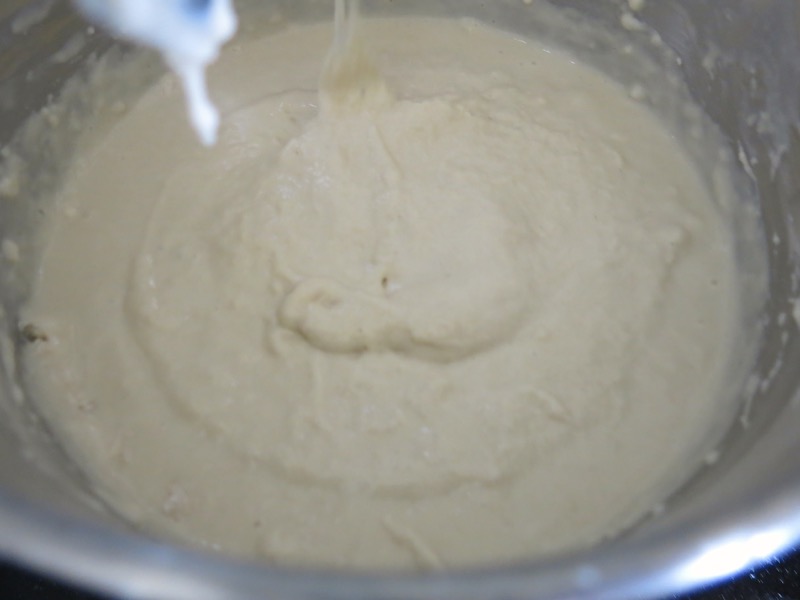
The batter, upper left, is becoming a dough. You can see that when it falls back onto itself, it leaves a visible mound of ribbons for a few minutes. Now is the time to take the mixture out of this bowl and place it into another for hand mixing. It is also time to add the yeast.
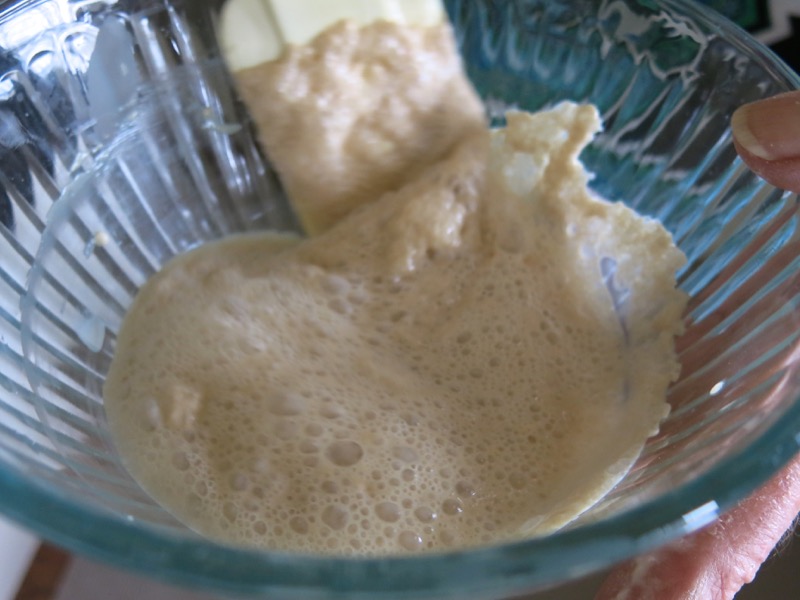
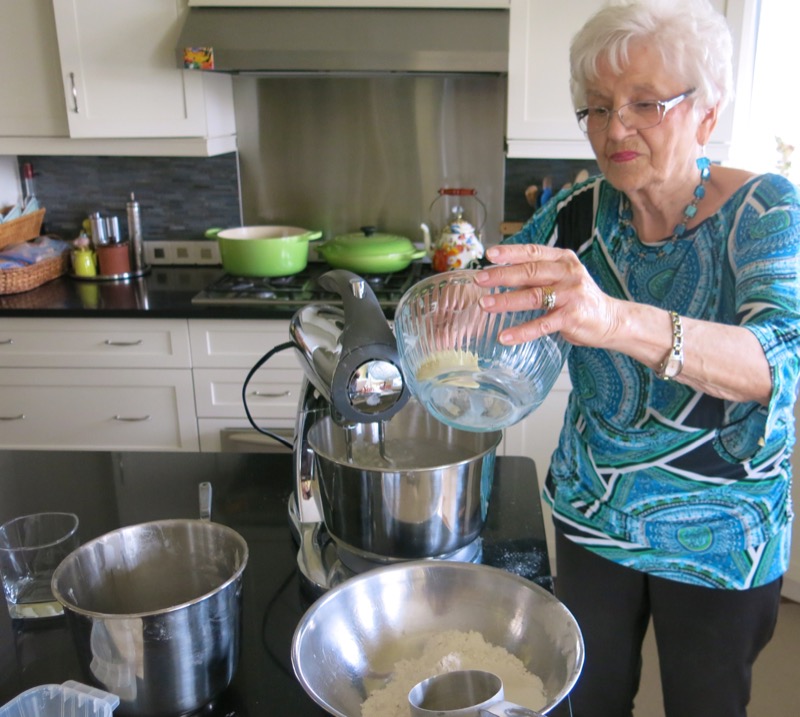
Mom stirred all of the lovely life out of the growing yeast and poured it into the mixture.
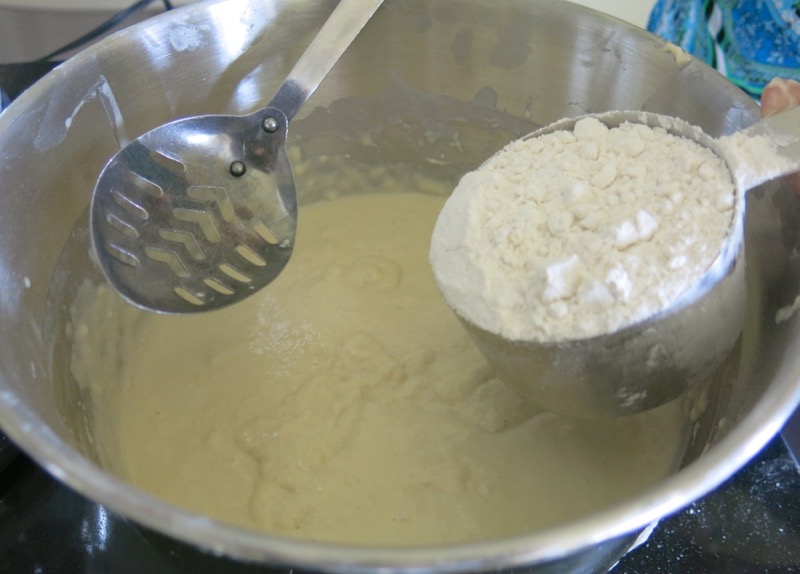
Using a large perforated metal spoon, mom starts to fold in the remaining flour by hand quite exuberantly. She is folding, not beating, but she is not slow and gentle. She is fast and powerful. This bread making process is built into her muscle memory, and she just “takes it away”.
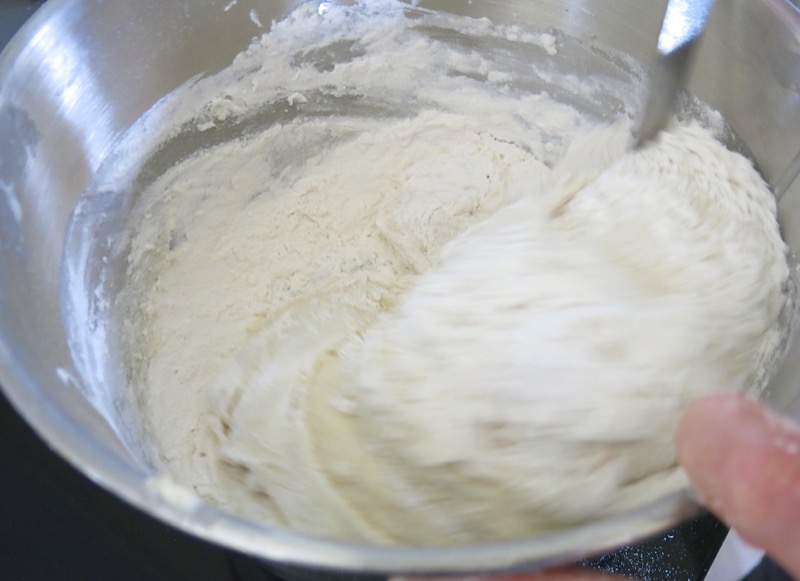
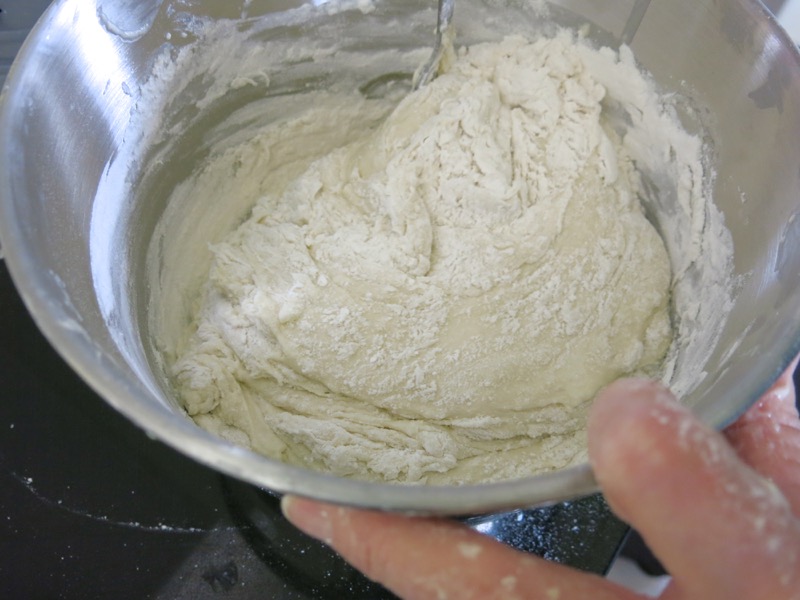
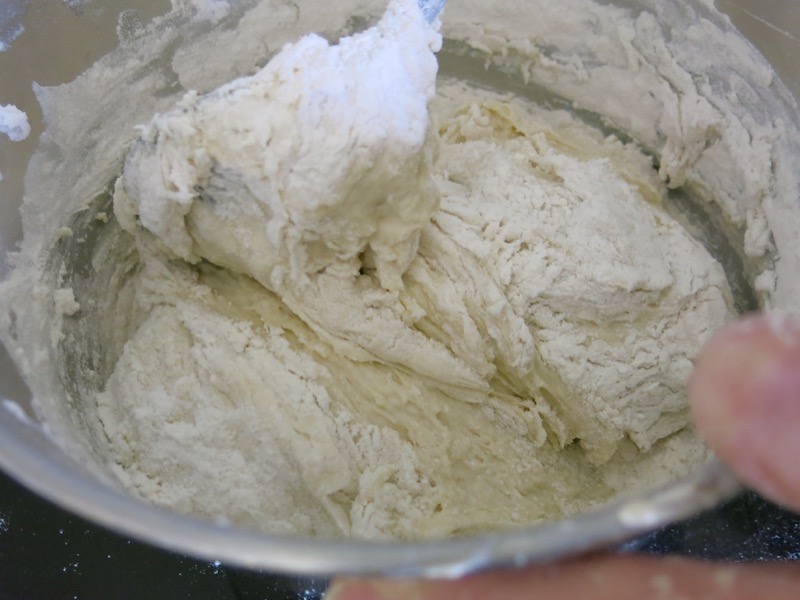
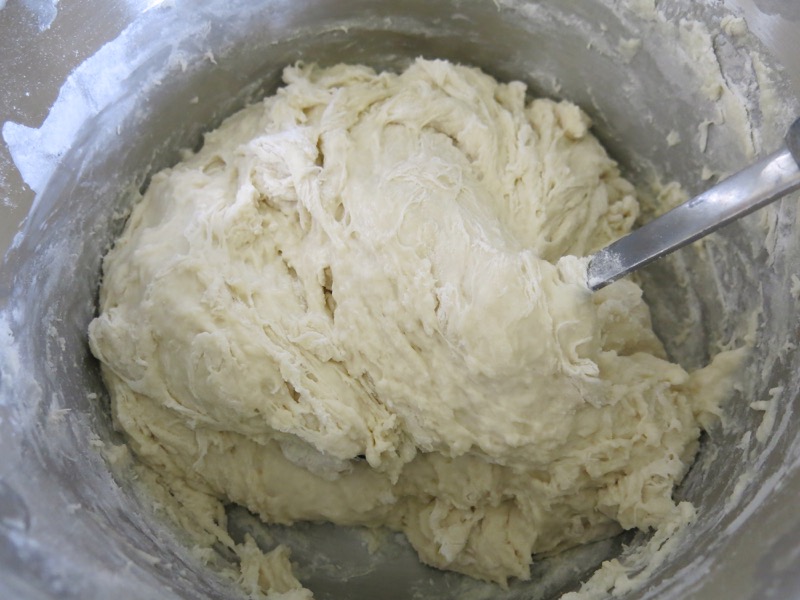
Using the amount of flour, shy 1/2 cup, recommended in the recipe, she has folded it in to a ball of sticky dough. Using 1/4 cup of the leftover flour, she covers her surface area to begin her hand kneading process. I will add at this point, that my dough is finished and sitting in my Thermomix bowl. There is no mess. I didn’t follow the same process, but I will explain what I did later.
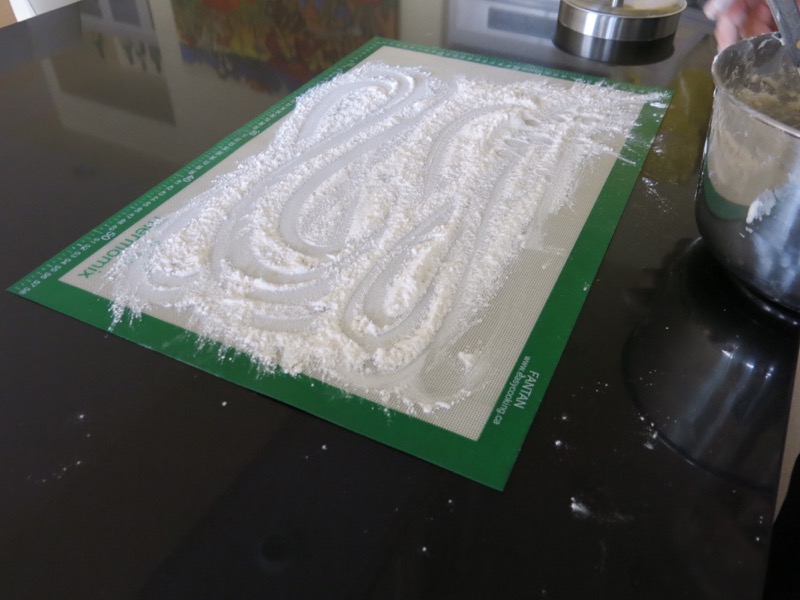
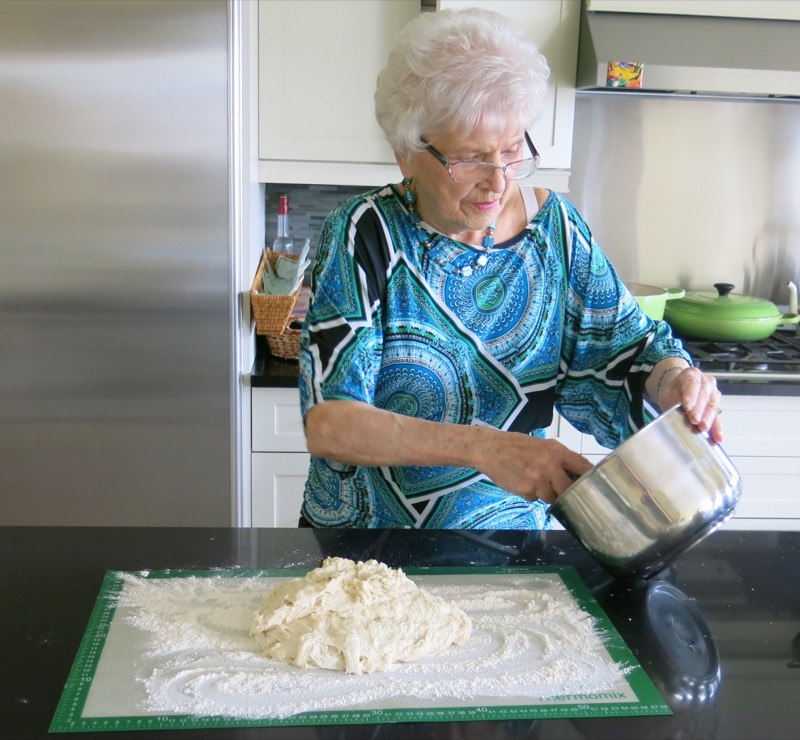
Highly saturated looking dough goes onto her well floured working surface.
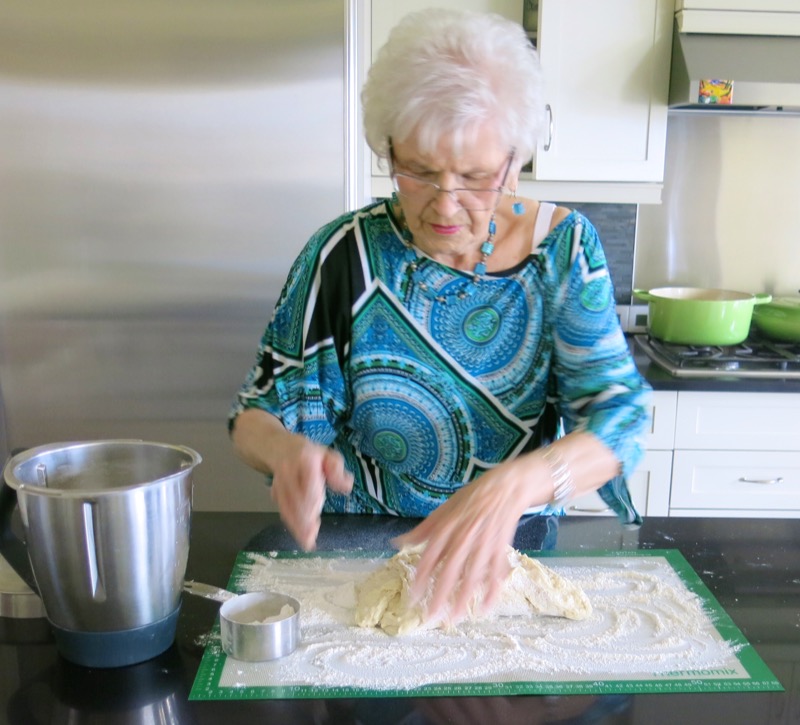
She starts by simply folding the dough to incorporate the flour on the work surface. Her hands were getting sticky but as she worked, the sticky bits got worked into her dough.
Above, she kneads almost from the beginning. She kneaded about 10 minutes. You can see she isn’t rigorous, and sweating, but she is steady and consistent. She rested the dough for about 5-7 minutes and the second video takes it from there. Listen carefully for the pops and crackles in the dough as we are usually talking over the sounds, but you can hear them.
At this point, mom’s Canadian Prairie Dinner Buns are ready for proofing, so now I will tell you what I did in the Thermomix at the same time.
Translating Helen McKinney’s Canadian Prairie Dinner Bun Recipe to the Thermomix TM5
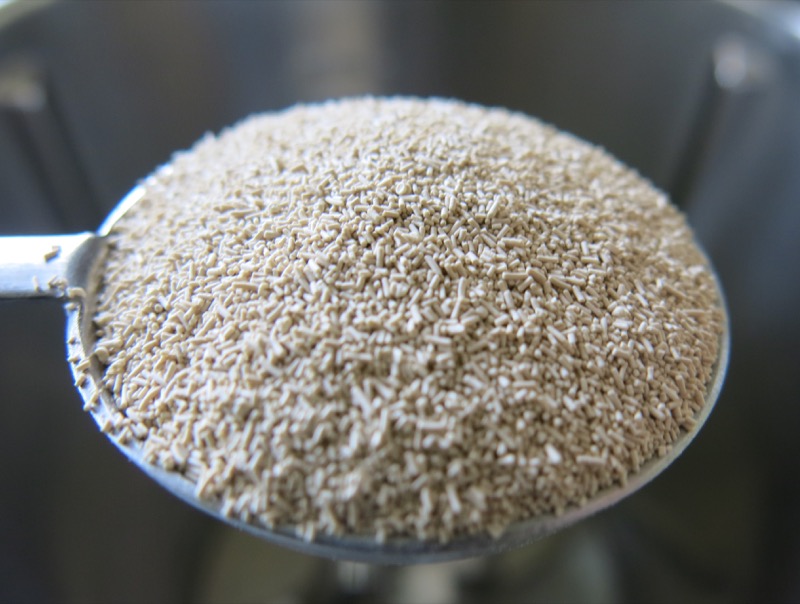
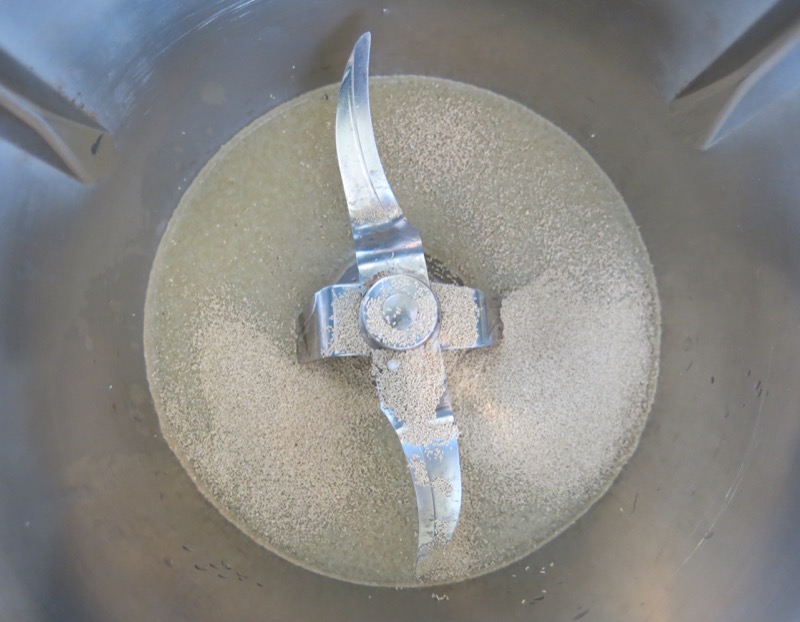
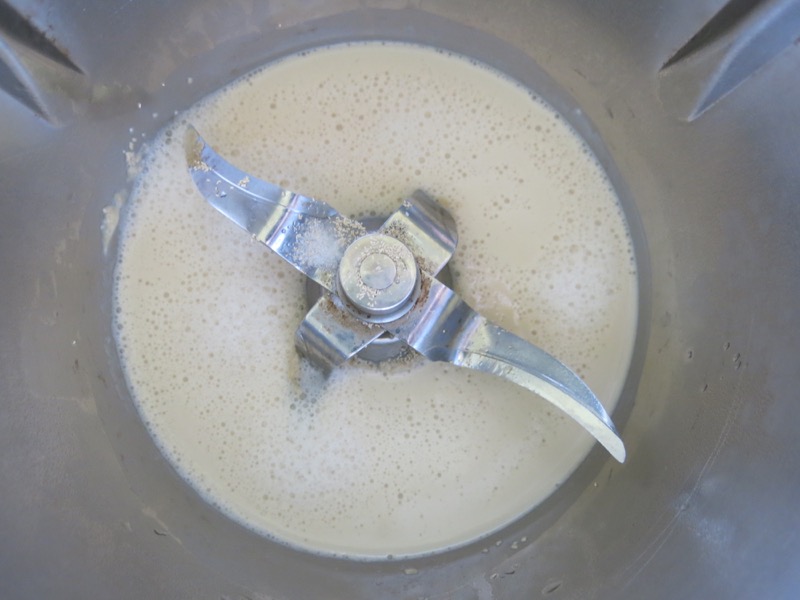
Having learned a few things about bread baking primarily from Richard Bertinet at his Master Bread Making Class in Bath UK and my Bread Making Atelier at Le Cordon Bleu in Paris with Chef Daniel Walter, I knew my yeast did not need proofing. That is only necessary when not baking bread often, to ensure the yeast is alive. If you know it is fresh and alive, as you bake bread regularly, it is simply worked into the flour. Also, very important to note: salt and yeast should never touch. As the yeast is mixed into the flour, the salt is added later, on its own. Salt induces osmotic stress to yeast cells which can lead to cell breakdown and destroy the life in the yeast necessary to build air into bread. Salt coagulates gluten proteins, or “strengthens” the dough to enable the yeast to stretch the gluten fibers to hold air in the dough pockets as it rises. All that aside, I didn’t proof my yeast like mom did. To honor her process, and acquire a bun like hers, I did mix together the yeast, sugar and water in the Thermomix bowl.
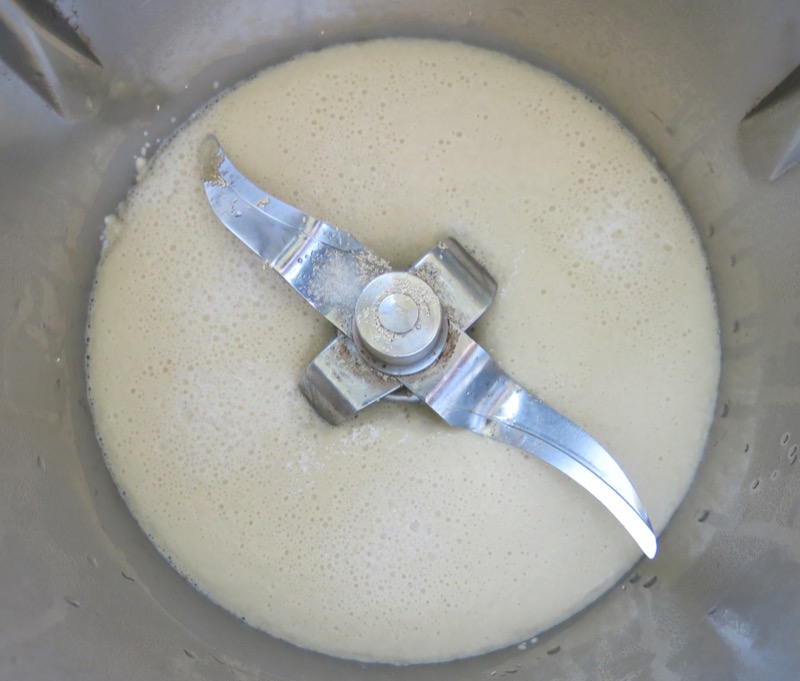
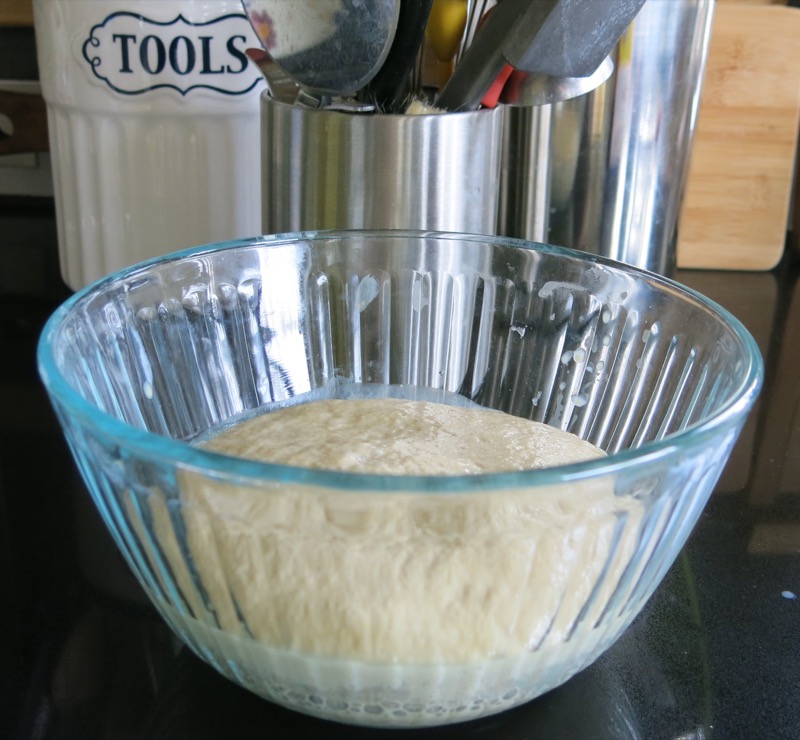
Eventhough I didn’t proof it for long, while I took 2 minutes to prepare the other ingredients, it rose this much, above!
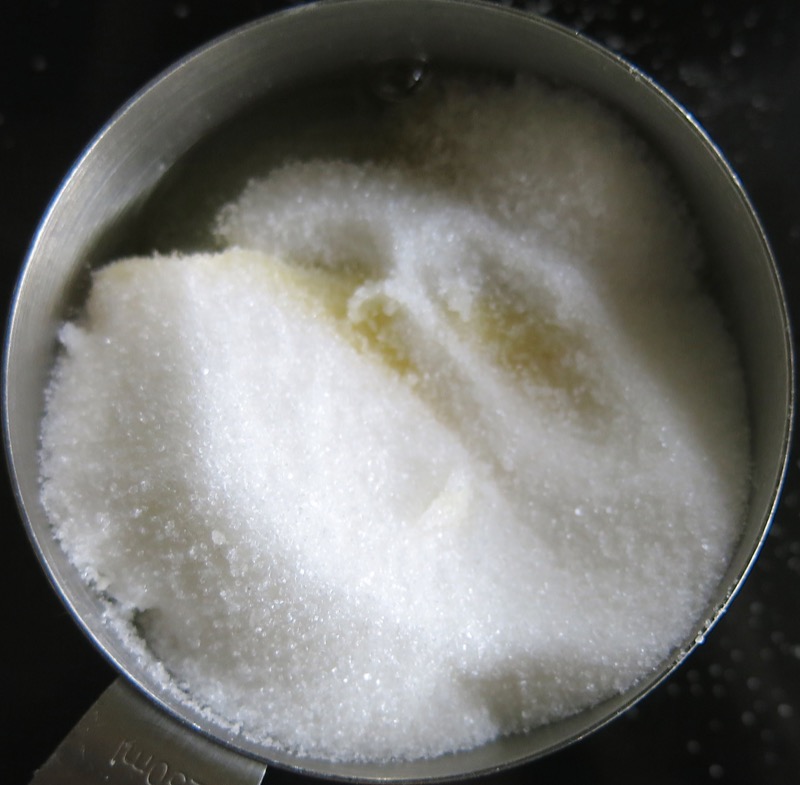
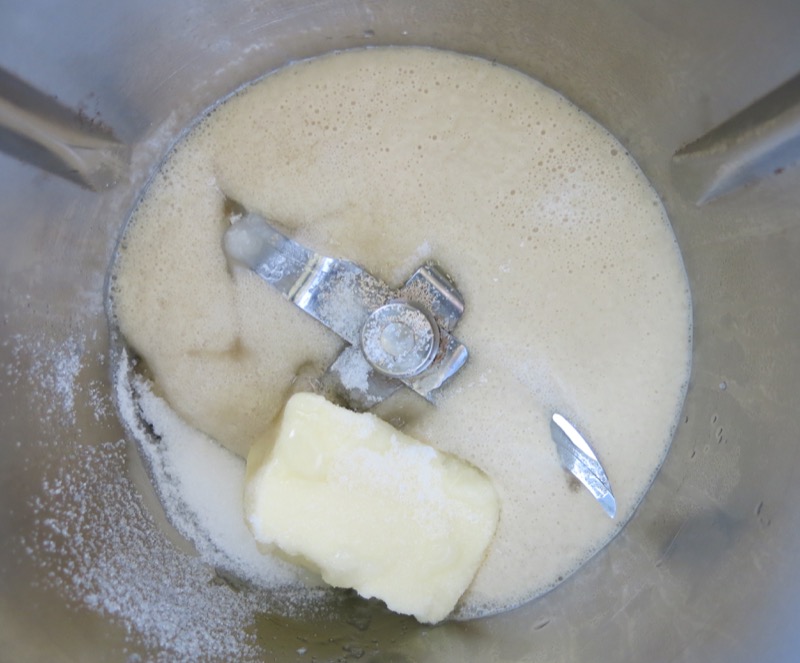
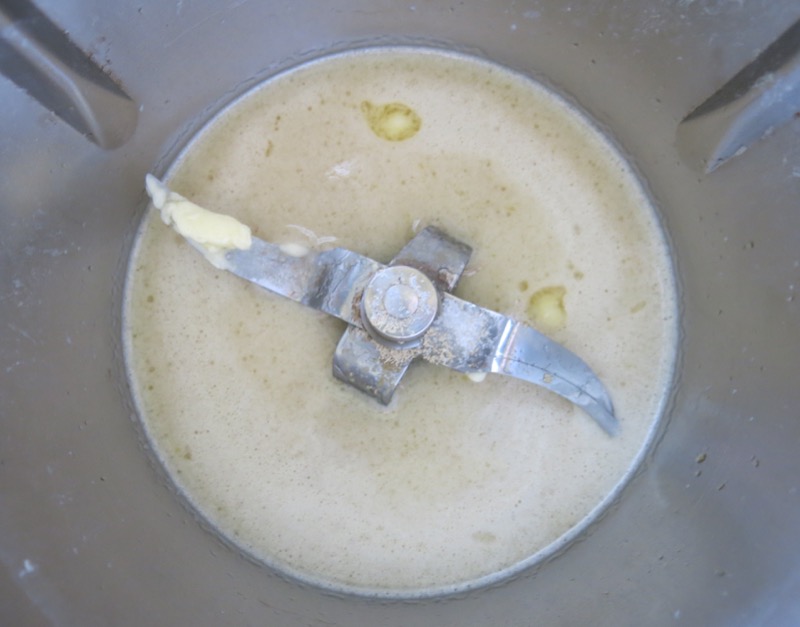
The sugar, butter, egg and salt were weighed and combined with the yeast mixture.
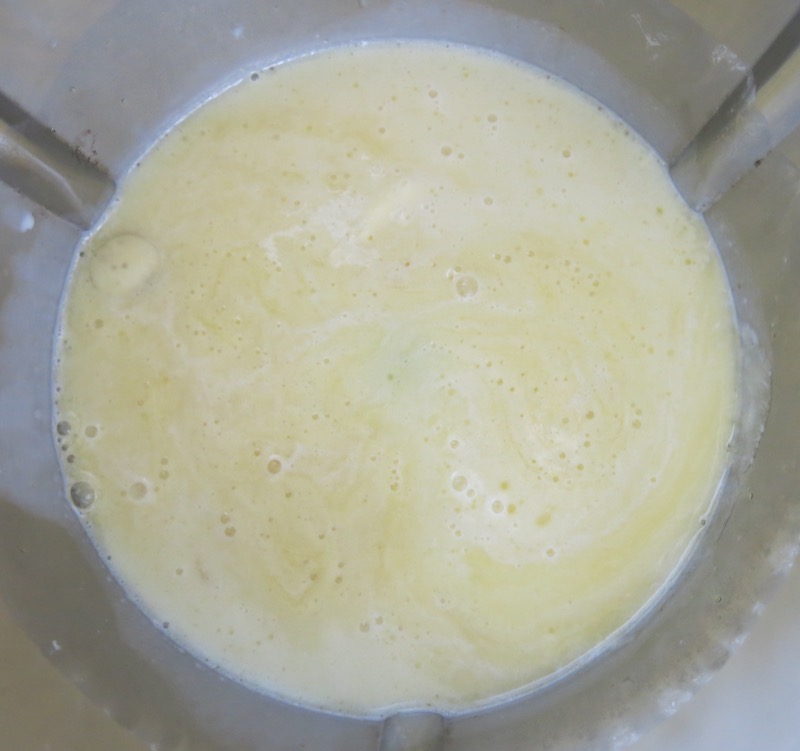
I kept the temperature of the Thermomix at 40ºC while adding the room temperature milk. If the milk was in the fridge, I would have started by warming it for 5 minutes at 40ºC in the Thermomix, setting it aside, to begin.
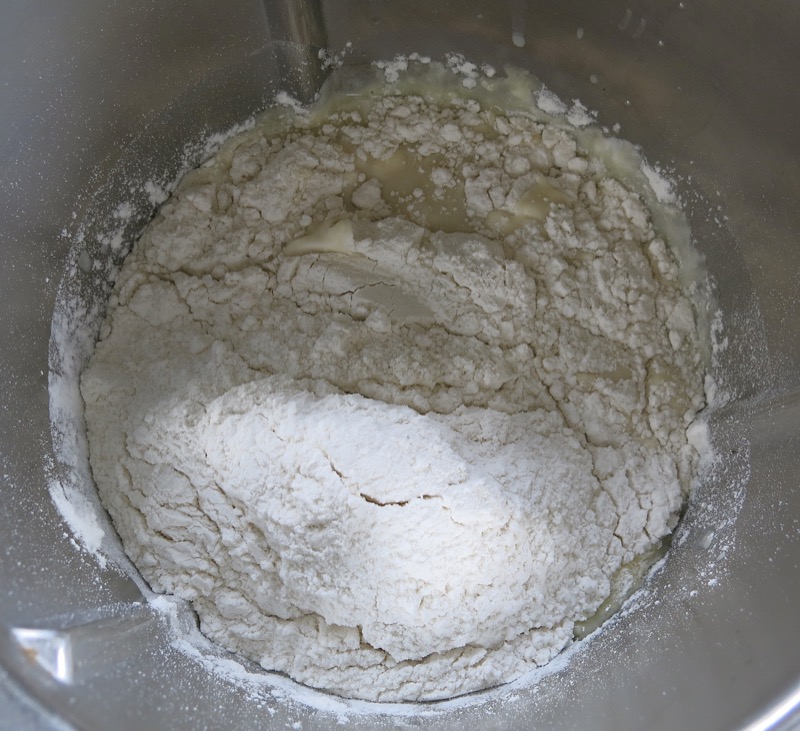
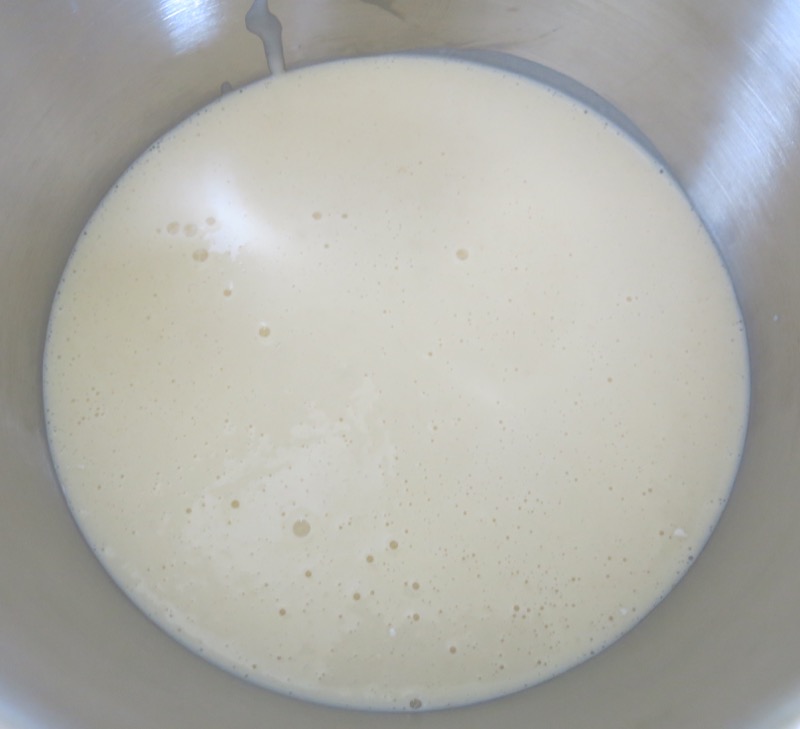
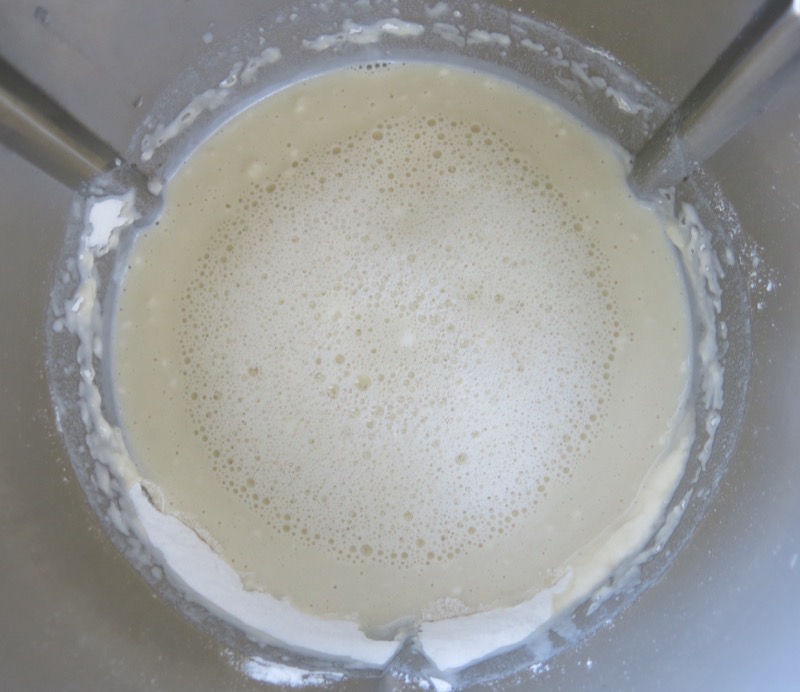
Two cups or 250 grams of flour was mixed in, just as mom had done. At this point, she added her yeast mixture. Mine is already inside the batter.
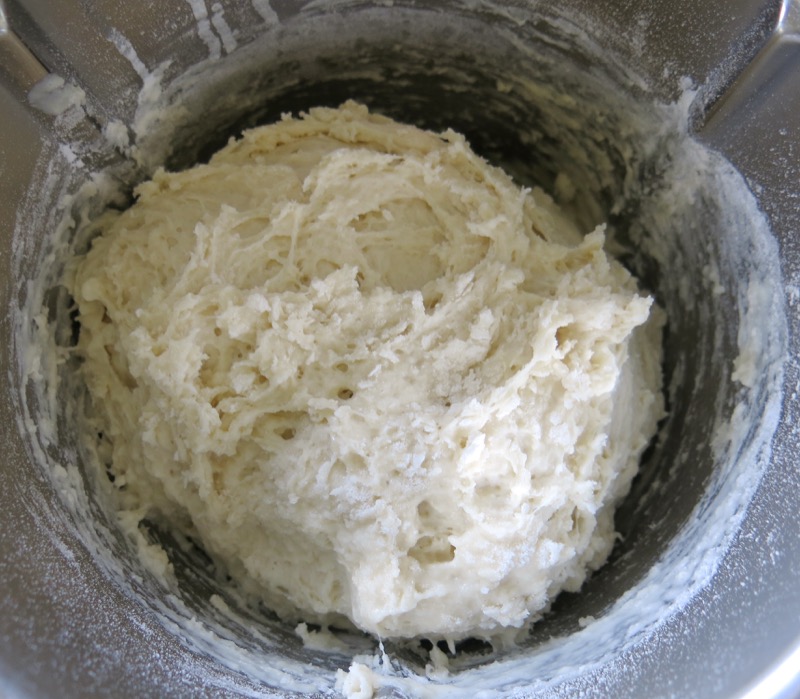
The remaining 4 cups of flour or 500 grams were added to the bowl, and combined until a sticky ball formed. This is exactly where mom was at when she turned her sticky dough ball on the counter to knead. The beauty of the Thermomix is everything has happened in the one bowl and now the kneading begins. No muss. No fuss. No blood, sweat and tears – but gorgeous dough made from the best of ingredients, completely from scratch, in my favourite kitchen machine, in one fifth of the time. It took me 4 minutes to get the dough to this stage. It took mom well over 20 minutes and there was considerable clean up after.
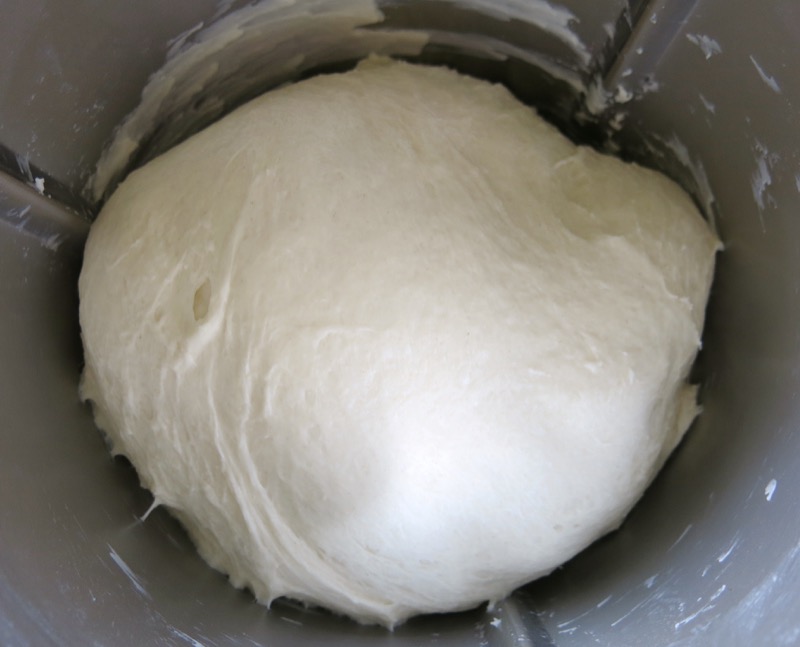
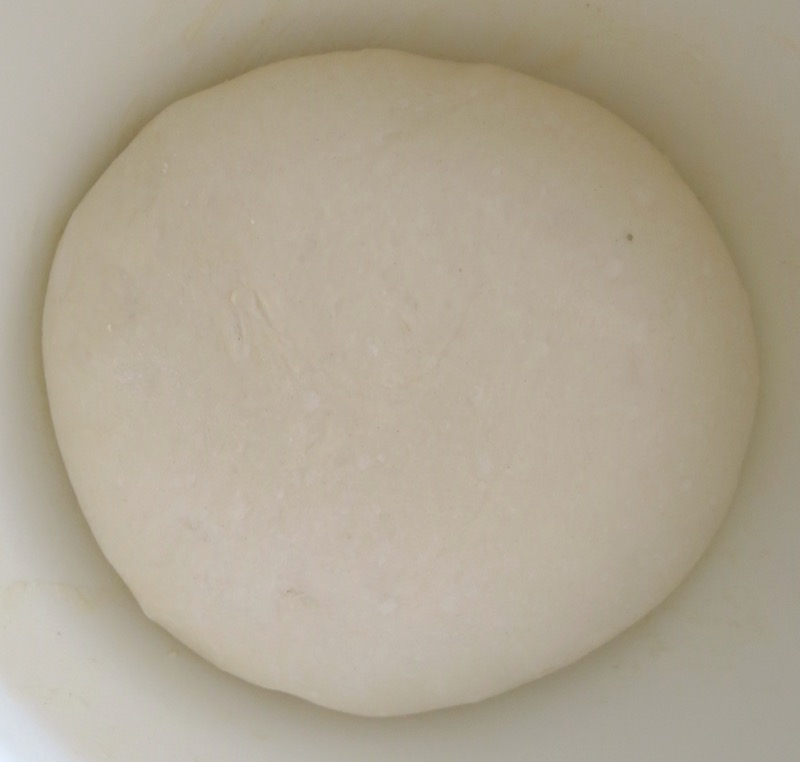
My dough is above; hers, below.
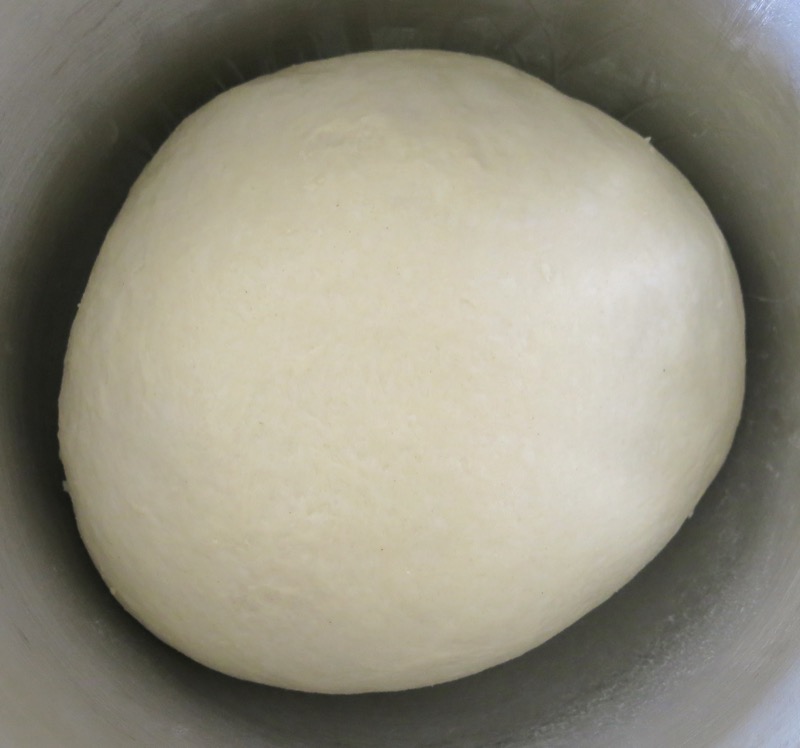
As soft as a baby’s bottom, both of them.
Forming Canadian Prairie Dinner Buns
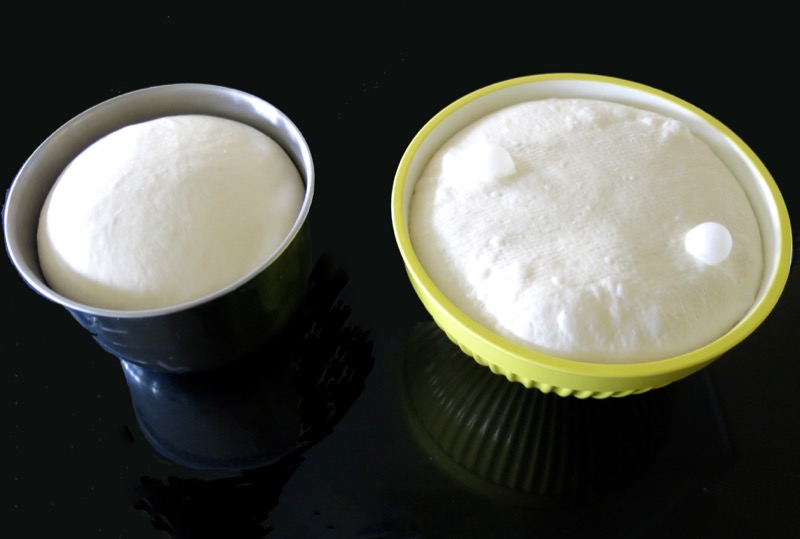
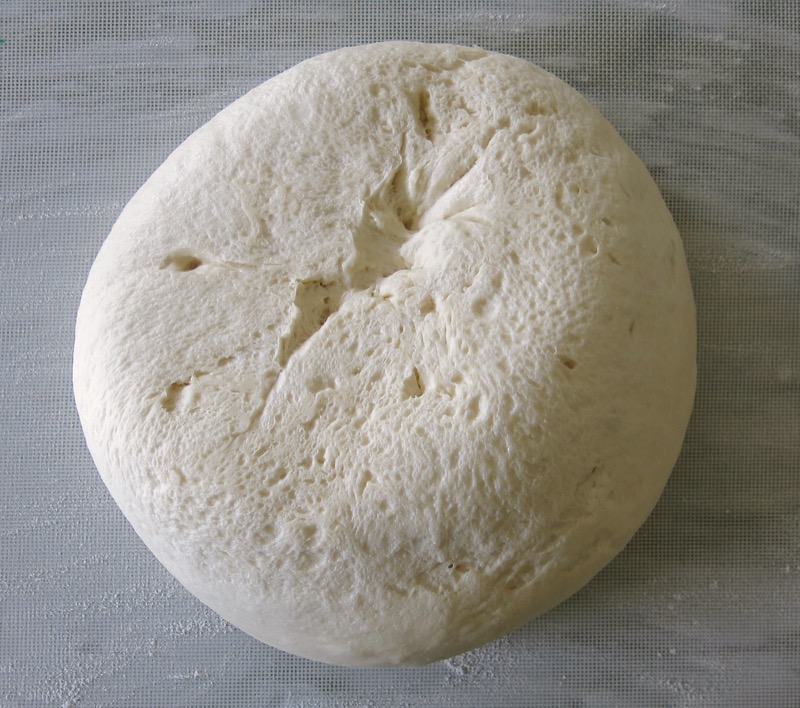
My dough, on the right, above, proofed considerably longer than mom’s, which is obvious as it is bubbling on the surface. However, both doughs are absolutely gorgeous. “So alive!”, Richard Bertinet would say. Oh, don’t get me wrong. I thrive on making dough by hand. There is nothing more gratifying to a prairie girl and I am truly “old school”. I believe every student should know very well how to do Math by hand before being given a calculator. That isn’t happening in our school system anymore, and it certainly isn’t happening in our home kitchens. So, if those providing the food on the table for our Canadian families are not going to learn to make bread by hand, they certainly can make it from scratch with a Thermomix machine. Effortlessly. Both of my daughters have one, thus the translation of this recipe. Each of them can now follow the Thermomix instructions and make mom’s gorgeous Canadian Prairie Dinner Buns on their own.
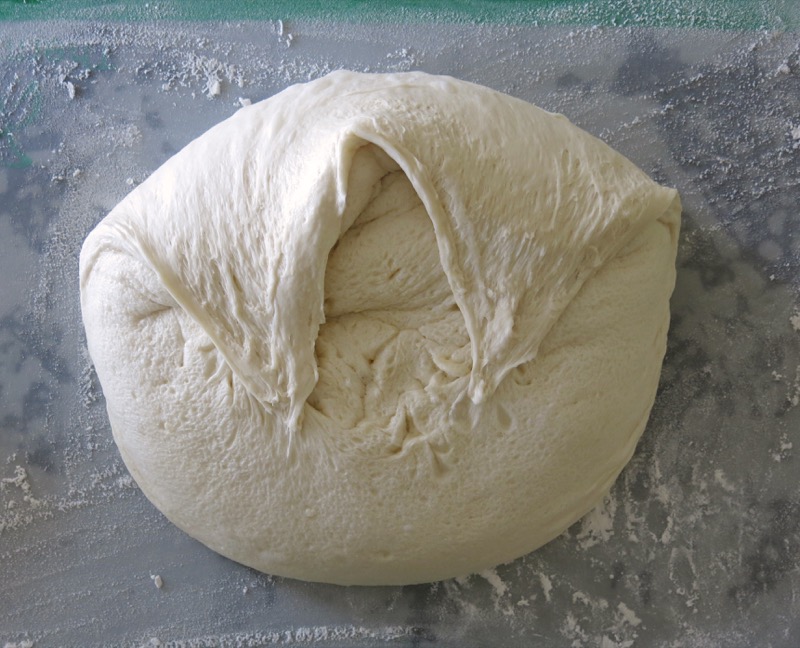
My dough, above, and mom’s below. Hers plopped out perfectly. Mine almost did!
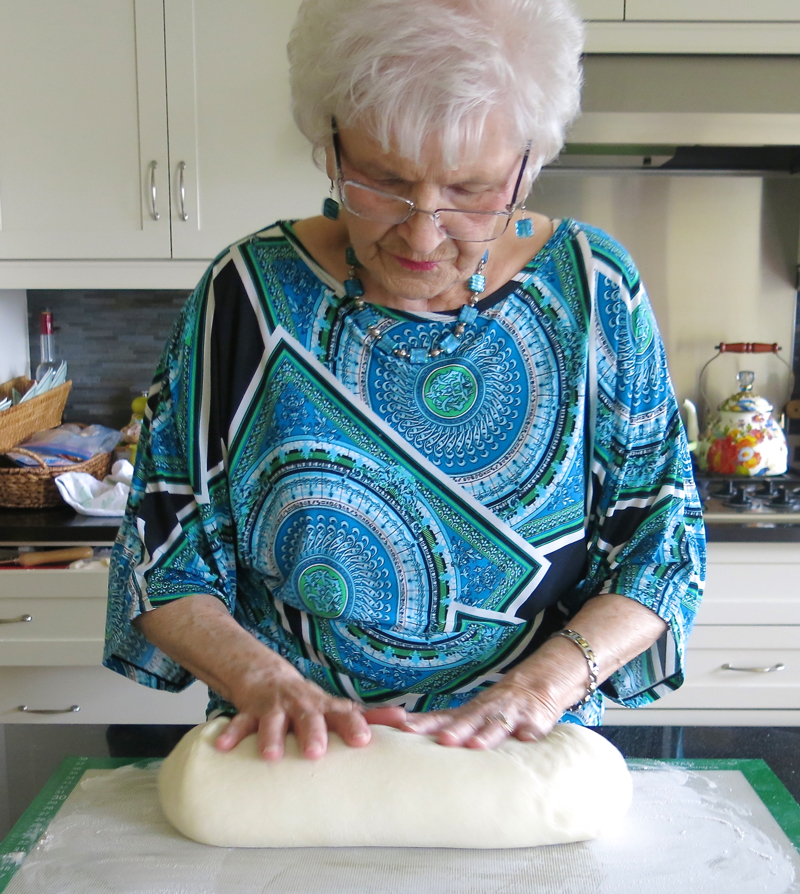
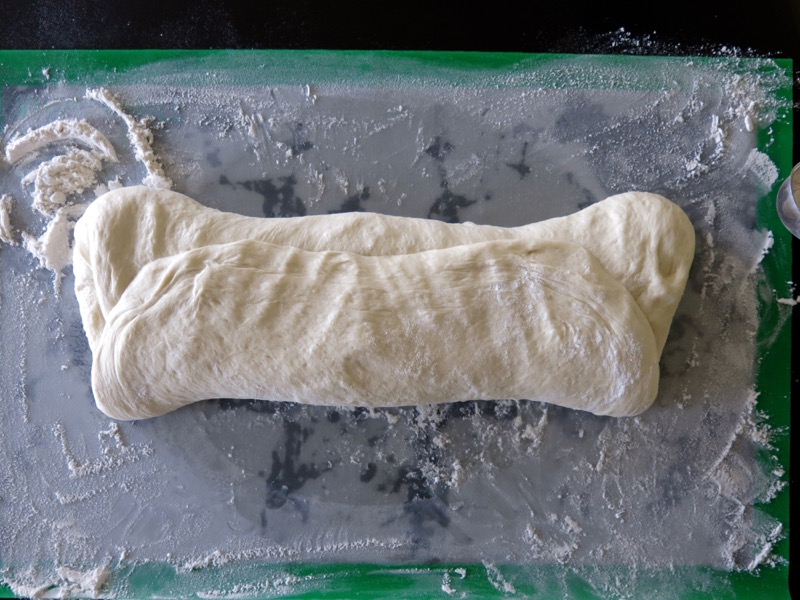
She folded her dough on top of itself by thirds: one third over into the middle, the other third on top of those two layers.
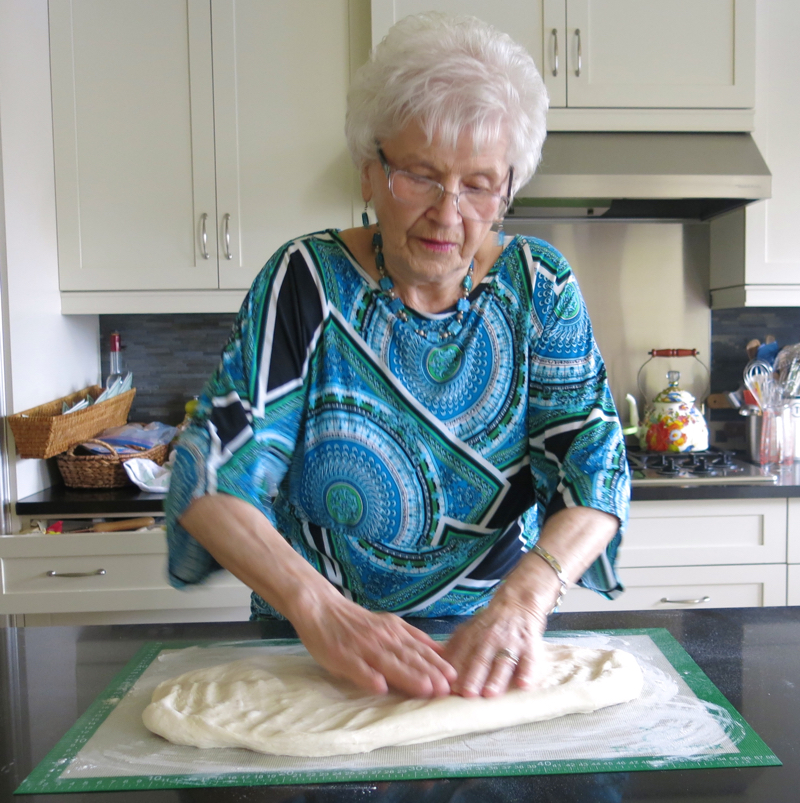
She then began pressing her hands flat on the dough to make a rectangle to cut the buns from. I did do the same thing as she did with my dough to honour the process and to be sure to get the same result.
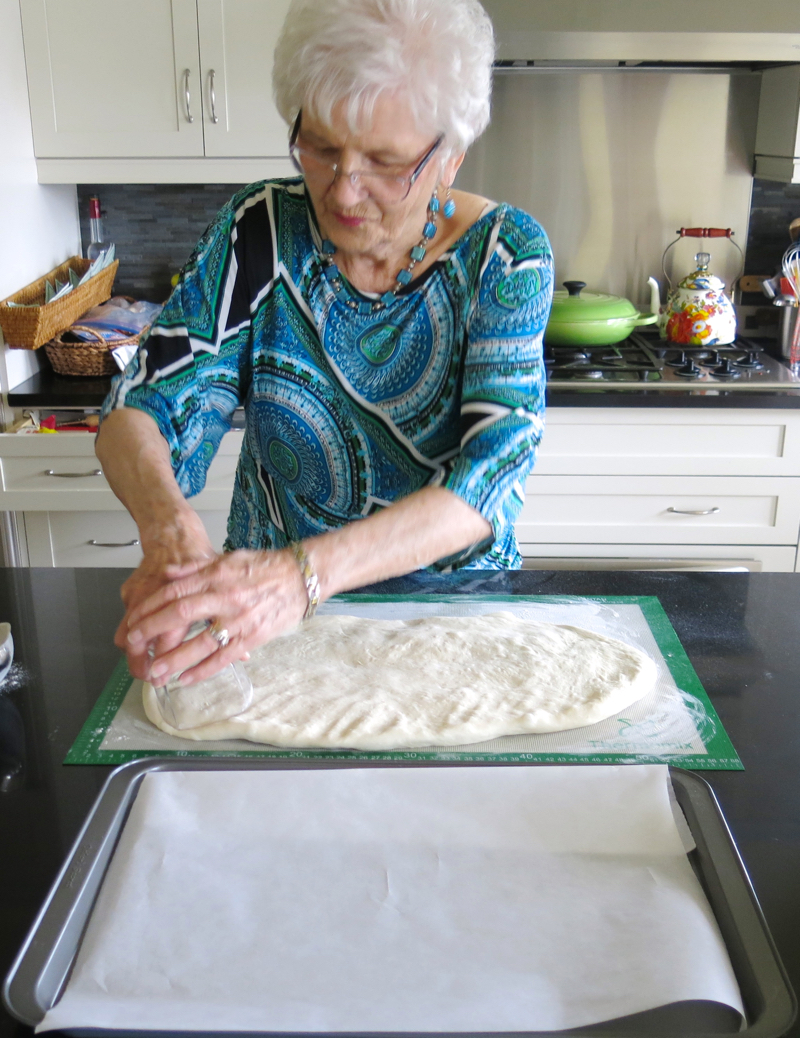
We all live a good sized dinner bun, so she used a glass with a large circumference. I used the identical glass on my buns.
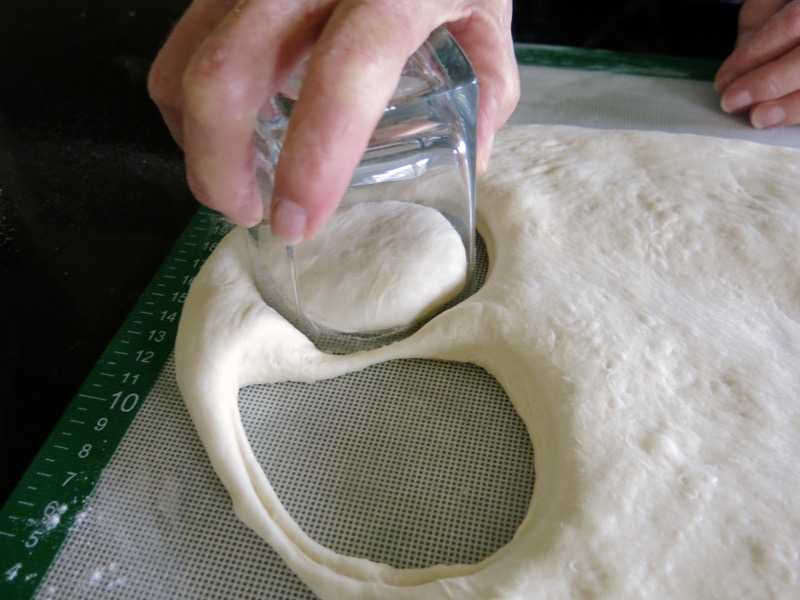
Yet, my buns were much rounder and larger than hers. She simply pushed the glass into the dough, yet I did what she had taught me so many years ago. I pushed a side of the glass into the dough and then pushed that inward to capture a larger portion of dough within each cut. She didn’t remember doing that until I showed her.
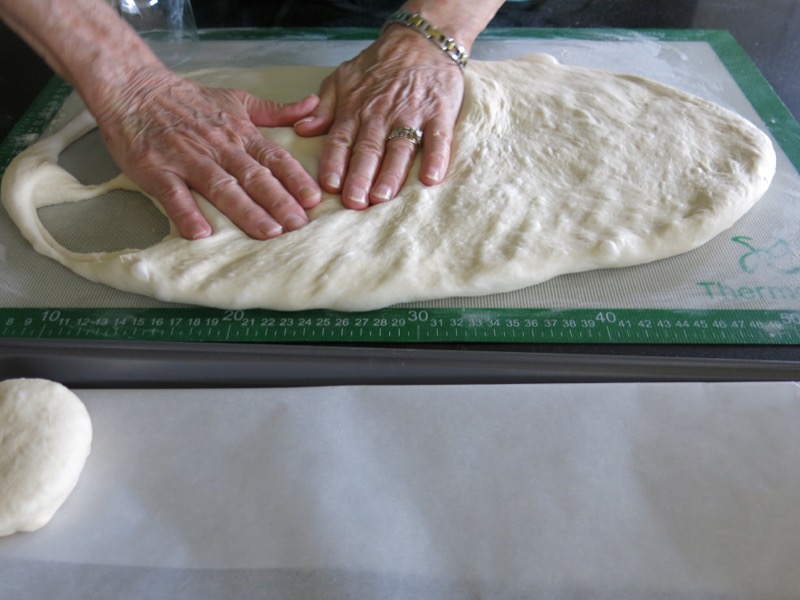
She would press the dough regularly between cutting circles to maintain a consistent height of almost an inch, I would say. Thick.
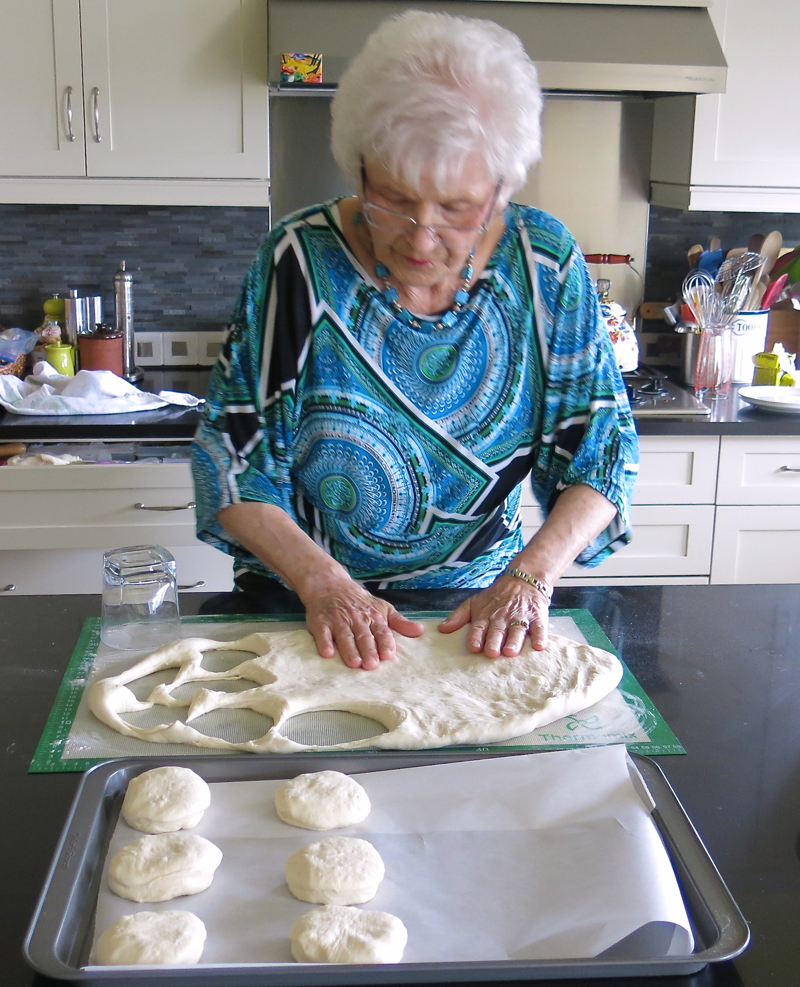
Cutting circles in the dough for the buns is likely considered blasphemy to a French Bread Baker. There is a process used to shape each specific bun and none are simply cut out like this. Yet, this process is what creates the texture and shape we grew to love on the Canadian Prairies. Sadly, so few in the last two generations have even experienced this dinner bun. Once a staple at every family holiday meal, church dinners and family reunion picnics, bags of buns from the grocery store have now replaced this noble Canadian prairie dinner bun.
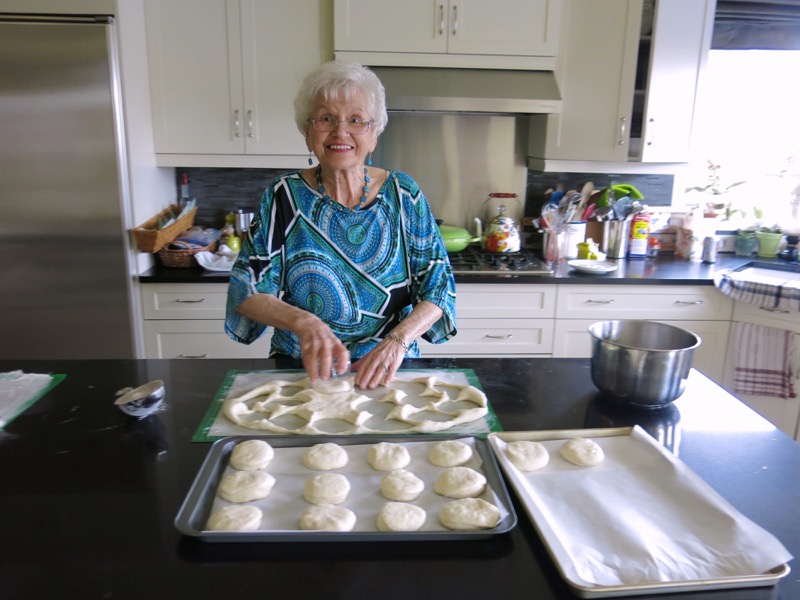
The work in the kitchen is not the same now either. This day of bread making was deeply gratifying for mom and I.
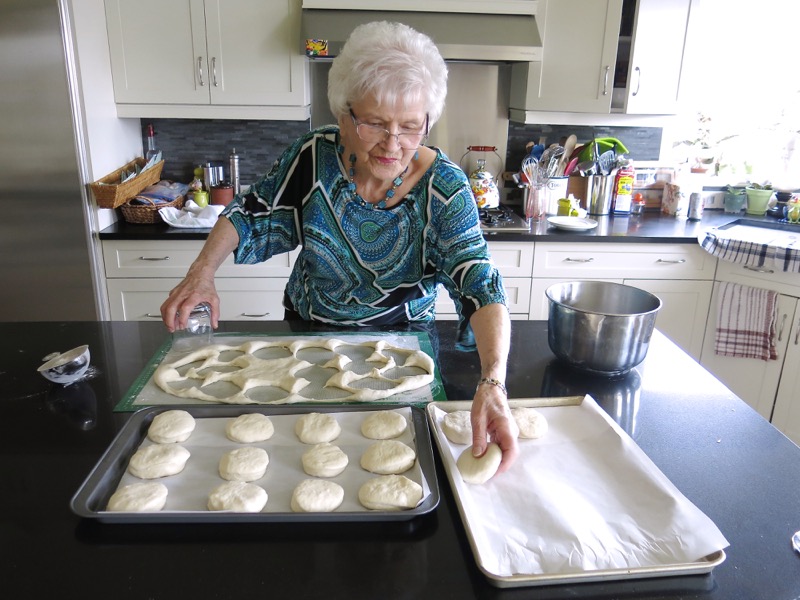
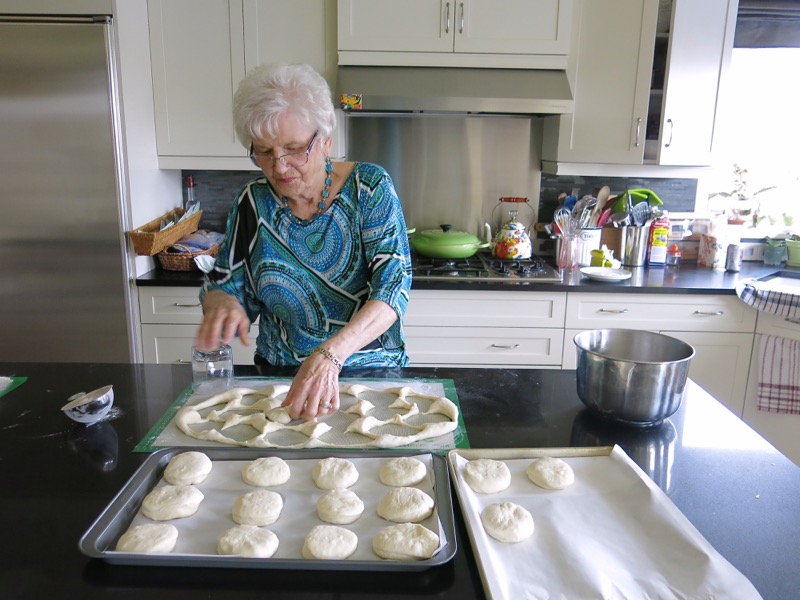
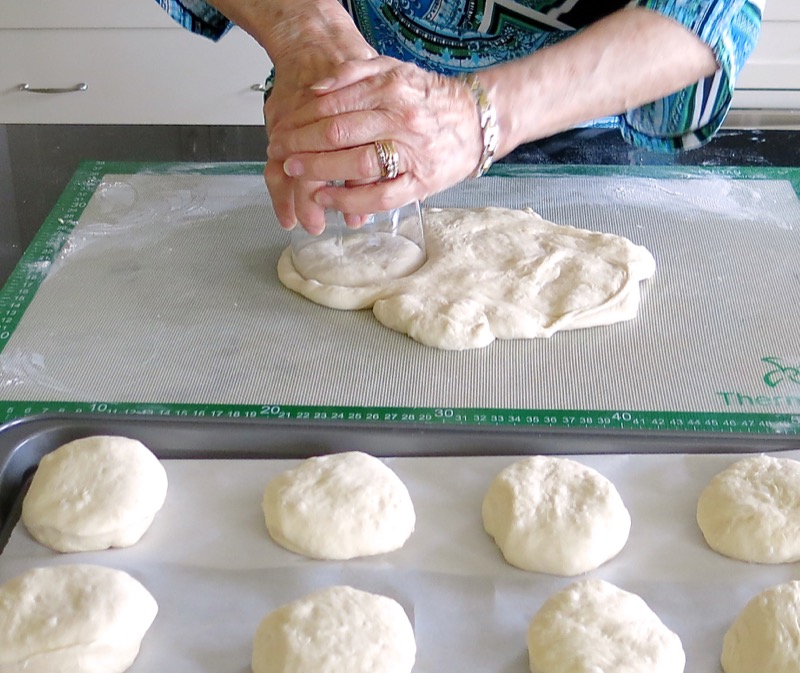
Below, my dough.
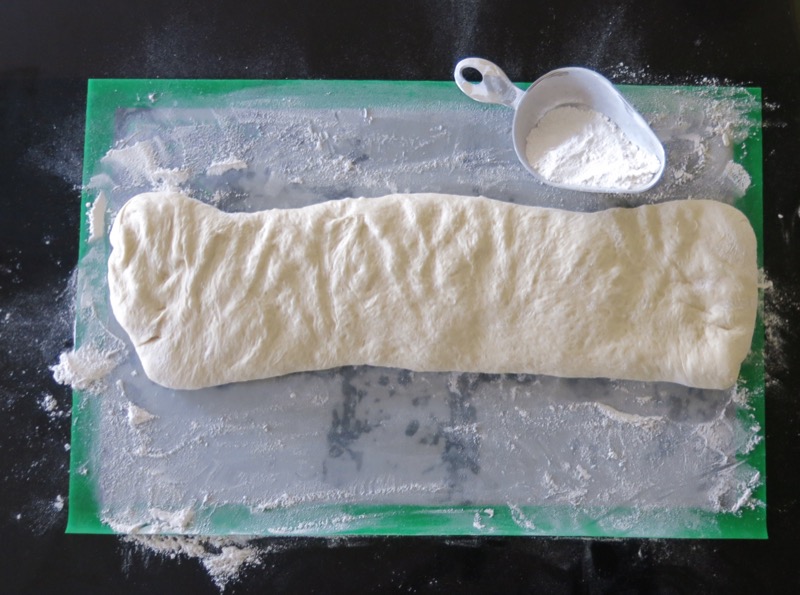
Evidence that I did as my mommy showed me.
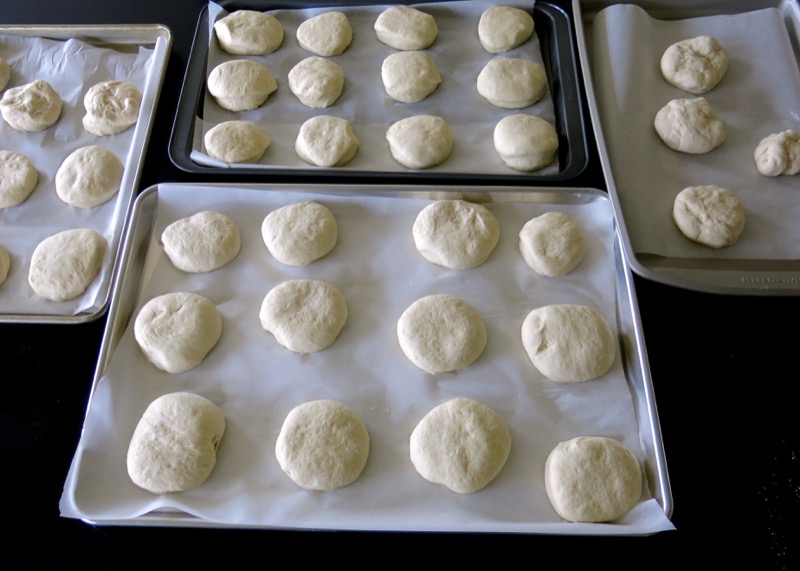
Our buns now need about 30-40 more minutes to proof before baking.
Proofing and Baking Canadian Prairie Dinner Buns
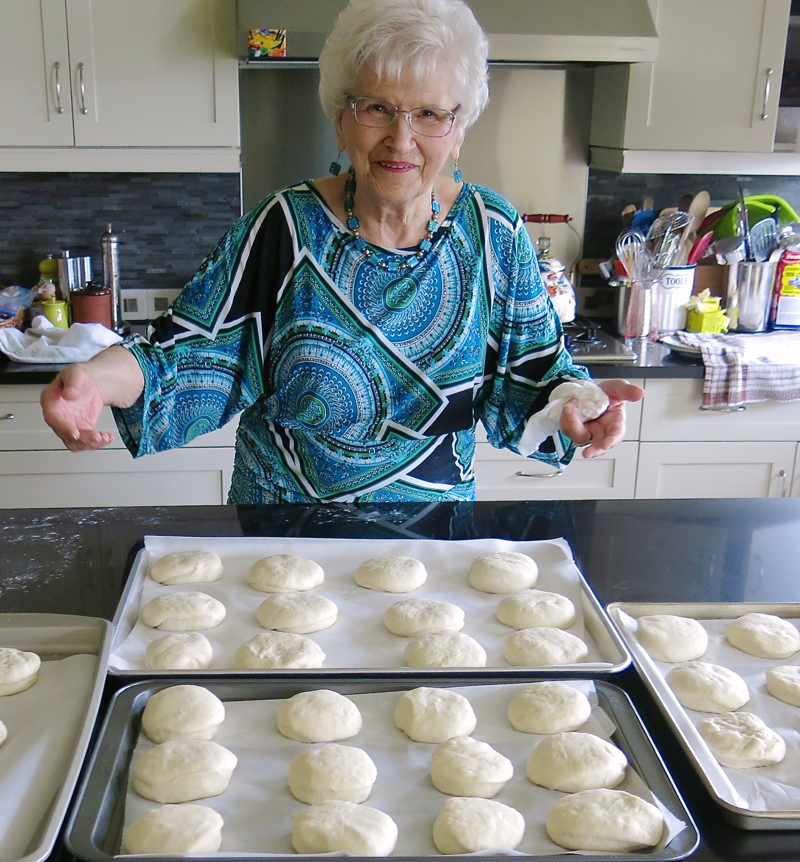
Voilá!
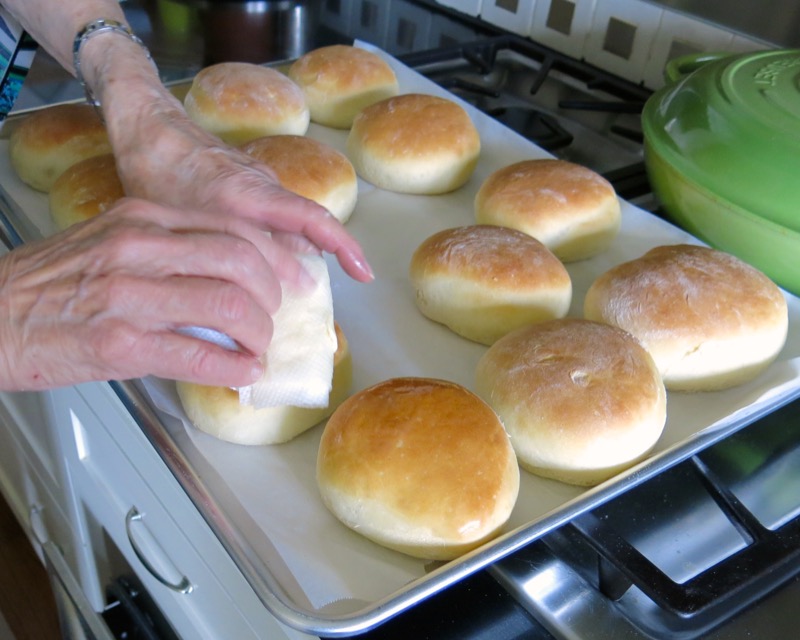
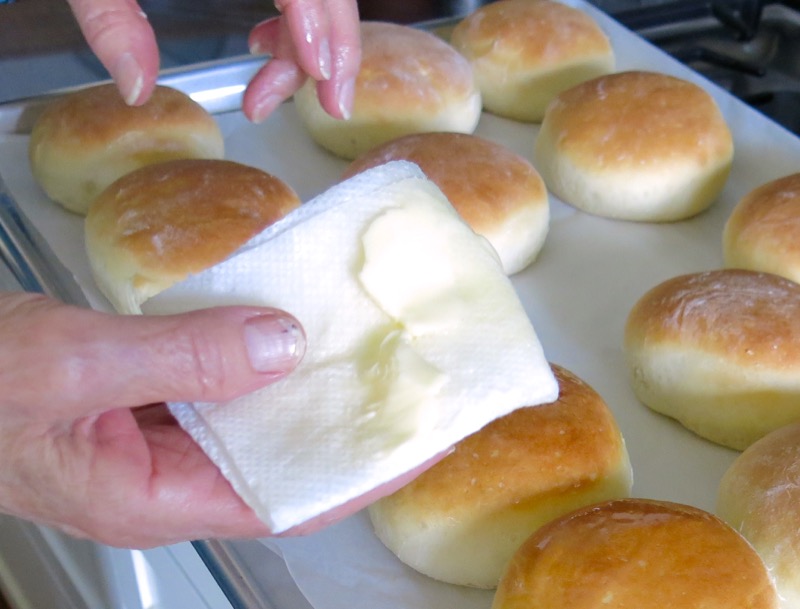
Mmmm! Hot out of a mid-temperature 350ºF oven, mom smears salty butter on a paper towel (it used to be done using waxed paper) and butters the top of each hot bun which reveals a very appealing and delectable matte sheen. Interestingly, most breads, the world over, are baked at the highest temperature one can achieve to get a crunchy of chewy crust and a fast last rise. Not these buns. Lower and slower. Sounds like the prairies to me!
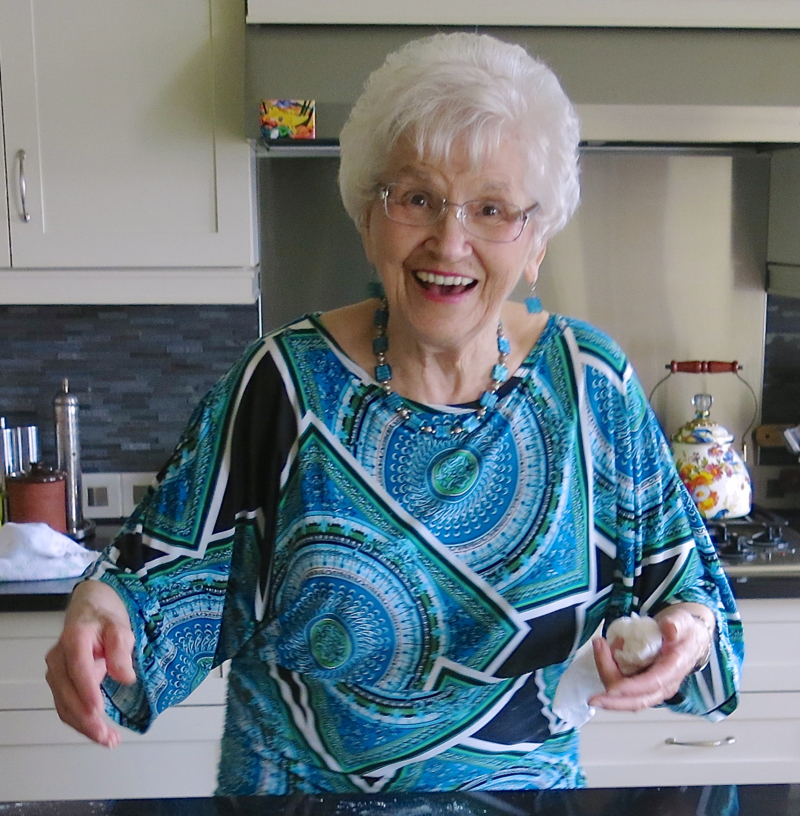
“That was fun! Well done!”
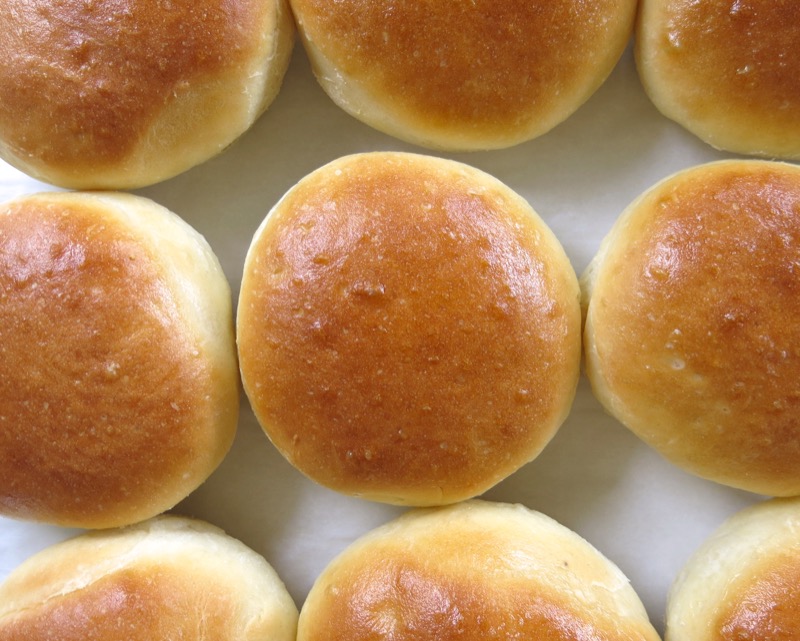
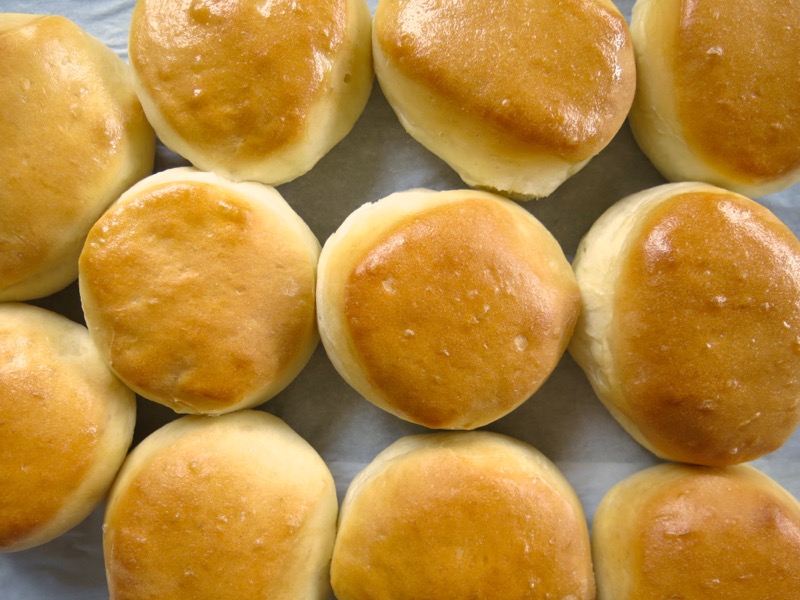
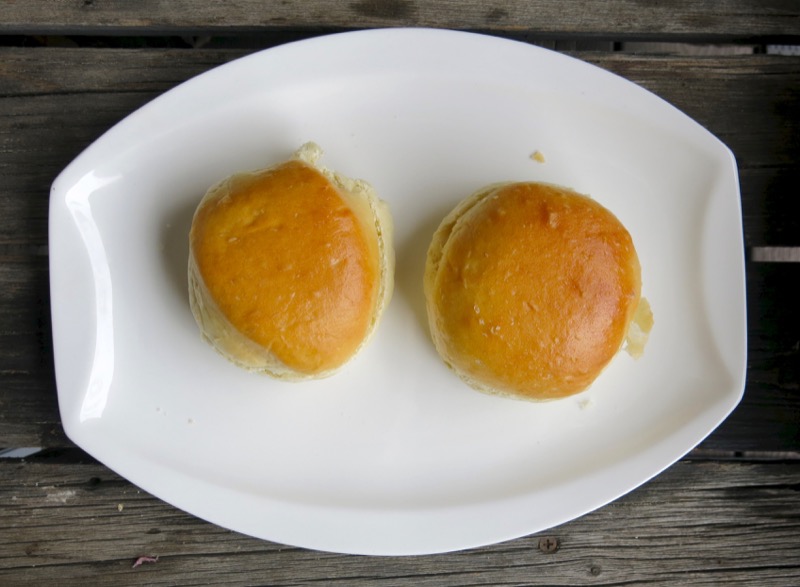
Whose are whose? They do look different. Mine looked like hers always used to, so I was doubly proud of myself for remembering her tip from so many years ago (to pull more dough into the bun under the glass when cutting each bun).
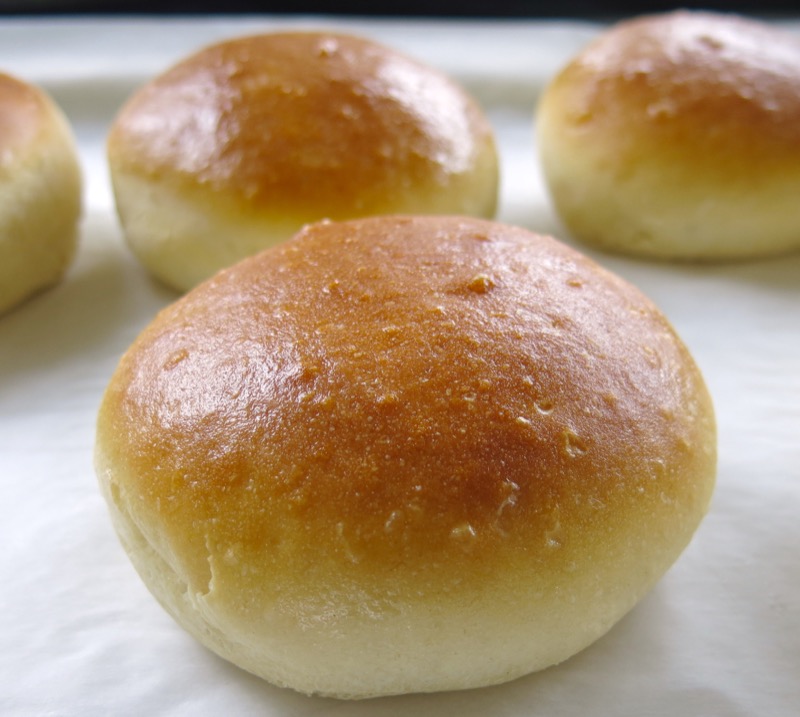
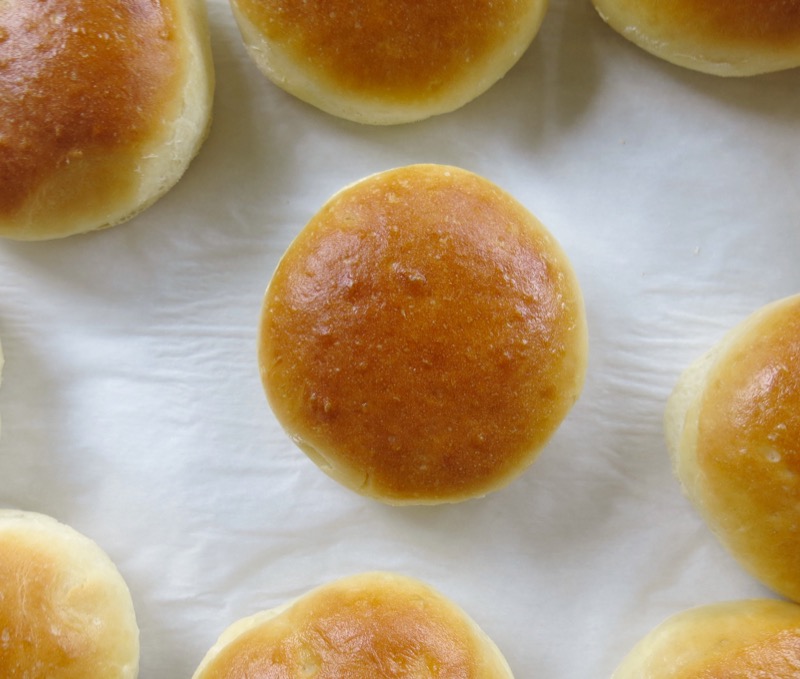
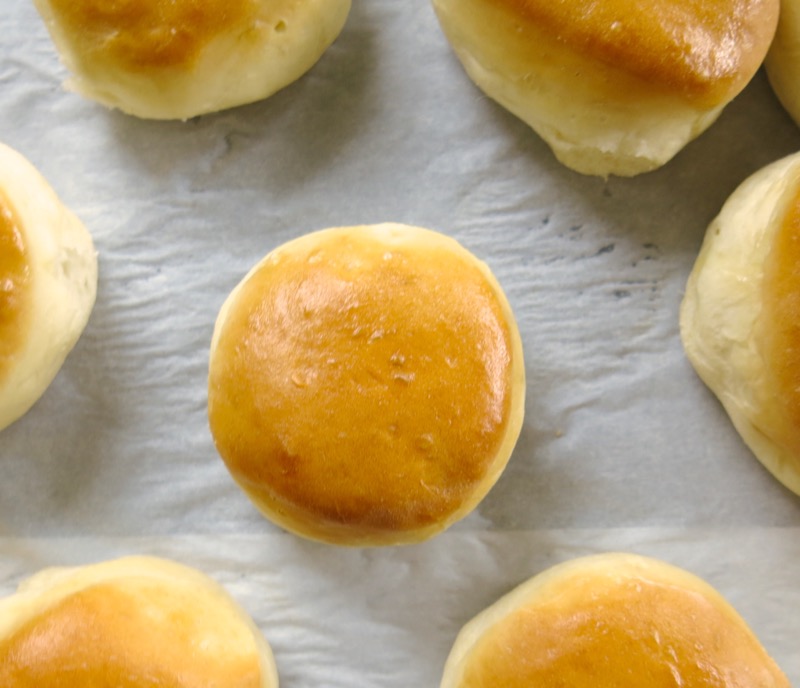
The Thermomix bun, above, made by moi.
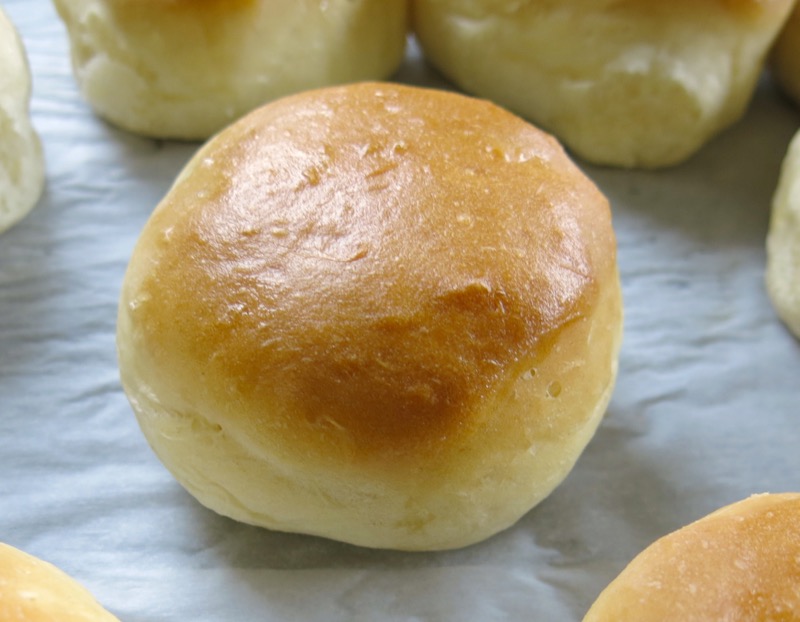
The Canadian Prairie Dinner Bun, above, made by the learned hand of my mom, Helen McKinney.
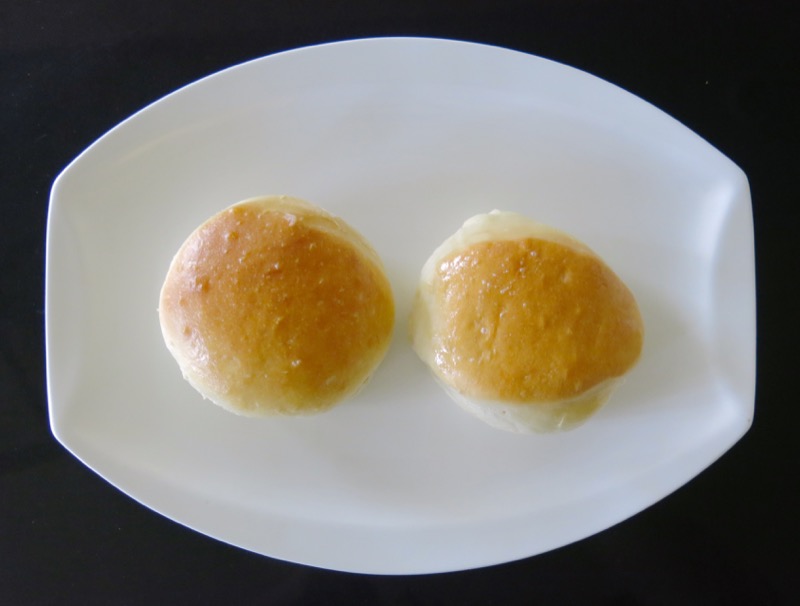
Mine to the left, above; hers, to the right.
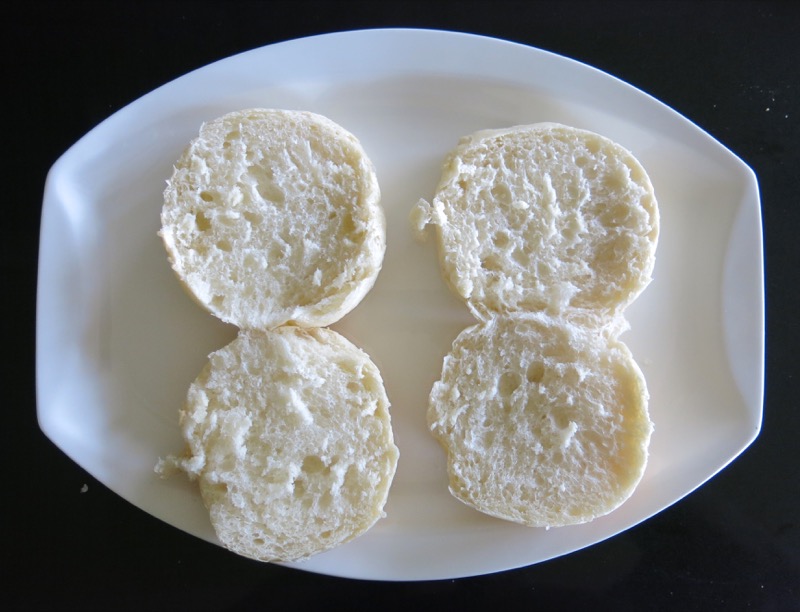
I can never resist burying my nose into my bread. Ah! The aroma! Yeast, salt… home. Of all smells, bread. Of all tastes, salt.
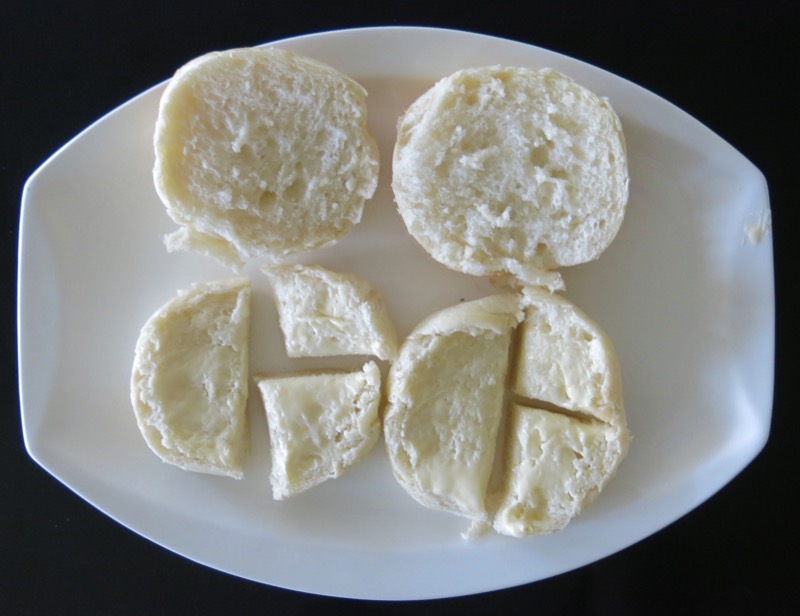
And the blind tasting for mom, and then for me.
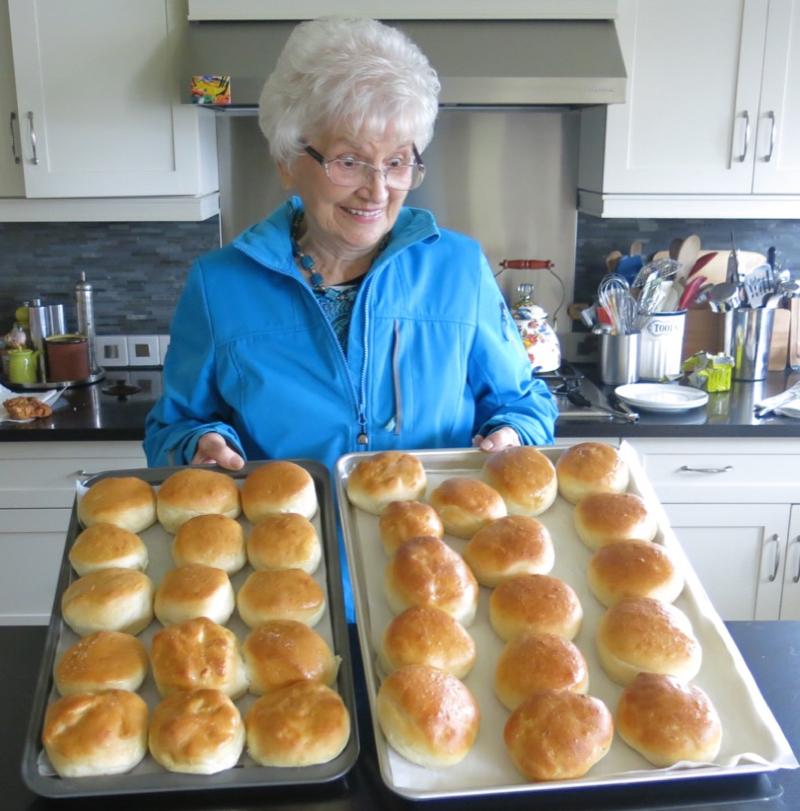
“Wheeee!! I no longer have to make buns!!!” Yes, mom. As if you don’t ever want to make buns again. Or angel food cakes, or hot crossed buns, or peanut brittle, meatloaf, your famous chocolate cake, apple pies, fried chicken… should I go on? Who do you think you are kidding?
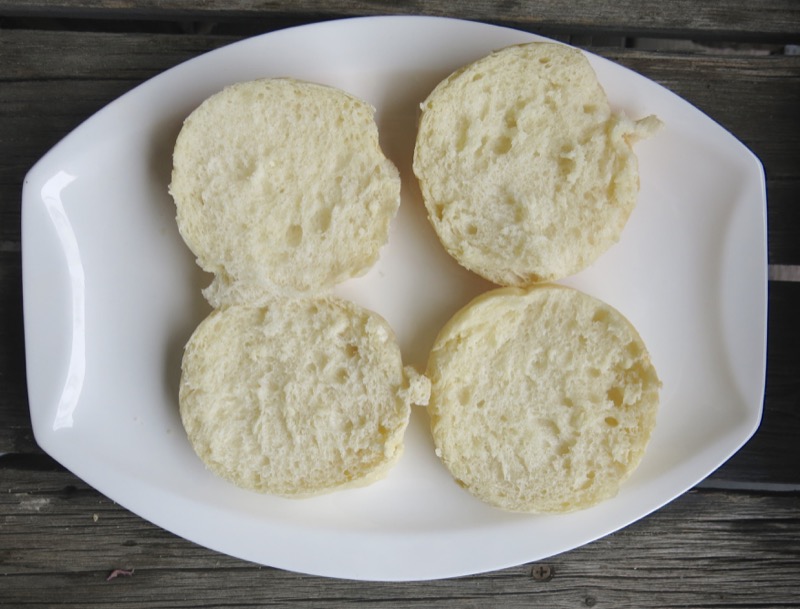
Oh, what a day it was, it really was! Now, if you make them, you know the drill! Chime in! Tell us about it! Inquiring minds want to know (every little detail)!
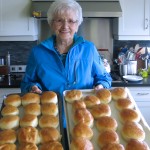
Canadian Prairie DInner Buns
This recipe has been with my mom since 1950 given to her by her good friend Pat. Aunty Pat was known for her excellent cooking and making the best buns in town. This is the classic homemade Canadian prairie dinner bun recipe. Helen McKinney's Canadian Prairie Dinner Buns: mom's classic recipe served at picnics and potlucks and Sunday and church dinners now and when I was a child.
Ingredients
- 1 gently heaping tablespoon granulated yeast (not instant)
- 1/2 cup tepid water
- 1 teaspoon sugar
- 1/4 cup butter , room temperature
- 1 teaspoon salt
- 1/4 cup sugar
- 1 egg
- 2 cups tepid milk
- 2 cups flour
- 3 1/2 cups flour
- 1/2 cups flour
Ingredients for the Thermomix
- 10 grams granulated yeast (not instant)
- 100 grams tepid water
- 5 grams sugar
- 60 grams butter , room temperature
- 5 grams salt
- 60 grams sugar
- 1 egg
- 500 grams milk
- 250 grams flour
- 500 grams flour
Instructions
Instructions for Making the Dough
-
Place the first three ingredients in a bowl; let proof 15 minutes
-
Place the next four ingredients (butter, sugar, salt and egg) in mixing bowl; beat to combine well
-
Heat the milk to room temperature in the microwave; add to bowl and whisk to combine
-
Add 3 cups of flour one at a time; whisking to combine with the mixer until batter leaves ribbon in the bowl (the batter is beginning to gain substance and a spoonful of it can be seen when poured back onto the surface of it for a moment or two)
-
Stir the yeast mixture to combine; add it to the flour mixture and whisk to combine well
-
Remove bowl from mixing stand; continue to fold in remaining 2-21/2 cups of flour by hand with a large spoon until a sticky dough ball has formed
-
Lightly flour a work surface; place dough onto the work surface and knead until no longer sticky
-
After kneading for 7-8 minutes; rest for 3-5 minutes
-
Knead again until you hear popping sounds as the rise in the dough crackles with the knead
-
Dough will be soft like a baby's bottom and elastic
-
Butter the bowl; place the dough in the bowl face down, work it a bit and turn it over to proof
-
Cover with a warm damp cloth and place in a warm place until double in size
Instructions for Making the Buns
-
Preheat the oven to 375 F
-
Lightly flour the work surface; turn the risen dough upside down onto the work surface
-
Fold over onto itself three times; pat it into a rectangle about 12 x 15; dust a large biscuit cutter with flour and cut the buns out of the dough
-
Please the buns on a parchment covered cookie sheet; let raise until double again )a good 30 minutes)
-
Bake for 15 minutes until golden brown; remove from oven and gloss tops of each with butter
-
Cool
Instructions for the Thermomix
-
Leaving out the yeast, weigh next seven ingredients into the Thermomix bowl (water, sugar, butter, salt, sugar again, egg and milk); combine for 8 minutes at 40 degrees C, speed 2 (this ensures all ingredients are at good proofing temperature)
-
Weigh in yeast; proof for 3 minutes 40 degrees C, speed 2
-
Rest for 10 minutes (not really necessary, but a nod to honour those who came before and nice to watch the batter grow)
-
Weigh 250 grams of flour into the TM bowl; combine for 2 minutes at 40C speed 2
-
Weigh remaining 500 grams flour into TM bowl; mix until dough forms a ball for 10 seconds, speed 0-4
-
Knead for 4 minutes
-
Dough will be soft like a baby's bottom and elastic
-
Butter the bowl; place the dough in the bowl face down, work it a bit and turn it over to proof
-
Cover with a warm damp cloth and place in a warm place until double in size
-
Follow Instructions for Making the Buns above





This was a very beautiful story,I miss my mom so much. I’m sad (not my daughter) but most people her age 40 have NO IDEA of how to cook or bake. They sure know the fast food and restaurants though! Thank you for your story and give your mom a hug.
Can’t wait to make this recipe.
Thank you so much, Kathy, for taking the time to read the tribute and about my rants. So true, eh? Do let me know how they turn about and BRAVO mom, for teaching your daughter how to make bread! I would like to, but neither of my daughters (36 and 38 this summer) are remotely interested in learning how to do it by hand… and they are MY daughters – so, I am indeed thankful for the Thermomix so they can still make it. Hopefully the desire will rear its head the next generation, and the little grandchildren will be clawing at Gramsy’s knees to bake bread from scratch. I know that is what we will be doing when we play together at my house!
🙂
Valerie
I use this reciepe all the time!
It was my first attempt at making buns and we all love them!
Helen. Forever a lovely, lovely lady. Always a style maven. Always on the go. Just a beautiful person. Wish the buns were gluten free, and I’d eat them all. :).
Diane! Had no idea you ate gluten free! I have some fabulous recipes that are so easy to make in the Thermomix machine. It is a godsend for those that cannot eat gluten as the food is so expensive to buy and the gluten free flours can also be milled in the machine. You should facebook Ragan and set up a demonstration with you and the girls. She is taking over my business and doing a bang up job!
Also, go to my search box and type in flourless or gluten free. I have at least two fantastic cakes there. Seriously fantastic.
Hugs – mom will be thrilled to read your comment.
OX
Valerie
Valerie, I am still giggling after reading the recipe, exactly what mine says, just ingredients, because we all knew how to make bread. I once phoned my grandmother to get her recipe for her veal birds and recall her saying “veal, fresh bread chunks, raisins,cream, flour, an egg and fine crumbs, then whipping cream”. When I asked how much of what she said “enough”. Going on taste and texture memory and being a good cook I figured out what enough was and still make them the same to this day. If you did get a measurement from her you needed to know her code: a butter lump the size of a large walnut was a generous tablespoon, my little sugar scoop was about 1/4 cup. She was also one of 13 children and grew up cooking for large crews. She taught my mother to make bread, which she then passed on to me, with my dad adding his skills learned from his mother. I still make bread once or twice a week, as needed.
I have, over the past 50 years, taught close to 500 people to make bread, which sounds like a lot, until you realize that is only 10 a year. This summer, when things calm down after the Spring gardening madness is finished, I am planning on teaching my landlord and his lovely girlfriend how to make bread. Since she is from Germany the emphasis will be on the heavy, dark ryes and pumpernickels that she loves but I tell them that bread is bread. Learn the technique then play with it and see where you can go. My family’s favourite cheese braid that I created when I was in my early 30’s is a must have at family gatherings and picnics and a recipe that I have taught many bakers to make. Pillowy soft inside, crispy tender on the outside, with very old cheddar cheese, sesame seeds and fresh dill, torn in chunks and best warm from the oven.
With that said I think its going to be a bread making day for me. You have inspired me again.
Hugs, Brendi
Send me a photo, Brendi!
Isn’t it so amazing that we share so many of the same experiences simply because we lived in the same area in the same era? Profound, really. I so love reading the stories you share, too!
XO
Valerie
Thank you Val & Helen for sharing your day and your Prairie Bun recipe!!! I am going to show my hubby this he loves making bread and I want to try this recipe, I wanted to eat the screen the buns looked so yummy. Val I am sending this link to Roxanne Morelli, some day we should meet you in Edmonton for lunch. Thanks again Val ♥
Wendy (Todd) Dussault
Wendy!
If you and Roxanne or just you zip up for a day – let me know in advance and I’d love to have you over for lunch! It would be such fun, yes? Particularly if it was summer… as there are the fresh little goodies I grow – but, anytime would be wonderful! Let me know if your husband makes the buns and if you recognize them when you have one!
Love,
Valerie
Val I will email you my contact info and I am following your great site, both hubby and I are closet foodies ♥
Hi is this the dough recipe for your mom’s cinnamon buns?
This is the one, Kathy! I believe I answered you on Instagram – so sorry I took so long! Let me know how it goes!
Sincerely,
Valerie
Oh Valerie, this post makes my heart sad for myself and so happy for you! I miss my mom terribly as her and I would cook together often when I got older. But, I am now teaching my two girls at very young ages how to bake. I believe baking/cooking with your mom, grandmother, sister, daughter, son is so important. Those memories will always be there with you.
Your mom is a doll and I just love reading your posts about the memories you both share and she looks fabulous!!
Dear April! Thank you so much for chiming in. Good for you! I “should have” had my little gals baking bread at a young age. Cookies and cupcakes were not an issue. Tacos were also a homemade favourite of theirs, but making bread was just never on their list, sadly. I know, I am so lucky. I believe mom will live to be 100. Her mom lived to be 96 and my mom is 10 times more healthy.
I am going to milk her for all she is worth – hahaha.
BIG HUG to you and yours.
Valerie
Valerie so much love went into your post! Made me all warm and fuzzy and hungry!! Hugs to your mom from me, love you always!
Petra, Petra, Petra,
How do I love, thee – let me count the ways…
Miss you too much and think of you every day as pics of your kids and grandbabies bless my desk top.
OXXO
V
I have many recipes from my mom and mother-in-law listing only the ingredients. I had to figure out the instructions. You’re lucky to still have your mom and cook with her. Both versions of these buns look amazing. I’m going to make your mom’s version as I don’t have a Thermomix. Thanks for sharing the whole recipe.
Wonderful to hear from you, Liliana!
These are delicious,but vastly different than any Italian breads.
No crusty shards or light as a feather interior. These buns are not heavy, but have substance, fragrant with yeast and most definitely perfect for the Canadian prairie palate!
Let me know what you think!
🙂
V
Wow. Your mom is a really good baker. The rolls look great!
Thanks so much, El! Do you have a favourite traditional family holiday bun recipe? I would love the link!
🙂
V
Hello from sunny Queensland, Australia!
I made your buns in my Thermomix this afternoon – they turned out great. Thank you for the recipe!
I cut the sugar to 45g and they still were perfect. My husband loved them as well. We had chicken schnitzels left over from last night; they made a great filling.
This will be a go-to recipe for me.
And thank you for the detailed instructions. It’s really good sometimes to see what things should look like when making a recipe for the first time. I couldn’t believe how easy this one was.
Ingrid,
Thank you! Thank you! It is readers like you, and comments like this that provides a foundation of trust for my readers. This comment will enable greater confidence in the recipe for all. I am tickled you like the buns and that they work for you. You certainly can make any bread or bun without sugar, but not our prairie buns!
Hugs,
Valerie
Just an update, Valerie –
Purposley, I kept some rolls for this morning (next day) and put two more in the freezer to see how they behave when they are not fresh out of the oven.
Will report in a couple of days. Breakfast was great!
Great. They freeze beautifully for us and keep quite some time well for eating, too. Looking forward to hearing the results of your tests.
🙂
V
Last night I took the two frozen rolls out of the freezer and we had them this morning for breakfast.
I think that was a wrong move; the rolls tasted like the one-day-old ones. Still nice but next time, I think, I will take them out frozen in the morning and bake them up for breakky. How do you treat yours?
These look delicious. Remind me never to read your posts when I haven’t eaten yet.
Hahaha!!
These are my favourite buns in the world! Great to know I can do them this way too! Drool!!
Did you give your grandmother’s recipe 5 stars? OXOXOX
This looks similar to My Mom’s recipe, which I call Mom’s Buns on my recipe card. The recipe I have is double the size of yours with two eggs and 10 – 12 cups of flour. I grew up with ten siblings so Mom did everything in large batches! She sometimes made half into buns and half into cinnamon rolls. We made the buns by hand, though, pinching the dough to make the balls. She also made both white and whole wheat bread in batches of 15 loaves at a time, mixing by hand (she had a bowl the size of a wagon). She is 92 now and no longer making bread, but i still have the recipe card i wrote out many years ago, very faded and marked with use.
Louise! Where are you originally from? What a wonderful story! My mom never makes this one batch, either. Usually, she triples it for holidays and always doubled it. But, I was making a batch in the Thermomix, so she did just one batch. So curious to know where you were born and raised and where your mom was from and who she learned from.
Hugs,
Valerie
I love your mom’s recipe and I love yours. Could you tell me where you can buy a Thermomix. It sounds easy to use. Thank you and I can’t wait to try the bun recipe and you other recipes. Love to see some more of your mom’s recipes.
Hi Mary,
Look up the name Helen on my site and all of her recipes will appear for you.
Would love to hear how your buns turn out.
Cheers,
Valerie
Hi Valerie,
I love these, but I wonder if you could clarify why there are two lots of sugar at the beginning of the recipe. Why not add both in at the same time?
Cheers,
Ingrid
Greetings, Ingrid!
You will love these buns! The instructions should clarify the 2 lots of sugar when you read through. Let me know if you don’t “get it there”…. the first teaspoon goes in with the yeast – remember, this is my mom’s OLD family recipe, and I am replicating it exactly – to work in the Thermomix. While we no longer “need” to feed our yeast with sugar or warm it in advance if we are certain it is alive, as I wanted to be sure my buns had the same texture and flavour as mom’s – I followed her process to a “T” – the Thermomix “T” = hahaha! The second portion of sugar goes in with the dough. Make sense?
Let me know how it goes.
🙂
Valerie
Hi Valerie,
Thanks for that. Of course it makes sense now. I use instant yeast as well; that cuts out another step.
We love the buns but I cut back the sugar as we found them too sweet for our taste. No worries – they were wonderful!
Thank your mum for her recipe for me! And thank you for ‘translating’ it so we can make it in our Thermies.
Cheers,
Ingrid
Thrilled to hear it worked for you. Ingrid, and you made it your own according to your own palate!
🙂
Valerie
I am trying out Helen’s famous buns for our Thanksgiving dinner tonight. So far, so good. They are on their final rise before baking. Yum!
Mom will be thrilled to hear this, Ming! They are a family favourite. Let us know how they turn out and Happy Holiday!!!
Hugs,
Valerie
Hello,
Approx. how long does the dough rise?
About an hour, Monique.
It will depend on the humidity and warmth in the little micro-climate that you place it in. I heat a glass of water in my microwave for a good minute until the interior of the microwave oven is warm and humid, then quickly switch the glass for the dough with a damp tea towel over it. Works like a charm for me in an hour. If you have an oven with a proofing temp, that works, too. If making a huge lot, I pre-heat my ovens to 170F, then turn them off when putting the damp-towel covered bowls in to proof. That also works within an hour, but that does depend upon how many bowls are in each oven. If more than two, it will take longer.
Hope this helps and Happy 2017!
Valerie
Hi there,
Just wondering, would these buns work as a hamburger bun, they look so yummy 🙂
Well – I am not sure what you are asking, Lyuba? Any bun can be used however you like. This does not have a crunchy crust – but nor do many restaurant burger buns. They are so delicious, I eat them plain, or with turkey and cranberry sauce…. but I think you could make them bigger and they would be a great hamburger bun.
🙂
V
Hi Valerie,
I loved reading about your day with your mom. What an absolutely special day… I was curious if you or your mom has ever 1/2 this roll recipe with success. It is now just my husband and myself in the household and this seems like alot of rolls for 2 people… Any thoughts on this.
Hi Angie,
My thoughts? They freeze beautifully or make a lovely gift for a neighbour!
I bet you’ll go through a dozen of these much faster than you would like to!
🙂
Valerie
I have searched and made so many of these bun recipes but this was heavenly. It just takes me back to when my mom and I used to make them. They turned out amazing.. Thank you for sharing this recipe..
Tickled you tried the recipe and love it as much as we do. This is definitely a home food recipe at our house. I could never eat one without thinking of my mother, my grandmother and being wrapped in the warmth of our family holidays.
🙂
Valerie
I have been making yeast dough since I was young. What kind of flour do you like to use? I am from Tennessee. We may not be able to buy the same kind though. Thanks for all of the great recipes.
Hi Phyl,
I use all purpose flour- Highwoods Crossing local flour – love it, but Robin Hood or King Arther’s all-purpose flours in the US would be good alternatives.
🙂
Valerie
I was sent the following message from Cindy and will answer it below her message:
Valerie,
I guess if you live long enough you do many different things! I have never added milk to cinnamon roll dough but did today!
I live in northwestern Kansas,USA and you never said how much water to add to the yeast?
IN THE ABOVE RECIPE, CINDY, It reads 1/2 CUP water = SECOND ON INGREDIENT LIST 🙂 – ANSWER FROM VALERIE
Another question, you are cutting a quarter pound of butter off of a pound block? I used a full 1/2 cup as ours are wrapped in quarters.
And a half a cup of warm water to raise the yeast.
IN THE ABOVE RECIPE (linked to here from the CINNAMON BUN RECIPE) IT SAYS 1/4 CUP BUTTER, CINDY – ANSWER FROM VALERIE
Hope I was right.
My kitchen things have been packed for over two years hoping to move where there is more moisture and it’s warmer so had to guess on a few things.
I subscribed and looking forward to more of your Moms recipes!
Sincerely,
Cindy
I HOPE THIS HELPS, CINDY – and I WILL NOW POST THIS SAME ANSWER UNDER THE CINNAMON BUN RECIPE _ thought your questions were about THIS DOUGH recipe USED FOR MOM”S CINNAMON BUNS.
Hugs, Valerie
The cinnamon rolls were absolutely amazing. This is a keeper recipe and I will be making them again soon, along with the bund.
I just copied off your moms recipe card and didn’t read any further!
It’s not to late to teach and old dog new tricks! Never be afraid to try different things , that’s to grow !
God Bless to you and your Mom
Thank you, Cindy!
Hilarious!
Great to know you got all the information and love the recipe – it sounds like – almost as much as we do!
Hugs to you and yours!
Valerie
After pressing out the dough with a glass, is the the leftover dough rolled into itself and the process repeated until all of the dough is used up?
The leftover bits are rolled out again and cut out again with the last bit rolled by hand and baked.
Let us know what you think, Derek!
🙂
Valerie
Hi there. I had the great pleasure of watching the video of your mom making cinnamon rolls.
It brought back the most amazing memories of baking with my great grandmother. I went to make rolls today and the videos are messed up. Both video 1 and 2 start at the same place, her kneading the dough.
I would love to have the video. I wish I had one of me and my great grandmother.
I just love your website. It is well organized and has the most amazing recipes.
Melissa
Thank you, Melissa
if there was a glitch in playing the videos from the site, you can find them directly on my YouTube Channel. There’s not too much exciting stuff there yet, actually – why did I say yet? I’ve had it for a long while. But search for Valerie Lugonja on YouTube and you should find her videos.
🙂
Hope this helps – and believe me, I do understand. I don’t have the videos of my own Grandma Maude and I go weak-kneed when I think of her and all she taught me in the kitchen.
Hugs,
Valerie
Can you make bread from your recipes for buns
Helen – probably, but I wouldn’t. This is definitely a bun recipe.
There are many recipes for bread that have a firmer crumb and are more substantial for slicing.
🙂
I love this recipe!
I tried it a couple months ago and I continue to use it, I do mine all by hand though
Ty for posting it
That is the beauty of making the dough. You can make it by hand or with a Thermomix®. If I didn’t have my Thermomix®, I would likely be making dough 2-3 times a year – but now, I can make it every day, effortlessly, with delicious, nutritious ingredients for pennies – and with perfect results every time.
Sorry for the passionate advertisement – hahaha!
Thrilled to hear you love the recipe. Mom will be, too!
Sincerely,
Valerie
Well! I usually get upset trying to read the six pages of stories before I can get to the recipe. However, the prairie girl piqued y interest, so I read on. I have in front of me my mothers copy of “A guide to Good Cooking by Five Rose Flour .” Its the 1938 edition. I thought I could find a good recipe for dinner buns because I forgot my recipe book in the city. I am at my home at Crystal Lake,Sk. Their recipes involved using a sponge dough first. I admit I learned s few things going through the pages, but I didn’t like the method at all. We bought a Bosch mixer and a wheat mill in 1986 when I was pregnant with our Fifth. The machine is on its last days and we have purchased a new Bosch but I made hundreds of loaves of bread. There were always little noses in the bowls and batter. Today all 6 of my kids are very comfortable in the kitchen. 5 are very way above average. Not one represents the consumers of fast food and all of them know how to save money having a well supplied kitchen and cooking at home. I used to make dinner buns all the time-t once I went back to work, I didn’t have the time and we got away from it. Now we are alone, expecting no one at Christmas and I want to go back back to the dinner buns. It’s nostalgia. I nearly bought some on VarageSale the other day and decided “This is wrong, Linda.”
So- on to the phone…. looking for dinner buns and e success!
I know I probably can’t ask, but it’sa typical prairie question… where are you from?
I’m excited to try these buns and improve my d. I used to just dump everything in my Bosch, so adding the yeast later will be a change.
Lovely to hear from you, Linda!
We’re from Alberta. Born and raised in Red Deer. Love it there. The perfect small city to be raised in. Have lived in Edmonton for most of my life. The prairie roots are definitely from central Alberta and the parkland area. Such beauty and such simple food culture back then.
Happy Holidays to you!
Valerie
Hi Linda,
My Son called me and asked me if I had a recipe for Cinnabons because when he was a hockey billet in Nipawin Saskachewan, 25 years ago, the lady of the house made delicious buns which he remembers being so fondly.. I said, lets look on the computer for a recipe. He found your Mom’s recipe for dinner buns and cinnabons. He made them and sent the recipe to me and to date I have made the buns 20 times this year. My family love them and I just wanted to say thank you for sharing your Mom and her recipes.
Thanks and Happy New Year
Lovely, Lorna,
Thank you so much for letting me know!!
Happy new year to you, too!
Hugs
Valerie (not Linda) haha
Thnak you for sharing this recipe with us. It is precious to see the old handwritten recipes. Our mothers loved write it down. I will most certainly try this recipe and is special to see her face and instructions. So straight forward.
Be blessed and thank you again
So true, eh?
I really do cherish them!
Thank you for your kind words.
💖
Thank you for sharing this wonderful recipe! I am a cook at the Red Deer Hospice in Red Deer, Alberta and until recently a newbie at bread baking! Baking has always scared me – much prefer cooking but I had to step up when one of our cooks fell ill (the one that baked all the buns!) We make homemade soup everyday to offer the families and guests – always with a fresh baked bun. I have made Helen’s recipe many times now and the buns are a huge hit! Everytime I make them I announce that they are Helen McKinney’s recipe! LOL So thank you very much from all of us at the Red Deer Hospice!
Estelle, So kind of you to let us know. Mom will be delighted! Did you know Red Deer is my home town and many there will definitely know my mom’s name! Morris and Hazel Flewwelling (past mayor) was our next-door neighbour for over 20 years until mom and dad moved to Edmonton. Mom will be tickled to hear this. What lovely work you do. My dad has passed, but his last few days were spent in a Hospice here, in Edmonton, where we now live. Mom is 91 and still baking her buns – but she does have a THERMOMIX and finds it so much easier that way. I hope you try her cinnamon buns. We use the same dough, so it should not be hard for you.
Hello Valerie! Yes I did read that you are a Red Deer girl! So cool that you lived next to Morris & Hazel! I have done the cinnamon buns and yes excellent! I was once married to a Greek fellow (in Edmonton and he’s still there – Cosmos) and I’ve been making baklava for many years.. I did a baklava bun with Helen’s dough. I filled with crushed walnuts, pecans, breadcrumbs, cinnamon, cloves and brown sugar and of course lots of butter! Used honey instead of the goo and they were amazing! Thank you for replying! I thought I would be remiss if I didn’t let you know that Helen’s buns are being enjoyed by so many people! xoxo
Hello Can you use a stand mixer to knead these? Would it be similar time to the Thermomix knead time?
You can knead buy hand or with any other mixer, but the knead time would be considerably different. That is the beauty of Thermomix. Two minutes of knead time are equal to 20 minutes by hand.
🙂
Let me know how it goes!
🙂
Valerie
Hi i so enjoy reading about prairie recipes. my mom always used the Red Roses cookbook recipe for buns and made them weekly. I haven’t made them in a decade and did yesterday. They were good but didn’t have that wonderful yeasty smell as the bread I’ve made recently. I was wondering if it’s because I’m using yeast from the US, the only thing I could buy a year ago. It’s good yeast but not fragrant. Is there a difference or perhaps I have to accept my nose isn’t what it was?
HI Merna
So lovely, thank you!
I don’t think so. I took bread-making classes in a couple of places in Europe and if it raises it raises and is alive.
I know the fresh yeast is favored by many, but the Atelier at the Cordon Bleu told us that either is as good – but to avoid instant yeast.
I use dry yeast most of the time. The granules. Not the instant yeast.
Hope this helps?
Hugs
Valerie
I have not made the recipe yet but am excited to do so! I just wanted to let you know how much I loved reading your step by step instructions and beautiful story that went along with it. Just last night my daughter asked me to start hand writing out all her favourite recipes of what she grew up enjoying and like you many are my mothers and grandmothers shared with them by friends and extended family. So finding yours today doubly motivates me to do that. Thank you for sharing and I’ll let you know how they turn out.
Can’t wait to hear how you like it, Sharyn!
Definitely, get started on your family recipe project. Have the girls video your techniques.
They will savor these memories and your food forever.
🙂
Hugs
Valerie
Hi. I noticed that your mom’s original recipe card mentioned lard but no mention of lard in the actual typed version. Can you substitute lard for butter (if you have no butter on hand)? I’ve never made cinnamon buns before and recently followed the step by step directions and they came out great. definitely will make them again.
Hi Sandra
Thank you so much for clarifying.
She has used only butter for years now. I believe that butter is indicated in the recipe at the bottom of the post.
Glad you like them.
Happy baking!
Sincerely
Valerie
What a wonderful post . I enjoyed reading and following along with your mother . The pictures and video really helped me . This was the best instructions and my rolls turned out beautifully. I can’t wait to try the cinnamon rolls recipe !! Thank you for making and sharing 🙂
Thank you, Pauline, for chiming in and letting us know. Warms our hearts!
Warmly,
Valerie
A special thank you for your mom’s dinner buns. I made her recipe a few times, then tried other dinner buns recipe but they never measured up to your mom’s. Her recipe is now the only one I use. I do take a short cut. Rather than rolling out the dough, I break off pieces, roll them, leave to rise and bake. They come out perfect every time. Thank you
She just celebrated her 95th birthday last month and will be thrilled to hear this, Sandra!
Thank you!
Valerie