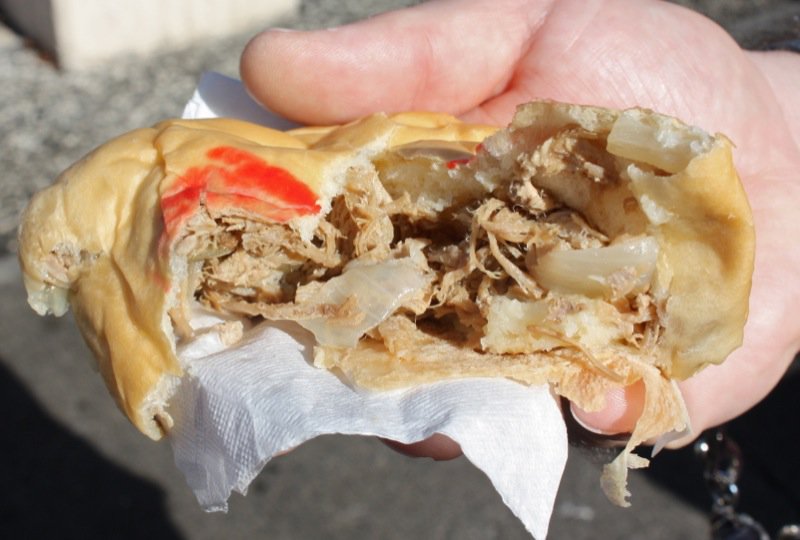
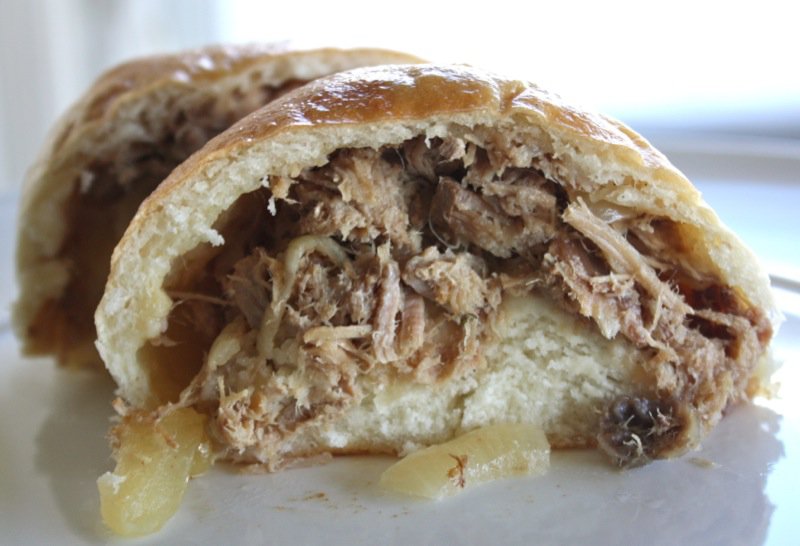
Almost as good as the Manapua from the Honolulu Hole in the Wall Tour!
The Manapua was an unforgettable bite. As soon as I tasted it, I knew I would be making it. I didn’t think it would be so difficult. I have the Latvian Bacon Bun down pat.
I got the Kalua Pork down. It was as delicious and moist and fatty and smoky with just the right amount of onions.
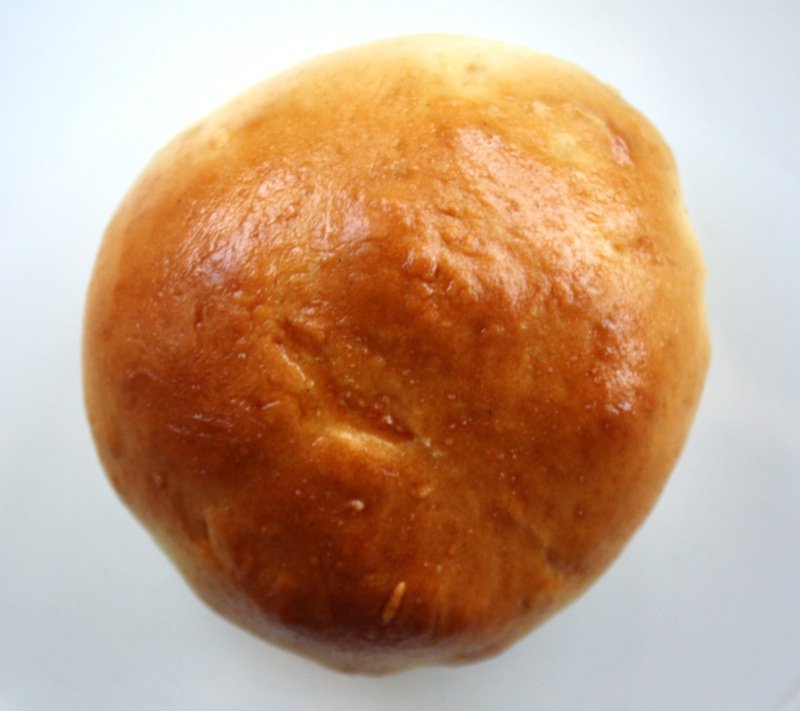
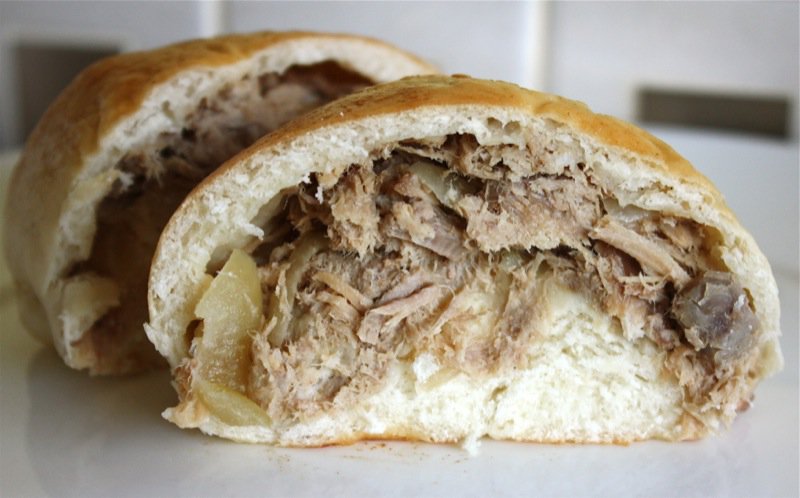
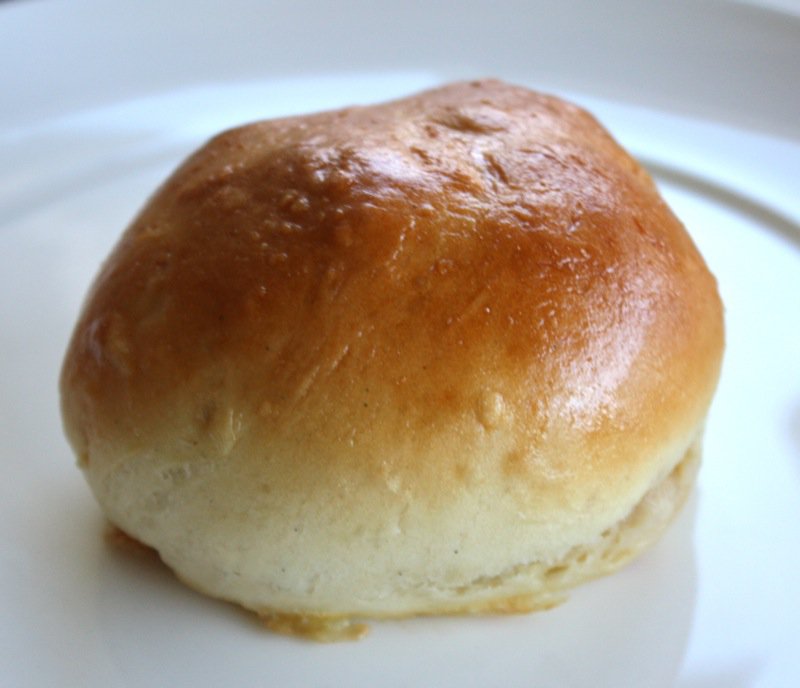
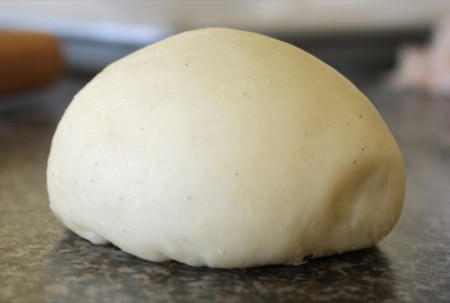
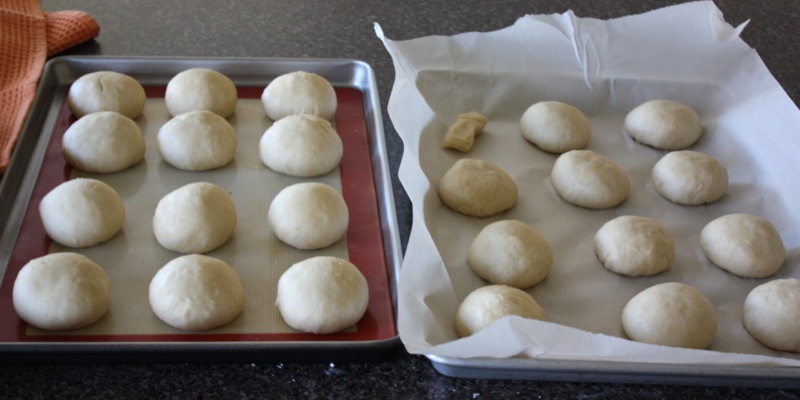
But the buns? You can see the difference in the photos. The dough from the Royal Kitchen in Honolulu’s China Town is clearly different. I researched so many Manapua recipes and all were very similar. I also researched the Hawaiian Sweet Bread recipes. I made the dough two different times and got very similar results: more substantial than the much lighter dough from Royal Kitchen, delicious the first day, and too dry the second or after freezing.
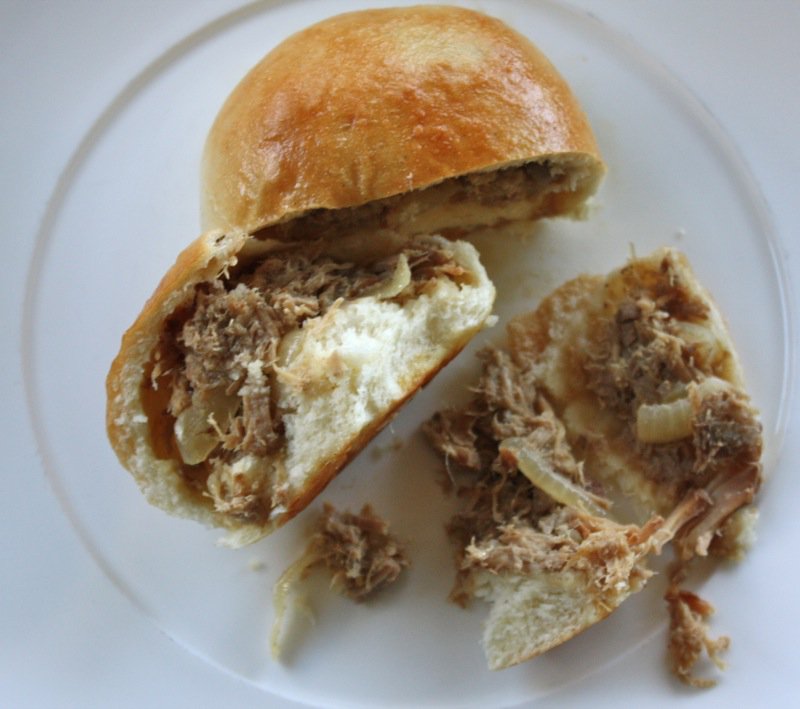
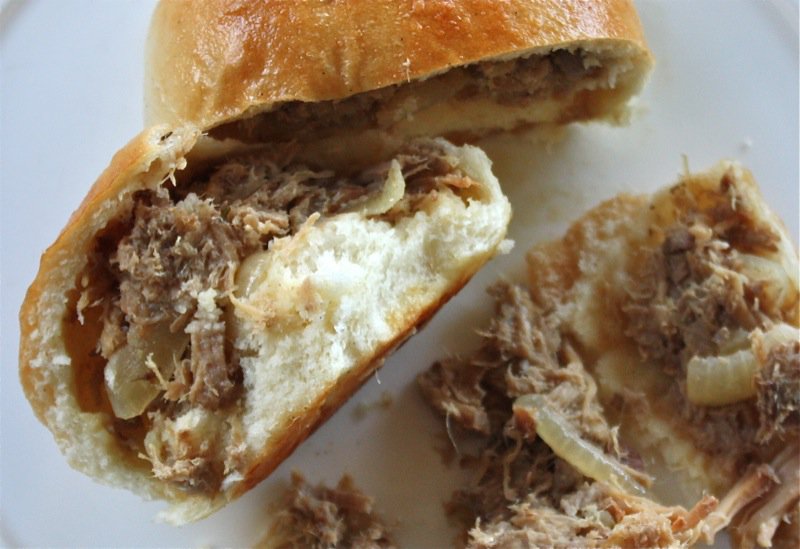
I actually had to add much more pork to each bun that the spoonful I originally added. Learning how to fold in the bottom of the bun was a trial, too, but I conquered that. I need help with the dough, people! Hawaiian sweet bread is theoretically the dough used for the Manapua, yet the Manapua dough is much much lighter than any Hawaiian sweet bread.
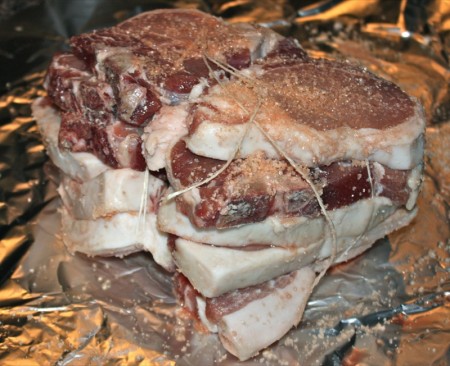
We bought bush ranged Tamworth Pork from Nature’s Green Acres this year. It is their first season of their new Tamworth pigs. Strangely, I had the butcher not do any roasts. So, I took a lot of chops cut from the shoulder and tied them together, seasoned them with the Hawaiian Alaea Sea Salt and topped them with an abundant supply of sliced onions.
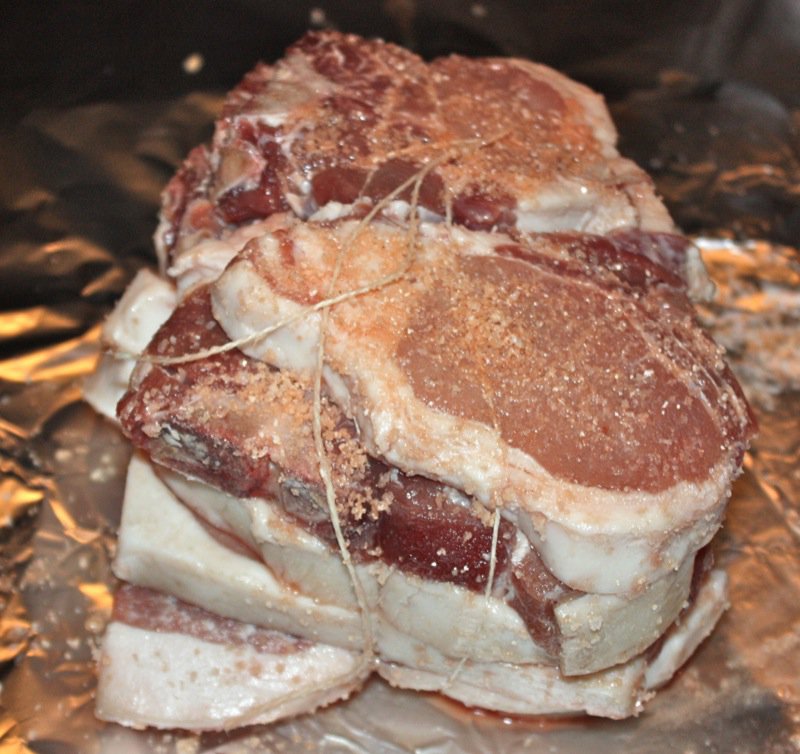
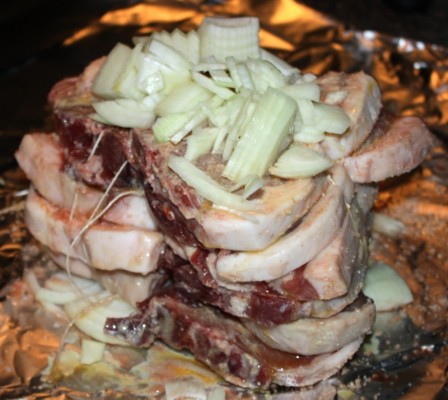
I learned that the onions need not be added at this point and that they disintegrated in the baking process. To add them to the Kalua pork for the Manapua bun, I actually sautéed a couple of onions and added the shredded pork and pork fat and jus to them for the filling. However, at this point, I just followed the instructions in the recipe which is very similar to all Kalua pork recipes, sans the onions.
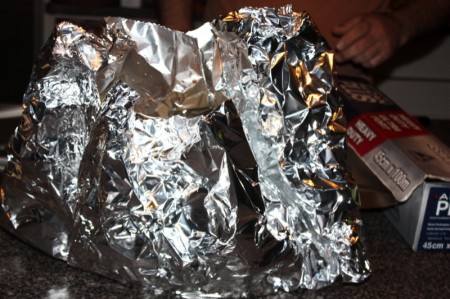
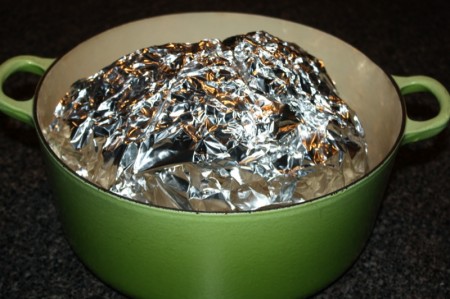

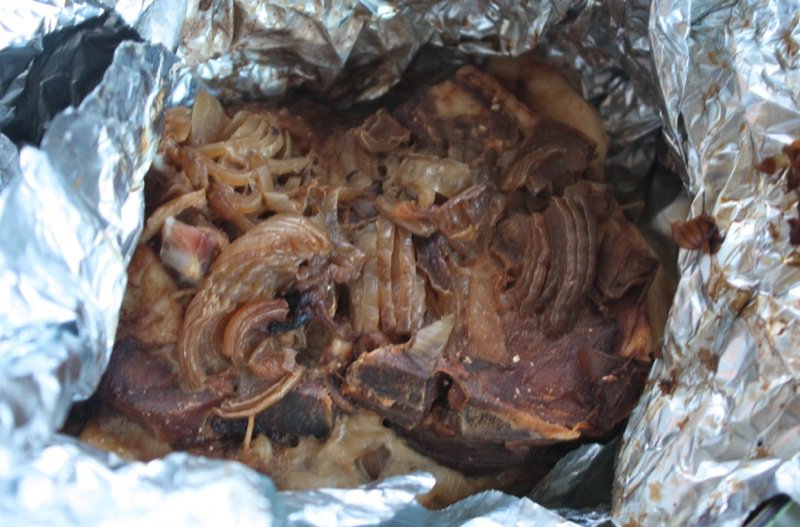
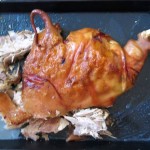
Most recipes do not call for the meat to be tightly foiled and placed in a water bath; however, a couple of them did and I believe that this makes a lot of sense to keep the meet really lovely an moist. It is key to keep the seal water tight. The fragrant smoky porky glory wafted from the foil as the package was opened and the meat fell from the bones and almost shredded itself.
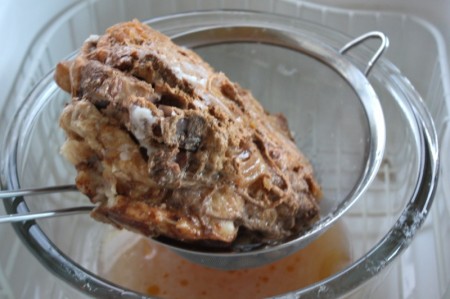
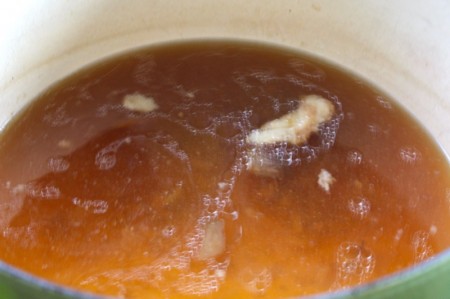
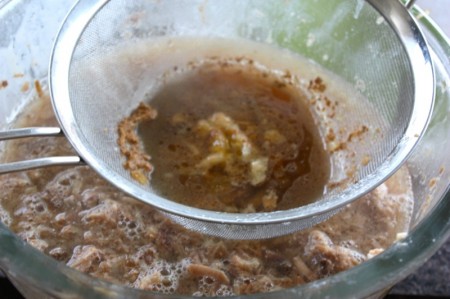
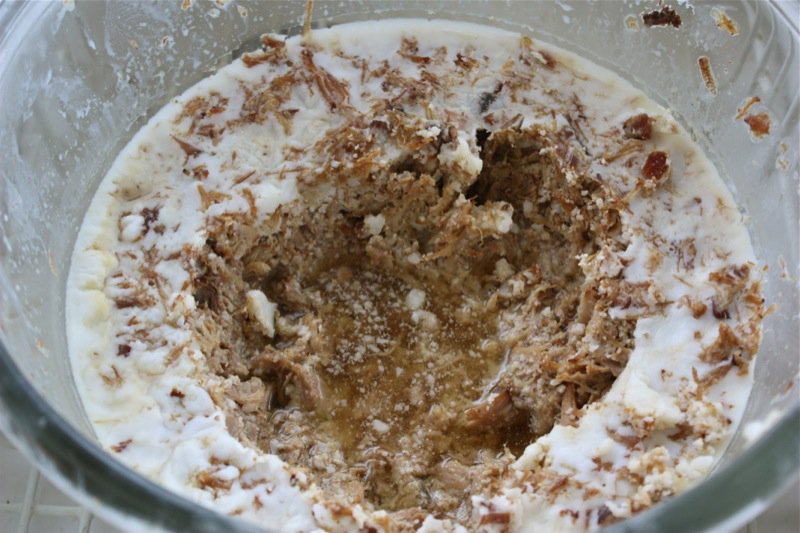
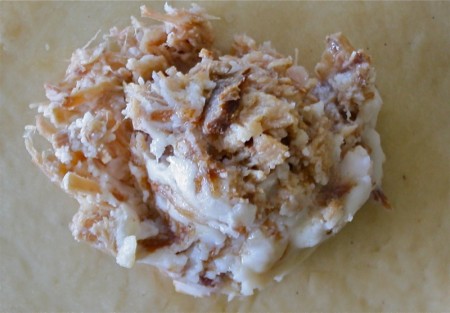
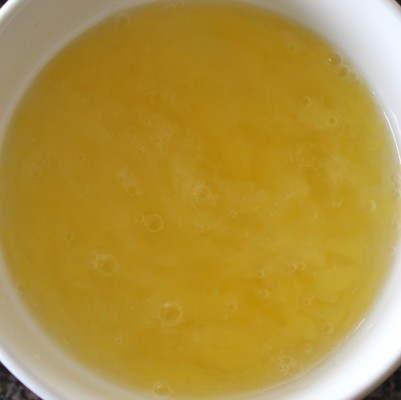
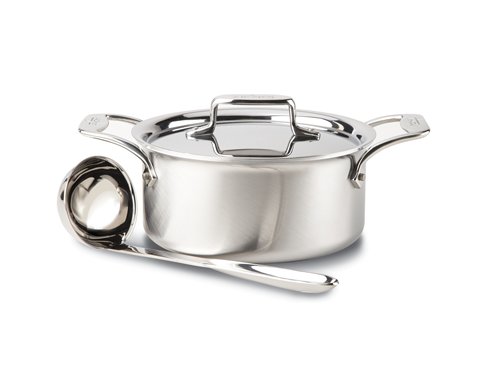
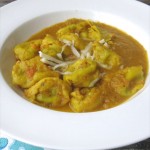
I strained the meat over a bowl and then heated the juices and liquid fat in a pot to distil the essence of it. Once the meat was shredded, I poured the remaining juices and fat back over it. In the last photo, below, right, you can see the shredded meat covered by the liquid. I worried a little about it being too moist, then recalled the shredded pork swimming in a similar broth at Ono’s Restaurant in Honolulu, and just went with it, knowing it would gel and be scoopable for the filling the following day.
Oh, Oh! Someone got into the Kalua Pork before I got the dough for the Manapua made the next morning. Two thumbs up from Vanja!
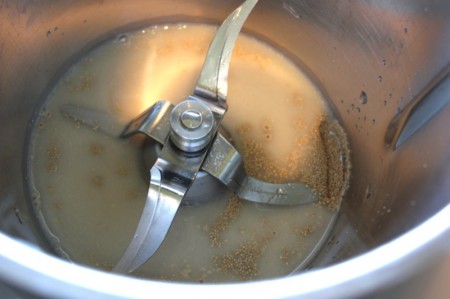
I used my Thermomix to make the dough because I have one and nothing makes better dough.
I also used the scale on the Thermomix to weigh the ingredients if I could not scale them into the bowl.
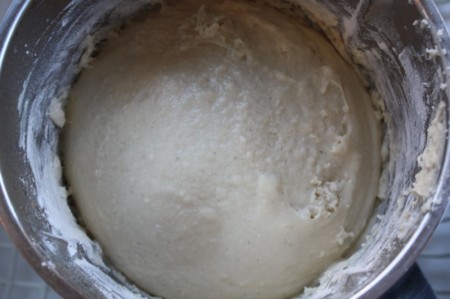
Most recipes I read insisted upon only incorporating the flour until it was moist, and then letting the dough proof: no kneading. No problem. But, the dough in the initial recipe given from the Hole in the Wall tour was extremely dry and flour heavy. After reading several other recipes, I reduced the flour by almost half, decided to use more cake flour to keep the dough lighter, and still got a fairly dry dough. I am not an amateur bread maker, so this is a challenge for me that I will be wrestling with until I find the right combination of ingredients to create the much lighter dough I am seeking.
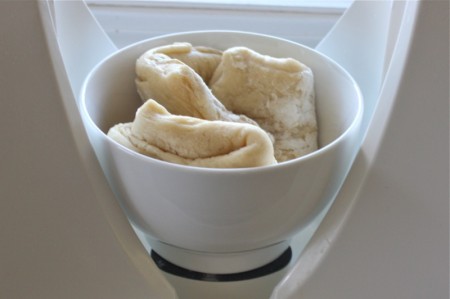
The batch makes 24 portions. The best way for portioning dough is weighing it, so that is what I did. It is not easy, as the dough retains air which holds weight. I divided the dough by 4, weighed each portion. Added up the total weight of the dough and divided it by 24. My portions were to be 70 grams each.

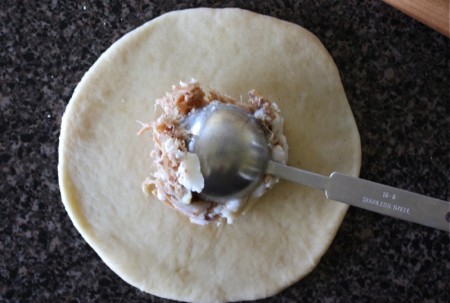
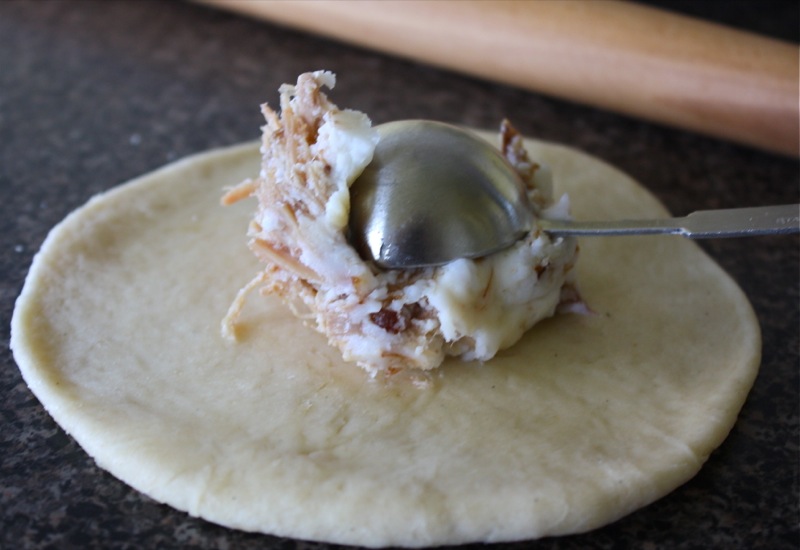
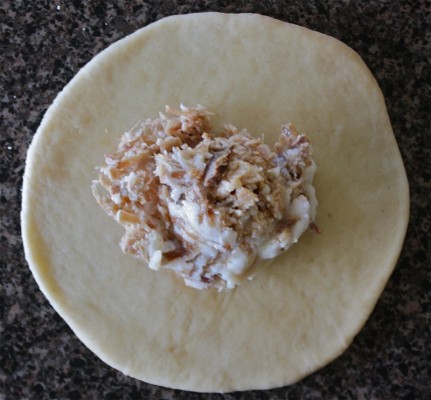
Rolling the portions into balls was straight forward. Rolling each ball into a flat disc was straight forward. Portioning the filling took some trial and error, but in the end, almost 1/4 cup was the best amount per portion.
Forming the dough around the filling to close it was the problem. The first time I did it, thinking I had followed the instructions, my filling was at the top of the bun. The bottom of the bun was far too thick. Hmmm. Reading and reading I learned how. Unfortunately, none of the photos of me doing this are clear, probably due to the fact I was on my own and couldn’t photograph and work at this at the same time.
- The dough must be in your left hand if you are right handed
- The filling will then go into the portion of the dough in the palm of your hand
- Close your hand slightly to form a ball around the filling; the dough will be circling the top of it
- With your right hand, take your thumb and first two fingers and pinch a small portion of the dough together
- Continue to do this around the rim of the filling until the dough is sealed around the filling
- Take care to not have more than one pinch over lapping at any place, or the bottom of your manapua will be too thick
- Ensure that the dough is completely closed
- Turn the manapua down, onto the pinches, and let it rise
- Brush with an egg wash just before baking in the oven
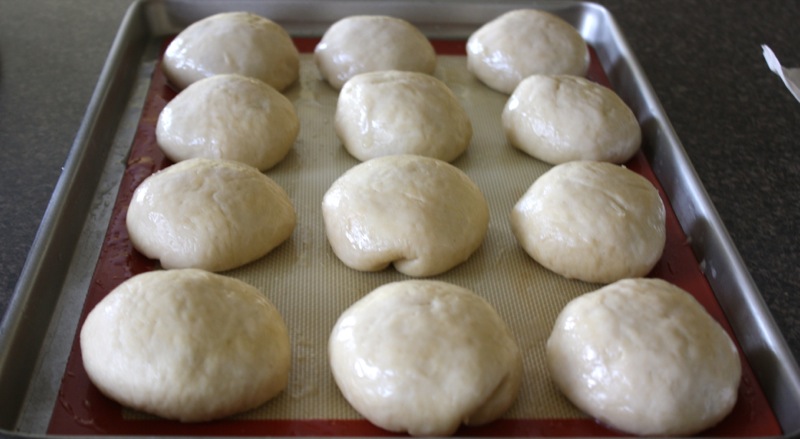
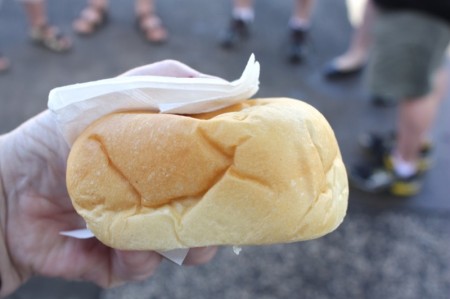
Every home made Manapua recipe says to brush with egg wash, yet the one we at at the Hole in the Wall tour was not brushed with a wash.

I am thrilled to be introduced to this new snack or lunch food. I am desperate for a better dough recipe. If anyone reading this post can assist, I would be so grateful. Please pass this on to anyone you know who can help. I hope to update this post with an incredible recipe for the dough, giving full credit to the contributor of that recipe, of course! Meanwhile, this is a really yummy treat if you have not had the one from the Royal Kitchen. You will never know the difference and will be unduly satisfied with the unexpected flavour of this porky pleasure.
Kalua Pork Manapua
Make the filling a day before making the manapua
Ingredients for the filling (as close to the imu Kalua pork as you will get without the imu:
- 4-5 lb pork shoulder (often called “butt”)
- 2 Large onions, sliced thinly (optional)
- 3 tablespoons good salt (Sea Salt, Hawaiian Alaea Salt, or Kosher Salt)
- 2-3 tablespoons liquid smoke (three worked for me)
Instructions for the filling:
- Preheat oven to 350°F
- Prepare heavy aluminum foil for wrapping the pork; place the pork on the foil
- Make several slashes along the surface of the pork; rub with salt, then liquid smoke
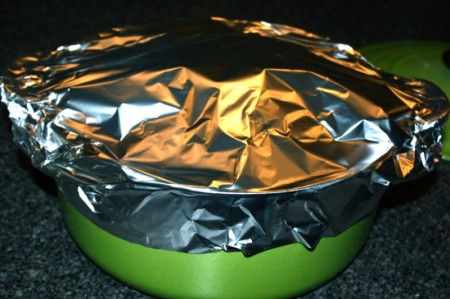
- Arrange sliced onions on top of pork; wrap tightly with the foil to make a watertight seal
- Place in a large roasting pan filled with two inches of water and cover pan tightly with foil
- Bake for 1 hour, then lower temperature to 225°F and cook for 6-8 hours
- Allow to rest for about 30 minutes; unwrap pork and shred, removing any bones
Ingredients for the manapua:
- 15g or 1 tablespoon yeast
- 50g or 1/4 cup lukewarm water
- pinch of sugar
- 400g or 1 1/2 cup room temperature milk
- 110g or 1/2 cup sugar
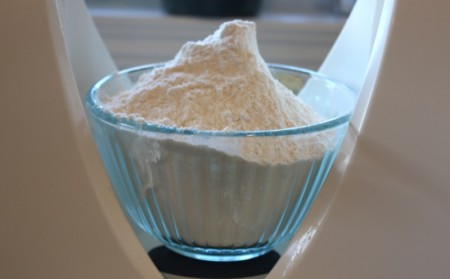
- 520g or 4 cups cake flour
- 1/2 tsp salt
- 1 1/2 tsp baking powder
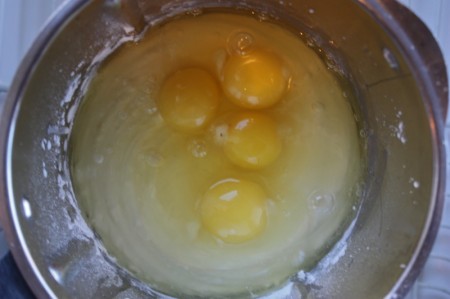
- 4 large eggs, beaten (not beated if using the Thermomix)
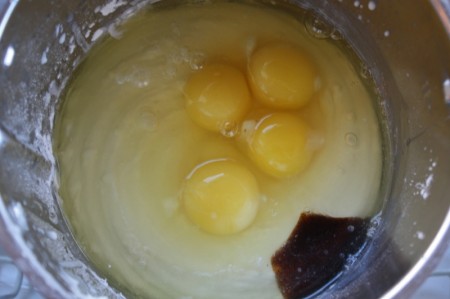
- 1 tsp vanilla extract
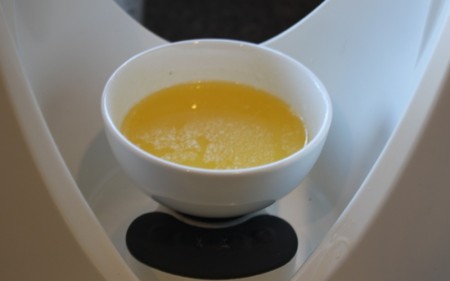
- 60g or 4 tablespoons (1/4 c) unsalted butter, melted and cooled
- 400g or 3 cups all-purpose flour
- 1 egg, beaten for brushing top of manapua
Instructions for the manapua:
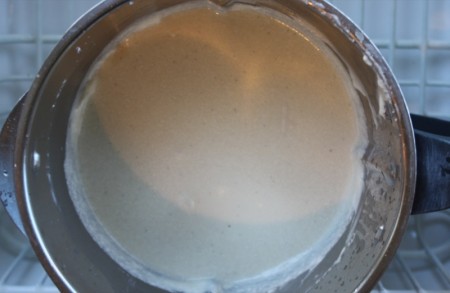
- Take 1/4 cup warm water, a pinch of sugar and yeast package, combine in a small bowl and allow to stand until foamy
- In a large bowl place sugar and pour in room temperature milk; mix with wire whip until sugar is dissolved
- Add the cake flour; mix to combine
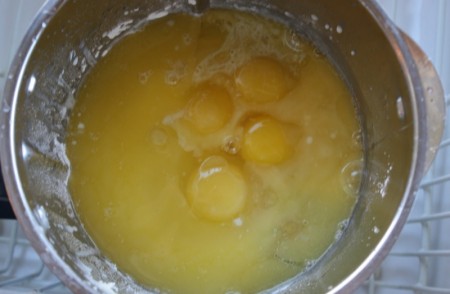
- Add salt, baking powder, beaten eggs, melted butter and vanilla extract; mix to combine
- Add yeast mixture; mix to combine
- Slowly add the all-purpose flour; combine well, but do not knead excessively to avoid gluten formation
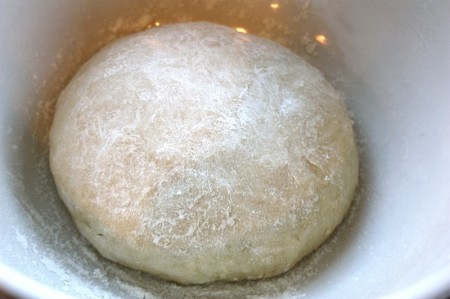
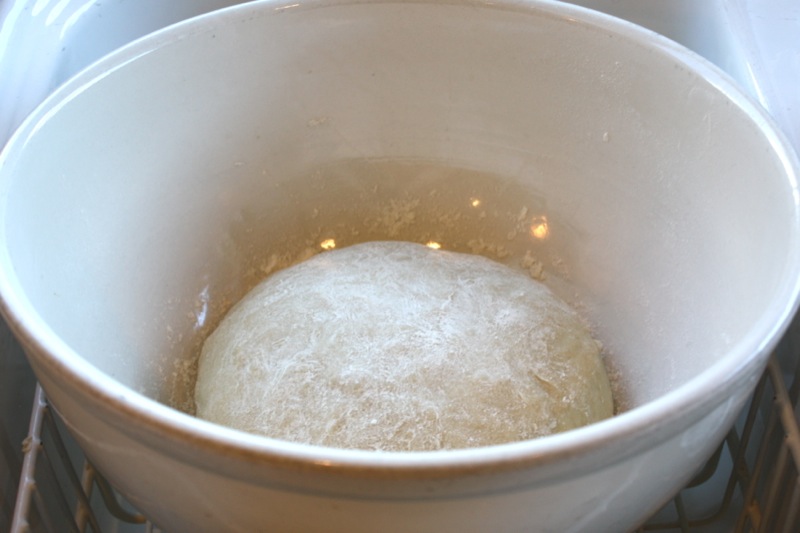
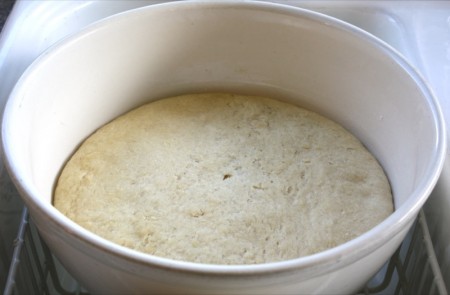
- Set in a large floured bowl, covered in a warm space to proof draft-free place until doubled in size ( one to two and 1/2 hours, depending upon your locale), or overnight in the fridge
- Take filling out of the fridge to rise to room temperature
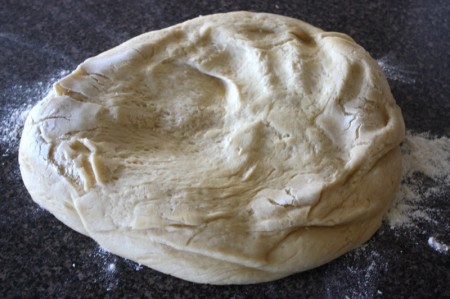
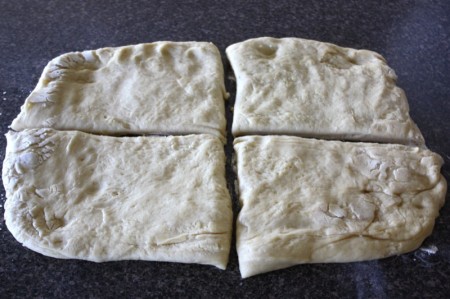
- Remove the dough from the bowl, working to leave as much air in it as possible
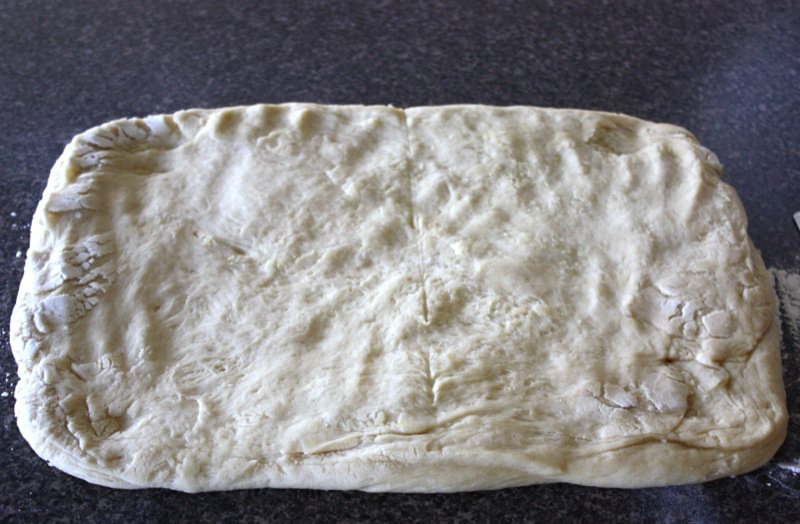
- Gently pull the dough into a rectangle and cut into 4 equal portions; weigh each, adding all weights and divide by 24
- Carefully cut into 24 pieces and form dough balls, weighing each to the weight you identified in #11 (mine was 65g each); rest for 15 minutes
- Roll each ball to a disc 4″ in diameter
- Place 1 heaping tablespoon of the room temperature filling into center of disk, pinch closed and twist *
- Set filled dough ball on a cookie sheet covered with parchment paper, twist side down; spaced evenly
- Proof for about 30 minutes until puffy (proofing: set in the oven, pour boiling water into a pan and set in the bottom of your oven, under the buns)
- Pre-heat your oven to 350°F
- Brush tops of each manapua with beaten egg; bake for 22 minutes and cool on a rack
- Serve hot or freeze immediately in tightly sealed container to retain freshness; frozen manapua may be individually reheated by wrapping with a paper towel and microwaving for 1 minute
Thermomix instructions for the manapua:
- Combine 1/4 cup warm water, a pinch of sugar and yeast package in a small bowl; set aside
- In a large bowl, place sugar with room temperature milk; whisk for 1 minute at speed 3 until sugar is dissolved
- Scale in the cake flour; combine for 30 seconds starting at speed 2, watch through hole in the lid, go up to speed 4, cleaning down sides with spatula in the middle of the allotted time
- Add salt, baking powder, eggs, and scale in melted butter and vanilla extract; combine for 1 minute at speed 3-4, cleaning down sides with spatula during the middle of the the allotted time
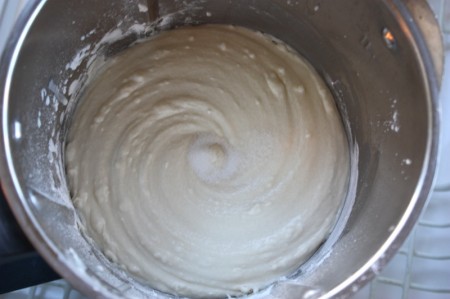
- Scale 300g of the remaining all-purpose flour to TM bowl, to combine until just incorporated using the speed with your eye on the hole in the lid: from 0 to 9 slowly over 15 to 20 seconds; set time for 1 minute, select speed soft and knead
- Remove all to very lightly dusted counter; dough will be wettish
- Dust your hands lightly with flour, and turn dough ball over until lightly covered in flour, and pat into a ball; add only as little flour as possible at this point
- Set in a large floured bowl, covered in a warm space to proof draft-free place until doubled in size ( one to two and 1/2 hours, depending upon your locale), or overnight in the fridge
- Take filling out of the fridge to rise to room temperature
- Remove the dough from the bowl, working to leave as much air in it as possible
- Gently pull the dough into a rectangle and cut into 4 equal portions; weigh each, adding all weights and divide by 24
- Carefully cut into 24 pieces and form dough balls, weighing each to the weight you identified in #11 (mine was 65g each); rest for 15 minutes
- Roll each ball to a disc 4″ in diameter
- Place 1 heaping tablespoon of the room temperature filling into center of disk, pinch closed and twist *
- Set filled dough ball on a cookie sheet covered with parchment paper, twist side down; spaced evenly
- Proof for about 30 minutes until puffy (proofing: set in the oven, pour boiling water into a pan and set in the bottom of your oven, under the buns)
- Pre-heat your oven to 350°F
- Brush tops of each manapua with beaten egg; bake for 22 minutes and cool on a rack
- Serve hot or freeze immediately in tightly sealed container to retain freshness; frozen manapua may be individually reheated by wrapping with a paper towel and microwaving for 1 minute
Note: due to the air in the dough, somehow I only got 23 buns in the end, so 60g may have been a better target for me, per bun 🙂
* Detailed insturctions for closing the dough over the filling:
- The dough must be in your left hand if you are right handed
- The filling will then go into the portion of the dough in the palm of your hand
- Close your hand slightly to form a ball around the filling; the dough will be circling the top of it
- With your right hand, take your thumb and first two fingers and pinch a small portion of the dough together
- Continue to do this around the rim of the filling until the dough is sealed around the filling
- Take care to not have more than one pinch over lapping at any place, or the bottom of your manapua will be too thick
- Ensure that the dough is completely closed
- Turn the manapua down, onto the pinches, and let it rise
- Brush with an egg wash just before baking in the oven
![]()
![]()


Valerie,
I am so thrilled to read your Honolulu’s Famous Hole in the Wall Foodie Tour! Hawaii is our favorite place to visit. We love the foods of the islands and miss the beauty of all of them.
BTW the Turtle Cookies get an A+
Greetings, Maxine!
Thrilled you liked the turtle cookie recipe! It is definitely a family favourite!
Hope you get to the tour!
🙂
Valerie
Yummy!
I remember drooling over those pork rolls when you posted them. I loved pulled pork recipes would love them served the usually way too 🙂
I had to laugh at the picture of the dug-into pork – Vanja is pretty sneaky! I am impressed with your kalua pork, and your homemade buns in particular – that can’t have been easy! I do like a Hawaiian sweet roll, so I think I’d love to try this.
I agree – the Thermomix is excellent at making dough 🙂
Jessie
The manapua is spectacular! I almost considered using the dough that is used for the traditional Latvian Bacon Buns as it is also a sweet dough. But, it is just different. These are still really good. Peter could sous vide the pork and get it really soft and lush! I didn’t have the time to do that when I was making this the first time. I will definitely sous vide the pork shoulder second time round. And, hopefully, someone will chime in with a much lighter more moist dough recipe!
🙂
V
Wow – what a mammoth job, but what a brilliant result! I love the way you cooked the pork – I’ll be giving that a try soon, thanks.
It is really simple, and very tasty, Amanda!
As you saw, Vanja loved the pork on a bun!
🙂
V
wow this looks so delicious. I don’t eat pork but I’m sure I could find a substitute! Thanks for sharing!
Valerie, Valerie, Valerie…you these Kalua pork buns have me weak in the knees. I usually gorge on Chinese BBQ pork buns, which I buy at least twice a month from a local Asian bakery..but now that I’ve seen these, I have to try them soon! I want 3 of them right now..they look insanely delicious and perfect! That said, as you can see, I can barely get a post up once or twice a month aka I’m not cooking or doing much of anything in the kitchen the past few months. However…I will slide back into cheesepalooza once everything settles down around here! xoxoxo I almost cried when I saw I missed the mozzarella and romano 🙁
Lisa
You can make it even if you missed it. I will just post it in the round up latez! They are fun – but I would definitely recommend the Caerphilly or the Farmhouse cheddar. Neither is TOO hard and both are AMAZING.
🙂
V
That looks awesome! I’ve never hear of this snack, but I’m a sucker for filled buns! Thank you for sharing, it’s good to read you again!
Looks way too delicious! So hungry right now and I could go for this heh
Ooh!!! I had no idea you were visiiting Hawaii – how marvelous! Those pork buns – I am book marking this now and I don’t care just how many inches my waist expands, I’m making these! These are just too darn good to miss and your buns are too splendid looking for words. You rock, Val!
Oh btw – I think your bread looks much better than the original 🙂
chow! Devaki @ weavethousandflavors